
Knife Skills 101: How to Choose and Sharpen Your Kitchen Knives
A great meal rarely begins with a pan. It begins with a knife, a cutting board, and the first clean slice into an onion, a carrot, or a bunch of parsley. Before the sear, before the simmer, before the glossy finish of butter in the sauce, there is prep—and prep is where confidence is built or broken. If your knife mashes tomatoes, slips off onions, or leaves your herbs bruised and blackened, the problem may not be your recipe. It may be the edge in your hand.
For home cooks, knife skills are one of the fastest ways to level up every part of cooking. Better knives and better sharpening do more than make prep faster; they make it more precise, more enjoyable, and much safer. A sharp, well-chosen blade lets you dice evenly, slice proteins cleanly, and preserve the texture of delicate ingredients like basil, chives, and ripe stone fruit. And once you understand how to choose the right knife and maintain its edge, you stop fighting your tools and start cooking with the calm efficiency of a professional kitchen.
Why Knife Skills Matter More Than Fancy Gear
If you have ever spent money on an expensive pan, a powerful blender, or a shiny stand mixer, only to find your cooking still feels clumsy, here is the truth: your knife affects more dishes, more often, than almost any other tool in the kitchen. You use it to break down onions for soup, trim chicken thighs, segment citrus, mince garlic, slice crusty bread, chiffonade herbs, and portion fruit. A good knife, sharpened properly, gives you clean cuts that cook more evenly. That means onions sweat at the same rate, potato cubes roast uniformly at 425°F, and stir-fry vegetables hit the wok with similar surface area and finish at the same time.
There is also a major quality difference between ingredients that are cut cleanly and ingredients that are crushed. A sharp edge slices through tomato skin without collapsing the flesh, glides through raw salmon without tearing, and trims silver skin from a pork tenderloin without wasting meat. On herbs, the distinction is even clearer: a dull knife bruises basil and parsley, causing dark spots and premature wilting, while a sharp knife leaves the cut edges bright and clean. In other words, knife work is not just about appearance—it affects flavor, texture, and cooking performance. Home cooks who improve this one skill almost always notice their food starts looking more restaurant-worthy immediately.
**"A sharp knife is a safe knife"** is not kitchen cliché—it is the first rule of efficient prep.
How to Choose the Right Kitchen Knives
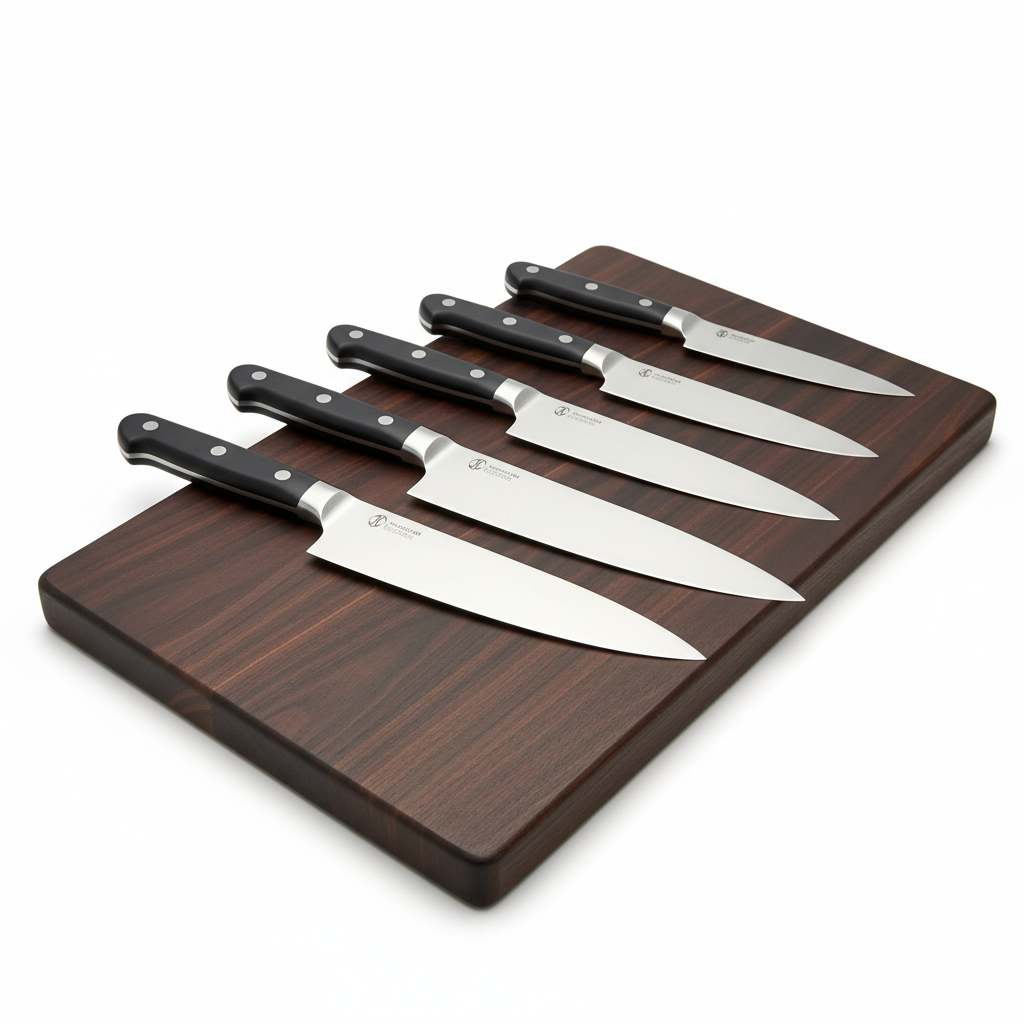
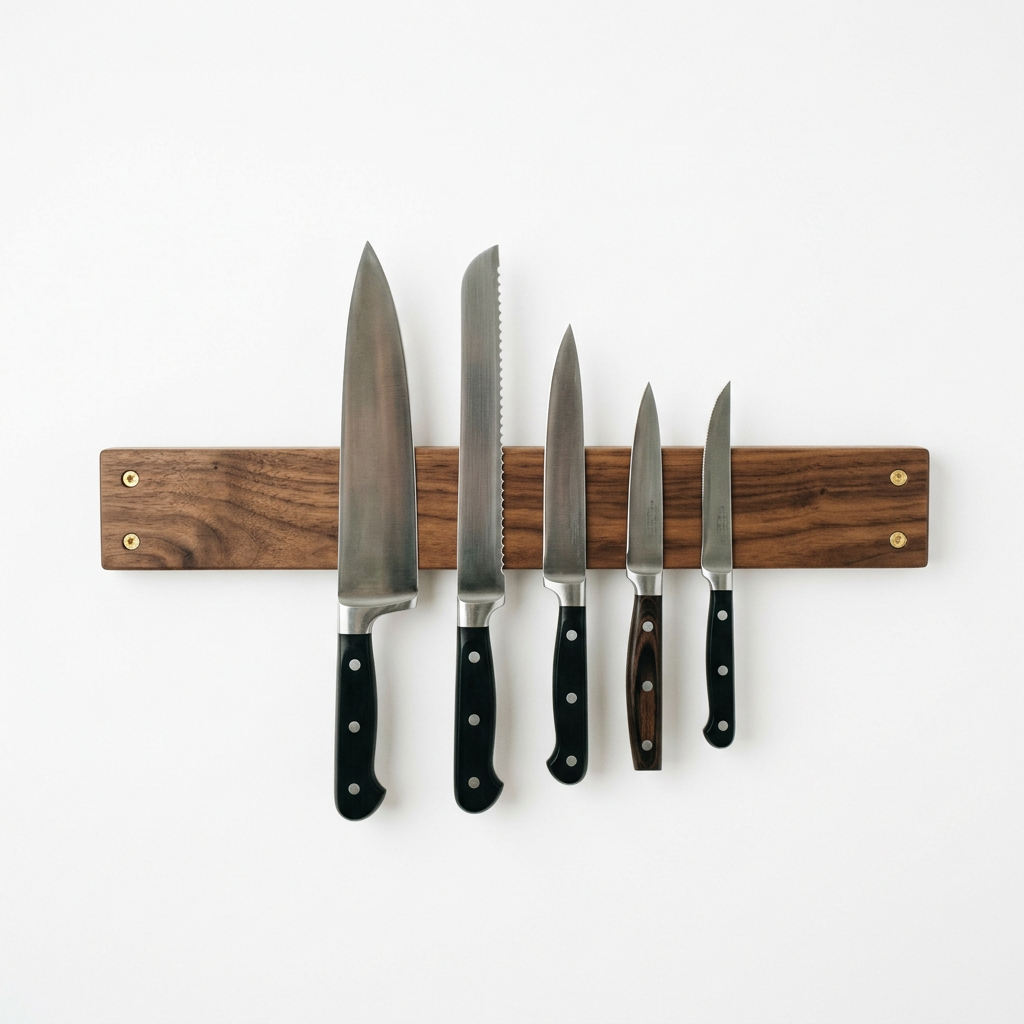
Most home cooks do not need a 14-piece knife block. In fact, those sets often give you more mediocre blades than you will ever use. A better strategy is to buy a few excellent knives that match the way you cook, your hand size, and your comfort level. If you prep dinner most nights, handle produce often, and want versatility without clutter, build around a compact, hard-working lineup instead of a showroom set.
The chef’s knife: your primary blade
If you buy only one serious knife, make it a chef’s knife. For most home cooks, an 8-inch blade is the sweet spot because it offers enough length for onions, cabbage, melons, and proteins while still feeling manageable on a standard cutting board. If you have very small hands, limited counter space, or feel intimidated by longer knives, a 6- or 7-inch santoku or chef’s knife can be a smart alternative. What matters most is not the brand name on the blade, but whether the knife feels balanced, secure, and natural when you grip it at the bolster or pinch point.
Steel, edge geometry, and handle comfort
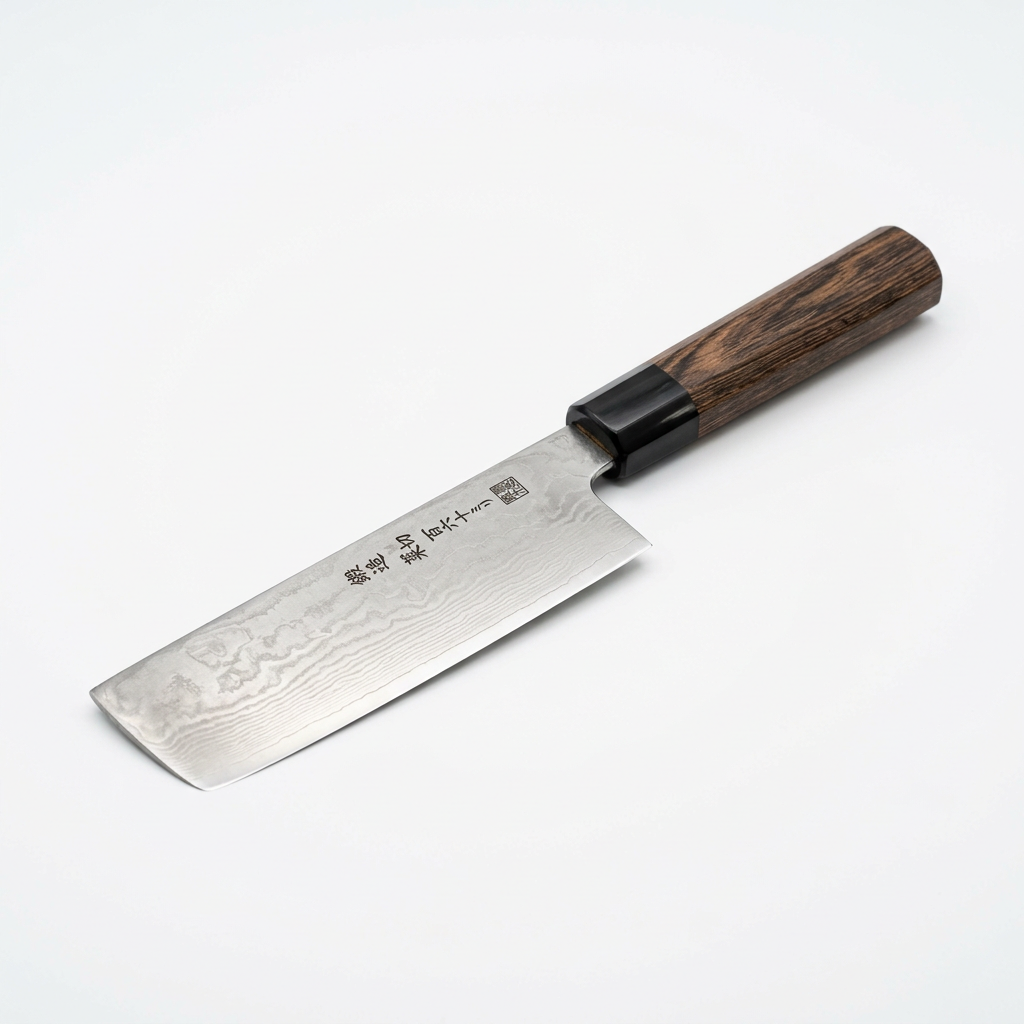
This is where buying a knife can start to feel technical, but the essentials are straightforward. German-style knives are typically a little heavier, softer on the Rockwell scale—often around 56 to 58 HRC—and sharpened to roughly 18 to 20 degrees per side, which makes them durable and forgiving. Japanese-style knives are often harder—commonly 60 to 62 HRC—and sharpened more acutely, around 12 to 15 degrees per side, which gives them laser-like precision but can make them less forgiving around bones, frozen food, and very hard squash. Neither is universally better; the right choice depends on whether you want toughness and ease or maximum finesse and edge retention.
When shopping, ignore hype and focus on feel. A knife should balance near the pinch grip, with no awkward tip-heaviness or handle drag. The spine and choil should feel smooth enough that they do not create hot spots during a 20-minute prep session. If possible, test a few grips before buying and use this simple checklist:
How to Hold and Use a Knife Like a Pro
Owning a good knife helps, but using it correctly is what unlocks real control. The first change most chefs encourage is the pinch grip: pinch the blade itself just in front of the handle with your thumb and the side of your index finger, then wrap your remaining fingers around the handle. This gives you dramatically better stability than holding the handle like a hammer. Pair that with the claw grip on your guiding hand—fingertips tucked under, knuckles forward—and suddenly your cuts become straighter, safer, and faster because the blade rides against your knuckles instead of drifting toward your fingertips.
Your setup matters too. Put a damp towel or non-slip mat under your cutting board so it stays absolutely still; a moving board is one of the most common causes of kitchen accidents. Stand with your feet about shoulder-width apart, knife tip pointing slightly downward, and keep your cutting area clear of bowls, wrappers, and slippery scraps. Good knife work is not frantic or forceful. It is rhythmic, economical, and controlled, the culinary equivalent of good posture.
Match the cut to the ingredient
One of the biggest mistakes home cooks make is using the same motion for everything. A classic rocking motion works well for herbs, garlic, and rough chopping, especially on curved chef’s knives. A push cut—driving the blade slightly forward and down—is excellent for carrots, celery, and onions because it encourages cleaner contact and reduces accordion-style tearing. A draw or pull slice is ideal for delicate proteins like cooked chicken breast, rested steak, or raw fish, where sawing back and forth would shred fibers instead of slicing them cleanly.
Here are a few practical pairings that make an immediate difference:
Honing, Sharpening, and Knowing the Difference
Many cooks use the words honing and sharpening interchangeably, but they are not the same thing. Honing realigns the microscopic edge of the blade, which bends and rolls slightly through regular use. Sharpening actually removes metal to create a new edge. If your knife feels a little less crisp than it did last week, honing may restore it; if it struggles to cut a tomato cleanly, slides off onion skin, or requires pressure to break through bell pepper skin, it likely needs sharpening.
For a home cook using an 8-inch chef’s knife most days, a few light strokes on a ceramic rod every one to three cooking sessions can keep the edge feeling lively. Sharpening is usually needed much less often—perhaps every 2 to 4 months for heavy home use, and every 6 months or more for lighter use—though steel type, cutting surface, and habits matter. Hard Japanese knives may keep their edge longer but demand more care, while softer German knives may need touch-ups a bit more often but are typically easier to maintain. The key is to stop thinking of sharpening as a dramatic rescue mission and start treating it as routine upkeep.
Signs your knife needs attention
The easiest way to judge a knife is not with gimmicky tricks, but with food. Kitchen performance matters more than paper theatrics if what you want is cleaner prep at dinner time. Watch for these signals:
If your knife crushes a tomato before it cuts it, the edge is already asking for help.
How to Sharpen Your Knife at Home
For most serious home cooks, the best sharpening tool is a whetstone. It is slower than a pull-through gadget, but it gives you far more control, preserves the knife better over time, and can produce a genuinely excellent edge. Pull-through sharpeners are convenient, but many remove too much metal and impose a one-size-fits-all angle that may not suit your knife. Electric sharpeners can be effective for some households, but they still trade precision for convenience and can shorten a blade’s life if used carelessly.
A simple stone setup covers nearly everything. A 400- to 800-grit stone handles chips or very dull blades, a 1000-grit stone is the workhorse for regular sharpening, and a 3000- to 6000-grit stone refines and polishes the edge for smoother cutting. Many home cooks do beautifully with just a 1000/3000 combination stone. Use clean, cool water—around typical room temperature, roughly 60 to 75°F—unless your stone specifically requires different handling, and never rush the process with hot water or unstable setup.
Step-by-step: sharpening on a whetstone
Before you start, know your angle. Most Western chef’s knives respond well to about 20 degrees per side, while many Japanese knives perform best around 15 degrees per side. Consistency matters more than perfection; a steady angle will always beat a technically ideal angle that changes every stroke.
At first, sharpening can feel awkward, but you do not need perfect chef-school technique to succeed. What matters is that your angle stays reasonably consistent, your stone stays wet, and you pay attention to the burr. The burr is your proof that you have reached the edge; without it, you may simply be polishing the sides of the blade instead of sharpening it. Once you feel what a proper edge does to a ripe Roma tomato or a yellow onion, the process becomes far less mysterious.
Honing between sharpening sessions
Honing keeps a good edge in service longer, especially on frequently used Western-style knives. For harder Japanese blades, a ceramic rod is often a better choice than a heavily grooved steel, which can be too aggressive. The motion should be light and deliberate, not theatrical and fast like a TV chef show. Try 3 to 5 gentle passes per side, maintaining the same angle you sharpened at, and let alignment—not force—do the work.
Caring for Knives So They Stay Sharp Longer
Even the best sharpening habits will not help much if daily care is rough. The fastest way to ruin an edge is to use the wrong surfaces, the wrong cleaning methods, and the wrong storage. A knife should be hand-washed with mild soap, rinsed, and dried immediately after use—especially if it is carbon steel or a high-hardness Japanese blade. Leaving a knife wet in the sink invites corrosion, and tossing it into a drawer guarantees edge damage the first time it bumps another utensil.
Here are the daily habits that protect your edge:
Storage, surfaces, and when heat becomes the enemy
Dishwashers are especially hard on knives because they combine detergent, impact, and high heat. Many dishwasher cycles run in the neighborhood of 140 to 170°F, and those temperatures, combined with prolonged moisture, can degrade handle materials, loosen adhesives, and accelerate corrosion or edge wear. The same goes for leaving knives near the steaming backsplash behind a boiling stockpot or balanced over a hot pan. Knives are precision tools, not kitchen decorations; treat them like instruments and they will reward you with years of better cooking.
Cutting surface makes a huge difference too. End-grain wood boards are gentle on edges and beloved in professional and serious home kitchens for good reason. Soft plastic boards are practical and sanitary, especially when working with raw chicken, but replace them once deep grooves form. Bamboo is durable and attractive, though often a bit harder on the edge than maple or walnut. If you have ever used a glass cutting board because it looked clean and modern, this is your sign to retire it immediately.
When to call a professional sharpener
There are times when home sharpening is not the smartest move. If your knife has a chipped edge, a broken tip, serious asymmetry, or is an expensive single-bevel Japanese blade, a reputable professional sharpener can save you trouble and preserve geometry you may not be equipped to restore. The same goes for thinning behind the edge, which many cooks overlook; sometimes a knife feels dull not because the edge is blunt, but because the blade has grown thick from repeated sharpening. A good sharpener will understand edge angle, steel type, and how much metal to remove without shortening the life of the knife unnecessarily.
Make Every Cut Count
The path to better cooking does not always run through harder recipes or fancier ingredients. Sometimes it starts with choosing an 8-inch chef’s knife that fits your hand, learning a proper pinch grip, and taking ten minutes to understand what your edge is doing. When your tools are right, even everyday prep becomes more satisfying: onions dice neatly, cilantro stays bright, carrots slice evenly, and a roast chicken portions cleanly instead of tearing at the joints. These are small victories, but they add up fast, and they build the kind of confidence that shows up in every meal.
So if your kitchen knives have been treated like mysterious, slightly dangerous objects rather than trusted tools, this is the moment to change that. Buy fewer knives, but buy better ones. Learn the difference between honing and sharpening. Practice on onions, potatoes, and herbs until the motion feels fluid and the sound of the blade on the board becomes steady and precise. Your food will look sharper, cook more evenly, and feel more intentional—and if dinner gets dramatically better along the way, go ahead and blame the chef.

Get the Next Recipe
Weekly recipes, techniques, and gear picks — straight to your inbox.
