Knife Skills Every Home Cook Should Master
If you have ever stood in a professional kitchen, you quickly realize that the difference between a clumsy amateur and a culinary artist is rarely found in the recipe itself, but rather in the way they handle their tools. The humble chef’s knife is the single most important extension of your own body, serving as the bridge between raw, intimidating ingredients and a refined, harmonious plate of food. Many home cooks approach their cutting boards with a sense of trepidation, often blaming their dull blades or lackluster results on a perceived lack of talent or secret ingredients they simply do not possess. However, the truth is far more liberating: culinary excellence is a mechanical skill, a series of repetitive, precise movements that can be learned, practiced, and eventually internalized until they become as natural as breathing.
At "Blame The Chef," we believe that you should never blame your equipment for a culinary disaster when you haven’t yet mastered the fundamental control of the blade. When you develop the proper grip, adopt a consistent cutting rhythm, and understand the biomechanics of how to slice, dice, and mince, your kitchen experience transforms from a stressful chore into a meditative ritual. You will find that ingredients cook more evenly, sauces emulsify better, and your dishes possess a professional structural integrity that was previously elusive. This guide is designed to strip away the mystique surrounding professional technique and provide you with a roadmap to becoming the master of your own cutting board, ensuring that every chop, slice, and julienne serves a specific, delicious purpose.
Before we dive into the anatomy of the cut, it is imperative to address the safety and preparation that precedes any work in the kitchen. A dull knife is significantly more dangerous than a sharp one, as it requires excessive force to push through fibers, increasing the likelihood of the blade slipping and causing injury. You must commit to a routine of honing your knife before every major cooking session and sharpening it with a whetstone or professional service every few months. By establishing this baseline of maintenance, you are setting yourself up for success, allowing the steel to do the work for you rather than fighting against the produce. We will explore how to set up your station, choose the right boards, and develop the muscle memory required to move with the confidence and grace of a seasoned line cook.
The Foundation of Control: Mastering the Grip
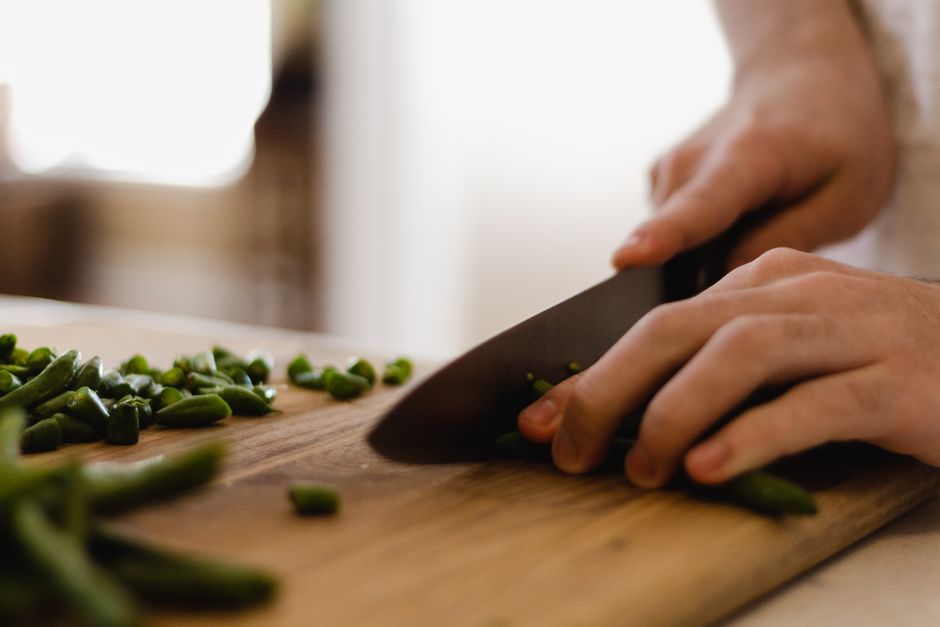
The most common mistake among home cooks is holding a knife like a tennis racket or pointing an index finger along the spine of the blade. While these grips may feel intuitive, they actually strip you of the leverage and stability needed for precise culinary work. The pinch grip is the industry standard for a reason; it provides maximum control and safety by turning the knife into an extension of your hand. To achieve this, place your thumb and index finger on the blade itself, just past the bolster, while wrapping your remaining three fingers firmly around the handle. This shifts the balance point forward, ensuring that the knife feels like a balanced tool rather than an unwieldy appendage.
Once you have mastered the pinch grip, the next step is establishing your guiding hand—often referred to as the "claw." Your non-dominant hand should always be formed into a claw, with your fingertips tucked inward and your knuckles acting as a guide for the side of the knife blade. Never let your fingertips touch the edge of the blade, as this is the primary cause of kitchen accidents. By keeping your knuckles vertical, you can slide the blade against them, allowing you to move quickly while maintaining absolute safety. This technique requires patience, but once your brain maps this movement, your speed will increase naturally without ever compromising your physical integrity.
"The difference between a frantic amateur and a professional is the stillness of their body; when you master your grip, the knife becomes an effortless extension of your intent."
It is also vital to consider the surface upon which you are working. Using a glass, stone, or marble cutting board is a recipe for disaster; these surfaces are too hard and will ruin your knife’s edge in minutes. Always opt for a heavy, end-grain wooden cutting board or a high-density polyethylene board that provides enough "give" to protect your blade. Furthermore, place a damp paper towel or a non-slip silicone mat underneath your board to prevent it from sliding while you work. These small, foundational adjustments will pay dividends in your efficiency, allowing you to focus on the geometry of your cuts rather than struggling to keep your station stable.
The Geometry of the Cut: Slicing and Dicing
Now that we have established a safe grip and a stable foundation, we can explore the actual mechanics of cutting. The most basic and necessary movement is the rocking motion, which is used for the vast majority of your vegetable preparation. By keeping the tip of the knife in contact with the board at all times, you can use the curve of the blade to slice through produce in a rhythmic, circular motion. This creates a fluid momentum, moving the knife back and forth with a slight downward pressure. This is the secret to uniform dice—the key to ensuring your sautéed vegetables cook in the exact same amount of time, preventing some pieces from being mushy while others remain raw.
When preparing a standard dice, such as a medium dice (approx. 1/2 inch), consistency is king. You should begin by squaring off your vegetable, creating flat sides so that the item does not roll on the board. Once you have a stable base, slice your vegetable into uniform planks, stack those planks, and then slice them into batons before turning them 90 degrees to perform your final dice. This systematic approach is how you achieve the professional look that makes food feel elevated. Remember, the goal is not speed; the goal is uniformity, which translates to balanced flavor and texture in the final dish.
Understanding Classic Cuts
Brunoise:* A very fine dice of 1/8 inch, used primarily for aromatics.
Small Dice:* A precise 1/4 inch cube, perfect for mirepoix.
Medium Dice:* A 1/2 inch cube, ideal for roasting or hearty soups.
Large Dice:* A 3/4 inch to 1 inch cube, used for stews or heavy vegetables.
The Julienne technique is another essential skill, involving cutting vegetables into long, thin matchsticks. This is particularly useful for stir-frys, slaws, or delicate garnishes where quick cooking is required. To execute a perfect julienne, square off your vegetable, slice thin, flat planks, stack them, and then slice into matchsticks of roughly 1/8 inch thickness and 2 inches in length. The transition from slicing planks to julienne is where your claw grip becomes most important, as it allows you to maintain the precise width of the cuts while keeping your fingers tucked safely away. Practice this with carrots or zucchini, as they provide excellent resistance and visibility for your knife work.
The Art of the Aromatics: Mincing Herbs and Garlic
Mincing is perhaps the most frequent task in the professional kitchen. Whether you are dealing with a handful of fresh parsley or a clove of pungent garlic, the goal is to create a consistent texture without turning the product into an unusable paste. When mincing herbs, ensure they are thoroughly washed and patted dry; moisture causes herbs to stick to your knife and prevents them from being chopped cleanly. Gather your herbs into a tight pile, use your non-dominant hand to hold the herbs down, and use your primary hand to rock the knife repeatedly over the pile. Once the herbs are distributed, scrape them back into a pile, and repeat until the desired fineness is achieved.
Garlic requires a slightly different approach due to its density. For a rustic mince, you can simply crush the garlic with the flat of your blade to remove the skin, slice it thinly, and then run your knife over it. If you want a finer, more paste-like consistency, you can sprinkle a pinch of coarse sea salt over the garlic. The abrasive nature of the salt acts as a mechanical exfoliant for the garlic fibers, helping them break down rapidly into a paste that will dissolve seamlessly into dressings or marinades. Be careful not to over-process, as heat from friction can turn garlic bitter if you work it for too long.
"A chef’s knife is not merely a tool for dividing ingredients; it is an instrument of transformation, turning raw, unruly nature into a refined culinary experience."
For aromatics like onions and shallots, the horizontal cut technique is the gold standard for achieving a consistent dice without the onion falling apart. After halving your onion and peeling it, make a series of vertical slices toward the root—but do not cut all the way through the root itself, as it acts as the "hinge" that holds the layers together. Then, make one or two horizontal slices into the onion, again stopping just before the root. When you finish with a final cross-cut, you will produce perfectly uniform pieces that will cook down into a beautiful, even translucent state in your pan. This technique demonstrates the beauty of structural thinking in cooking.
Butchery for the Home Kitchen: Trimming and Portioning
You do not need to be a professional butcher to clean a chicken or trim a piece of beef. Having the skill to portion your own protein not only saves money but also ensures that you aren't stuck with subpar cuts from the grocery store. When trimming fat from a steak or a piece of pork, always work in small, controlled strokes, pulling the blade toward you slightly. Use the very edge of your knife to slide between the fat and the meat, keeping the blade angled slightly toward the fat to avoid wasting the lean tissue. Remember, fat is flavor, so don't be too aggressive—you often want to leave a thin layer of fat to render down during the cooking process.
When working with poultry, especially breaking down a whole bird, you are looking for the joints. The knife should not be hacking through bone; instead, it should be gliding through the connective tissue and cartilage. By flexing the joint and feeling for the gap between the bones, you can easily slice through with minimal resistance. This is where your knife’s tip becomes your most valuable asset. The tip is for delicate work, such as loosening a chicken breast from the keel bone or removing silverskin from a tenderloin. Using the heavy base of the blade for these tasks will result in mangled meat, so practice using the tip for precision movements.
One crucial tip for portioning protein is to always work with cold ingredients. If you are slicing a chicken breast for scaloppini or a piece of beef for stir-fry, putting the meat in the freezer for 15 to 20 minutes beforehand will firm up the fibers, making them significantly easier to cut. This allows you to get those thin, paper-like slices that you usually only see in restaurants. Always slice against the grain of the meat, which shortens the muscle fibers and ensures that each bite is tender rather than chewy. This simple technique transforms the texture of a meal entirely and is a hallmark of an educated cook.
Maintenance: The Lifeblood of Your Blade
We have touched upon this, but it cannot be overstated: a knife that is not maintained is a liability. Your knife is made of steel, and steel is subject to the laws of physics. Over time, the microscopic edge of your blade will bend or "roll" due to contact with the cutting board and the stress of cutting. A honing rod is not a sharpener; it is a realignment tool. By running your blade along the honing rod at a 15- to 20-degree angle, you are essentially pushing that microscopic edge back into its intended alignment. Do this every single time you cook, and your knife will stay sharp for months longer than a neglected one.
When it comes to actual sharpening, the use of a water stone or a whetstone is the most rewarding path. It may seem intimidating, but once you learn the feel of the blade "biting" into the stone, it becomes an incredibly meditative practice. Start with a coarse stone to set the edge, and move to a finer grit to polish it. You are looking to create a "burr"—a tiny, wire-like edge that forms on the opposite side of the blade as you sharpen—which tells you that you have reached the apex of the metal. Once you feel that burr on both sides, a few passes on a finishing stone will result in an edge that can slice through a tomato under its own weight.
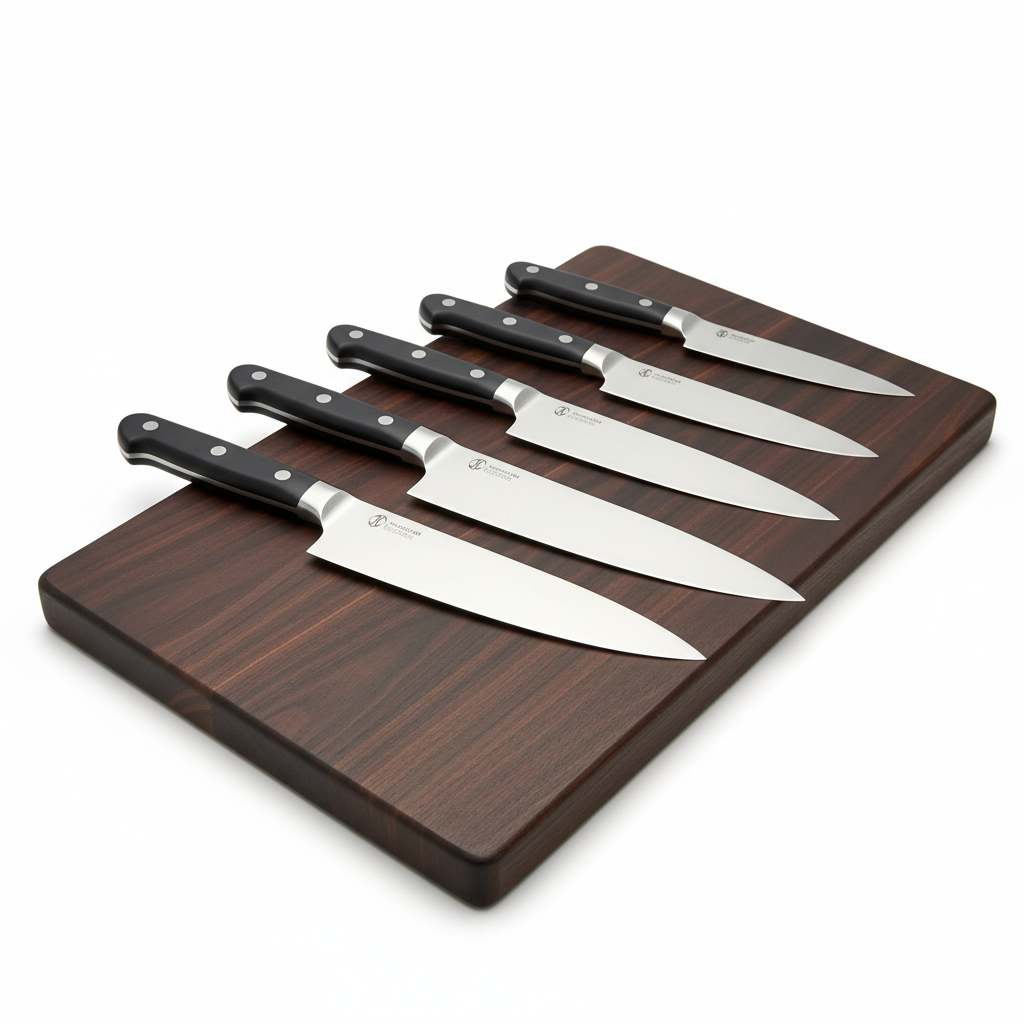
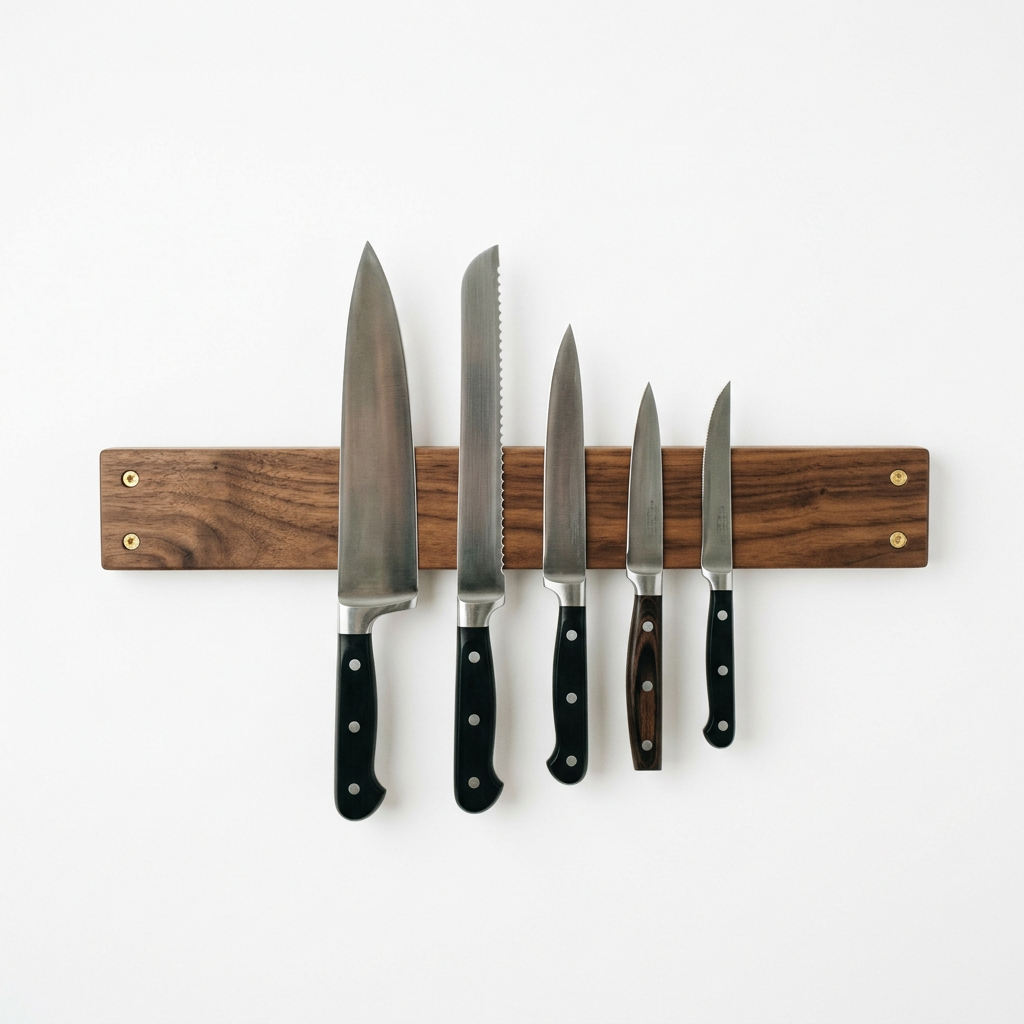
Finally, protect your investment by storing your knives properly. Never, under any circumstances, place your high-quality chef’s knife in the dishwasher. The heat, the detergent, and the clattering against other utensils will destroy the edge and ruin the handle material. Instead, wash your knife by hand immediately after use, dry it thoroughly, and store it on a magnetic wall strip or in a wooden knife block. If you must store them in a drawer, use individual blade guards to ensure the edge never touches other metal. Caring for your knife is the ultimate expression of respect for the process of cooking.
The Psychology of the Cutting Board
Beyond the technical mechanics of cutting, there is a psychological element to working with a knife that dictates the success of your kitchen time. When you are rushing or feeling frustrated, your movements become erratic, and that is exactly when accidents happen. Professional kitchens thrive on a concept called mise en place, which literally means "everything in its place." Before you even pick up your knife, ensure that your station is cleared, your trash bowl is ready, and your ingredients are prepped. When you clear the clutter from your workspace, you clear the clutter from your mind, allowing you to focus entirely on the rhythm of your blade.
Listen to the sound of your cutting. A good rhythm has a predictable, satisfying cadence—a percussion of sorts that signifies efficiency. If you find your rhythm breaking, stop. Take a breath, re-adjust your grip, and start again slowly. Speed is a byproduct of repetition, not a prerequisite for technique. Many home cooks make the mistake of trying to mimic the blurred motion of a television chef before they have mastered the basic, slow, and intentional movements that build muscle memory. Start by cutting your vegetables at a pace where you could hold a conversation, and only increase your speed once your hands feel like they are working on autopilot.
"True knife skills are found in the silence between the chops; when you stop trying to rush and start trying to understand the fiber and texture of your food, you become a chef."
Incorporate the "three-touch rule" to maintain efficiency. Try to handle each item as few times as possible. If you are dicing an onion, peel, cut, and slice in one continuous workflow. Do not move pieces back and forth across the board unnecessarily. This reduces waste and keeps your work area clean, preventing the cross-contamination of juices and maintaining the integrity of your ingredients. By simplifying your movements, you reduce the physical labor of cooking, making it a sustainable practice that you will look forward to every single day rather than a grueling obligation that you dread.
Expanding Your Horizons: Beyond the Chef’s Knife
Once you have mastered the basics with a standard 8-inch chef’s knife, you might find yourself curious about specialty blades. While the chef’s knife is the workhorse of the kitchen, other tools can make specific tasks significantly easier. A paring knife is essential for precision work, like peeling fruit, deveining shrimp, or performing "tourné" cuts on vegetables. Its small size allows for a level of maneuverability that a large chef’s knife simply cannot replicate. Treat your paring knife with the same level of care as your main blade, as it is often the most used and frequently neglected tool in the drawer.
A serrated bread knife is another indispensable tool. It is designed to cut through hard crusts without crushing the delicate, airy interior of a loaf of sourdough or baguette. Remember, the serrations do the cutting, so you should use a long, sawing motion rather than downward pressure. If you are using a serrated knife for tomatoes, use a very light touch; let the teeth of the blade bite into the skin, and the weight of the knife will do the rest of the work. Forcing a serrated knife through produce is a common error that leads to torn edges rather than clean, professional slices.
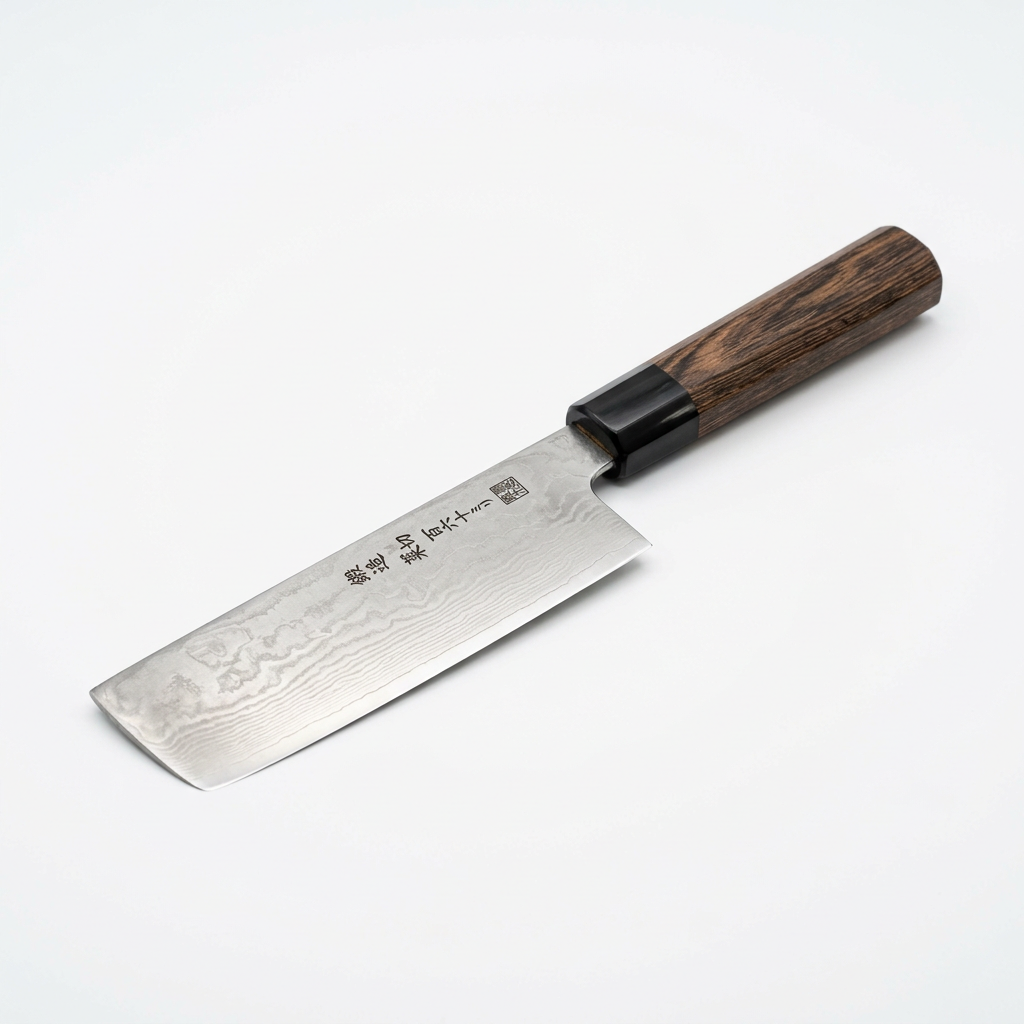
Finally, consider the Japanese Santoku, which translates to "three virtues"—slicing, dicing, and mincing. It is typically shorter and lighter than a Western chef’s knife, with a flatter edge that is designed for a downward, chopping motion rather than a rocking one. If you prefer a more vertical style of cutting, you might find the Santoku to be a more ergonomic choice for your hand. Whatever tools you choose to collect, remember that the most expensive knife in the world is useless if you haven't mastered the fundamental techniques that we have covered here today. Your skills will always outperform your equipment.
Final Thoughts
Mastering the art of the blade is a journey that lasts a lifetime. It is not something you "finish" in a weekend, but rather a constant refinement of your relationship with the food you cook and the tools you use. By embracing the pinch grip, respecting the claw, maintaining your edges, and cultivating a meditative approach to your workspace, you are moving away from the "Blame The Chef" mindset and stepping into a position of true culinary authority. You will find that when your prep work is clean, consistent, and methodical, the actual cooking process becomes significantly more forgiving.
Remember that every great dish starts with the first cut. When you slice that onion with perfect uniformity, you are ensuring that it will caramelize into a beautiful, sweet foundation for your dish. When you mince your herbs with precision, you are ensuring that the flavor is distributed evenly in every bite. Every cut is an opportunity to improve the quality of your food, and every meal you prepare is a chance to refine your technique. Do not be afraid to practice on inexpensive vegetables—a bag of onions or a few carrots are a small price to pay for the permanent skill of a professional-level chef.
As you move forward, keep your knives sharp, your board stable, and your focus sharp. Do not rush the process, and do not blame the recipe if your knife skills aren't yet where they need to be. Embrace the errors, learn from the slips, and continue to find joy in the rhythmic, satisfying act of creating something beautiful from the raw materials of nature. Whether you are cooking for your family, your friends, or simply for yourself, take pride in the fact that you are now a person who understands the true value of the knife. Your kitchen is now truly your own, and every dish you serve will be a testament to the discipline and passion you bring to the cutting board every single day. Happy cooking, and remember—the blade is yours to command.
The path to greatness is paved with thousands of small, incremental improvements. By focusing on your grip today, you are fundamentally changing the way you eat for the rest of your life. Every slice you make is a brick in the foundation of your culinary house, and with this guide as your blueprint, you have everything you need to build something truly exceptional. Take the time to practice, stay consistent, and above all, enjoy the process. There is a deep, quiet satisfaction in knowing exactly what you are doing with your hands, and that confidence will show in every single plate you bring to the table. Keep chopping, keep learning, and keep elevating your craft, because you are the chef now.

Get the Next Recipe
Weekly recipes, techniques, and gear picks — straight to your inbox.
