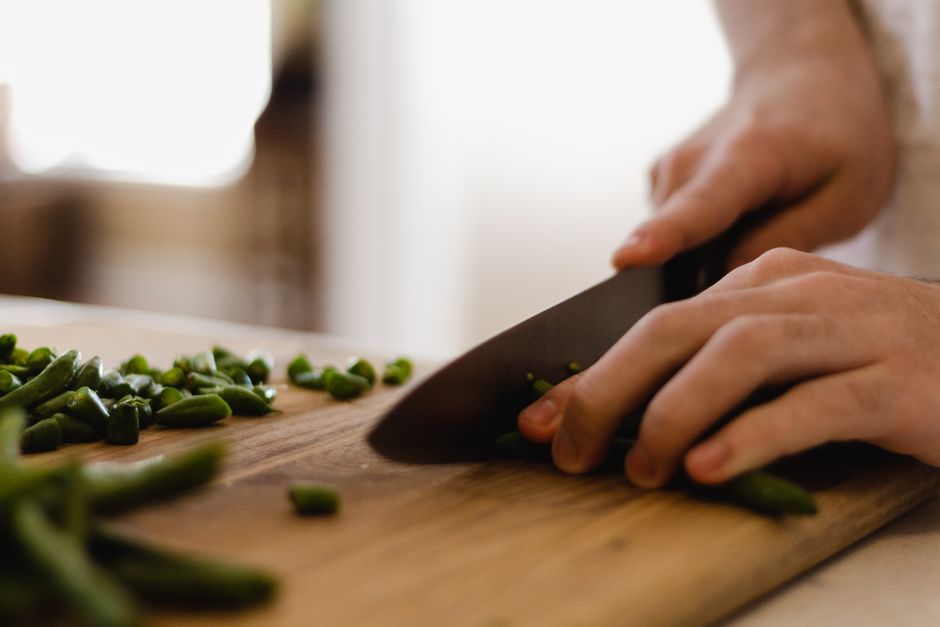
Knife Skills Fundamentals: The Cuts Every Home Cook Should Master
Cooking is an act of transformation, but before you can coax the deep, caramelized sugars out of a carrot or achieve the perfect sear on a piece of protein, you must master the fundamental interaction between hand and blade. For many home cooks, the kitchen knife is a source of anxiety rather than a tool of empowerment, often leading to uneven cooking times and, worse, unnecessary trips to the emergency room. At Blame The Chef, we believe that the knife is an extension of your own intention, acting as the primary bridge between raw, unruly ingredients and a finished, cohesive meal. When your technique is sound, your prep time decreases by half, your plating becomes precise, and the physical act of cooking transforms into a rhythmic, almost meditative practice that settles the mind after a long day.
Many beginners make the mistake of focusing on the cost or the brand of the blade before they understand the mechanics of the grip or the geometry of the cut. While a sharp knife is indeed safer than a dull one, the quality of your work will always depend on your consistency of form and the rhythm of your motion. Professional chefs spend years honing these movements in high-pressure environments, but the core physics remain the same whether you are working in a Michelin-starred kitchen or your own studio apartment. We are going to strip away the pretense and focus on the mechanics that actually matter: how to hold your ingredients, how to leverage your blade, and how to understand the structural integrity of the produce on your cutting board.
In this comprehensive guide, we are not just talking about chopping; we are talking about culinary architecture. Every vegetable has a grain, every onion has a cellular structure, and every chef has a distinct "knuckle-guide" that keeps their digits safe while they move at a blistering pace. If you have ever felt frustrated because your mirepoix looked more like a heap of mismatched shrapnel, or if your herbs turned into black, bruised mush on the board, you are in the right place. We will dissect the essential cuts that serve as the foundation for every French, Italian, and fusion dish in your repertoire. It is time to stop blaming the recipe for your lack of results and start refining the hands that execute them.
The Foundation: Knife Selection and Maintenance
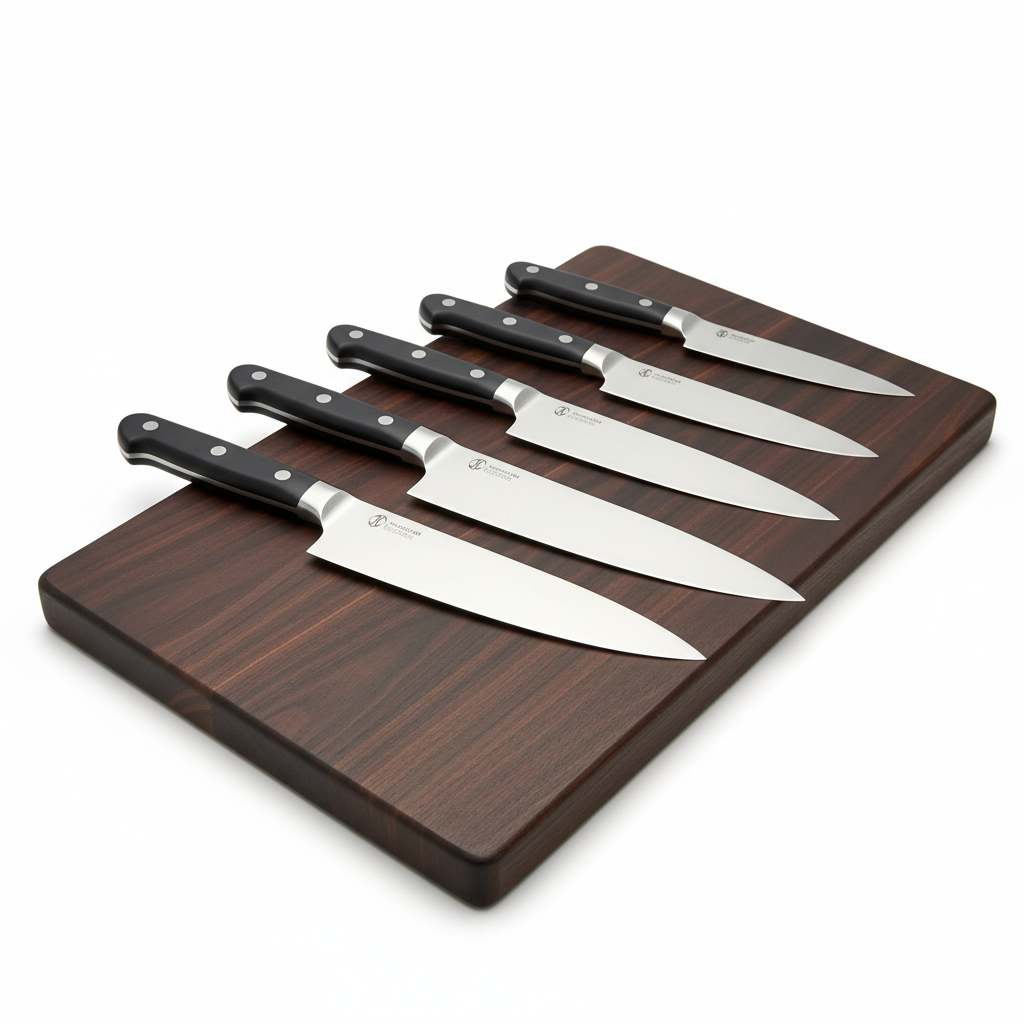
Before we discuss the cuts themselves, we must address the hardware. You do not need a twenty-piece block of knives that take up half of your counter space; in fact, a professional kitchen typically operates with only three primary knives: a Chef’s Knife (8 to 10 inches), a Paring Knife (3 to 4 inches), and a Serrated Bread Knife. Your chef’s knife is your workhorse, capable of handling everything from mincing shallots to breaking down a whole chicken. The weight, balance, and edge retention of this single tool will determine how tired your hand gets over the course of a three-hour prep session.
The Importance of the Grip
The most common error among home cooks is the "handle grip," where the hand wraps fully around the plastic or wood handle as if holding a tennis racket. This provides zero control and leads to a wobbly blade. Instead, you must utilize the Pinch Grip. Place your thumb and index finger on the blade itself, just in front of the bolster, while the remaining three fingers wrap comfortably around the handle. This turns the knife into a natural extension of your arm, providing significantly more leverage and stability, which is crucial for precision work.
Sharpening vs. Honing
There is a massive difference between honing and sharpening, and confusing the two will lead to frustration. A honing steel does not remove metal; it realigns the microscopic "teeth" of the knife blade that have rolled over during use. You should hone your knife before every single use to ensure the edge remains true. Sharpening, on the other hand, involves removing thin layers of metal to create a new edge using a whetstone or a professional grinding system. You should aim to sharpen your knives once every three to six months, depending on your frequency of use and the hardness of the steel.
"A dull knife is the most dangerous object in the kitchen. It requires more force to penetrate the surface of a food item, leading to slips, slides, and deep, uneven cuts that are notoriously difficult to heal."
The Claw: Your Ultimate Safety Mechanism
If you take only one thing away from this entire guide, let it be the Claw Technique. Your non-cutting hand—the hand holding the food—is the one at highest risk. Never lay your fingers flat on the food while cutting. Instead, curl your fingertips inward toward your palm, creating a "claw" shape. The flat side of the knife blade should rest against the second knuckle of your fingers. As you move the knife along the food, your knuckles act as a guide that keeps the blade perfectly vertical and prevents your fingertips from ever venturing into the danger zone.
Developing the Rhythm
Consistency is the goal of every professional chef. When you use the claw, your fingers should act as a gauge for your slices. By keeping your middle knuckle pressed against the side of the blade, you can move your hand back in tiny, incremental distances to ensure your slices are perfectly uniform. Do not rush. Focus on the sliding motion of the knife, keeping the tip of the blade anchored to the cutting board at all times. This "pivot" motion is more efficient and safer than a heavy, downward "chopping" motion.
Managing the Board
A clean board is a safe board. Never crowd your cutting surface. If you are prepping onions, carrots, and celery, prepare them one at a time and move them to a prep bowl. Excess moisture from juices on the board can cause vegetables to slide, which ruins your precision. If your board moves around on your counter, place a damp paper towel or a non-slip silicone mat underneath it to anchor it in place. This simple, often overlooked step provides the stability required for high-speed, accurate knife work.
Mastering the Mirepoix and The Onion
The onion is the undisputed king of the kitchen. Every culture has a variation of the mirepoix (onions, carrots, celery) or the soffritto, and learning to dice an onion properly is the rite of passage for every home cook. The goal is to produce uniform cubes that cook at the same rate, ensuring that your base flavors melt into your sauces rather than remaining crunchy or burnt.
The Anatomy of the Dice
Why Uniformity Matters
When pieces are uneven, the smaller bits burn while the larger bits remain raw. By creating consistent sizes, you ensure that the maillard reaction occurs evenly across the entire pan. When sautéing an onion, the target internal temperature should hover around 200 degrees Fahrenheit to allow the natural sugars to caramelize without the proteins turning acrid. If you are sweating your mirepoix, keep the heat low—around 150 degrees Fahrenheit—and cover the pan to allow the steam to soften the fibers before the browning begins.
"The difference between a mediocre soup and a world-class masterpiece often comes down to the size of the initial dice. If you can control the onion, you can control the entire flavor profile of your dish."
The Geometry of Cuts: Batons and Brunoise
Once you have mastered the dice, it is time to move into the more decorative and functional cuts that define professional plating. These cuts are not just for show; they ensure that ingredients cook uniformly during methods like blanching, steaming, or roasting. The batonnet is the foundation for almost all other shapes, providing a stick-like structure that is roughly 1/4 inch by 1/4 inch by 2 inches.
The Progression of Cuts
Batonnet:* The "stick." Used for crudités or as the starting point for a dice.
Julienne:* The "matchstick." Much thinner and more delicate, perfect for salads or stir-fries.
Brunoise:* The "tiny cube." Created by taking a julienne and cross-cutting it into 1/8 inch squares.
Large Dice / Macédoine:* The "cubes." Usually 1/2 inch to 3/4 inch squares, ideal for hearty stews.
Precision as a Culinary Skill
Precision is not about being a robot; it is about respecting the integrity of the ingredient. A julienned bell pepper will cook in seconds, while a large-diced potato might require twenty minutes. If you mix these cuts in a single pan without accounting for their volume and surface area, you will end up with a dish that is partially raw and partially mush. When practicing these cuts, focus on the "squared off" method. Trim the rounded edges of your vegetable first to create a stable rectangular block before you begin your slicing. This creates a flat base that won't roll, giving you absolute control over the thickness of your cuts.
The Art of the Herb Mince
Herbs are fragile, volatile, and prone to bruising. If you treat them with a heavy, crushing hand, you will find that your cutting board is stained with green oils, while your herbs have lost their aromatic punch. The trick to a perfect chiffonade or fine mince is to work quickly, use a razor-sharp blade, and minimize the number of times you pass the knife through the leaves.
The Chiffonade Technique
To achieve the perfect ribbon-like strips of basil or mint:
The Fine Mince
For woody herbs like rosemary or thyme, you want a very fine mince so that no one gets a "needle" of herb in their teeth. After your initial rough chop, collect the herbs into a pile. Place your non-dominant hand on the spine of the knife near the tip, and rock the blade back and forth in a fast, rhythmic arc. This movement creates a controlled, high-speed cut that breaks down the tough fibers without crushing the flavor out of the leaves. Always add your fresh herbs at the very end of the cooking process, as high heat quickly destroys the delicate essential oils that provide their aroma.
Managing Complex Ingredients: Proteins and Roots
Working with proteins and dense root vegetables requires a different kind of finesse. Here, you are not just thinking about precision, but about grain direction and resistance. Whether you are trimming a brisket or breaking down a butternut squash, your knife skills must prioritize safety over speed. For hard vegetables, it is often better to make a small, flat notch in the surface of the vegetable first to create a stable starting point for your blade.
Working with Proteins
When slicing meat, always cut against the grain. The "grain" refers to the long, stringy muscle fibers that run through the protein. By cutting perpendicular to these fibers, you shorten them, which results in a much more tender bite. If you are slicing a flank steak or a chicken breast, look for the direction the lines are running, then angle your knife 90 degrees to them.
The Temperature Factor
Always let your proteins rest after cooking—at least ten minutes for a small steak, and up to thirty for a roast. This allows the internal juices to redistribute throughout the muscle fibers. If you slice into a piece of meat while it is still piping hot, the juices will run out onto the board, leaving your dinner dry and flavorless. A sharp, long-slicing knife is essential here, as you want to make a single, clean stroke through the meat rather than "sawing," which shreds the edges and causes moisture loss.
Final Thoughts: The Path to Mastery
Culinary excellence is a journey, not a destination. You will not wake up tomorrow with the speed of a sous-chef, and that is perfectly okay. The goal is incremental progress. Start by practicing your onion dice ten times in a row, focusing only on the claw and the consistency of the cubes. Then, move on to the julienne of carrots, paying attention to the stability of your base. Keep your knives sharp, your board clean, and your posture upright. Remember that the kitchen is your domain, and the knife is simply the tool that allows you to bring your creative vision to life.
If you find yourself becoming frustrated, take a step back, sharpen your blade, and breathe. Cooking is meant to be a joyful exploration of texture and flavor, and your knife skills are the mechanics of that exploration. Once you stop fearing the blade and start dancing with it, you will find that your efficiency, your speed, and, most importantly, the quality of your finished dishes will skyrocket. The next time you find yourself blaming the recipe for a failed dinner, stop and look at your cutting board. Are the pieces uniform? Is the texture right? Did you give the ingredients the respect they deserve?
Practice these techniques daily, even if you are just prepping a simple salad for lunch. It is these small, repeated actions that build "chef’s memory," allowing your hands to move with an instinctual grace that makes cooking feel less like a chore and more like a craft. Your knife is your most valuable asset, and by mastering its use, you are elevating your home cooking to a level of professionalism that you can be truly proud of. Keep your blade sharp, keep your technique tight, and never stop pushing the boundaries of what you can create in your kitchen.
The Professional Standard: Equipment Care
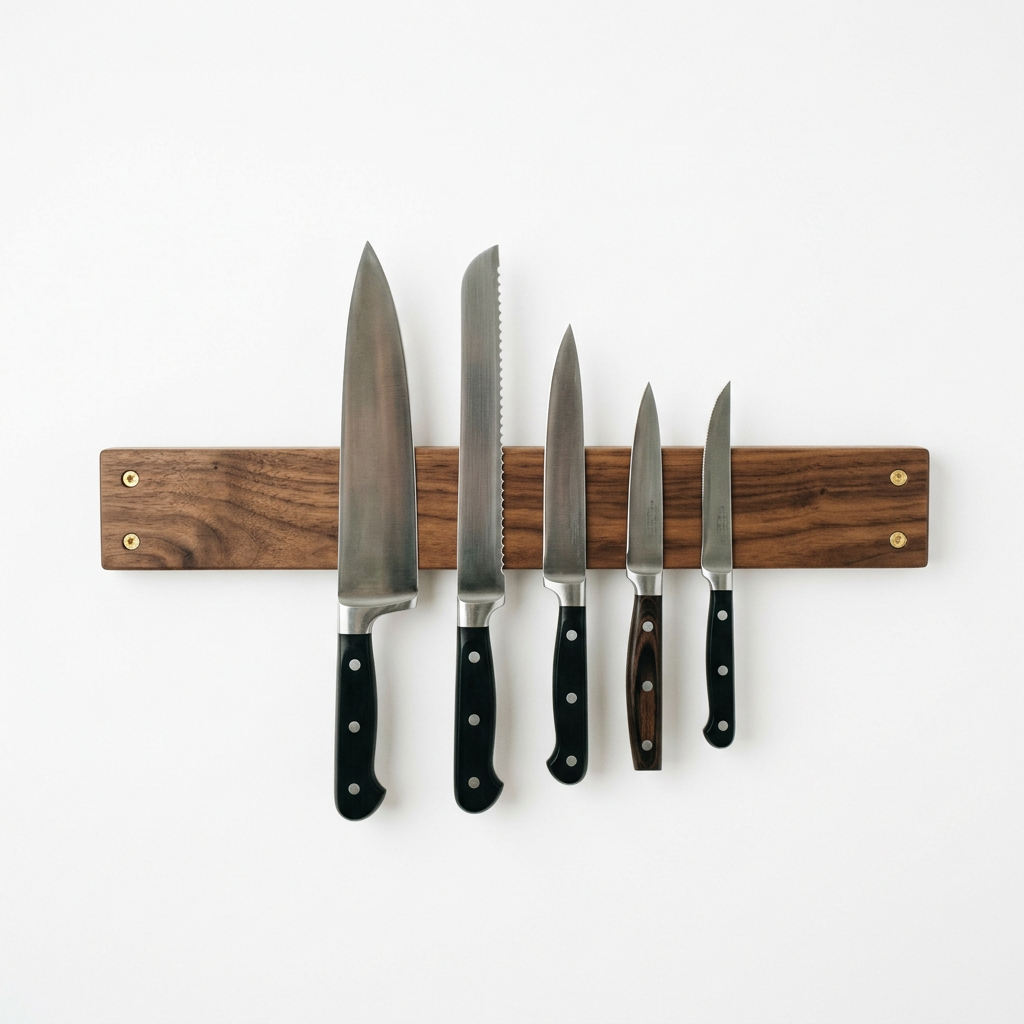
To truly reach the level of a home chef, you must treat your tools with the same reverence as a professional. Beyond simple honing and sharpening, the way you store and clean your knives is just as important. Never, under any circumstances, put a high-quality chef's knife in the dishwasher. The intense heat, the aggressive detergents, and the banging against other cutlery will dull the edge and potentially warp the handle. Hand wash your knives immediately after use with warm, soapy water, rinse them, and dry them thoroughly with a clean towel before putting them away in a magnetic rack or a knife block.
Furthermore, consider the surface you are cutting on. Glass, marble, and ceramic cutting boards are essentially "knife killers." They are harder than the steel of your blade, meaning that every time you make a cut, the edge of the knife is flattened or rolled. Stick to high-quality wood, such as maple or walnut, or a professional-grade plastic board. These surfaces provide enough "give" to protect the knife edge while still being durable enough to withstand daily use. If your board begins to look dry or porous, rub it with a food-safe mineral oil to keep the wood hydrated and sanitary.
Investing in these small, daily habits is what separates the average home cook from the one who truly knows their way around a kitchen. When you maintain your equipment, you are maintaining your craft. There is a deep, tactile satisfaction in pulling a well-cared-for, razor-sharp blade from a magnetic rack and feeling it glide through a ripe tomato with absolutely no effort. That is the moment where the work ends and the artistry begins. By mastering the fundamentals we have covered—the grip, the claw, the cuts, and the maintenance—you are laying the groundwork for a lifetime of culinary success. Remember, you are the architect of your own meals, and every slice is a building block toward a better, more delicious dinner.
Troubleshooting Your Technique
If you are still struggling with your knife work, return to the basics. Are you holding the knife properly? Is your non-dominant hand in the "claw"? Is your board stable? These three factors account for ninety percent of knife-related struggles. Do not be afraid to slow down—in fact, you should be cutting quite slowly until your muscle memory takes over. Speed is a byproduct of accuracy, not the goal. If you are rushing, you are compromising your form, and your food will reflect that lack of precision.
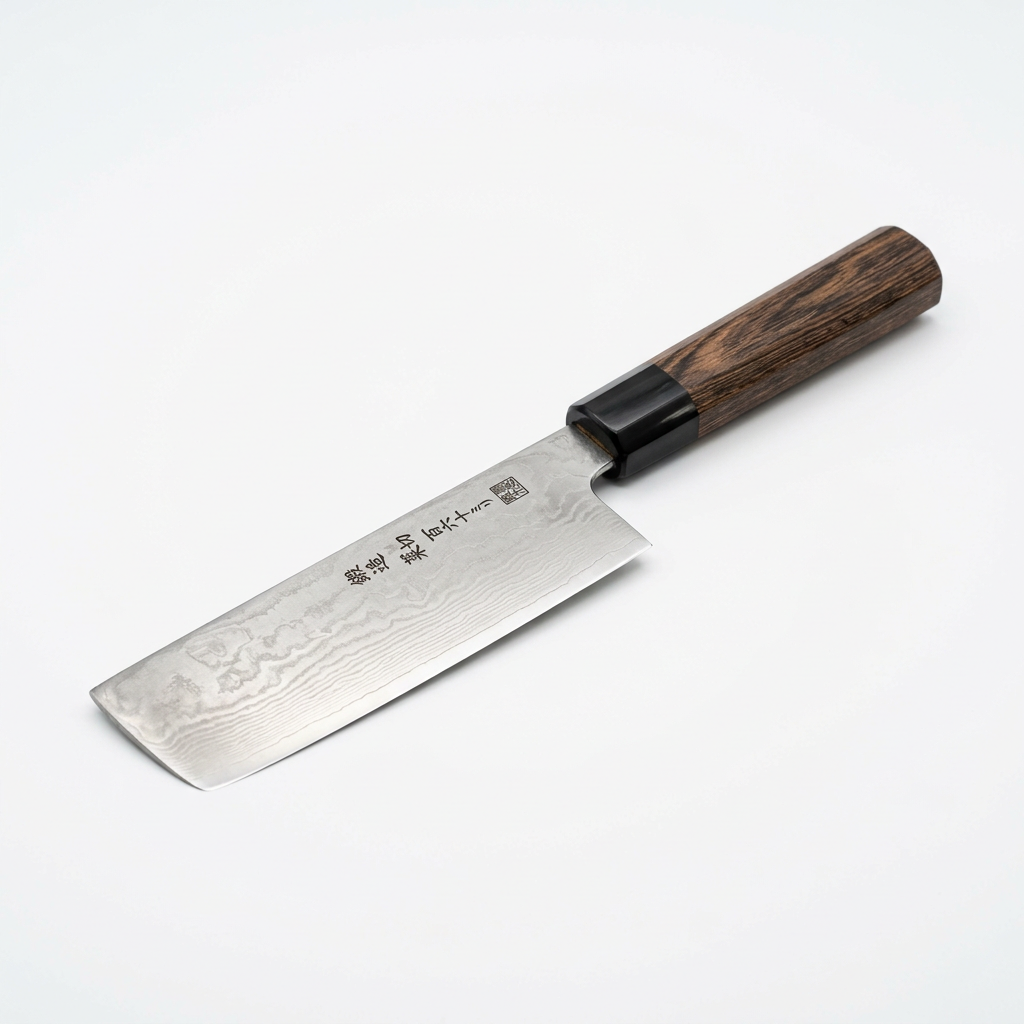
If your knife feels heavy or awkward, it may be that you are attempting to use a knife that is simply too large or too heavy for your hand size. While an 8-inch chef’s knife is the standard, don't feel discouraged if a 6-inch "santoku" feels more comfortable for you. The best knife is the one that you can control with absolute certainty. Test out different blade profiles at a specialty store if possible. Some chefs prefer a curved German-style blade for a "rocking" motion, while others prefer the flatter Japanese-style blade for a "push-cut" technique. Both are valid; the best choice is the one that feels like an extension of your body.
Finally, do not hesitate to revisit these techniques as you grow as a cook. Even after years in the industry, chefs still look back at their prep work and find ways to improve. Whether it is a cleaner julienne or a faster onion dice, there is always room for refinement. You have the tools, you have the knowledge, and you have the passion—now it is just a matter of putting in the work. Keep chopping, keep tasting, and keep refining your technique. Your future dinners will thank you for it, and you will find that with every slice, you are becoming the chef you always wanted to be. Keep pushing, keep learning, and as always, keep blaming the chef—because the chef is you.

Get the Next Recipe
Weekly recipes, techniques, and gear picks — straight to your inbox.
