
Liquid vs Dry Measuring Cups: Key Differences
The secret to consistent success in the kitchen often hides in the mundane details that we take for granted. Many home cooks view measuring tools as interchangeable, assuming a cup is a cup regardless of its physical design. However, baking is essentially a branch of chemistry, and precision is the primary catalyst that transforms raw ingredients into a structural masterpiece. When you ignore the fundamental engineering differences between liquid and dry measuring vessels, you are essentially gambling with your leavening ratios, hydration levels, and protein structures. Understanding why these tools exist in separate forms is the first step toward moving from a recipe-follower to a true artisan baker.
Think of your kitchen as a high-stakes laboratory where every gram of moisture matters. When you reach for that heavy-duty glass pitcher to measure your flour, you are introducing a margin of error that could easily compromise the crumb of your sourdough or the lift of your sponge cake. Conversely, trying to measure milk in a shallow, open-top dry cup invites spills and inaccuracies that skew your hydration percentages. These tools were designed for specific physical states of matter, and respecting these boundaries is non-negotiable if you want to achieve professional-grade results. Consistency isn't just about repetition; it is about controlling the variables that govern the physics of your bake.
At "Blame The Chef," we believe that your intuition is only as strong as your foundational knowledge. While some may argue that home cooking is all about "feeling" the dough, we contend that you must master the mechanics before you can master the art. Once you understand the behavior of molecules—how fats react to heat, how gluten networks expand under pressure, and how volume differs from mass—you will find that your results become infinitely more reliable. Today, we are stripping away the myths surrounding measurement to ensure your pantry staples perform exactly as they should every single time you preheat your oven. Prepare to look at your measuring drawer with an entirely new perspective.
The Engineering Behind the Vessel
The primary difference between a liquid and a dry measuring cup lies in the intended physics of the ingredient. A liquid measuring cup is designed to accommodate the unique meniscus of fluids. When you pour water, milk, or oil into a container, the liquid clings to the edges of the glass, creating a slight upward curve at the surface. These vessels are crafted with a "headroom" gap at the top, allowing you to fill the cup to the line without spilling, while providing a spout for accurate pouring. This design ensures that you can place the cup on a flat, level surface and read the measurement at eye level, which is the only way to avoid the dreaded parallax error.
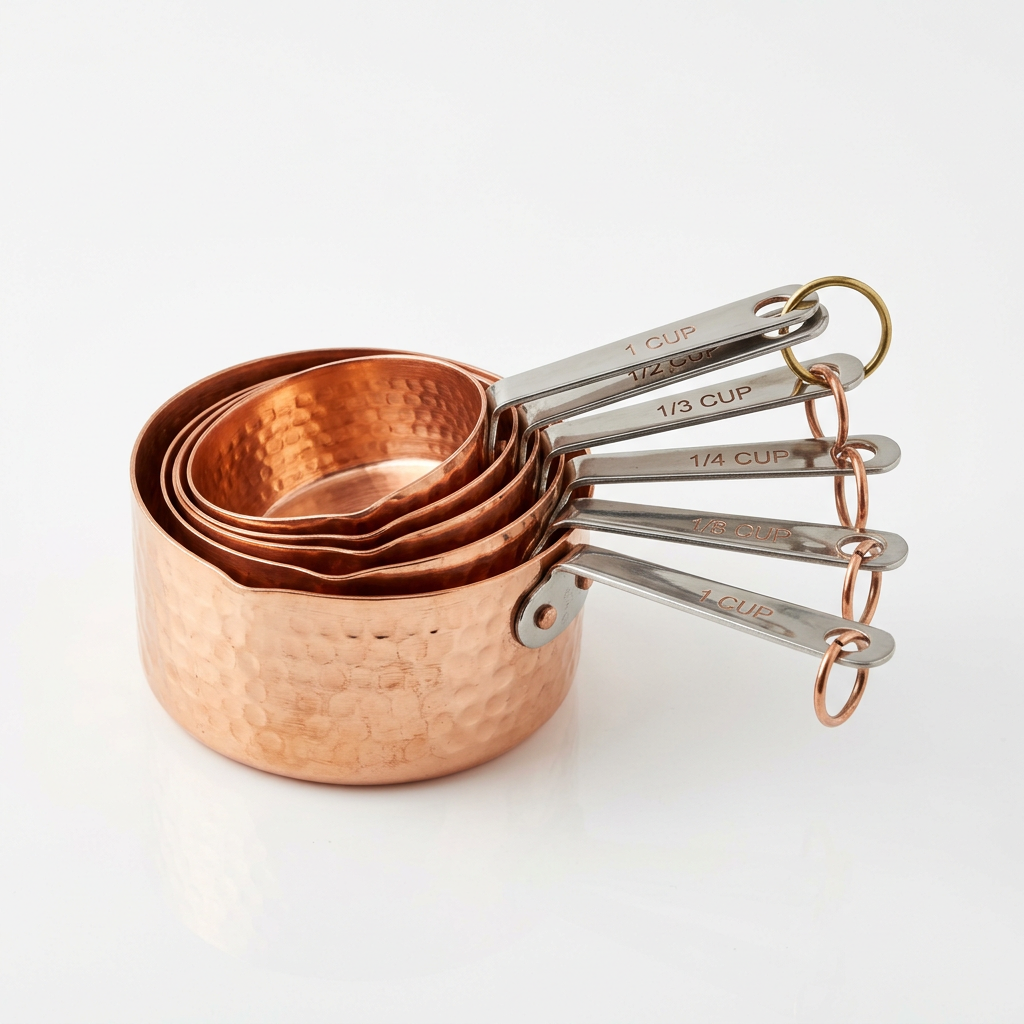
Conversely, a dry measuring cup is a precision instrument designed to be filled to the brim and leveled off. Because dry ingredients like flour, sugar, and cocoa powder do not self-level like liquids, you need a flat edge to sweep away the excess. If you were to use a liquid cup for dry ingredients, you would be unable to level them properly, leading to the compaction of the ingredient. The walls of a dry cup are rigid and calibrated to hold a specific, singular volume of product. This distinction is critical because, in the world of baking, a "cup" of flour can weigh anywhere from 120 grams to 160 grams depending on how it is packed, whereas a cup of water is almost always consistent in its mass.
Why Surface Tension Matters
Fluids possess surface tension, which is why they form that characteristic dome or dip. A liquid cup is engineered to help you account for this by providing a clear view from the side. Dry ingredients, however, lack surface tension and rely on the volume of the container to define their mass. By failing to use a knife to level your dry cup, you are adding hidden density to your recipe. This extra density creates a "dry" dough that struggles to rise, often resulting in heavy, dense loaves or tough, chewy cookies. Professional pastry chefs spend years training their eyes to recognize the density of ingredients, but for the home cook, the right tool does the heavy lifting.
The secret to success in baking is not just following the recipe; it is understanding the physics of your ingredients and respecting the tools that govern their behavior.
The Physics of Displacement and Density
When you dip a dry measuring cup into a bag of flour, you are effectively acting as a hydraulic press. As the cup pushes into the powder, the particles are forced closer together, displacing the air that was previously sitting between the grains. This is known as compaction. If you take a standard dry cup and scoop directly from the bag, you can easily add up to 30 percent more flour than the recipe author intended. This is the single most common reason why home bakers experience "baking failure" despite using the exact ingredients listed.
To mitigate this, we always recommend the spoon-and-level method. By using a spoon to gently lift the flour into your measuring cup until it forms a heap, you maintain the aeration of the ingredient. Once the cup is overflowing, you use the back of a knife or a bench scraper to swipe across the top in one smooth, level motion. This technique keeps the weight consistent and ensures your ingredient-to-hydration ratio stays in balance. Remember, baking is a ratio-based discipline; if your dry goods are too heavy, the chemical leaveners will not have the strength to lift the structure.
The Role of Viscosity
Viscosity also plays a significant role in how we measure. Thick liquids like honey, molasses, or peanut butter act differently than water. They do not self-level, and they cling to the sides of the measuring vessel, causing significant loss of product. In these instances, professional bakers often turn to weight-based measurements—using a scale rather than a volume cup. However, if you must use a cup, coating the interior with a thin layer of neutral oil can help the viscous substance slide out completely, ensuring your recipe remains accurate.
The Parallax Error and Eye-Level Accuracy
One of the most overlooked aspects of the liquid measuring cup is the importance of eye-level readings. If you look down at a measuring cup from an angle, you are falling victim to a phenomenon called parallax error. Your eyes will perceive the fluid level to be higher or lower than it actually is because of the refractive index of the glass and the angle of your perspective. To achieve true precision, your eyes must be perfectly parallel to the mark you are aiming for. Placing the cup on a granite countertop or a heavy wooden cutting board and crouching down to align your pupils is the only way to be certain.
Furthermore, consider the environment of your kitchen. If your counters are not perfectly level, your liquid measurements will always be skewed. This is why many professional kitchens advocate for placing the liquid cup on a stable, flat surface before pouring. Trying to hold the cup in your hand while pouring milk is a recipe for disaster; your grip is never perfectly steady, and the liquid will sway, making it impossible to see if you have hit the mark accurately. Always pour the liquid into the vessel, then check the reading, rather than trying to measure as you pour.
Calibrating Your Tools
Not all cups are created equal. Inexpensive plastic sets are often prone to warping in the dishwasher, which can change the actual volume they hold over time. Even a millimeter of distortion can alter your yield significantly. If you are serious about your baking, invest in tempered glass or high-quality stainless steel cups that are labeled with clear, etched markings rather than painted numbers that wash away. Periodically check your cups against a digital scale—a cup of water should weigh exactly 236 grams at room temperature.
Precision is the difference between a bake that is a disaster and a bake that is a delight. Treat your tools with the same respect you treat your ingredients.
Temperature and Its Impact on Volume
Temperature is the invisible variable in every recipe. Liquids expand and contract based on their temperature, and while the variation in water is minimal for a home baker, the impact on fats is massive. If a recipe calls for a "cup" of melted butter, measuring it while it is boiling hot will result in a different volume than if it is at room temperature. Similarly, if you are measuring water for a yeast-based dough, the temperature of the water will dictate the speed of fermentation. Using a liquid cup that has been sitting near a hot oven will actually warm your liquid faster than expected, potentially killing your yeast before you even begin to mix.
When dealing with ingredients like oil or honey, the temperature also changes the viscosity. Cold honey is viscous and difficult to measure accurately because it resists flowing into the corners of the cup. Warming your measuring vessel under hot water before measuring a thick syrup will help the ingredient flow cleanly, ensuring that you aren't leaving 10 percent of your sugar stuck to the side of the plastic. These small, microscopic adjustments are what separate a novice from a chef who truly understands the thermodynamics of their kitchen.
The Thermal Expansion Factor
While we don't expect home bakers to account for the coefficient of thermal expansion for every ingredient, being mindful of the state of your matter is vital. If your recipe requires 1/2 cup of butter, measuring it while it is solid versus melted will result in a drastically different amount of fat. Always follow the instructions regarding the state of the ingredient—if the recipe says "1/2 cup butter, melted," measure the butter after it has been melted. Never measure solid butter into a liquid cup and then melt it, as you will have no way of knowing if the volume was correct to begin with.
The Case for Switching to Weight
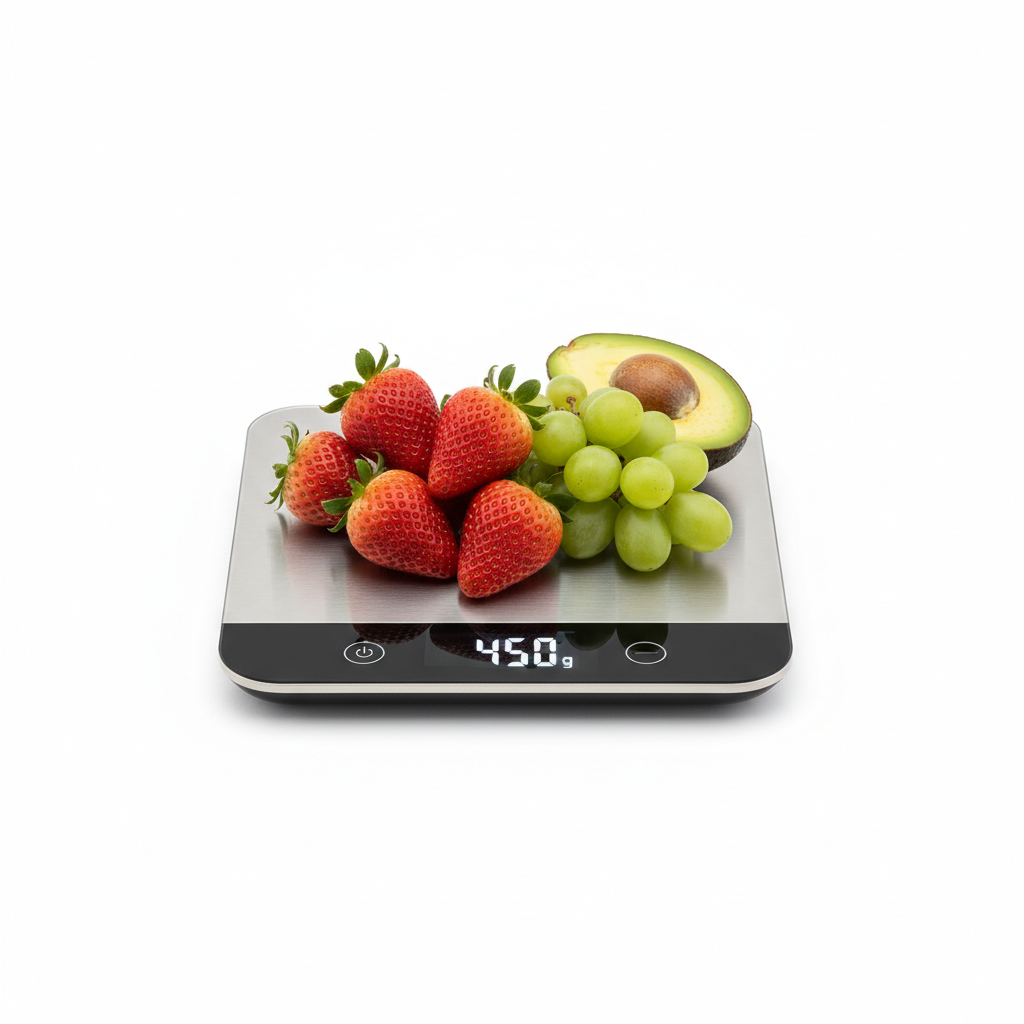
While we have spent significant time discussing the nuance of volume-based measuring, the ultimate culinary truth is that weight is superior to volume. In professional pastry shops, you will rarely see a measuring cup. Everything—from flour and sugar to eggs and water—is measured in grams using a digital scale. This method removes the human error of packing, leveling, and meniscus-reading. A gram of flour is always a gram of flour, regardless of how much air is trapped inside or how tightly it was packed into a bag.
Transitioning to a scale is the single most effective way to elevate your baking. It allows for "tare" functions, meaning you can place your bowl on the scale, hit the button to zero it out, and add your ingredients one by one without dirtying extra dishes. It is faster, cleaner, and infinitely more accurate. If you are baking something as delicate as a macaron or a brioche, volume measurements are simply not reliable enough. The protein percentage in your flour, the ambient humidity of your kitchen, and the packing density of your sugar are all variables that a scale helps you bypass entirely.
The Conversion Chart
For those ready to move away from cups, keep a conversion chart handy in your kitchen. Here are the professional standards for common baking ingredients:
Tip: Always use a reliable digital scale that allows you to switch between grams and ounces, though we strongly suggest sticking to metric grams for the best accuracy.
Troubleshooting Common Measurement Errors
Even the most careful bakers encounter hiccups. If your cookies are spreading too much, it is likely you didn't have enough flour, which is a classic symptom of poor measurement. If your cake is "bready" and tough, you probably added too much flour, which often happens when you use a dry cup to scoop directly from the bag. Recognizing these patterns allows you to diagnose your own baking issues without needing to consult a master chef every time the oven timer dings.
If you find that your dry ingredients seem clumpy, use a whisk to aerate them before measuring. This is especially true for cocoa powder and powdered sugar, which tend to hold moisture and form hard lumps. By whisking first, you break up the clumps and restore the ingredient to a consistent, manageable state. Also, check your measuring cups for "hidden" residue. If you previously measured oil in a dry cup and didn't wash it thoroughly, the flour will stick to the sides, giving you a false volume reading.
The "Clean Cup" Rule
Always ensure your measuring tools are perfectly dry before using them for dry ingredients. A damp measuring cup will cause flour to stick to the bottom, effectively reducing the volume of the cup and resulting in an inaccurate measurement. Furthermore, storing measuring cups in a place where they can collect dust or moisture is a recipe for cross-contamination. Keep your measuring drawer organized, clean, and dry to ensure that every time you reach for a tool, you are starting with a blank slate.
The goal of cooking is to find freedom within the structure. By mastering your measurements, you are not limiting your creativity; you are securing the foundation upon which your culinary expression is built.
Final Thoughts
Mastering the use of liquid and dry measuring cups is less about strict adherence to rules and more about understanding the variables that influence your final result. When you take the time to choose the right tool for the job, level your dry ingredients with intent, and read your liquid measurements at eye level, you are performing a service to the chemistry of your food. You are ensuring that the structural integrity, moisture content, and flavor balance of your bake are exactly what you intended them to be.
We hope this guide serves as a reminder that the "chef" in "Blame The Chef" is always you, the person in the kitchen holding the whisk. By honing your technical skills, you gain the confidence to experiment, adjust, and iterate on your favorite recipes. Baking is a science that is meant to be enjoyed, but it is a science nonetheless. When you respect the precision required for the perfect loaf of bread or the most decadent cake, you transform your kitchen into a laboratory of delicious possibilities.
Continue to learn, continue to measure, and most importantly, continue to bake. Your journey toward culinary mastery is paved with the small, daily efforts of accuracy. Keep your tools clean, your scale handy, and your focus sharp. Whether you are folding butter into pastry or whisking a delicate meringue, remember that the smallest details often lead to the biggest triumphs. Happy baking, and we look forward to seeing the masterpieces you bring out of your oven next. Keep questioning the process, keep improving your technique, and never stop seeking the perfect crumb. Your kitchen is your domain, and with these principles in your repertoire, you are well on your way to becoming the master of your own culinary narrative. Never underestimate the impact of those little adjustments—they are the building blocks of greatness. The art of the bake starts with the science of the measure. Now, go forth and create something beautiful.

Get the Next Recipe
Weekly recipes, techniques, and gear picks — straight to your inbox.
