
Making Stock in a Pressure Cooker
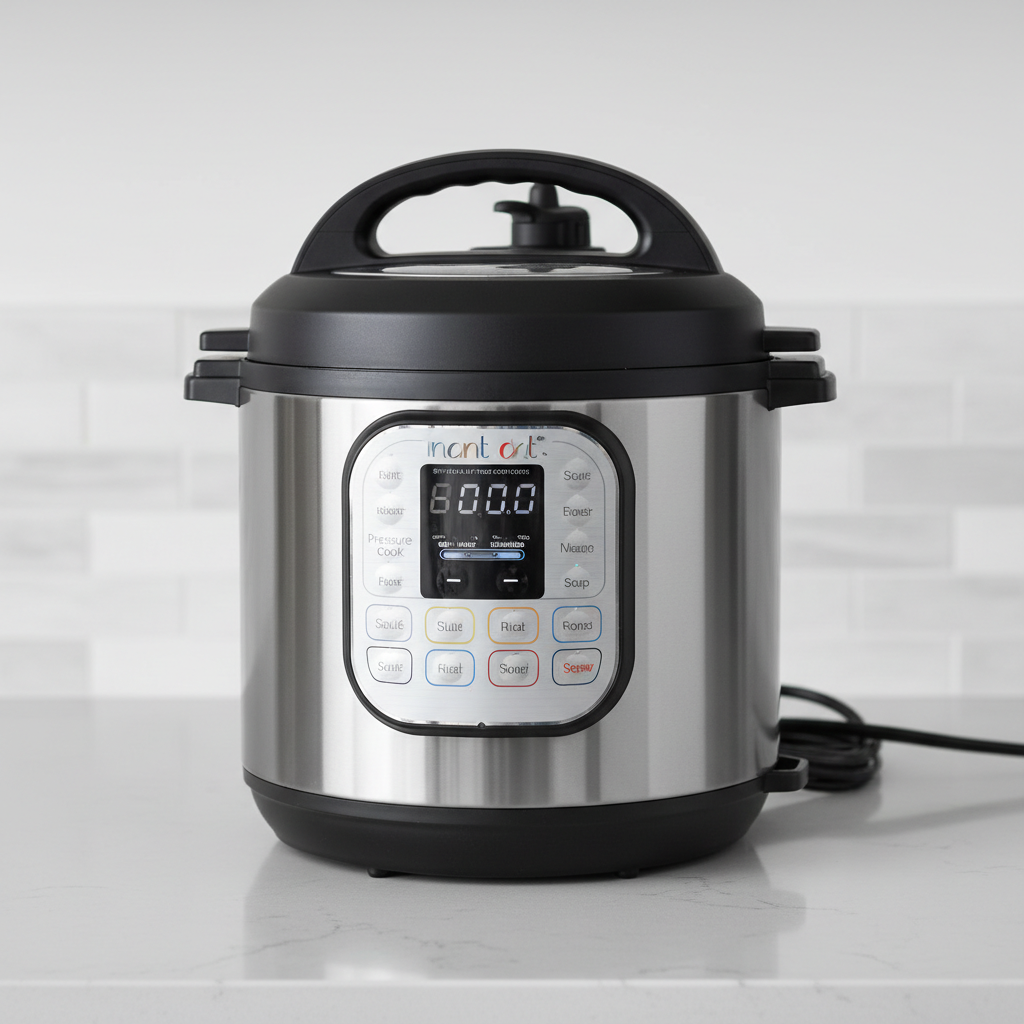
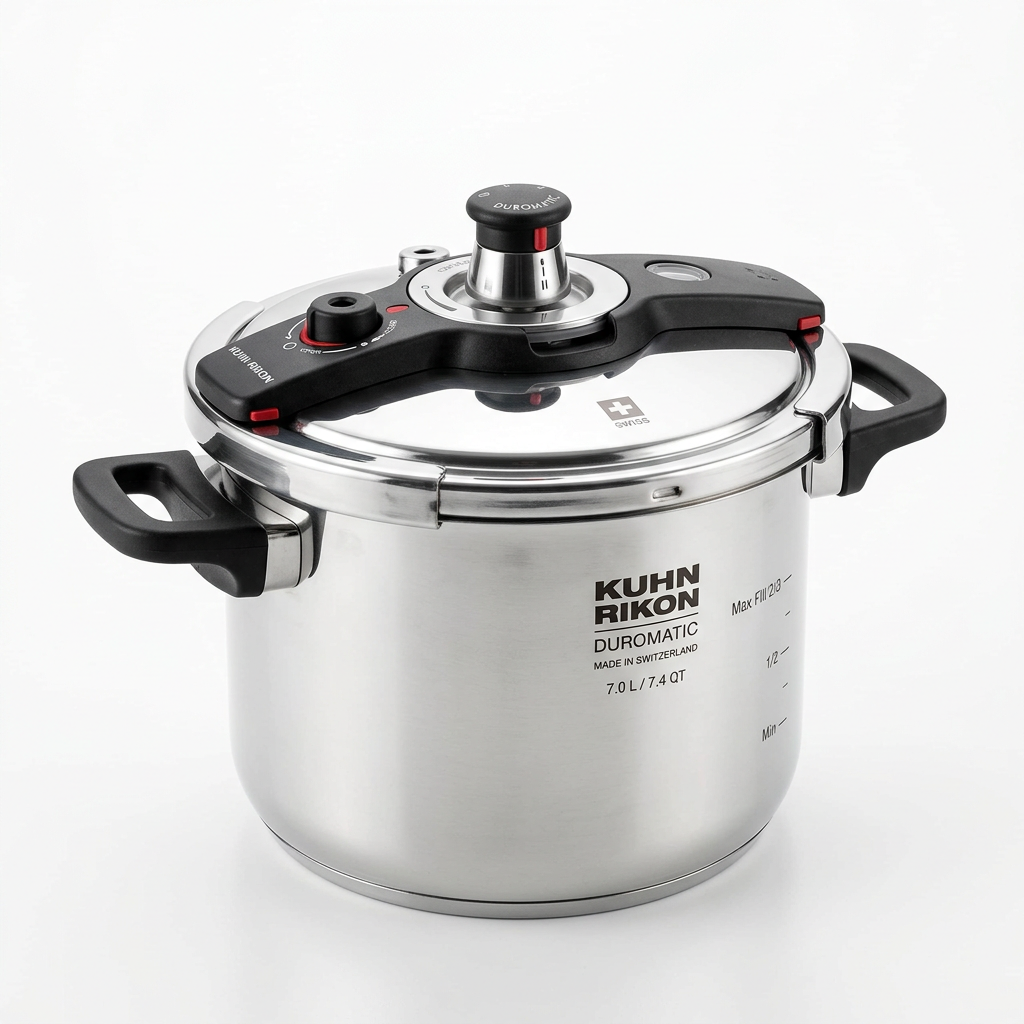
Making stock is a fundamental skill every home cook should master. It is the secret weapon behind rich flavors in soups, stews, risottos, sauces, and more. Stock provides the foundation for countless dishes, elevating them from ordinary to extraordinary. While traditional stock-making can be a time-consuming process, utilizing a pressure cooker can drastically reduce preparation time without sacrificing depth of flavor. By harnessing the power of steam and pressure, you can create a beautifully complex stock in just a fraction of the time.
In this blog post, we will explore the art and science of making stock in a pressure cooker. We will break down the essential ingredients, techniques, and tips to ensure you achieve maximum flavor and a silky texture. Whether you’re using chicken, beef, or vegetable scraps, we have you covered. You’ll learn how to use your pressure cooker to extract robust flavors, as well as how to store and utilize your stock effectively. With the right approach, preparing stock can become an enjoyable and rewarding ritual.
If you’ve ever been intimidated by the prospect of making stock, don’t worry! This comprehensive guide will demystify the process. You will not only save time but also enhance your culinary repertoire. The satisfaction of knowing you’ve created something from scratch is truly unmatched. So grab your pressure cooker, gather your ingredients, and get ready to transform your cooking game forever.
Understanding Stock
Before diving into the techniques of pressure cooking, it's essential to understand what stock is and how it differs from broth. Stock is made primarily from bones and connective tissue, which contributes to its rich, gelatinous consistency when chilled. It's typically cooked for longer periods to extract the maximum flavor and nutrients from these ingredients. Broth, on the other hand, is made mainly from meat and often cooked for a shorter time. While both are delicious and useful in cooking, stock provides a deeper and more complex base due to the collagen released from the bones during cooking.
When making stock in a pressure cooker, the high-pressure environment allows for a rapid extraction of flavors, which would normally take several hours using traditional stovetop methods. This means you can achieve that deep taste of a well-prepared stock in under an hour, making it not just efficient but incredibly accessible for busy cooks. Regardless of whether you're an experienced chef or a beginner looking to enhance your cooking skills, mastering stock-making techniques is a valuable addition to your culinary arsenal.
Before adding ingredients to your pressure cooker, familiarize yourself with the various types of stock. You can create meat stocks, like chicken or beef, which are particularly common, or vegetable stocks for lighter options. Each one has its own particular flavor profile and set of applications. The key difference between these stocks lies in their ingredients and the cooking times, which we'll delve into shortly.
Essential Ingredients for Stock
Making stock is not an exact science, but using quality ingredients will influence the final product significantly. Here’s a breakdown of the essential components you’ll need to make a flavorful stock.
Bones
For meat stocks, bones are the cornerstone. Roasting bones before cooking can enhance the flavor dramatically, particularly for beef. Here are some great bones to consider:
Vegetables
A standard stock starts with a mirepoix, which is a traditional mix of onions, carrots, and celery. Use about:
In addition to mirepoix, you can add:
Water
The final key ingredient is water. It's crucial to use cold water to ensure a gradual extraction of the flavors. In a pressure cooker, a general ratio is about 2 quarts of water to every 1 pound of bones. Adjust according to your pressure cooker’s size.
With these ingredients on hand, you are well on your way to crafting a homemade stock that can be used in multiple recipes.
Preparing Your Ingredients
Preparation is the first step to success in stock making. Since using a pressure cooker works quickly, you must ensure that all your ingredients are prepped beforehand.
Step-by-Step Prep
- Preheat your oven to 400°F (200°C).
- Arrange bones in a single layer on a baking sheet and roast for 30-45 minutes or until they are browned and fragrant.
- Chop the onions, carrots, and celery into large chunks. There’s no need to finely dice them since they will be strained out later.
- Place your herbs, garlic, and peppercorns into a small bowl for easy access.
- Have your water ready in a measuring jug to streamline the process once everything is inside the pressure cooker.
Tips for Efficient Prep
When all your ingredients are prepped, you’ll find that the actual process of making stock in a pressure cooker comes together swiftly.
Cooking Stock in a Pressure Cooker
Step-by-Step Instructions
Now that you’ve prepared your ingredients, it’s time to cook the stock in your pressure cooker. Follow these steps for the best results:
By following these cooking steps, you will have achieved a beautifully rich stock in a significantly reduced time.
Finishing Touches
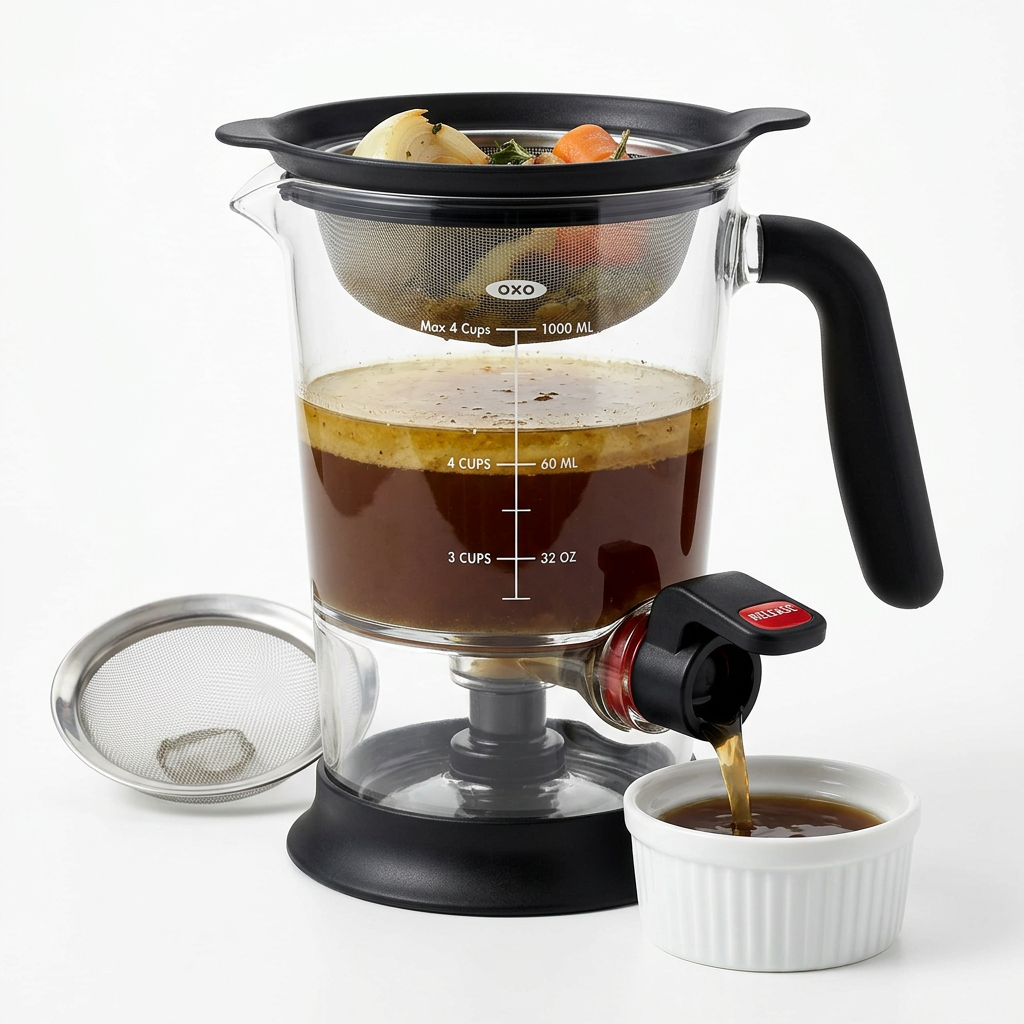
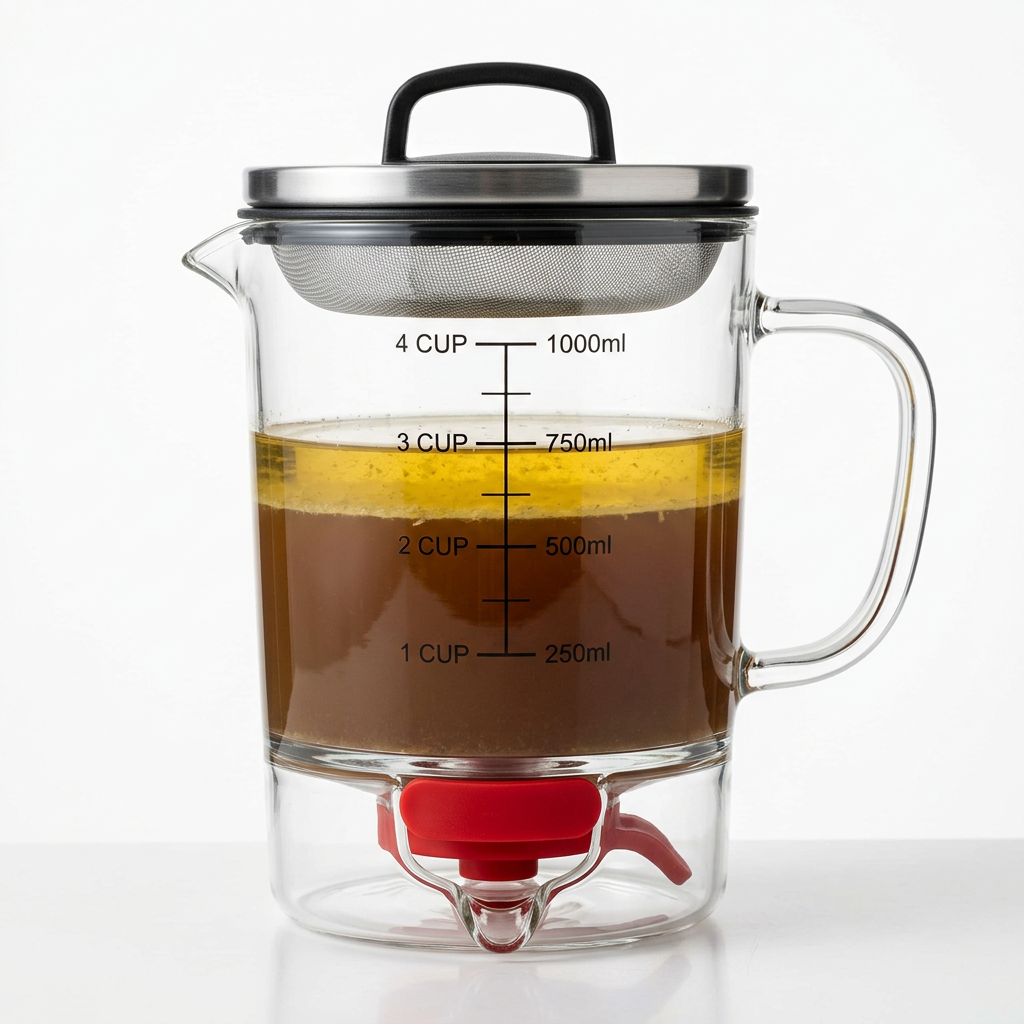
After straining your stock, you might want to let it cool for a bit before transferring it to storage containers. To improve the flavor even more, consider adding a splash of soy sauce, vinegar, or salt according to your preference.
If you notice any excess fat on the surface after refrigerating, you can skim it off for a clearer stock. This can improve the texture and enhance the flavors when the stock is used in dishes.
Storing Your Stock
Proper storage can extend the life of your homemade stock and keep it fresh for future culinary creations. Here are some best practices for storing your stock:
Refrigeration
Homemade stock can last up to 4 days in the refrigerator. However, if you won’t use it within that time, consider freezing it.
Freezing
Freezing stock is an excellent way to keep it for longer periods:
Homemade stock can be stored in the freezer for 3-6 months without losing quality. When you're ready to use it, simply thaw it in the refrigerator overnight or directly heat it from frozen in a saucepan.
Tips for Using Stock
"Homemade stock is the cornerstone of good cooking. Once you master it, your culinary creations will be limitless."
Using Stock in Recipes
Now that you have your delicious homemade stock, you're likely eager to put it to use. Stock is incredibly versatile, and it can serve as the backbone for countless recipes. Understanding how to utilize stock in various dishes can elevate not only their flavor but also your overall cooking skills.
Soups
Stock is often the base for many soups, adding richness and depth to each bowl. Here’s a simple recipe to get you started:
#### Classic Chicken Soup
Ingredients:
Instructions:
Sauces
Creating a velouté sauce or gravies with stock enhances their flavor profiles. Here’s a basic method for a brown sauce.
#### Brown Sauce
Ingredients:
Instructions:
Cooking Grains
Using stock in place of water to cook grains like rice or quinoa enhances their taste. Simply replace the water amount in the cooking instructions with the same volume of stock.
"Using stock as a cooking medium is the easiest way to elevate basic grains into something remarkable."
Braising
When braising meats or vegetables, using stock can enhance flavor. The liquid you use will become infused with the essence of the dish, creating a rich sauce to enjoy.
Risottos
Risottos require constant attention, but they reward you with a creamy texture and deep flavors when made with stock. Here’s a basic recipe:
#### Mushroom Risotto
Ingredients:
Instructions:
Final Thoughts
Making stock in a pressure cooker is not just a time-saver; it’s a transformative culinary practice that can elevate your home cooking. Mastering this basic skill will enable you to create richer flavors in a myriad of dishes, and with the tips and techniques outlined in this guide, you can approach stock-making with confidence.
Whether you create a soothing chicken soup, a robust sauce, or a flavorful risotto, stock is an invaluable component of your culinary toolbox. Remember, practice makes perfect, so don’t hesitate to experiment with different ingredients and ratios until you find what works for you.
As you hone your stock-making skills, you’ll discover the immeasurable satisfaction that comes from using homemade stock in your meals. So the next time you're feeling inspired in the kitchen or faced with a potential culinary mishap, remember: don't blame the chef; elevate your dishes with the transformative power of homemade stock!
The journey doesn’t end here. Go ahead and unleash your creativity with your newfound knowledge, and watch your cooking flourish. Happy cooking!
Get the Next Recipe
Weekly recipes, techniques, and gear picks — straight to your inbox.
