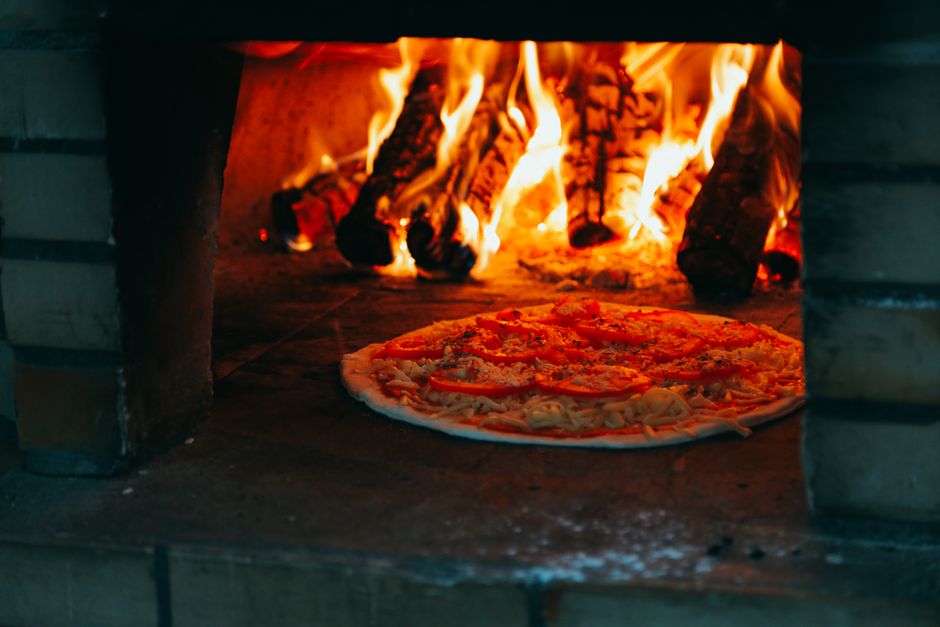
Mastering Homemade Pizza
Creating homemade pizza is one of those culinary experiences that can transform a mundane dinner into an exciting occasion. Few dishes are as universally adored, and few kitchen activities are as satisfying as stretching out a perfectly crafted dough, watching as it rises in the oven, and then savoring each slice topped with your favorite ingredients. But mastering the art of homemade pizza is not just about slapping some sauce and cheese on a crust. It's an intricate ballet of flavors, textures, and techniques that come together to create the perfect pie.
As we dive into the world of pizza making, you’ll find that the secrets to a great pizza lie nestled among the ingredients and methods you choose. From the golden crust to the freshest toppings, every element plays a starring role in your pizza’s final performance. Though it may seem intimidating at first, with a bit of practice and the right guidance, crafting restaurant-quality pizza in your own kitchen can become a delightful routine.
Let’s explore this mouthwatering culinary adventure step by step. We will cover everything from selecting the best flour for your dough to the secrets of achieving that perfect, chewy crust. So grab your apron, preheat your oven, and get ready to become the maestro of homemade pizza.
Understanding Pizza Dough
Pizza dough is the foundation of any great pizza, making it essential to understand both its components and the techniques involved in creating it. The primary ingredients in pizza dough include flour, water, yeast, and salt. Each plays a critical role in the rising and texture of the dough, ultimately affecting how your pizza turns out.
The Importance of Flour
When choosing flour for your pizza, you can opt for different types based on the style you want to achieve. Generally, high-protein flours, such as bread flour, yield a chewier crust, while all-purpose flour offers versatility and ease of use. If you're aiming for Neapolitan-style pizza, a finely milled Italian flour known as “00” flour is often recommended for its fine texture and high protein content.
The hydration level of the dough, which is the ratio of water to flour, also greatly impacts the final product. A high-hydration dough (typically about 65-70% water to flour ratio) will yield a crust that is airy and has an open crumb, while a lower hydration dough will create a denser crust. As a general guideline, you can start with:
Yeast: The Living Leavening Agent
Yeast is an essential ingredient in pizza dough, as it acts as the leavening agent, helping the dough to rise and develop flavor. The most common types of yeast used in pizza dough are active dry yeast and instant yeast. While both can achieve the same results, instant yeast requires no proofing and can be mixed in directly with the dry ingredients, which can save you time.
Here’s a simple method for activating dry yeast if you prefer:
This step ensures your yeast is viable and ready to help your dough rise.
Developing Gluten
The process of kneading your dough is critical for developing gluten. Gluten is a protein that gives dough its structure and elasticity, making it stretch without tearing. For optimal texture, knead your dough for about 10 minutes. You can use the windowpane test to determine if your dough has been kneaded sufficiently. Take a small piece of dough and stretch it between your fingers; if it stretches without breaking and allows light to pass through, you’re good to go!
Fermentation Time
Once your dough is kneaded, it's time for the first rise. Place the dough in a lightly oiled bowl, cover it with a damp cloth or plastic wrap, and let it rise in a warm environment. For the best flavor, allow it to ferment for at least 1 hour until it doubles in size. However, if time allows, refrigerating the dough for 24 to 72 hours can result in a more complex flavor due to a slower fermentation process.
“Good things come to those who wait, and this applies to pizza dough. A longer fermentation equals a richer flavor.”
Shaping Your Pizza
Shaping your pizza is where creativity and technique come into play. While it might be tempting to use a rolling pin, many pizzaiolos (pizza makers) advocate for the hand-stretched method, which helps maintain the integrity of the dough.
The Art of Hand Stretching
Start by lightly flouring your work surface and your dough. Begin by pressing the dough into a flat disk using your fingers. Next, gently push from the center outward, allowing the weight of the dough to stretch it without overworking it. Lift the dough and allow gravity to do some of the work, rotating it as you go. Aim for a thickness of about 1/4 inch around the edges and thinner in the center to achieve a perfectly cooked pizza.
Creating a Cornicione
A traditional Neapolitan pizza features a characteristic cornicione, or crust, that is airy and puffy. To create this, ensure you don’t press down on the outer edge of the dough too hard during the shaping process. Instead, leave a small rim around the edge that will rise beautifully in the oven.
Prepping for Toppings
Once shaped, transfer your dough onto a pizza peel or baking tray lined with parchment paper. This step is critical as it ensures easy transfer to the oven. Before adding your toppings, light a few holes into the center of the dough using a fork (this technique is called docking) to prevent bubbling, particularly if you're using a thicker sauce.
“A perfectly shaped crust is your canvas—don’t rush it. The love you pour into stretching and shaping your dough shines through in every bite.”
Classic Pizza Sauces
The right sauce can elevate your homemade pizza from good to outstanding. While you can opt for traditional tomato-based sauces, there are numerous options—each providing its unique flavor profile.
Tomato Sauce Basics
A classic tomato sauce is incredibly easy to prepare and can be made with fresh tomatoes or canned varieties. For a quick homemade sauce, here’s a simple recipe:
- 1 can (28 ounces) of whole San Marzano tomatoes
- 2 cloves of garlic, minced
- 1 teaspoon of salt
- 1 teaspoon of sugar
- Fresh basil leaves
1. Drain the tomatoes from their juice and crush them by hand in a bowl.
2. In a saucepan, heat a drizzle of olive oil and add minced garlic, cooking until fragrant.
3. Combine the tomatoes, salt, sugar, and fresh basil; simmer for 20 minutes until thickened.
This sauce works beautifully for Neapolitan-style pizzas and boasts a fresh, natural taste.
Alternative Sauces
While tomato sauce reigns supreme, don’t shy away from trying alternative bases:
The Balance of Sauce and Cheese
Regardless of the sauce you choose, be mindful of how much you apply to your dough. A common mistake is using too much sauce, which can lead to a soggy pizza. Aim for a thin layer that allows the dough’s flavor to shine through, complemented by a good quality cheese, such as mozzarella.
Selecting and Preparing Toppings
The sky's the limit when it comes to toppings! From traditional ingredients to gourmet selections, your pizza can be customized to satisfy every palate. However, balance is key to ensuring that your pizza does not become a soggy mess.
Traditional Toppings
When discussing classic toppings, we can’t forget the essentials:
Non-Traditional Options
Feeling adventurous? Experiment with gourmet toppings:
Preparing Your Toppings
Regardless of the toppings you choose, it's crucial to prepare them correctly:
By taking these preparatory steps, you can ensure that each slice of pizza maintains its desired texture and flavor.
“Toppings are the finishing touch to your pizza; the fun lies in experimenting and finding your perfect combinations!”
Baking Pizza to Perfection
Achieving the right texture and flavor in pizza ultimately lies in the baking process. The goal is to recreate the settings of a traditional pizza oven, preferably at very high temperatures.
Choosing the Right Baking Method
There are several methods to bake pizza, each producing different results:
Oven Temperature
Setting your oven to 500°F (260°C) is ideal for achieving a professional result. The high temperature helps to quickly cook the crust, allowing it to develop a crispy, golden exterior while keeping the inside chewy and pliable.
How to Bake Your Pizza
After baking, let the pizza rest for a couple of minutes before slicing. This allows the juices to settle while making it easier to handle.
Elevating Your Pizza Game
Once you've mastered the basics of homemade pizza, it's time to elevate your craft. A great pizza chef knows the importance of innovation and experimentation.
Specialty Pizzas
Consider creating specialty pizzas that go beyond the traditional. Some ideas include:
The Finishing Touches
After baking, consider finishing your pizza with a drizzle of olive oil, a sprinkle of fresh herbs, or even some chili flakes for a flavor boost. A touch of freshly grated Parmesan or cracked black pepper enhances the overall experience.
Building a Pizza Night Tradition
Creating homemade pizza can become a fun bonding experience. Encourage friends and family to join in on the pizza-making venture. Set up a pizza bar with different doughs, sauces, and toppings so everyone can customize their pie.
Conclusion
Mastering homemade pizza is not just a cooking skill, it's a delightful journey into culinary creativity. By paying attention to each aspect— from crafting your dough to selecting the toppings and baking with care—you can create a masterpiece worthy of a pizzeria. Remember, practice makes perfect, and the beauty of pizza is that even if it isn’t perfect, it’s sure to be delicious.
So don your apron, gather your ingredients, and let your personal touch shine through each pie. With each pizza you make, you’ll not only build your skills but also create memories that linger long after the last slice is savored. Enjoy the process, savor the journey, and always remember: you are the chef!




Get the Next Recipe
Weekly recipes, techniques, and gear picks — straight to your inbox.
