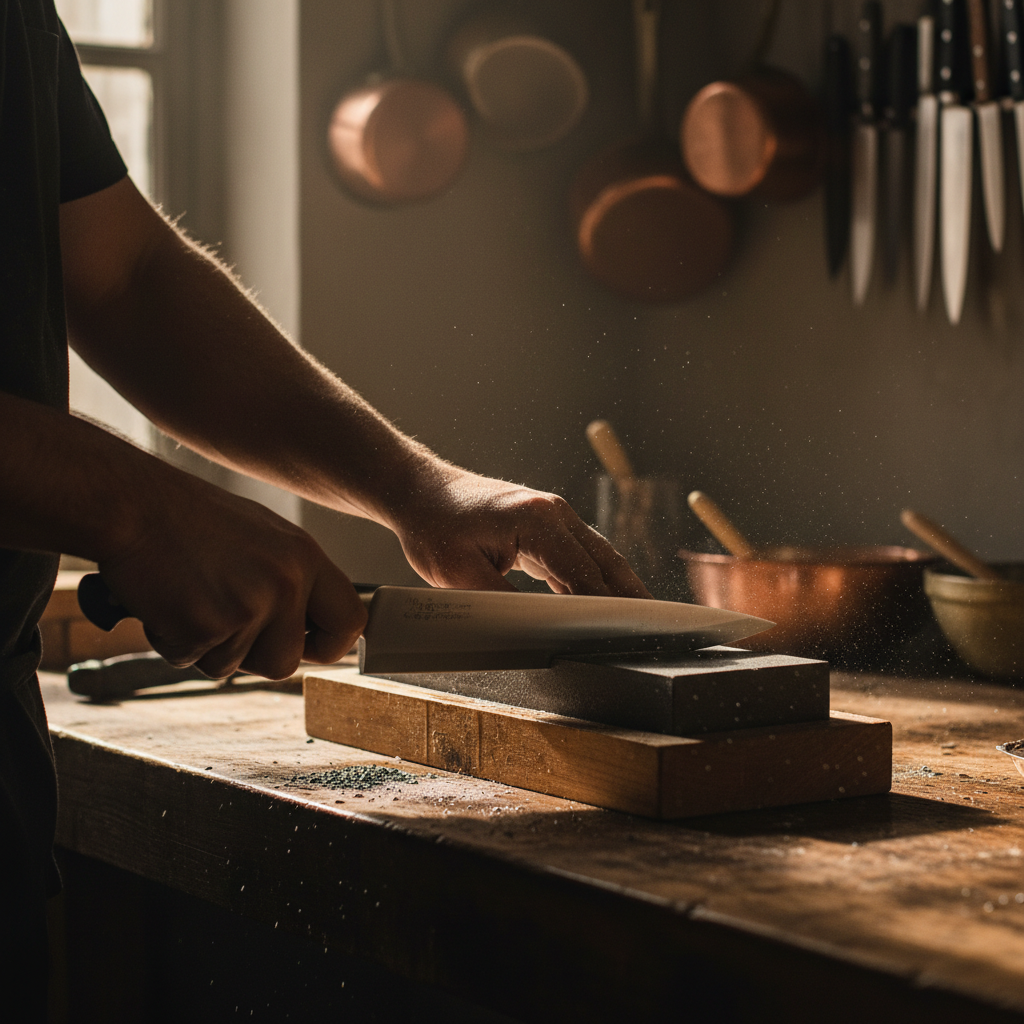
Mastering Knife Sharpening Techniques
Knife skills are often a reflection of one's overall culinary abilities. While you might be a whiz at sautéing vegetables or whipping up a perfect ratatouille, if your knife isn't sharp, you may as well be working against yourself. When it comes to cooking, a sharp knife is not just a tool; it’s an extension of your hand and your creativity. A well-maintained knife can transform your kitchen experience, increasing your efficiency and making food prep safer and more enjoyable.
To many home cooks, the skill of knife sharpening may appear daunting. It’s not uncommon to view it as a task meant for professionals or those with years of practice. However, with the right knowledge and techniques, anyone can master the art of knife sharpening. This post will guide you through everything you need to know about maintaining your knives — from understanding different types of knives to implementing effective sharpening techniques properly. By the end of this journey, you will feel empowered to tackle any knife-related task that comes your way.
In this article, we’ll explore the various methods of knife sharpening, the tools required, and how often you should maintain your knives. We’ll also discuss the science behind why a sharp knife is essential in the kitchen and provide you with tips from professional chefs that will elevate your cooking game. So, let’s embark on this culinary adventure together and transform how you perceive knife care.
Understanding Different Knife Types
Before we dive into sharpening techniques, it’s essential to understand the different types of knives you might be using in your kitchen. Each knife has a unique purpose, and knowing the right technique for each can help you not only sharpen effectively but also ensure longevity and optimal use.
Different Knife Blades
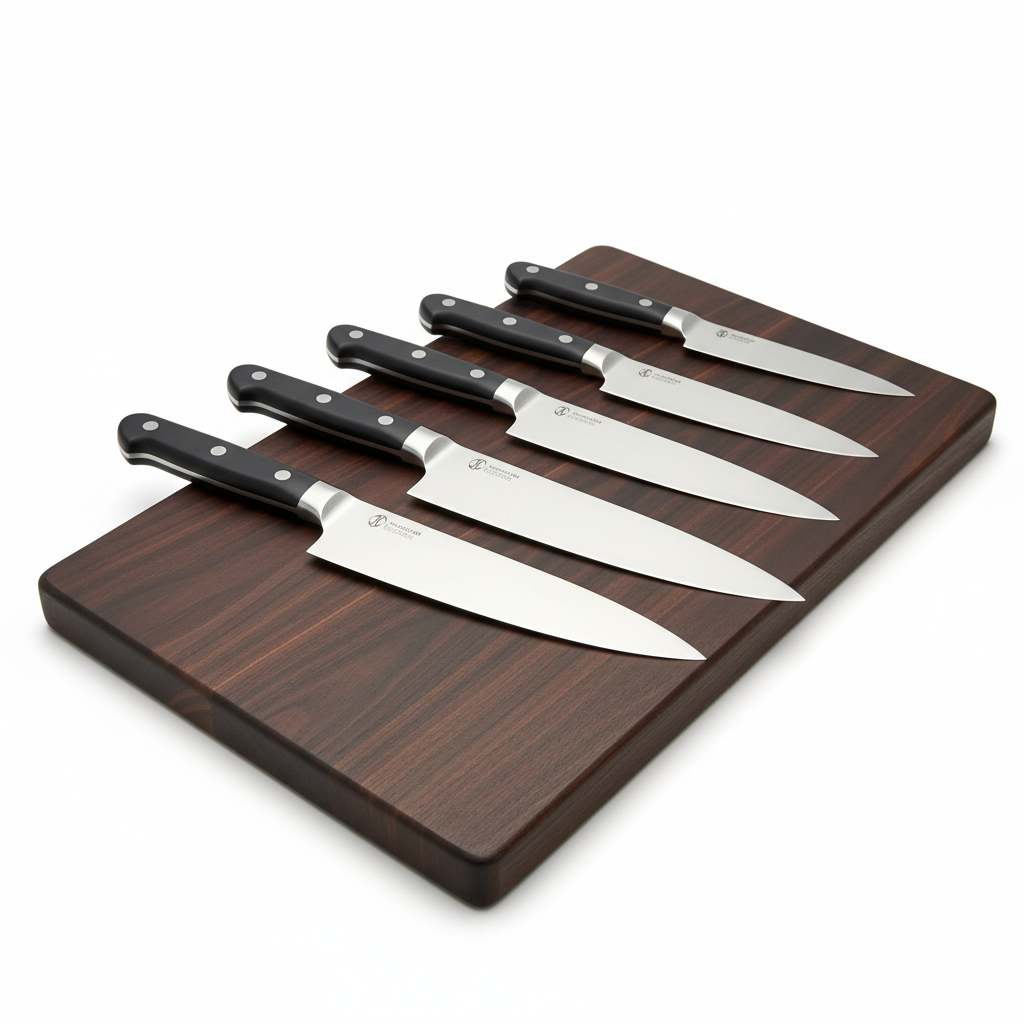
Chef’s Knife: This is perhaps the most versatile knife in any chef’s arsenal. Typically, chef’s knives range from 6 to 12 inches in length and can handle a variety of tasks, from chopping vegetables to slicing meat. A properly sharpened chef’s knife allows for smooth, precise cuts.
Paring Knife: Smaller than the chef’s knife, usually around 3 to 4 inches long, the paring knife is perfect for intricate tasks such as peeling fruits, trimming herbs, or other detailed cuts. Its smaller size allows for control and precision.
Serrated Knife: Often used for cutting bread or soft fruits like tomatoes, the serrated knife has a zig-zag edge that grips and slices through tough surfaces without crushing the insides. While this knife doesn’t require sharpening in the same way as others, knowing how to maintain it can ensure longer use.
Specialty Knives
Fillet Knife: This long, flexible knife is designed for filleting fish and has a unique contour that allows you to make clean cuts with precision. Regular honing will keep this knife performing optimally.
Boning Knife: Similar to the fillet knife, the boning knife is sturdier and designed to separate meat from bones. It often has a slightly curved blade to enhance its functionality.
Maintenance Needs of Different Knives
Each type of knife will have specific maintenance needs based on its design and the tasks it’s used for. Delve into the sharpening and care procedures tailored for each knife type to ensure their longevity:
"Knowing your knives inside and out allows you to sharpen not just the blade, but your skills as a cook."
Tools for Sharpening Knives
An essential part of mastering knife sharpening is understanding the tools available for the job. Choosing the right tools can make the process smoother, safer, and more effective.
Types of Sharpeners
"The right tools in hand transform sharpening from a chore to an art."
Choosing the Right Grit
The grit of a sharpening tool determines how much material will be removed from the blade:
Essential Accessories
Understanding the Sharpening Process
Sharpening a knife involves creating a new edge or honing the existing edge back into shape. The process encompasses identifying the angle, utilizing the chosen sharpening tool effectively, and ensuring correct pressure and motion.
Creating the Right Angle
An essential aspect of knife maintenance is maintaining the correct angle throughout the sharpening process. Most kitchen knives are designed to be sharpened at an angle of 20 degrees. Using your dominant hand, hold the knife at a 20-degree angle against the stone or sharpener and rock the blade back and forth without losing that angle.
Steps:
The Sharpening Motion
The technique and stroke used will vary depending on your sharpening method. Here’s how to perform effective strokes using a whetstone:
Honing vs. Sharpening
Understanding the difference between sharpening and honing is crucial for maintaining the longevity of your knives.
"Sharpening is a marathon, not a sprint. Take your time and let the knife speak to you."
Keeping Your Knives in Top Shape: Maintenance Tips
Proactive knife care encompasses more than just sharpening. It includes methods to ensure they stay sharp and ready for action when you need them most.
Regular Honing
Implement a weekly honing routine using a honing rod. This simple routine can keep your knife edges aligned, minimizing the need for extensive sharpening.
Steps for honing:
Proper Storage
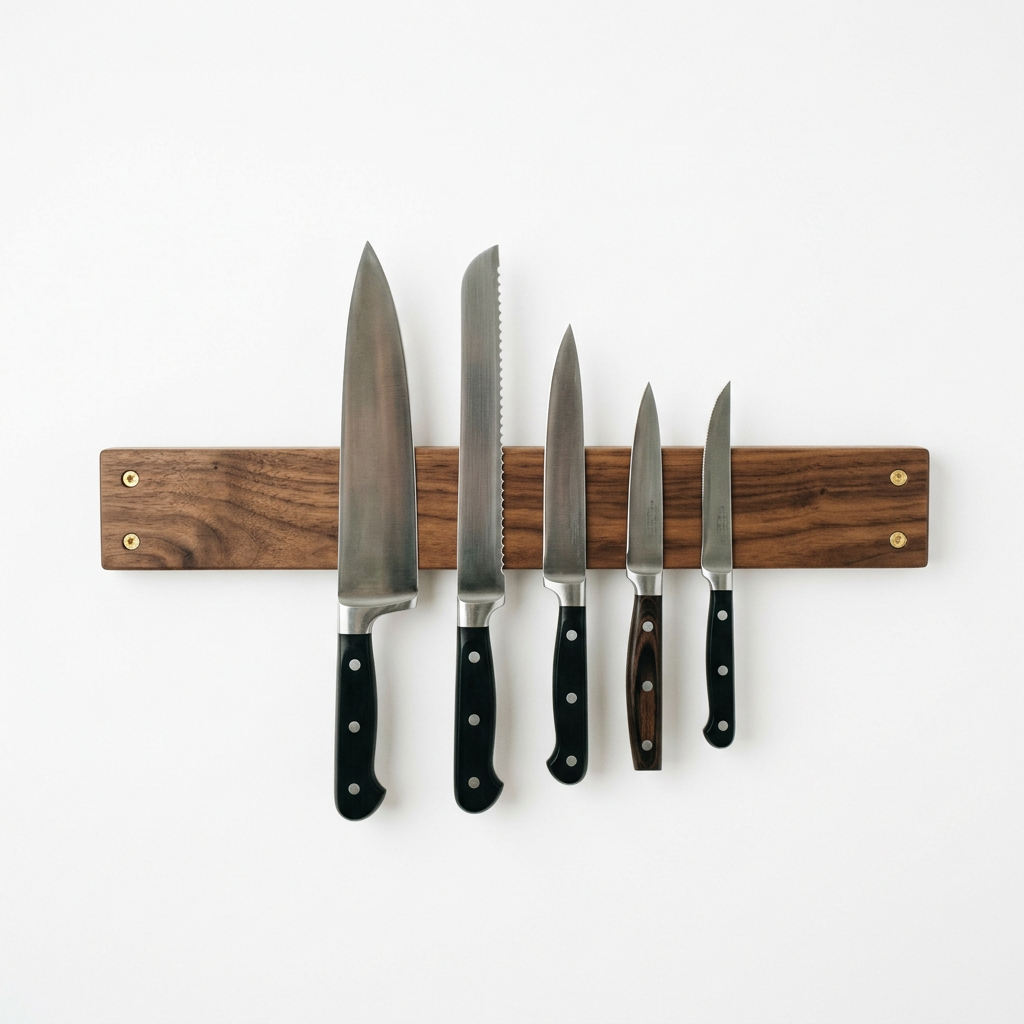
Store your knives properly to prevent them from getting dull or damaged. Here are some options:
Cleaning and Care
Always clean your knives after each use. Avoid tossing them into a dishwasher; instead, wash them with warm, soapy water and dry immediately to prevent rust.
Troubleshooting Dull Knives
Even the best-cared-for knives will eventually dull. Recognizing when your knife is dull and knowing how to effectively troubleshoot this issue will save you both time and frustration.
Signs Your Knife is Dull
Reviving Dull Knives
When it’s clear that your knife needs some attention, follow these tips:
"Routine maintenance is the secret sauce to keeping your knives performing at their best."
Advanced Techniques for Enthusiasts
For those who have mastered the basics, several advanced techniques can take your knife sharpening skills to the next level.
Japanese Water Stones
Using a Japanese water stone can produce exceptional results, especially for high-quality knives. The technique involves using multiple stones with varying grits for an ultra-fine finish.
Stroping for Extra Sharpness
Stropping is a technique that uses leather to polish the blade’s edge after sharpening. This process aligns and refines the edge, resulting in a smoother cut.
Freehand Sharpening
Once you're comfortable with the angle and technique, you may want to try freehand sharpening. This approach involves no guides and relies more on feel and experience to maintain the angle throughout the sharpening process.
Conclusion
Mastering knife sharpening techniques is an essential skill for anyone looking to elevate their culinary game. By understanding different knife types, utilizing the right tools and methods, and practicing regularly, you'll not only improve the performance of your knives but also enrich your cooking experience. Whether you're a novice home cook or a seasoned professional, investing time in learning these techniques will pay dividends every time you slice, dice, and chop.
Sharpening knives is a craft that moves beyond the kitchen; it fosters a deeper appreciation for the culinary arts and the tools that make them possible. By embracing regular maintenance and refining your skills, you’ll find that cooking becomes not just a task but a joyful expression of creativity.
Ultimately, having sharp knives will lead to safer, more efficient cooking, reducing the frustration that comes from dull blades. Join the ranks of those who understand that excellence in the kitchen begins with the fundamentals, like crafting a beautifully sharp knife. Remember, every master chef started where you are now—with a desire to learn and a passion for food. So get out your knives, practice these techniques, and become the chef you aspire to be.

Get the Next Recipe
Weekly recipes, techniques, and gear picks — straight to your inbox.
