
Mastering Muffins: 10 Tips for Light, Fluffy, and Flavor-Packed Bakes
Muffins are the quintessential baked good that embody convenience and comfort—perfect for breakfast, snacks, or even dessert. Their versatility is astonishing; you can customize them to fit any flavor profile, from classic blueberry to decadent chocolate espresso. However, achieving the perfect muffin is an art that requires an understanding of ingredients, measurements, and techniques. Many home bakers find themselves frustrated when their beautifully envisioned muffins turn out dense or soggy. The good news is that with just a few essential tips, you can master the intricacies of muffin-making that lead to consistently light, fluffy, and flavor-packed results.
When it comes to baking, understanding the chemistry behind your ingredients is crucial. Muffins depend heavily on how you combine your flour, liquids, leavening agents, and fats. The balance between these components determines the muffin's final texture and flavor. Whether you are incorporating fruits, nuts, or spices, each addition requires careful consideration of how it will interact with the base of your batter. In this guide, we will delve deeply into the ten essential tips that will elevate your muffin-baking game, ensuring every batch turns out just right.
This blog post is not merely a collection of tips; it is a comprehensive resource designed to empower you with the knowledge you need to create the best muffins of your life. Each section will tackle a critical aspect of muffin-making, covering everything from ingredient selection to the baking process itself. By the time you finish reading, you will not only know how to make exquisite muffins, but you’ll also understand why specific techniques work, allowing you to experiment and innovate with confidence.
Tip 1: Choose the Right Flour
Purpose of Flour in Muffins
The flour you choose makes a significant impact on the texture, structure, and flavor of your muffins. All-purpose flour is commonly used for baking muffins, offering a well-balanced structure that holds up well but allows for fluffiness. If you're looking to add more nutrition, consider using whole wheat pastry flour or spelt flour, which have a lighter texture compared to traditional whole wheat flour.
Professional Tip: If you wish to use whole grain flour, blend it with all-purpose flour at a ratio of 50/50 to retain fluffiness while enhancing nutrition.
Gluten Development
Understanding gluten's role in baking cannot be overlooked. Muffins require some gluten development, but too much can lead to a dense, bread-like consistency. Gentle mixing is key; mix just until the ingredients are moistened. Over-mixing can activate gluten, resulting in chewy rather than fluffy muffins.
Flour Measurements
Always spoon and level your flour when measuring. Scooping directly from the bag compacts the flour, leading to excess, which can contribute to dense muffins. For best results:
By using this method, you ensure a precise measurement, critical for successful baking.
Tip 2: Master Leavening Agents
Types of Leavening Agents
Leavening agents are responsible for making your muffins rise and create that desired airy texture. The two most common types are baking powder and baking soda. Knowing how they work will help you decide which one to use and how much.
Baking Powder: This is a complete leavening agent that contains both an acid and a base. It works in two phases: first when mixed with wet ingredients and again when exposed to heat in the oven.
Baking Soda: This is a pure base and requires an acidic component (like yogurt or buttermilk) to activate it. If your recipe calls for baking soda, make sure you include enough acid to activate it fully.
**“The right balance of leavening agents is crucial. Too much can lead to overly bubbly muffins, while not enough might leave them flat.”**
Ratios and Quantities
Here's a quick guide on how much to use:
Freshness Matters
Always check the expiration date on your baking powder and baking soda. Old leavening agents can result in dense muffins that fail to rise properly. To test the freshness of baking soda, add a small amount to vinegar; if it fizzes, it’s still active. For baking powder, add it to hot water—fizzing indicates it’s good to go.
Tip 3: Use Quality Fats
Butter vs. Oil
The type of fat you use can significantly influence the flavor and texture of your muffins. Butter provides flavor, richness, and helps achieve a beautiful golden color, while oil creates a moist, tender crumb. You can experiment with using half of each, reaping the benefits of both worlds.
Professional Tip: If opting for oil, use a light vegetable or canola oil to avoid overpowering your muffins. A flavorless oil allows the other ingredients' flavors to shine.
Melting vs. Softening
When using butter, you can either soften it at room temperature or melt it. Softened butter can create a more cake-like texture, while melted butter leads to denser, fudgier muffins. Choose according to the desired outcome.
Incorporating Fats
To ensure even distribution, if using solid fats, cream the butter and sugar together until light and fluffy, which also aerates the mixture. This step can enhance the muffin's rise, contributing to a softer texture.
Tip 4: Add Flavor Carefully
Flavoring Ingredients
Muffins are a blank canvas for flavors, from fruits and nuts to spices and extracts. Choosing high-quality ingredients is essential, as they can make or break the overall taste.
**“When incorporating flavors, balance is key. Too much of a strong flavor can overwhelm; aim for complementary notes.”**
Incorporation Techniques
Incorporate delicate ingredients like chocolate chips or nuts after the batter is mostly mixed. Gently fold them in with a spatula to prevent over-mixing. You want them evenly distributed without breaking them down.
Tip 5: The Importance of Liquid Ingredients
Types of Liquids
The liquid you choose not only hydrates your batter but also helps to achieve the perfect texture. Options include milk, yogurt, buttermilk, or even fruit juice.
Buttermilk adds a tangy flavor while also tenderizing the muffins thanks to its acidity. If you don't have buttermilk, you can easily make your own by mixing 1 tablespoon of white vinegar or lemon juice with a cup of milk, leaving it to sit for about 5-10 minutes.
Liquid Ratios
A general rule is to use about 1/2 to 3/4 cup of liquid for every cup of flour. This ensures that your muffins are moist but not so wet that they can't rise properly. If you plan to add chunky ingredients like fruits or nuts, decrease the liquid slightly to maintain the right consistency.
Mixing Wet and Dry
Always mix dry and wet ingredients separately before combining them. In a large bowl, combine your dry ingredients, and in another smaller bowl, whisk together the wet ingredients. This approach helps to evenly distribute the leavening agents and prevent clumping before they are incorporated.
Tip 6: Don’t Overmix the Batter
Understanding Overmixing
One of the most crucial aspects of muffin-making is the mixing process. Overmixing activates the gluten in the flour too much, leading to tough, dense muffins.
How to Mix Properly
When you combine the wet and dry ingredients, do so just until you no longer see dry flour. Small lumps are okay; they will disappear as the muffins bake. To get a uniform mixture:
By following this gentle mixing method, you'll maintain the tender texture that a successful muffin should have.
Seeing the Signs
You'll know your batter is properly mixed when you see that all flour streaks have disappeared, and the batter is thick and slightly lumpy, not smooth like cake batter.
Tip 7: Temperature Considerations
Room Temperature Ingredients
Using ingredients at room temperature helps your muffins rise more effectively. When butter, eggs, and liquids are warm, they combine easier, creating a uniform batter.
Preheating the Oven
Always preheat your oven. A hot oven is crucial for muffins to rise. If the oven isn’t fully heated, the muffins may spread too much or develop an unappetizing texture. Set the temperature according to your recipe, generally between 350°F and 400°F (175°C - 205°C).
Oven Thermometers
Consider using an oven thermometer to ensure accurate temperature readings, as some ovens can be off by 25°F or more. This small investment can make a significant difference in your baking success.
Tip 8: Fill the Muffin Cups Correctly
How Full to Fill
Filling muffin cups properly affects both the rise and final appearance of your bakes. Generally, fill muffin cups two-thirds to three-quarters full for the best balance between rise and stability. This allows them to rise without overflowing.
Use of Liners vs. Greasing
Decide whether to use liners or to grease your muffin tins based on personal preference. Liners can make for easier clean-up, while greased pans allow the muffins to develop a beautiful crust.
Portion Control
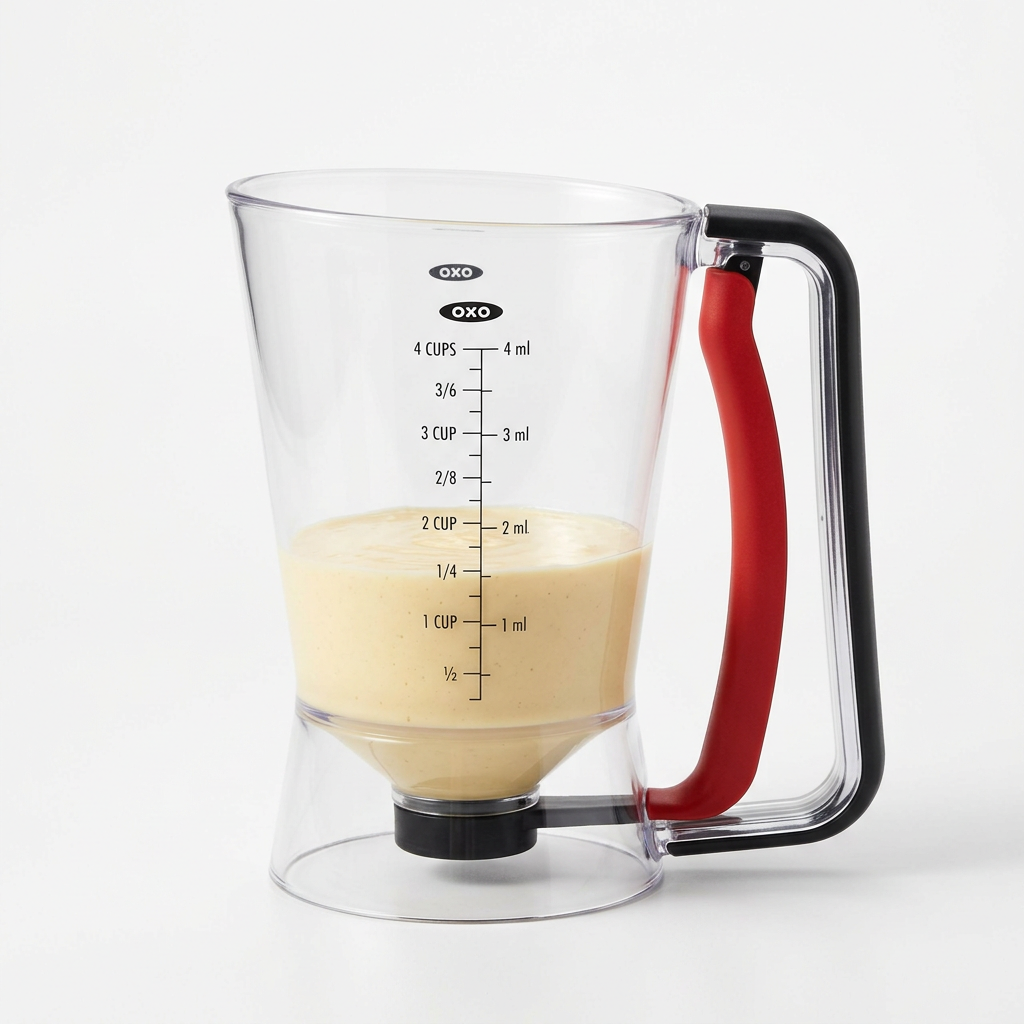
Using an ice cream scoop or batter spoon can help you portion out your batter evenly, ensuring that each muffin rises uniformly.
Tip 9: Bake, Cool, and Store Responsibly
Baking Times
Muffins typically bake for 15 to 20 minutes. Doing the toothpick test is a reliable way to check for doneness—insert a toothpick into the center of a muffin; if it comes out clean or with a few crumbs, they are ready.
Professional Tip: Rotate your muffin tray halfway through the baking process to ensure even browning.
Cooling Process
Once out of the oven, allow the muffins to cool in the tin for about 5 minutes. After that, transfer them to a wire rack. Not cooling can lead to soggy bottoms due to steam.
Storing Muffins
To keep your muffins fresh, store them in an airtight container at room temperature for 1-2 days. For longer storage, they can be frozen. Wrap them individually in plastic wrap, then place them in a freezer-safe bag. Thaw and enjoy whenever you wish!
Tip 10: Experiment and Have Fun
Don’t Be Afraid to Get Creative
Once you've mastered the fundamentals, it’s time to unleash your creativity. Don't hesitate to experiment with flavors, textures, and add-ins. You can try:
Traditional vs. Modern Muffins
While traditional muffins have a specific soft, slightly crumbly texture, modern interpretations can involve various styles such as gluten-free or even vegan muffins. Research and adapt recipes to fit dietary restrictions without sacrificing flavor.
**“Baking should be a joyful experience. Embrace the process and don’t be afraid to tweak recipes until they feel like your own.”**
Document Your Journey
Keep a baking journal to note what works and what doesn't. Document the proportions, flavors, and results of each attempt. This will not only help you repeat successes but also improve upon them.
Conclusion
Mastering the art of muffin-making is about more than just following a recipe; it’s about understanding the role each ingredient plays and how techniques can affect your final product. With the ten tips provided, you now have a thorough guide to creating muffins that are not only light and fluffy but also packed full of flavor.
Remember to choose quality ingredients, mix gently, and embrace the creative aspects of baking. Each time you step into the kitchen, you’re not just preparing a treat; you’re conducting a delicious experiment that can turn simple ingredients into something extraordinary. So gather your mixers, preheat your oven, and start baking some muffins that will impress both yourself and anyone lucky enough to share them with you!



Get the Next Recipe
Weekly recipes, techniques, and gear picks — straight to your inbox.
