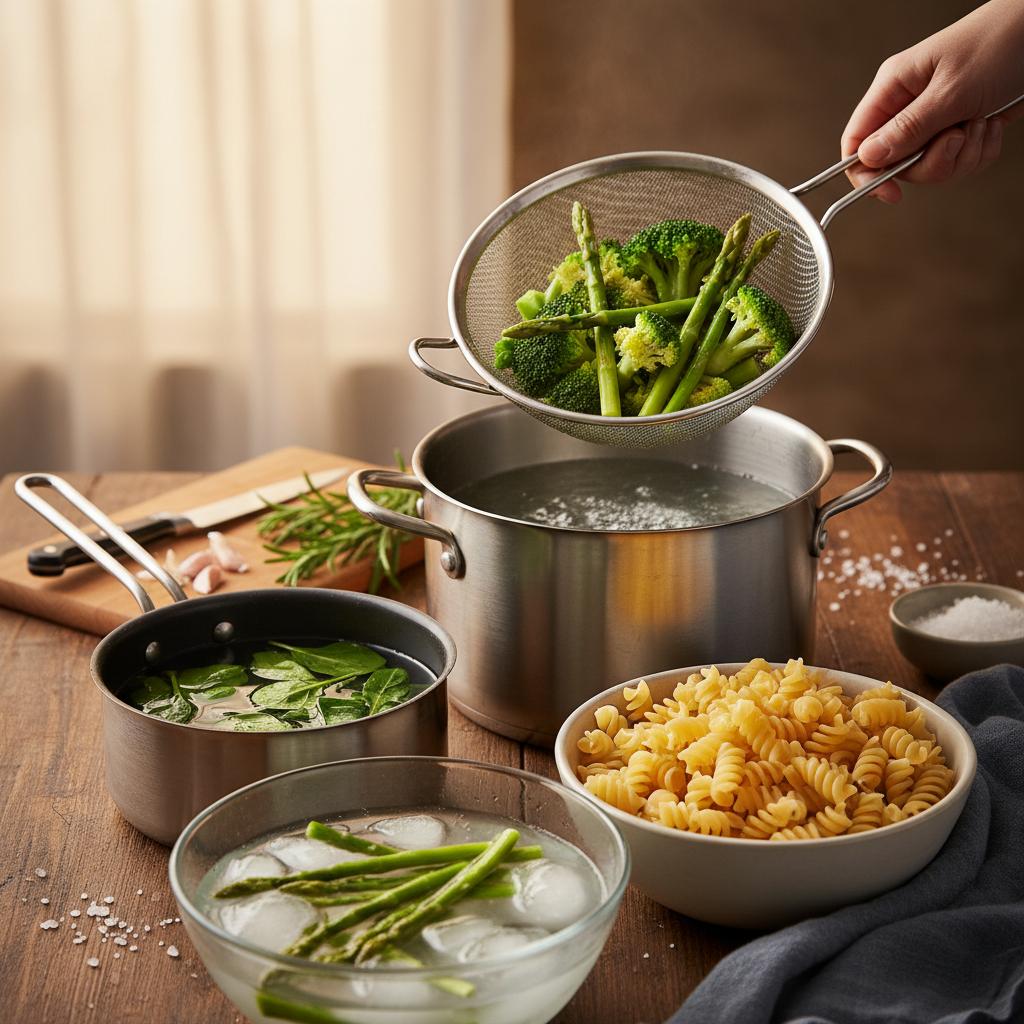
Mastering the Art of Blanching: Techniques for Vibrant Vegetables and Perfect Pasta
Blanching is a pivotal technique that can transform the way you prepare vegetables and pasta, elevating both their flavor and presentation. Mastering this seemingly simple process can lead to vibrant colors, enhanced flavors, and a pleasing texture that captures the essence of fresh ingredients. Whether you’re preparing a light summer dish or a hearty winter meal, incorporating blanching into your culinary repertoire can significantly improve your cooking game.
At its core, blanching involves briefly cooking food in boiling water followed by rapid cooling in ice water. This method not only preserves the bright colors of vegetables but also softens them slightly to make them more palatable without sacrificing their nutritional integrity. When you take the time to blanch your vegetables, you not only enhance their appearance but also set the stage for confident and appealing presentations on the plate.
In this blog post, we will delve into the art of blanching, exploring its importance, techniques, and practical applications. From step-by-step instructions that demystify the process to tips on how to apply blanching in your everyday cooking, our journey will leave you equipped to tackle this fundamental culinary skill with ease. Let's unlock the vibrant potential of your vegetables and perfect your pasta with these essential techniques.
Understanding the Basics of Blanching
Blanching is more than just a cooking technique; it's a step that lays the foundation for several culinary practices. Understanding this technique’s purpose will help you recognize when and how to use it effectively. When you blanch, you subject food to boiling water momentarily before plunging it into ice water. This dual-process serves two main purposes: cooking and shocking.
The Purpose of Blanching
Color is a key aspect of food appeal, particularly in dishes that rely heavily on vegetables. Blanching locks in the vibrant colors of your vegetables by deactivating enzymes that can cause browning. This preservation is particularly crucial for green vegetables like broccoli, green beans, and peas, which can lose their bright hues when cooked too long.
Blanching also offers a mild cooking effect, softening the vegetables slightly while retaining their crunch. The brief exposure to heat intensifies their flavors without allowing them to become mushy. For home cooks, this creates opportunities to enhance the textures and tastes of dishes, making vegetables more enjoyable.
Blanching can serve as a pre-cooking step, allowing vegetables to be ready for stir-frying, sautéing, or even freezing. Pre-cooked blanching can drastically cut down on cooking time for future meals, making weekday cooking more manageable.
Choosing the Right Vegetables
Not all vegetables are created equal, and some respond better to blanching than others. Here are some popular choices that benefit from this technique:
Consider the size and density of the vegetables as you decide on blanching. Smaller or thinner items usually require less time, while denser varieties might need a few seconds longer in the boiling water.
The Blanching Process: Step-by-Step
To get started with blanching, you’ll need to gather your ingredients and tools. Here’s how to do it:
Equipment and Ingredients Needed
- Large pot: To boil water.
- Slotted spoon or spider skimmer: Perfect for removing vegetables from boiling water.
- Bowl filled with ice water: Essential for the shocking step.
- Cutting board and knife: For prep work.
- Fresh vegetables of your choice.
- Salt: To season the boiling water, enhancing flavor.
- Optional: A bowl of cold water without ice, should you not have ice handy.
Step-by-Step Instructions
Clean and trim your vegetables as needed. Cutting them into uniform sizes promotes even cooking.
Fill a large pot with water and add a generous amount of salt—about 1 tablespoon per quart of water. Bring the water to a rolling boil.
Once the water is at a boil, carefully add your prepared vegetables. Keep a close eye on the clock and ensure you do not leave them in the water for too long—generally, about 2 to 5 minutes depending on size and type.
As soon as the time is up, use your slotted spoon to transfer the vegetables to the bowl of ice water, effectively stopping the cooking process. Leave them in the ice bath for 2 to 3 minutes.
After shocking, drain the vegetables thoroughly and pat them dry. This step is essential if you plan on sautéing or freezing them, as excess moisture can lead to difficulties later.
Timing is Everything
The timing of the blanching process is crucial. Here’s a handy guide to help you:
The times mentioned above are not set in stone; adjust based on desired doneness and texture preferences.
"Timing is everything when it comes to blanching. Don't let your vegetables overstay their welcome in the pot."
Common Mistakes to Avoid
While blanching is relatively straightforward, there are common pitfalls that many home cooks fall into. Identifying these pitfalls can help ensure success every time you engage in this technique.
Overcooking
One of the most frequent mistakes is simply overcooking the vegetables. An easy way to manage this is to set a timer as soon as you submerge them in the boiling water. Remember, blanching is meant to partially cook vegetables, not fully steam them. If you lose track of time, those vibrant greens will quickly transform into unappetizing, dull mush.
Skipping the Ice Bath
Another common oversight is neglecting the ice bath step. The shocking process is essential for halting cooking, and skipping it can lead to uneven textures. If you do not have ice available, at least make sure the water in your bowl is ice-cold. The quicker you get those vegetables out of the heat, the better your results will be.
Not Salting the Water
Salt is a critical aspect of blanching that many might overlook. Seasoning your blanching water attracts moisture into the vegetables and promotes better flavor. A general rule of thumb is to use 1 tablespoon of salt per quart of water. Although it may seem excessive, keep in mind that only a fraction of this salt will remain on the vegetables.
Blanching Vegetables for Freezing
If you've ever wanted to capture the freshness of seasonal produce, blanching is essential for successful freezing. This process not only preserves color and texture but also protects the flavor of the vegetables during storage.
Why Blanch Before Freezing?
Enzymatic activity can degrade the nutritional content of vegetables over time. Blanching deactivates these enzymes, helping to retain vitamins and minerals.
Properly blanched vegetables tend to taste better when thawed and cooked later. This is because the process locks in flavors and fresh characteristics.
Freezing raw vegetables can lead to mushiness when thawed. Blanching briefly before freezing preserves their natural crunch.
Steps to Blanch for Freezing
By following these meticulous steps, you can enjoy the taste of summer vegetables even in the depths of winter.
Blanching Pasta: The Secret to Culinary Mastery
Though commonly overlooked, blanching pasta can yield outstanding results in dishes that require quick cooking. This technique makes it easier to finish cooking the pasta and set the foundation for sauces, allowing for a more balanced final dish.
The Role of Blanching in Pasta Preparation
Blanching pasta ensures starting it off in boiling water before adding it to the sauce. This assists in creating a well-balanced texture in your final dish.
Like vegetables, pasta can also absorb flavors from the water and the subsequent sauces. Starting with ideally portioned blanched pasta ensures that it captures every drop of sauce.
Ideal Types of Pasta for Blanching
The Blanching Process for Pasta: A Recipe for Success
Through this method, you’ll achieve beautifully cooked pasta that holds its shape and absorbs flavors with tantalizing ease.
Creative Uses for Blanched Vegetables
Blanched vegetables can sparkle in numerous dishes, transforming them into stars on your dinner plate. Here are some innovative ways to incorporate these bright ingredients into your cuisine.
Salad Enhancements
Sautéing and Stir-frying
Freezer-Friendly Preps
Soups and Broths
Incorporating blanched vegetables into your meals can dramatically enhance nutritional content while preserving the freshness of the ingredients used.
Conclusion
Blanching is an invaluable technique in the world of culinary arts, offering home cooks an opportunity to elevate their vegetable and pasta preparations to new heights. With proper understanding, technique, and timing, anyone can master this method and reap its numerous benefits. From the vibrant colors and textures to the delicious flavors retained, blanching can make the difference between an average dish and an extraordinary one.
As you step into your kitchen with this newfound knowledge, experiment with different vegetables and pasta to discover how the simple act of blanching can dramatically impact your cooking. With practice and a little creativity, you’ll wonder how you ever cooked without this essential technique. So, get boiling, ice those veggies, and start crafting stunning plates that reflect both skill and passion. Happy cooking!
(Word count: 2,125 words)




Get the Next Recipe
Weekly recipes, techniques, and gear picks — straight to your inbox.
