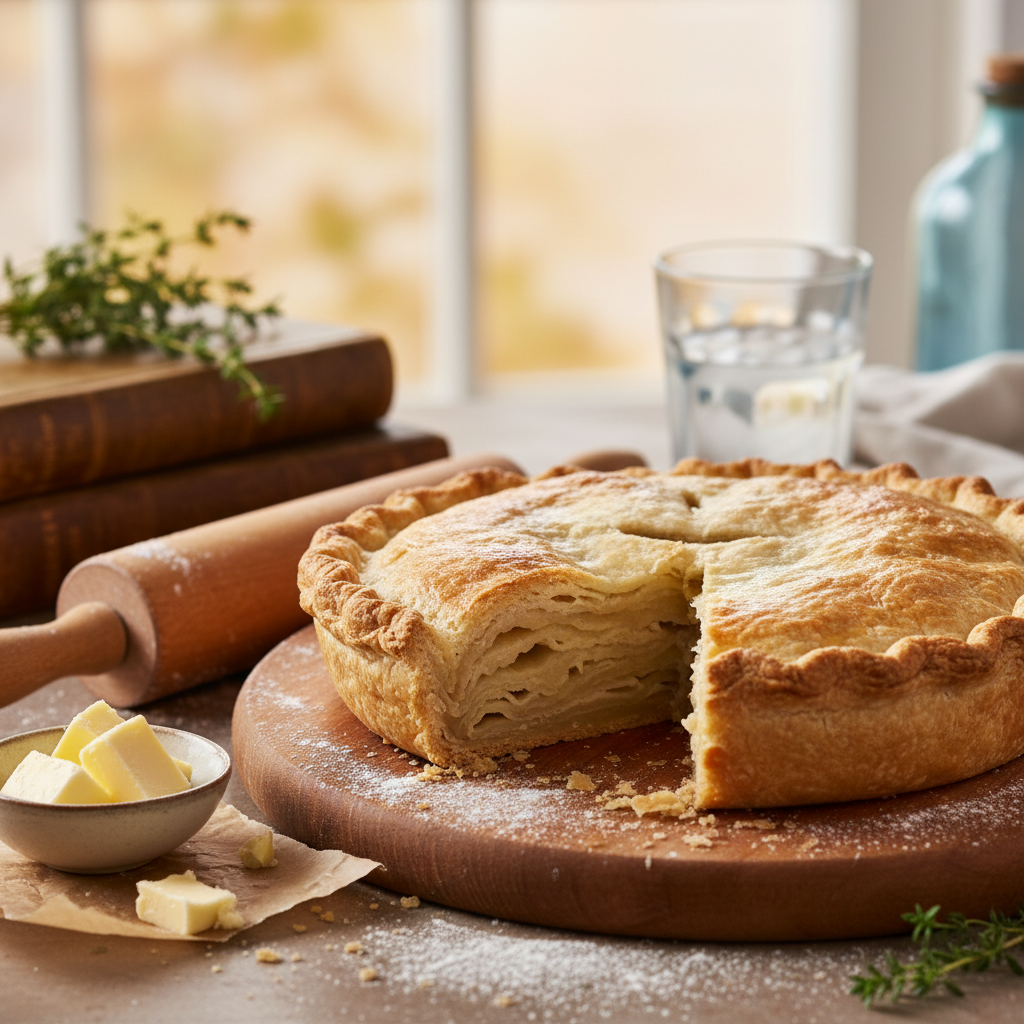
Creating the perfect flaky pie crust is a rite of passage for any home cook. The allure of a golden-brown crust, flaking apart at the touch, evokes feelings of nostalgia for many, conjuring memories of holiday gatherings and cherished family recipes. Whether you're making a classic apple pie or a savory quiche, the pie crust serves as the foundation for these culinary masterpieces. Achieving the ideal texture and flavor requires attention to detail and an understanding of techniques, making this seemingly simple component a critical aspect of baking.
For many, the thought of making pie crust from scratch can be daunting. Store-bought options may tempt you with convenience, but crafting your own ensures that your pie crust is fresh, flavorful, and tailored to your taste. The debate often boils down to whether a butter or shortening crust is superior, while some bakers swear by combinations or even lard. Regardless of your choice, the right method can turn any pie crust into a flaky delight that will leave your family and friends asking for the recipe.
As we embark on this journey to master flaky pie crusts, we’ll delve into the science behind crust development, essential techniques, ingredient ratios, and some common pitfalls that even experienced bakers encounter. Whether you’re a novice baker or a seasoned pro, you’ll find valuable insights and tips to elevate your pie game and bring delight to your table.
Understanding the Basics of Pie Crust
To successfully make a flaky pie crust, it's crucial to understand the role of each ingredient and the purpose they serve in the overall structure and flavor of the crust. The core ingredients typically include flour, fat, water, and salt. Each of these components must be measured carefully and combined with respect for texture and temperature.
The Role of Flour
The foundation of any pie crust is the flour. Most recipes call for all-purpose flour due to its balanced protein content, which allows for elasticity while not being too rigid. High-protein flours, like bread flour, can result in a tougher crust, while low-protein options, such as cake flour, don’t provide enough structure. For the best balance, aim for:
●All-purpose flour: This is your go-to option for a flaky pie crust.
●Whole wheat flour: Adds a nutty flavor and increases fiber but should be mixed with all-purpose flour to maintain flakiness. A good ratio is about 3:1, all-purpose to whole wheat.
When measuring flour, spoon it into your measuring cup and level it off with a knife to avoid packing too much, which can lead to a dense crust.
The Importance of Fat
The type of fat used in your pie crust significantly affects its flakiness and flavor.
●Butter: Prized for its rich flavor, butter is a favorite among bakers. Unsalted butter is preferred to allow for better control over salt levels. For optimal results, keep the butter cold; slicing it into small pieces and freezing it for 10-15 minutes before incorporating can help maintain temperature during mixing.
●Shortening: This is known for its ability to create a tender, flaky texture due to its high stability and melting point. Many recipes use a combination of butter and shortening to balance flavor and flakiness. A classic ratio to try is 2 parts butter to 1 part shortening.
●Lard: Often overlooked, lard is another excellent source of fat that can enhance flavor and flakiness. However, many home cooks prefer to stick with butter or shortening for taste and control.
Water and Salt
While it may seem simplistic, water plays a pivotal role in pie crusts. It hydrates the flour and activates the gluten, giving the crust structure. However, too much water can make the dough tough, while too little can result in crumbliness.
●Ice water is the preferred option, as the cold temperature helps keep the fat from melting prematurely, which is crucial for flakiness.
●The addition of salt not only enhances flavor but also strengthens the dough by tightening gluten formation. A good rule of thumb is about ½ teaspoon of salt per cup of flour.
“The secret to a flaky pie crust lies in the balance of fat, flour, and water – treat them with respect, and they will reward you with perfection.”
Techniques for Mixing Dough
Understanding how to mix your pie crust dough properly can spell the difference between a perfect crust and a disappointing one. Improper mixing can lead to dough that is either too tough or too crumbly. Here are the essential techniques for a successful mix:
Cutting in the Fat
The method of incorporating fat into flour is crucial for achieving flakiness. This can be done in several ways:
1.Using a Pastry Cutter: This tool allows you to cut cold fat into the flour until it resembles coarse crumbs. Aim for pea-sized pieces of fat for optimal flakiness.
2.Fork Method: A sturdy fork can also work; simply press the fat into the flour, breaking it down until you reach the desired texture.
3.Food Processor: This method is both quick and efficient. Pulse the flour and fat together until the mixture resembles coarse crumbs. Just be cautious not to over-process, as the heat from blending can melt the fat.
Incorporating Water
Once your fat is mixed in, it’s time to introduce the ice water. Here are the steps to follow:
1.Sprinkle water evenly over the flour mixture, about 1 tablespoon at a time.
2.Use a fork or spatula to gently mix the dough, working it until it starts to come together. You want to avoid overworking the dough; stop as soon as it holds together.
3.Form the dough into a ball, then flatten it into a disk about an inch thick. This shape helps it chill evenly in the refrigerator.
Chilling the Dough
Chilling the dough is a step that should not be skipped. Refrigerating allows the fat to solidify again, making the dough easier to roll and helping to create those flaky layers when baked. Here’s what you should do:
●Wrap your dough tightly in plastic wrap and refrigerate for at least one hour. This process can also be done overnight if you want to prepare in advance.
●For the best results, remove the dough and let it sit at room temperature for about 10-15 minutes before rolling it out. This step will prevent cracking and make it more malleable.
Rolling Out the Dough
Rolling out your pie crust can appear daunting, but with the right techniques, you’ll have a beautifully shaped crust in no time. Here are some considerations to keep in mind:
The Rolling Surface
●Choose a Clean Surface: A clean marble countertop or a smooth wooden board is suitable for rolling out dough, as they remain cooler than other surfaces.
●Flour Your Surface: Lightly dust the surface and your rolling pin with flour to prevent sticking. Avoid adding too much flour, as it can dry out your dough.
Proper Technique
1.Start at the Center: Place the dough disk in the center of your floured surface and roll from the center outwards. This technique prevents the edges from becoming too thin while the center remains thick.
2.Rotate as Needed: Periodically lift the dough and give it a slight turn (about 45 degrees) to ensure even thickness and to prevent sticking.
3.Aim for Uniform Thickness: Maintain an even thickness of about 1/8 inch; this is crucial for even baking and achieving the flaky texture.
Transferring the Dough
Once your dough is rolled out, the transfer process can stir anxiety, but a few simple tips will make it easier:
●Use a Rolling Pin: Gently roll the dough around your rolling pin and unroll it over your pie pan.
●Fold and Transfer: Alternatively, fold the dough into quarters for easier handling and unfold it over your pie pan.
●Avoid Stretching: When placing the dough into the pan, be cautious not to stretch it, as this can lead to cracking and shrinkage during baking.
Pre-Baking (Blind Baking)
Pre-baking, often referred to as blind baking, is an essential technique used for pies with non-baked fillings or to ensure a crisp crust when filled with a custard. Here’s how to effectively blind-bake your pie crust:
Preparing for Blind Baking
●Chill the Formed Dough: After placing your rolled dough into your pie pan, refrigerate it for about 30 minutes to ensure it holds its shape and reduces shrinkage.
●Poke Holes: Use a fork to poke holes in the bottom of the crust. This process, known as docking, allows steam to escape and prevents bubbles from forming.
Adding Weights
●Pie Weights or Beans: Cover the dough with parchment paper and fill it with pie weights or dried beans. This added weight keeps the crust from puffing up during baking.
Timing and Temperature
●Preheat your oven to 425°F (220°C). Place the pie crust on the middle rack and bake for about 15-20 minutes until lightly golden.
●After this initial baking, remove the weights and parchment paper. Return to the oven for an additional 5-10 minutes until fully cooked and golden brown.
Flaking It All Together: Baking Techniques
The baking process ultimately determines the final texture and flavor of your pie crust. Here, a few essential baking techniques can transform your crust from good to incredible.
Temperature Control
●Oven Temperature: Baking at a higher temperature at the start (around 425°F) helps set the crust's structure quickly and enhances flakiness. If your crust begins to brown too quickly, reduce the temperature to 350°F mid-bake.
Egg Wash for Shine
●To achieve a glossy finish on your pie crust, consider brushing it with an egg wash before baking. Combine one beaten egg with 1 tablespoon of water or milk and gently brush the mixture over the crust to promote browning and shine.
Testing for Doneness
●Ensure your pie crust is thoroughly baked by inspecting for an even golden color. An underbaked crust may appear pale and could lead to sogginess, while overbaking can dry it out. Aim for a perfect golden brown that tells you your crust is ready.
“A perfectly baked pie crust should be a work of art – golden, flaky, and ready to support the luscious filling inside.”
Troubleshooting Common Issues
Even the best bakers occasionally encounter issues with pie crusts. Understanding common problems and their solutions can save your efforts and improve your skills. Here are some typical issues and how to troubleshoot them:
Crust Shrinkage
●Causes: Shrinkage is often caused by overly warm dough or stretching the crust while placing it in the pan.
●Solutions: To minimize shrinkage, always chill your dough before baking. If shrinkage persists, consider your rolling technique and avoid stretching.
Tough Texture
●Causes: Overworking the dough or using the wrong type of flour can lead to a tough pie crust.
●Solutions: Handle the dough gently, and prioritize all-purpose flour to strike the right balance between tenderness and structure.
Soggy Bottom
●Causes: A soggy crust often results from an insufficiently baked bottom or filling moisture overwhelming the crust.
●Solutions: Experimenting with blind baking is crucial. You can also try adding a thin layer of breadcrumbs or crushed cookies before adding moist fillings to act as a barrier.
Crust Cracking
●Causes: If your dough is too dry or has been overworked, it can crack.
●Solutions: Ensure you're using the right amount of water; if the dough feels dry, a splash of additional ice water can help. Always avoid excessive handling of the dough.
Final Thoughts
Mastering the art of flaky pie crust is a delightful journey that unlocks myriad baking possibilities. With an understanding of ingredient roles, effective mixing and rolling techniques, and insight into common troubleshooting, you’re well-equipped to create a pie crust that can serve as the perfect foundation for any sweet or savory filling.
As you step into your kitchen, remember that baking is both an art and a science, inviting you to experiment with flavors and techniques until you find your perfect balance. So roll up your sleeves, gather your ingredients, and let the warmth of home-cooked pies fill not only your kitchen but also the hearts of those you share them with. Happy baking!