Molecular Gastronomy at Home: Spherification and Beyond
Molecular gastronomy is no longer confined to the high-end restaurants of the culinary elite. With the right tools, technique, and a dash of creativity, everyday cooks can explore this avant-garde method in the comfort of their own kitchens. A fascinating combination of science and art, molecular gastronomy focuses on the physical and chemical transformations ingredients undergo during cooking. This blog post will invite you into the world of spherification, among other techniques, as we inspire you to experiment and recreate modernist dishes at home.
Spherification, one of the cornerstones of molecular gastronomy, transforms liquids into delicate, caviar-like spheres that burst in your mouth. This approach doesn’t merely offer an exciting sensory experience; it opens a portal to creativity for home cooks. Imagine serving an appetizer that looks like an ordinary olive, yet when bitten into, releases a wonderfully flavored liquid—this is the magic of spherification. But, before you don your chef’s hat and dive into this culinary wonderland, understanding the science behind the technique is paramount.
In this exploration of molecular gastronomy, we will delve into essential techniques, ingredient selections, and practical applications. We will also discuss the necessary tools and ingredients, ensuring you are well-equipped to push the boundaries of your cooking skills. Whether you're looking to impress guests or simply indulge in innovative cooking at home, our detailed guide will navigate you through spherification and introduce additional molecular gastronomy techniques to elevate your culinary repertoire.
Understanding Spherification
The Science Behind Spherification
At its core, spherification is a technique that allows you to encapsulate flavors in a thin gel membrane. This transformation occurs due to the interaction between two primary ingredients: sodium alginate and calcium chloride or calcium lactate. The process itself is rooted in simple chemistry, as sodium alginate, derived from seaweed, reacts with calcium ions to form a gel. This is where the magic happens; the liquid inside the sphere remains in its original form until you bite into it, releasing a burst of flavor.
To begin the process, you will typically mix your desired flavored liquid (fruit juice, broth, or even cocktails) with sodium alginate. This mixture is then dropped into a calcium bath, where the alginate forms a gel around the liquid, creating small spheres. Depending on various factors—including the concentration of your ingredients and the duration of exposure in the calcium solution—varying textures can be achieved, enhancing the sensory experience of the dish.
Key Ingredients and Tools for Spherification
Before you dive into creating your own spheres, it’s crucial to gather a few key ingredients and tools:
Preparation Steps
Once you've gathered your ingredients, follow these steps to prepare your spherification mixture:
Common Spherification Issues and Troubleshooting
While the process of spherification is generally straightforward, various obstacles can arise. Here are some common issues and solutions:
"Perfecting spherification is as much about patience and practice as it is about precision. Don't get discouraged if your first few tries aren’t perfect—each attempt will teach you something new."
Beyond Spherification: Exploring Other Molecular Gastronomy Techniques
Spherification is just the tip of the iceberg. There are several other techniques you can explore to expand your molecular gastronomy repertoire, each with its unique charm and application. Let's explore a few of these fascinating methods.
Foaming and Emulsification
Another popular molecular gastronomy technique is foaming, which involves creating stable, flavorful foams that can enhance the presentation and taste of dishes. Foams can be made from many liquids, including broths, juices, or even sauces.
To achieve a stable foam, you will need an immersion blender or a whipping siphon combined with lecithin, which is a natural emulsifier. Here’s how to make a basic foam:
Gelification
Gelification allows you to transform liquids into solid forms that retain their flavors while taking on a new texture. Agar-agar, derived from seaweed, is a popular gelling agent for this purpose, offering a firmer and more stable gel than traditional gelatin.
To experiment with gelification:
"Gelification can offer you a wide array of textures, from thin sheets to bite-sized cubes. The possibilities are deliciously endless."
Deconstruction
Deconstruction involves breaking down flavors and components of a dish to create a multi-layered experience. This technique allows you to showcase individual elements in new forms while retaining the overall essence of the original dish.
For example, if you’re deconstructing a classic Caprese salad, you might:
Smoking
Smoking adds depth and aroma to dishes that can stimulate the palate and create a captivating dining experience. With the rise of home smoking kits, it's become increasingly accessible for home cooks to experiment with this technique.
You could smoke ingredients right before serving to heighten the flavor. Here’s how to do it at home:
Nitro Cooking
Using liquid nitrogen is another thrilling yet technically advanced method that can dramatically change the texture and presentation of your dishes. Liquid nitrogen can freeze ingredients almost instantly and create a sensation of fog and chill when presented.
You might use nitrogen to create:
Safety is paramount, so proper handling of liquid nitrogen is non-negotiable. Always wear protective gloves and goggles when working with this substance.
Building Your Molecular Gastronomy Toolkit
To fully embrace molecular gastronomy at home, it’s essential to equip yourself with the right tools. Here’s a list of the most necessary equipment, along with their uses:
Creating a Molecular Pantry
Alongside the tools, stocking your pantry with specialized ingredients can open the door to many culinary adventures. Here are some essential ingredients for your molecular gastronomy pantry:
Each of these ingredients serves a specific role in molecular cooking and can help transform a home-cooked meal into something extraordinary.
Mastering the Presentation
Molecular gastronomy isn’t just about the technique; it’s also about how you present the food. In modernist cooking, plating and presentation can significantly enhance the dining experience. Consider these strategies:
Creating Atmosphere with Edible Elements
Incorporating edible elements such as microgreens, flowers, or even smoke can take the presentation to another level. For example:
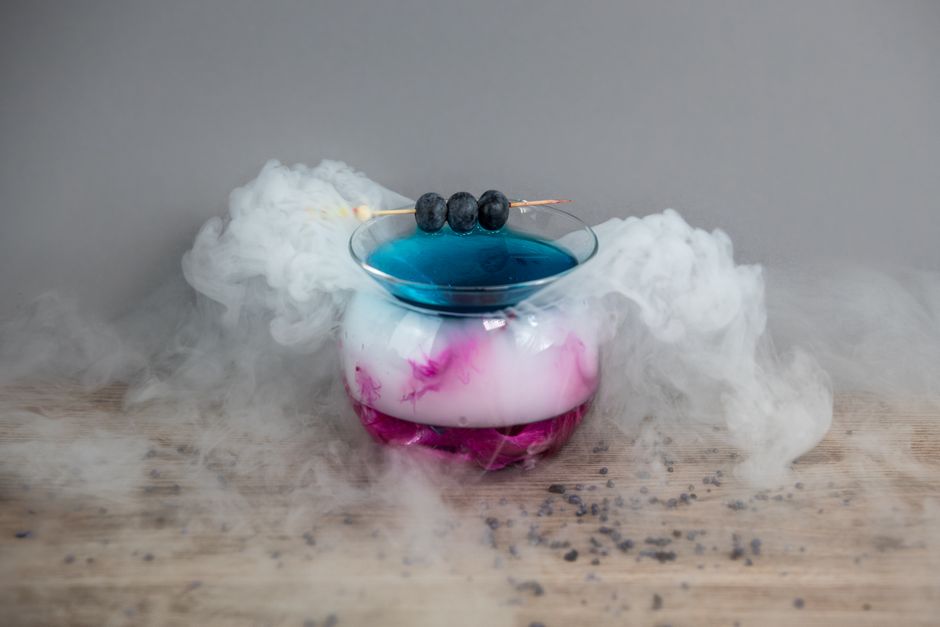
Incorporating these touches will not only enhance the sensory experience but also create memorable and Instagram-worthy presentations.
Conclusion
The realm of molecular gastronomy provides an exciting landscape for home cooks eager to explore innovative techniques and reimagine traditional dishes. From spherification to gelification, foams to smoking, these culinary methods can elevate your cooking game and introduce a new level of creativity into your kitchen. With patience, precision, and a willingness to experiment, you can leave your culinary comfort zone and embrace the art of modernist cuisine.
As you embark on this culinary adventure, remember that the joy of cooking lies in exploration and creativity. Each ingredient opens up a world of possibilities, and clearing your mind of the expected allows inspiration to flourish. Whether you’re creating a simple spherified olive or an elaborate deconstructed dish, embrace the process, learn from your experiments, and above all, have fun.
Explore, taste, and play—let your imagination lead you to delightful, mouth-watering creations that will leave your guests in awe. So roll up your sleeves and prepare to transform your kitchen into a playground of flavorful science, and let’s elevate the everyday joy of cooking together!


Get the Next Recipe
Weekly recipes, techniques, and gear picks — straight to your inbox.
