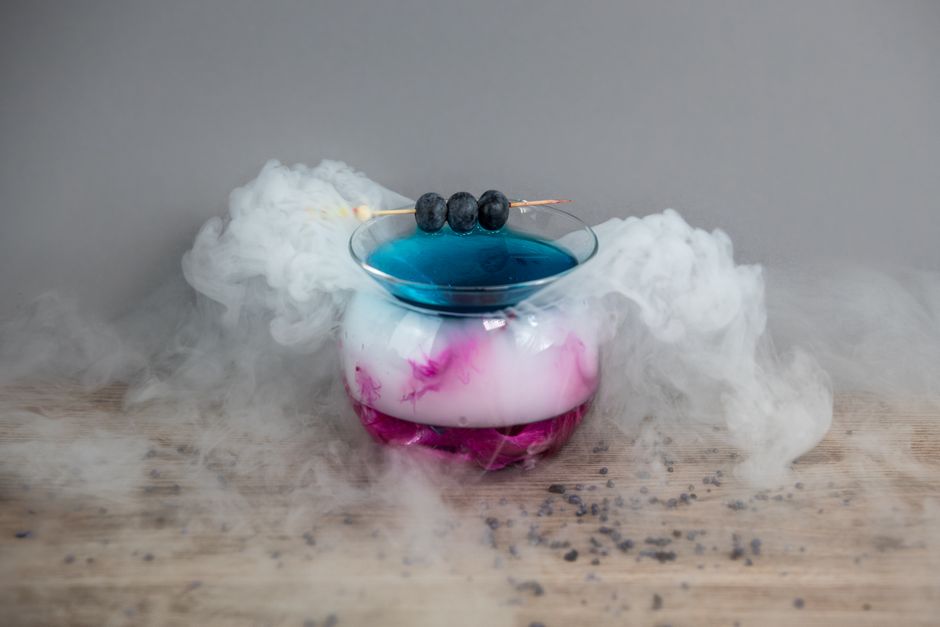
Molecular Gastronomy Basics: Spherification, Foams, and Gels
The art of cooking has evolved dramatically over the past few decades, with culinary techniques growing increasingly sophisticated and innovative. Among these is a captivating approach known as molecular gastronomy—a delightful blend of culinary arts and scientific principles. This technique manipulates the physical and chemical properties of food to create unique textures and flavors that can surprise and delight even the most discerning palates. By employing tools and methods once relegated to laboratories, chefs can elevate their dishes, making the dining experience both visually stunning and immensely satisfying.
At the heart of molecular gastronomy are techniques such as spherification, foams, and gels. Whether you’re looking to add a pinch of whimsy to your appetizers or striving for delicate, imaginative desserts, these methods provide an avenue for creativity that transcends traditional cooking. Learning these techniques will not only enhance your dishes but also expand your culinary vocabulary, allowing you to communicate your plates with flair and finesse. However, venturing into this avant-garde sphere requires understanding some foundational principles and a bit of practice to truly master each technique.
In this post, we’ll delve into the basics of molecular gastronomy, focusing on three primary techniques: spherification, foams, and gels. We'll break down each technique into manageable segments, exploring the science behind them, essential equipment and ingredients, step-by-step instructions, and tips to achieve successful results. So roll up your sleeves, and let’s embark on this culinary adventure that promises to elevate your cooking skills and impress your guests!
What is Molecular Gastronomy?
Molecular gastronomy is defined as the study of culinary transformation, where the culinary arts meet the physical and chemical changes that occur in food during cooking. This concept can be traced back to a few pioneering chefs and scientists in the 1980s, who sought to understand and improve upon traditional cooking techniques by using principles of molecular biology and physics. Think of it as a fusion of science and art, where the methodology of cooking comes to life through interaction with ingredients at a molecular level.
At its core, molecular gastronomy revolves around the understanding that food is not merely a consumable product but a combination of complex reactions influenced by temperature, pressure, and molecular structure. Chefs applying these principles can manipulate textures and flavors in innovative ways, transforming solids into liquids, infusing flavors into unexpected formats, or even creating delicious illusions with food. The techniques introduced by molecular gastronomy can elevate the dining experience from merely savoring a dish to a series of delightful surprises that challenge the senses.
Mastering molecular gastronomy requires not only creativity but also attention to detail and precision, as even minor alterations in ingredient ratios or temperatures can lead to vastly different outcomes. Therefore, it’s crucial for any aspiring molecular gastronomist to familiarize themselves with the science behind these techniques. With careful practice and an adventurous spirit, you can achieve mesmerizing results that push the boundaries of your culinary creations.
Spherification: The Art of Edible Caviar
Spherification is one of the most recognized techniques in molecular gastronomy, allowing chefs to create delicate beads or spheres that burst with flavor when bitten into. This technique utilizes the gelation properties of sodium alginate and calcium salts. The simplicity of the ingredients melded with the astonishing results make spherification an excellent entry point into the world of molecular gastronomy.
Understanding Spherification
There are two main types of spherification: primary and secondary. In primary spherification, the sodium alginate is mixed directly with the flavorful liquid you wish to encase. When this mixture is dropped into a calcium bath, the exterior of the droplet forms a gel-like membrane, encapsulating the liquid inside. Secondary spherification involves precursors that have already been spherified and are coated in a sodium alginate and calcium mixture, allowing for more control over the final product's texture and flavor.
"Spherification isn't just about creating fun food experiences; it’s about understanding the science of flavor encapsulation and texture contrast."
Essential Ingredients and Equipment
To get started with spherification, you'll need some specialized ingredients and tools:
Step-by-Step Guide to Spherification
Here’s a straightforward process to create basic flavored spheres:
Tips and Techniques for Spherification
While spherification is an approachable technique, achieving perfect spheres does require practice and attention to detail. Here are some tips for success:
Foams: Light as Air
Foams introduce an airy texture to food, adding visual intrigue and enhancing flavor interactions. They are made by incorporating air into a liquid, typically using a stabilizer to ensure the foam maintains its structure. Chefs often use foams to add depth to savory dishes or to create light, flavorful accouterments for desserts.
Types of Foams
Foams can broadly be categorized into two main types: hot and cold foams. Hot foams are often made from emulsions that include oil or fats alongside aromatic ingredients, whereas cold foams typically result from combinations of flavored liquids and stabilizers.
"Foams are not just a garnish; they can completely transform the perception of a dish and deliver intense flavor in a light texture."
Equipment for Creating Foams
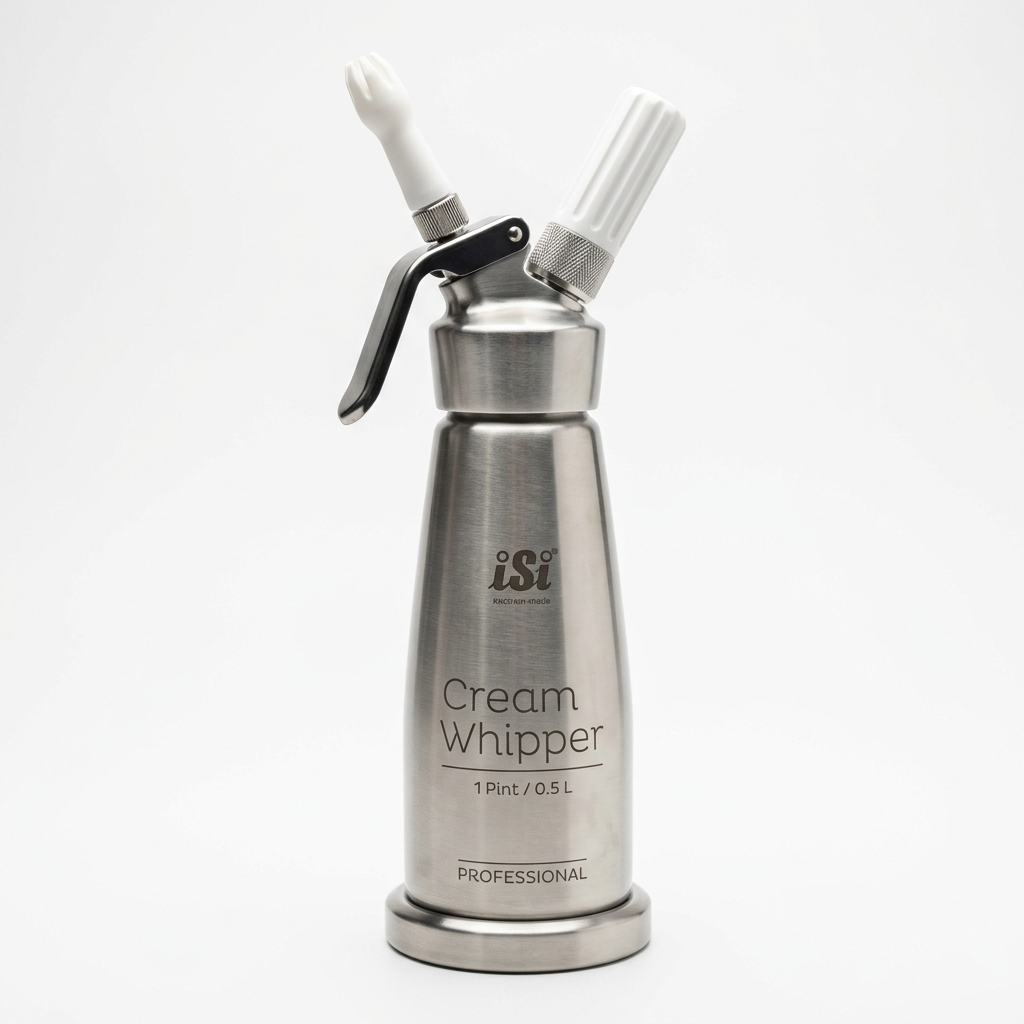
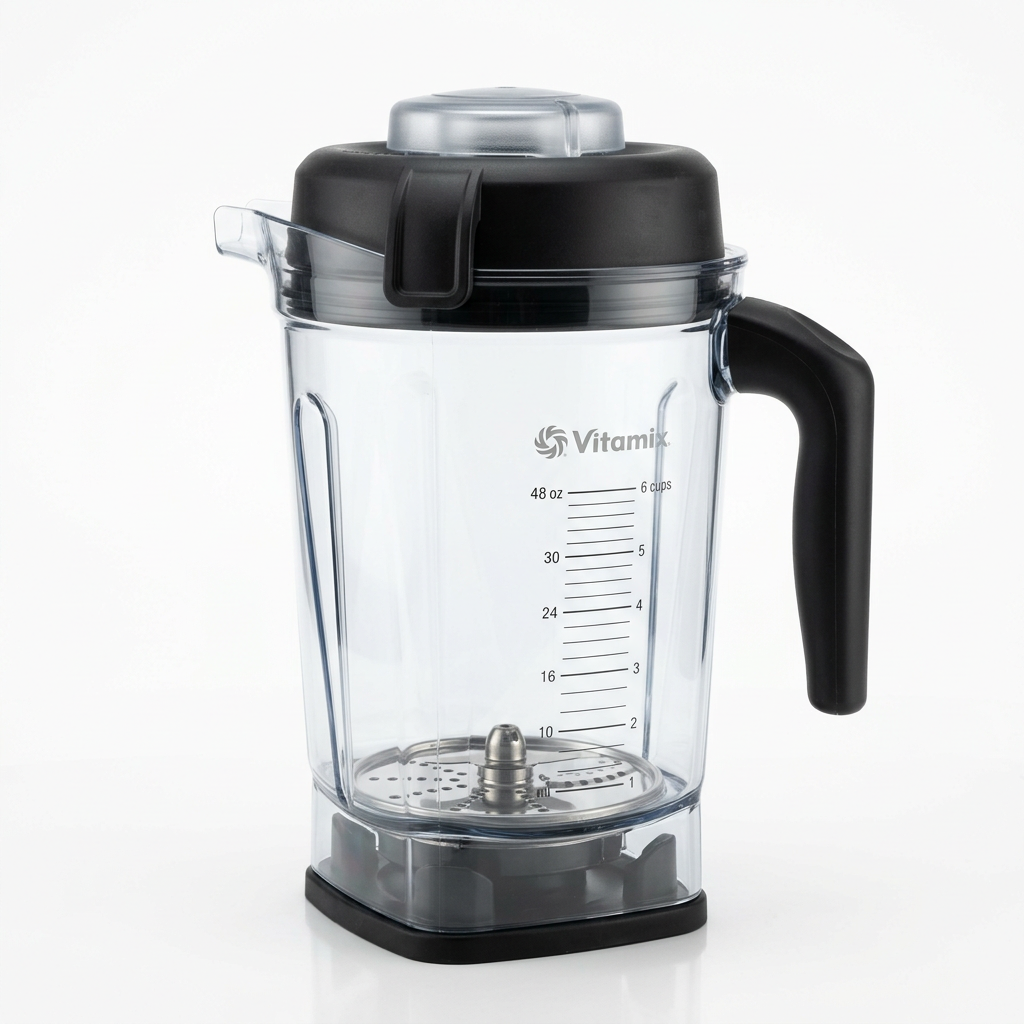
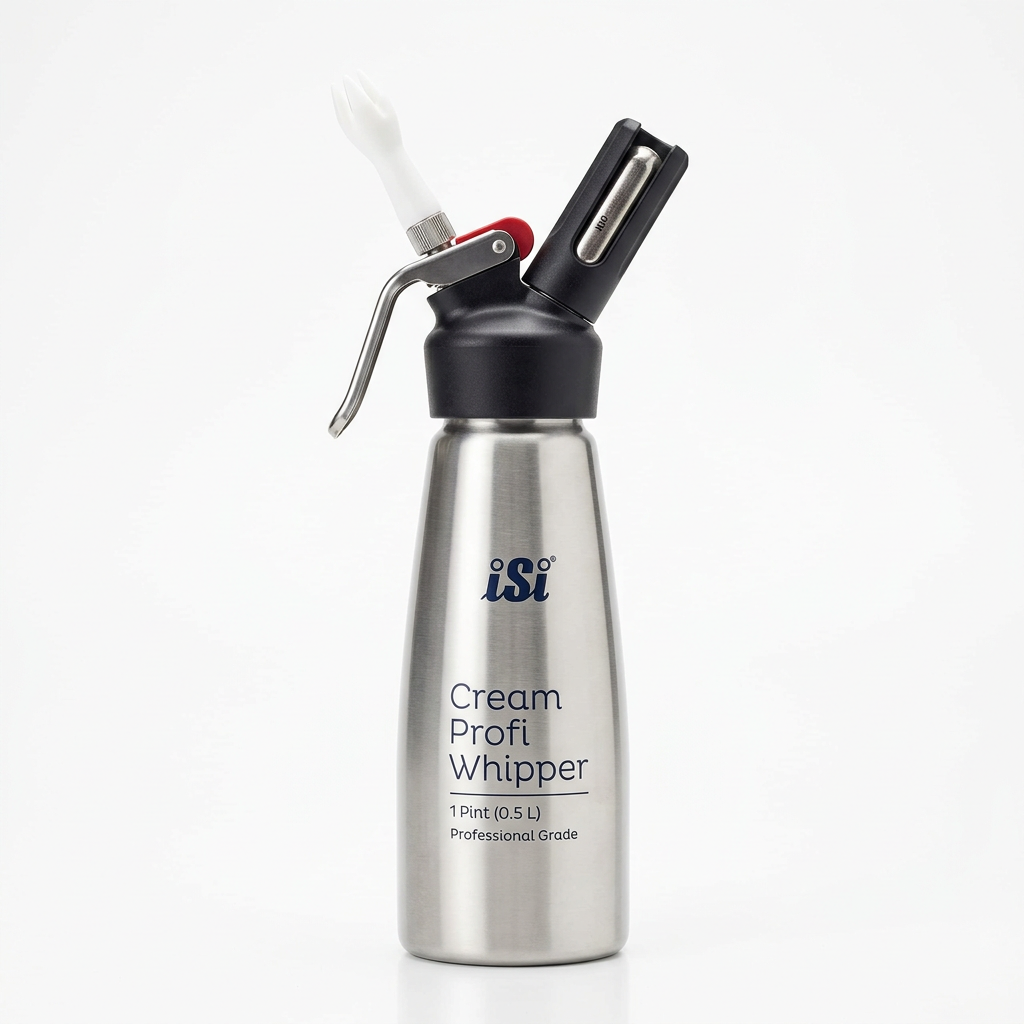
Achieving the perfect foam requires some specialized tools. Here’s a list of essential equipment:
Step-by-Step Process to Create a Basic Foam
Creating foams is a relatively straightforward process. Here’s a guide to making a simple flavorful foam:
Tips for Successful Foams
Foams can be delicate, and certain tips can help you achieve better results:
Gels: Transforming Liquids into Wobbly Structures
Gels are another crucial element of molecular gastronomy that allows chefs to transform liquids into solid forms with a texture that is both stable and versatile. Utilizing gelling agents, you can create a broad array of products, from jelly-like accompaniments to intricate desserts.
Understanding Gelation
Gels are formed when liquid is combined with a gelling agent, which activates and sets the liquid into a stable structure. The most commonly used gelling agents include agar agar, gelatin, and pectin. The choice of gelling agent can greatly influence the texture, appearance, and stability of the gel:
"Gels not only provide a unique texture but also serve as a canvas for flavors, allowing you to present taste in playful and innovative forms."
Equipment and Ingredients for Gel Creation
To create gels, you will need to gather some basic ingredients and tools:
Step-by-Step Guide to Creating Basic Gels
Making simple gels can be an exciting addition to your cooking repertoire. Here’s how to create a basic gel:
Tips for Creating Stunning Gels
Achieving the perfect gel consistency requires finesse. Here are some insider tips to guide you:
Incorporating Molecular Gastronomy into Your Culinary Repertoire
Now that we've covered some foundational techniques, it’s essential to discuss how to incorporate molecular gastronomy into your everyday cooking. The beauty of these techniques is their versatility, and they can enhance your existing recipes or inspire brand new creations.
Choosing the Right Dishes
When considering what recipes to use with molecular techniques, think about:
Planning and Timing
Presentation and Serving
Molecular gastronomy is as much about the aesthetics as it is about taste. Pay attention to how you plate your creations:
Conclusion
Molecular gastronomy opens up a world of possibilities for home cooks and professional chefs alike, allowing for creativity and experimentation that challenges traditional cooking methods. By mastering spherification, foams, and gels, you not only enhance your culinary skills but also bring an element of surprise to your dining experience.
The techniques discussed here are merely the tip of the iceberg in the expansive realm of molecular gastronomy. As you experiment, keep a journal of your discoveries, noting what works and what doesn't, and do not shy away from tweaking ingredients to perfect your techniques. Above all, let your imagination run wild—create beautiful, exciting dishes that resonate with your culinary passion.
Now, armed with the knowledge of these techniques, you have the incredible opportunity to elevate your cooking and bring a sense of wonder to your plates. Welcome your guests to an unforgettable experience where science and artistry collide on the dining table, and remember: don’t be afraid to blame the chef if a dish doesn’t turn out exactly right—after all, every great chef learns and grows from their culinary adventures.
Embrace the science of cooking, and who knows? You might just inspire the next evolution in culinary artistry at your own table. Happy cooking!
Get the Next Recipe
Weekly recipes, techniques, and gear picks — straight to your inbox.
