
Pão de Queijo: Mastering Brazil's Gluten-Free Cheese Bread With Tapoica and Tangzhong Techniques
The kitchen is a place of alchemy, a sanctuary where simple starches and fats transform into something transcendent under the influence of heat. If there is one snack that captures the heart of Brazil—and increasingly, the global imagination—it is undoubtedly the pão de queijo. This golden, crusty, and irresistibly chewy cheese bread is more than just a quick bite; it is a cultural icon born from necessity and refined by generations of home cooks. Unlike traditional yeast-leavened breads, the magic of this dish relies on the unique structural properties of tapioca starch, creating a texture that defies the conventional expectations of gluten-free baking.
When we set out to master this recipe, we aren't just following a list of instructions; we are engaging with a centuries-old tradition that prioritizes texture above all else. The characteristic "pull" of a well-made pão de queijo is the hallmark of a master. Achieving that perfect balance between a crisp, shattered-glass exterior and a cavernous, molten interior requires a deep understanding of how hydration, starch gelatinization, and fat interaction work in tandem. Many home cooks struggle with flat or overly dense batches, often blaming their oven or the brand of cheese, but the secret lies in the precision of the technique.
At "Blame The Chef," we believe that every home cook possesses the capacity to reach professional-grade results if they are willing to sweat the details. By integrating the tangzhong technique—a method traditionally reserved for soft Asian milk breads—into our pão de queijo preparation, we can stabilize the internal hydration and ensure a more consistent chew that stays soft for hours rather than minutes. This is a journey of refinement, moving beyond the simple "dump and bake" mentality to embrace the chemistry of high-performance doughs. Prepare your workspace, sharpen your focus, and let us elevate your understanding of Brazil’s most beloved snack.
The Science of Starch: Why Tapioca Reigns Supreme
Understanding Cassava Derivatives
The backbone of authentic pão de queijo is polvilho, or tapioca starch. In Brazil, bakers distinguish between polvilho doce (sweet tapioca starch) and polvilho azedo (sour/fermented tapioca starch). The fermented variety is essential for that unmistakable, slightly tangy "funk" and the airy expansion that creates the hollow center. When these starches are heated with boiling liquid, they undergo gelatinization, a process where starch granules swell and absorb moisture, creating a thick, gummy paste that forms the structural integrity of the bread.
The Role of Gelatinization
Temperature is the most critical variable here. You cannot simply combine room-temperature ingredients and expect the same reaction. By scalding the starch with a mixture of boiling water, oil, and salt, you initiate the gelatinization process before the eggs are even introduced. This "scald" creates a stabilized environment that can trap steam during the baking phase, which is what gives the pão de queijo its characteristic "puff." If the liquid isn't hot enough, the structure will be brittle; if it’s too cool, the dough will be lifeless and sandy.
Balancing Ratios for Texture
Consistency is the primary enemy of the home cook. Using a kitchen scale is non-negotiable here. A standard ratio typically calls for one part fat, two parts liquid, and four parts starch, though we suggest a slightly higher hydration level to accommodate the use of the tangzhong starter. The goal is to achieve a sticky, shaggy dough that eventually smooths out once the eggs—added one by one—fully emulsify into the starch-fat matrix.
The secret to a perfect pão de queijo isn't in the cheese; it’s in the physical transformation of the starch when it meets boiling fat. Master the scald, and you master the bread.
The Tangzhong Integration: A Modern Twist on Tradition
What is Tangzhong?
Originally popularized in Japanese and Chinese baking, the tangzhong method involves pre-cooking a portion of the starch in liquid to create a thick, pudding-like roux. By applying this to our recipe, we are effectively increasing the water-holding capacity of our dough. This doesn't just make the bread softer; it ensures that the interior remains elastic and chewy long after the bread has cooled. It is an insurance policy against the dreaded "stale" texture that often plagues gluten-free snacks.
Execution of the Roux
To create your tangzhong for this recipe, take a small portion of your total tapioca starch—about 10%—and whisk it with an equal amount of water and milk in a small saucepan over medium heat. Keep whisking constantly. You will see it transition from a milky liquid to a translucent, thick paste within ninety seconds. Once it reaches this stage, remove it from the heat immediately. This paste must be incorporated into the scalded starch mixture while still warm to ensure maximum homogeneity throughout the dough.
Why This Matters for Gluten-Free Baking
Gluten-free baking often suffers from a lack of structural support, leading to dry, crumbly textures. By utilizing the tangzhong technique, we create a more resilient network within the dough that can expand without collapsing. This allows us to push the boundaries of what is possible, resulting in a pão de queijo that is not only naturally gluten-free but has a sophisticated, premium mouthfeel that rivals the best bakeries in Minas Gerais.
Selecting the Right Cheese: The Flavor Profile
The Traditional Choice: Queijo Minas
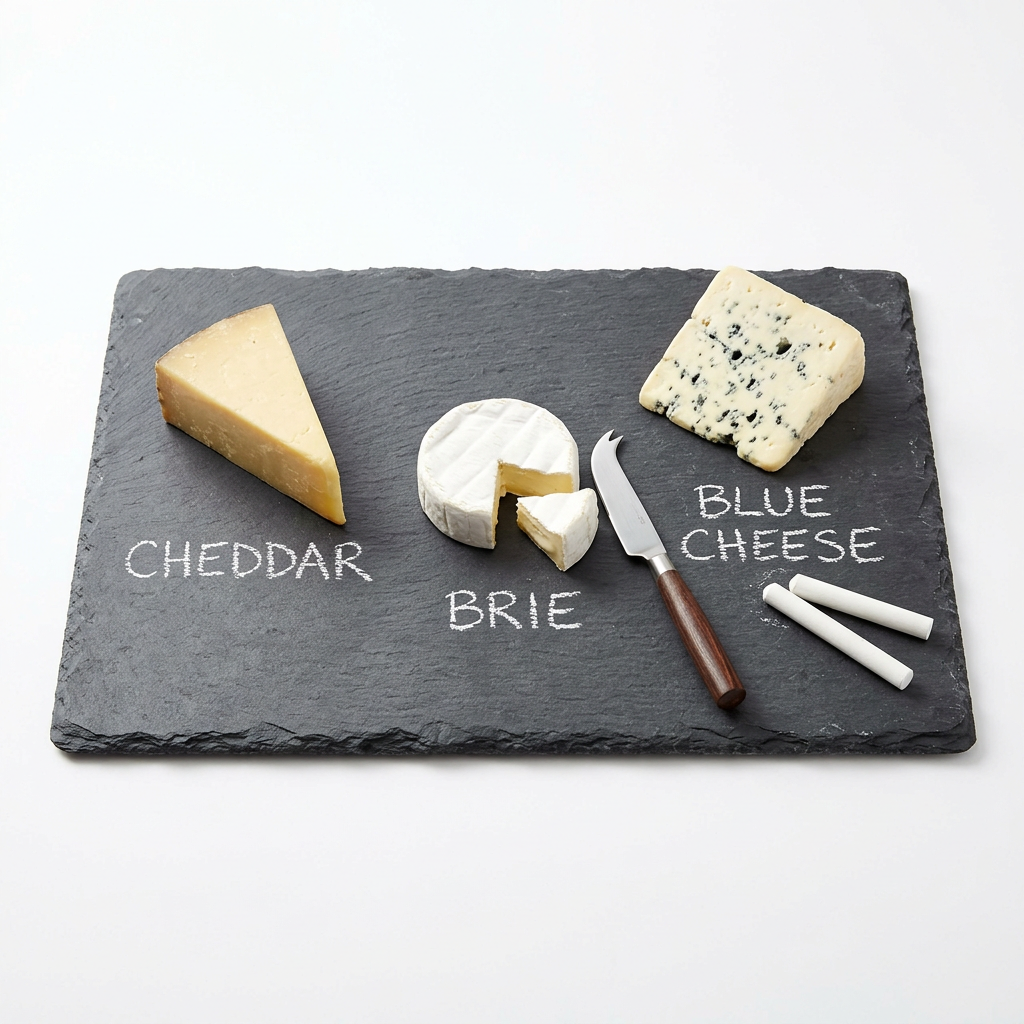
Authentic pão de queijo is almost exclusively made with Queijo Minas, a semi-hard, slightly acidic, and salty cheese that melts beautifully. In a domestic kitchen, this specific cheese is often difficult to source. Fear not; the secret to a great batch is not finding the exact Brazilian product, but rather finding a suitable domestic equivalent that mimics its sharp, savory profile and low moisture content.
Domestic Substitutes
We recommend a blend of Parmigiano-Reggiano for the salty, crystalline bite, combined with a mild, high-moisture cheese like mozzarella or jack to provide the stretch. The Parmigiano adds complexity, while the mozzarella ensures the iconic "cheese pull." Aim for a ratio of 70% hard, aged cheese to 30% stretchy, young cheese for the best results. Always grate your cheese finely; large shreds will disrupt the uniform expansion of the dough and cause the bread to bake unevenly.
The Impact of Age and Salinity
Be aware that the salt content of your cheese will significantly impact the final dough. If you use a particularly salty aged cheese, reduce the added salt in your liquid mixture. Taste your ingredients before you assemble. The dough should taste slightly over-salted before baking; much of that nuance will be absorbed by the starch during the cooking process.
Step-by-Step Methodology: Mastering the Scald
Phase 1: The Liquid Scald
Begin by bringing your water, milk, high-quality oil (neutral oils like avocado or light olive work best), and salt to a rolling boil in a heavy-bottomed saucepan. This must be a vigorous boil—not just simmering bubbles. Immediately pour this liquid over your measured polvilho in a large heat-proof mixing bowl. Use a heavy wooden spoon or a silicone spatula to mix the ingredients vigorously. The starch will immediately begin to clump; this is exactly what you want.
Phase 2: The Emulsification Process
Once the starch has cooled slightly—it should be warm to the touch but not blistering—start adding your room-temperature eggs. This is where most home cooks fail. You must add the eggs one by one, ensuring the dough fully absorbs each egg before adding the next. The mixture will look like a broken, messy, curdled disaster for the first few minutes. Do not panic. Keep mixing. Eventually, the elasticity of the eggs will bring the dough together into a cohesive, shiny, and sticky mass.
Phase 3: Incorporating the Cheese
Fold in your finely grated cheese blend. At this stage, you may also add optional aromatics such as finely minced rosemary, black pepper, or even a dash of smoked paprika for a unique profile. Work the cheese into the dough by hand or with a sturdy spatula until it is evenly distributed. You now have a dough that is ready for shaping or for a short period of resting, which can further improve the texture of the starch.
A common mistake is rushing the addition of the eggs. If you add them too quickly, the dough will never achieve the necessary emulsification required to trap the air bubbles that make pão de queijo so delightfully puffy.
Shaping, Resting, and Baking: Precision Timing
Shaping Techniques
The dough will be inherently sticky. To handle it, lightly grease your hands with a small amount of oil—never use flour, as this will destroy the gluten-free nature of the dish and affect the exterior texture. Roll the dough into balls about the size of a walnut. If you prefer, you can use a small cookie scoop for consistent sizing. Space them at least two inches apart on a parchment-lined baking sheet, as these breads will expand significantly during the bake.
The Importance of the Rest
While many recipes call for immediate baking, allowing the dough to rest for 30 minutes in the refrigerator before baking can improve the distribution of moisture. This short rest allows the tapioca starch to fully hydrate and ensures that the cheese flavor infuses into the starch matrix. It also helps the dough firm up slightly, making for a cleaner rise in the oven.
Oven Dynamics
Preheat your oven to 400°F (200°C). Professional bakers often use a convection setting for pão de queijo to ensure an even, golden-brown crust. Place the baking sheet in the center of the oven and bake for 20 to 25 minutes. Do not—we repeat, do not—open the oven door before the 18-minute mark. The drop in pressure can cause the breads to collapse instantly, resulting in dense, chewy pucks instead of airy, hollow spheres.
Troubleshooting the Common Pão de Queijo Pitfalls
The "Pancake" Problem
If your bread comes out of the oven flat, the culprit is usually one of three things: the liquid wasn't hot enough during the scald, your baking powder (if used) is expired, or your oven temperature dropped too much. Ensure your liquid is at a full, rolling boil at the moment of contact. Furthermore, verify your oven temperature with an independent thermometer, as many home ovens are off by 25 degrees or more.
The "Rubber Band" Texture
If the pão de queijo is overly tough or rubbery, you likely over-processed the dough or used a starch that was too high in acidity. While some acidity is desired, if the dough is overworked in a food processor, the starches can become too gummy. Stick to manual mixing once the eggs are added to ensure you have full control over the structural development of the dough.
The "Soggy Interior" Issue
If the bread is crusty on the outside but raw in the center, you likely baked them at too high a temperature for too short a time, or your dough balls were too large. Stick to a standard walnut-size portion to ensure the center reaches the correct temperature before the exterior burns. If you prefer larger breads, extend the baking time by 5-8 minutes and lower the temperature to 375°F (190°C) to allow the center to fully set without darkening the crust excessively.
Advanced Flavor Profiles and Variations
Savory Infusions
Once you have mastered the classic recipe, experiment with inclusions. Finely chopped sun-dried tomatoes (blotted dry of all oil) add a wonderful tang. Fresh herbs like thyme, chives, or oregano can transform the profile entirely. We suggest adding these flavorings at the final stage of mixing, just before you form the balls, to ensure they remain intact throughout the baking process.
The Dessert Variation
To create a sweet version, omit the cheese and replace it with a combination of white chocolate chips and a dash of cinnamon. This works surprisingly well because the neutral, chewy base of the pão de queijo acts as a perfect canvas for sweet applications. You can even glaze them with a thin honey-citrus syrup once they come out of the oven for a decadent finish.
Storage and Reheating
Pão de queijo is best enjoyed fresh from the oven, but it stores well. You can freeze the raw, shaped balls on a parchment-lined tray and then transfer them to a freezer-safe bag for up to two months. When you want a fresh batch, bake them directly from frozen, adding an extra 3-5 minutes to the total baking time. For previously baked bread, reheat in a 350°F oven for 5 minutes; avoid the microwave, as it will turn your perfectly crusty bread into a limp, soggy mess.
Final Thoughts
Mastering pão de queijo is a journey that rewards patience, precision, and an appreciation for the subtle shifts in ingredient behavior. We have moved past the basic instructions and entered the territory of culinary craft, where temperature, mixing technique, and the careful selection of cheese blend to create a snack that is both humble and extraordinary. By incorporating the tangzhong method, you have equipped yourself with a professional tool that ensures your gluten-free creations remain soft, elastic, and delightful for days.
The beauty of this recipe lies in its adaptability. Once you understand the underlying science—the scald, the emulsion, and the expansion—you are no longer a slave to a recipe card. You are a creator. You understand why your dough needs that specific heat, why the eggs must be added slowly, and how the starch interacts with the heat of the oven to produce those hollow, cavernous interiors. These are the details that distinguish a cook from a chef, and they are the skills that will elevate every other dish in your repertoire.
We encourage you to practice this recipe until you can perform the scald by feel and recognize the exact moment of emulsion by sight. Do not be discouraged by a flat batch or a slightly dense crumb on your first attempt; these are the lessons that build intuition. Whether you serve these as a sophisticated appetizer at a dinner party or a simple afternoon treat, you now possess the knowledge to execute them with authority. Embrace the process, respect the chemistry, and most importantly, enjoy the incredible, addictive result of your hard work. Welcome to the elite tier of home bakers, where the only thing you have to blame is the chef—you.



Get the Next Recipe
Weekly recipes, techniques, and gear picks — straight to your inbox.
