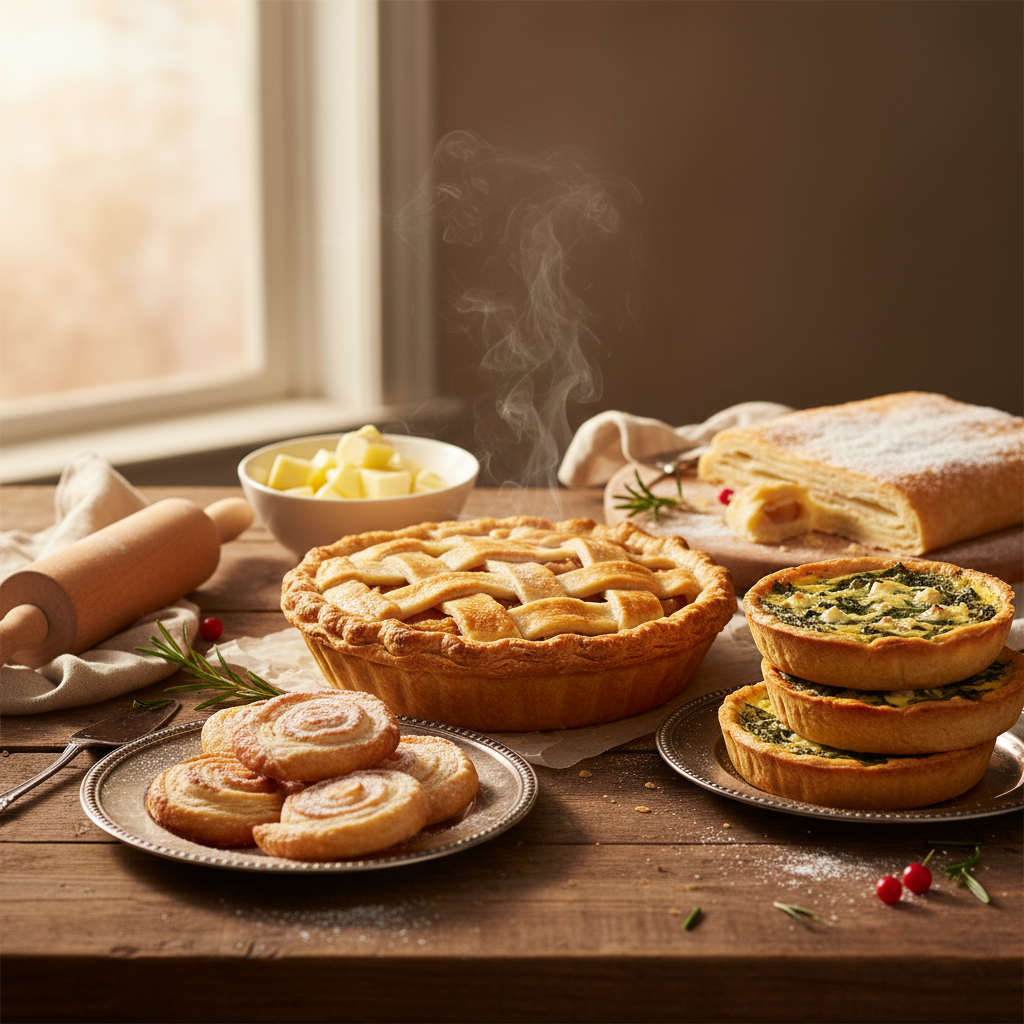
Perfecting Pastry: 7 Essential Techniques for Making Light and Flaky Crusts at Home
Pastry is one of the most versatile and beloved elements of cooking, gracing our tables in the form of pies, tarts, and pastries alike. For many home cooks, the prospect of creating a perfect pastry at home might seem daunting. The flaky, buttery crusts that elevate humble fillings to gourmet status often feel just out of reach. However, with the right techniques and a little practice, you can master the art of pastry. This blog post aims to demystify this essential skill by laying out the seven fundamental techniques critical for achieving light and flaky crusts at home.
Understanding pastry is more than just following a list of ingredients; it’s about recognizing how each component interacts within the dough. Flour, butter, and water are the “big three” of pastry-making. However, elements such as temperature, mixing technique, and resting time also play pivotal roles in your crust's final texture and flavor. Armed with the knowledge of these essential techniques, you'll approach your next baking project with confidence and creativity, enhancing your overall culinary prowess.
It’s worth noting that the joy of baking pastry goes beyond the end product. The process itself can be incredibly rewarding, allowing you to engage with your ingredients and channel your creativity. So, let’s roll up our sleeves, dust the counter with flour, and dive into the world of pastry-making. You’ll soon find that the joy of creating a buttery, flaky crust is well within reach.
1. Understanding Your Ingredients
Before diving into making pastry, you should first understand the key ingredients and their roles.
Flour
All-purpose flour is the most commonly used flour for making pastry, striking a balance between strength and tenderness. Its moderate protein content (about 10-12%) helps in developing gluten, which provides structure. Use pastry flour for a more tender crust; it has a lower protein content (about 8-10%), making it perfect for flaky, delicate pastries.
Fat
Butter is typically the fat of choice in pastry-making due to its rich flavor and ability to create a flaky texture. When butter is cut into the flour, it forms layers, and during baking, the water in the butter steams, creating the flaky structure.
Water
Cold water is essential in binding the dough together. The colder the water, the less likely it is to melt any fat before the baking process. This helps maintain those crucial layers that result in flakiness.
Salt and Sugar
Salt enhances flavor and tightens gluten. If you're making a savory pastry, salt is crucial; for sweet pastries, a little sugar can enhance the flavor while also contributing to browning.
Understanding these ingredients is the first step toward crafting the perfect pastry crust.
2. Mastering the Techniques of Mixing
One of the most critical aspects of pastry-making is how you mix your ingredients. Each method can yield different results depending on how you handle your dough.
Cutting in Butter
The "cutting in" method is where fat is blended into the flour. This can be done using a pastry cutter, a fork, or even your hands. The goal is to create small clumps of butter distributed evenly throughout the flour.
Steps to cut in butter:
Mixing by Hand Versus Machine
While cutting in can be done by hand, using a food processor can save time. However, it’s crucial to pulse rather than fully blend the ingredients, ensuring that you don’t overmix the dough, which will produce a tough pastry.
Best Practices:
Hydration
The amount of water you add to your dough is vital for its texture. Adding too much moisture can lead to a sticky mess, while too little will result in a dry, crumbly crust. It’s important to add water gradually—typically, the ratio is about 1 teaspoon at a time.
Mixing Techniques Overview:
By mastering these mixing techniques, you lay the groundwork for a pastry that’s both tender and flaky.
3. Rolling and Shaping Your Dough
Once your dough is mixed, the next step is rolling and shaping. This is where many home bakers find themselves at a crossroads, unsure of how thin to roll or how to prevent sticking.
Chilling the Dough
Before you roll out your dough, give it a resting period in the refrigerator for at least 30 minutes. This allows the gluten to relax and makes rolling much easier.
Rolling Technique
Transferring Dough
Transfer your rolled dough to the pie dish or tart pan carefully to maintain the shape. Use the rolling pin to help lift the dough, draping it over your fingers for support.
Best Practices:
Shaping Crusts
When shaping your crust, consider different edge finishes:
Taking your time during the rolling and shaping process not only enhances the crust’s texture but also adds a personal touch.
4. Blind Baking
Blind baking is the process of pre-baking your crust before adding the filling. This technique is essential for custard-filled tarts or any filling that doesn’t require long baking times.
The Importance of Blind Baking
Blind baking helps prevent soggy bottoms by ensuring the crust is partially cooked before adding wet filling. It sets the fat to create flakiness, and you'll achieve a perfect golden-brown base.
Steps for Blind Baking
Final Considerations
With these essential blind baking methods, you can ensure that your pastry crust stands up to the filling's moisture and maintains its crispness.
5. Utilizing Egg Wash for Shine and Color
One way to enhance visually appealing pastry crusts is by using an egg wash. This mixture of beaten egg, milk, or water is brushed on before baking to impart a golden shine and attractive coloring to your crust.
The Benefits of Egg Wash
Using an egg wash not only improves the appearance of your finished pastry but can enhance the flavor as well.
Tips for a Perfect Egg Wash:
Alternatives to Egg Wash
If you prefer a vegan option or are out of eggs, consider:
This simple technique can elevate the aesthetics of your pastry and impress your family and friends.
6. Adding Flavors and Textures
While a simple pastry crust is delicious in its own right, taking the time to add flavor and texture can elevate your dish to gourmet status.
Infusing Flavor into Your Dough
Creating Layers
You can also create layers in your dough to enhance flakiness:
Textural Additions
Consider adding toppings or fillings that contribute to textural contrast.
These creative techniques will not only enhance flavor but will also make your pastries stand out both visually and gastronomically.
7. Storing and Freezing Pastry
Now that you’ve mastered the techniques of pastry, it’s essential to know how to store or freeze your creations properly to ensure they last.
Proper Storage Techniques
Freezing Pastry
Freezing is an excellent option for pre-made dough or even fully baked items.
How to Freeze Dough:
Freezing Baked Pastries:
Thawing Techniques
Understanding how to store and freeze your pastry not only saves time on busy cooking days but also maximizes your efforts, ensuring each bite is as delightful as intended.
Conclusion
Perfecting your pastry-making skills requires patience, practice, and a willingness to experiment. From understanding your ingredients to mastering essential techniques, each element plays a vital role in creating an exquisite flaky and tender crust.
As you journey into the world of pastry, remember that every experienced baker was once a beginner. Be bold with flavors, experiment with shapes, and don’t fear the occasional mishap. With time, you'll find your rhythm, creating standout pastries that will have friends and family raving over your culinary creations.
The joy of baking is not solely in the final product; it’s in the learning process, the hands-on experience, and the ability to bring joy through the art of cooking. So go ahead, roll out that dough, and make your kitchen a haven of delicious possibilities. Happy baking!


Get the Next Recipe
Weekly recipes, techniques, and gear picks — straight to your inbox.
