Baking a decadent chocolate cake is an endeavor that speaks to the heart of home cooking, inviting both beginners and experienced bakers to create something magical. The sheer richness of chocolate, mixed with the delicate balance of sweetness and texture, can elevate a simple cake into a memorable experience. While anyone can whip up a chocolate cake with a basic recipe, truly perfecting the art of layering flavors transforms it into a dessert that tantalizes the taste buds and lingers in the memory long after it’s been devoured. This blog post will guide you through the intricate process of creating a chocolate cake that is not just tasty but also a feast for the senses.
When embarking on this delicious journey, it's essential to understand that layering flavors is about more than just mixing ingredients; it’s about harmonizing aromas, tastes, and textures in a way that enhances each element of the cake. From the base of the rich chocolate batter to the finishing touches of frosting and garnishes, every layer plays a critical role. The goal is to create a dessert where the taste of chocolate is profound yet nuanced, allowing hints of other flavors to dance around it like a sweet symphony.
To achieve a complex, satisfying chocolate cake, one must pay attention to the choice of ingredients, the technique used in mixing, and the way in which each component is incorporated. This post aims to equip you with the knowledge and confidence to explore the world of flavor layering, so that your home-baked chocolate cakes can become a hallmark of your culinary repertoire. Let’s dive into the core components of making a rich, flavorful chocolate cake that will delight everyone who has the pleasure of tasting it.
Choosing the Right Chocolate
Chocolate is the heart of your cake, so selecting the right type is crucial. Quality matters, and using superior chocolate will greatly enhance the flavor profile of your finished product. You have a choice between three primary types of chocolate: unsweetened, bittersweet, and semi-sweet. Each type brings a unique character to the cake.
Understanding Chocolate Types
●Unsweetened Chocolate: This type is purely made from chocolate liquor and does not contain sugar. It’s perfect for recipes that call for added sweetness, as you can control how much sugar to add yourself. When using unsweetened chocolate, it’s best to melt it gently and incorporate it into the batter for a deep chocolate flavor.
●Bittersweet Chocolate: Falling between sweet and unsweet, this chocolate has a cocoa percentage of around 60-70%. It provides a rich chocolate taste while still being slightly sweet. Bittersweet chocolate is great for creating a balanced cake that isn’t overpoweringly sweet.
●Semi-Sweet Chocolate: Often found in chocolate chips, semi-sweet chocolate typically contains about 50-60% cocoa and has a sweeter profile. It is perfect for those who prefer a sweeter cake or for layering in chocolate chips within the batter for added texture.
The Melting Process
The way you melt chocolate can significantly affect the end result. For a decadent chocolate cake:
1.Chop the Chocolate: Always chop your chocolate into small, uniform pieces to ensure even melting. Aim for pieces about 1/2-inch in size.
2.Use a Double Boiler: Set up a double boiler by placing a heatproof bowl over a pot of simmering water. This gentle method minimizes the risk of burning the chocolate.
3.Stir Constantly: As the chocolate begins to melt, stir continuously until fully melted and smooth. Be cautious to keep moisture from getting into the chocolate, as it could seize.
4.Cool Before Adding: Let the melted chocolate cool slightly before adding it to the batter. If added when too warm, it can curdle eggs and affect the final texture.
The Importance of Quality Ingredients
Apart from chocolate, the quality of other ingredients also plays a significant role in the flavor and texture of your cake. While it may be tempting to opt for lower-cost alternatives, investing in high-quality ingredients results in a more flavorful, moist cake.
Flour Selection
The type of flour you choose can influence the texture of your chocolate cake:
●All-Purpose Flour: This is the most common flour for baking. It will yield a soft, tender cake when combined with the right amount of liquids.
●Cake Flour: If you’re seeking a lighter, more delicate cake, cake flour is ideal. It has a lower protein content, leading to a tender crumb.
●Whole Wheat Flour: Offering a more nutty flavor and denser texture, whole wheat flour can be used in combination with all-purpose flour for a healthier alternative.
Sugar Types
The kind of sugar used is also vital:
●Granulated Sugar: This is used in most cake recipes and helps create volume by aerating the batter when creamed with butter.
●Brown Sugar: Utilizing brown sugar will lend a lovely caramel note to your cake while adding moisture due to its molasses content.
●Powdered Sugar: Primarily used in frosting, powdered sugar can also be used in some recipes where a smoother sweetness is desired.
Eggs and Dairy
Freshness is key here. Always use large eggs, as they provide the necessary structure and moisture. Similarly, using high-quality dairy products, such as unsalted butter and full-fat milk or buttermilk, contributes to the richness and flavor of your cake.
"Quality ingredients are the foundation of a truly wonderful chocolate cake. Don't shy away from investing in the best — your taste buds will thank you!"
Mixing Techniques for the Perfect Batter
Once the ingredients are selected, it's time to focus on the mixing techniques, which are critical to creating the ideal cake structure.
Creaming Method
The creaming method is foundational in baking and is especially important for chocolate cake:
1.Soften Your Butter: Start with unsalted butter at room temperature. It should be soft but not melted.
2.Beat the Butter and Sugar: In a bowl, combine the softened butter and sugar, mixing on medium speed until light and fluffy. This process can take anywhere between 2 to 5 minutes.
3.Add Eggs One at a Time: Incorporate eggs one by one, mixing well after each addition. This ensures a stable emulsion, giving your cake a structure that will rise beautifully.
4.Alternate Dry and Wet Ingredients: When adding dry ingredients (like flour, cocoa powder, baking soda) and wet ingredients (like milk or sour cream), alternate between the two. Start with a portion of dry ingredients, followed by wet, mixing gently without overmixing.
Folding Techniques
If you are incorporating whipped egg whites or heavy cream into the batter, adopt the folding technique:
●Use a Gentle Touch: With a spatula or a large spoon, cut through the batter, scoop from the bottom, and fold over the top. Rotate the bowl as you do this to ensure even mixing without deflating the whipped components.
●Avoid Overmixing: The goal is to combine without losing air, which is critical for a light cake texture.
Ensuring Moisture
Adding moisture will enhance flavor and texture:
●Sour Cream or Yogurt: Incorporate sour cream or yogurt for a rich, moist cake that maintains its freshness longer.
●Oil: A small amount of vegetable oil mixed with the batter can offer extra moisture and tenderness.
Baking and Cooling Your Cake
The baking process is where everything comes together, and proper technique here can dictate the difference between a dry, crumbly cake and a moist chocolate delight.
Baking Temperature and Time
A typical chocolate cake requires the following:
●Preheat Your Oven: Set your oven to 350°F (175°C). This helps ensure even baking and a proper rise.
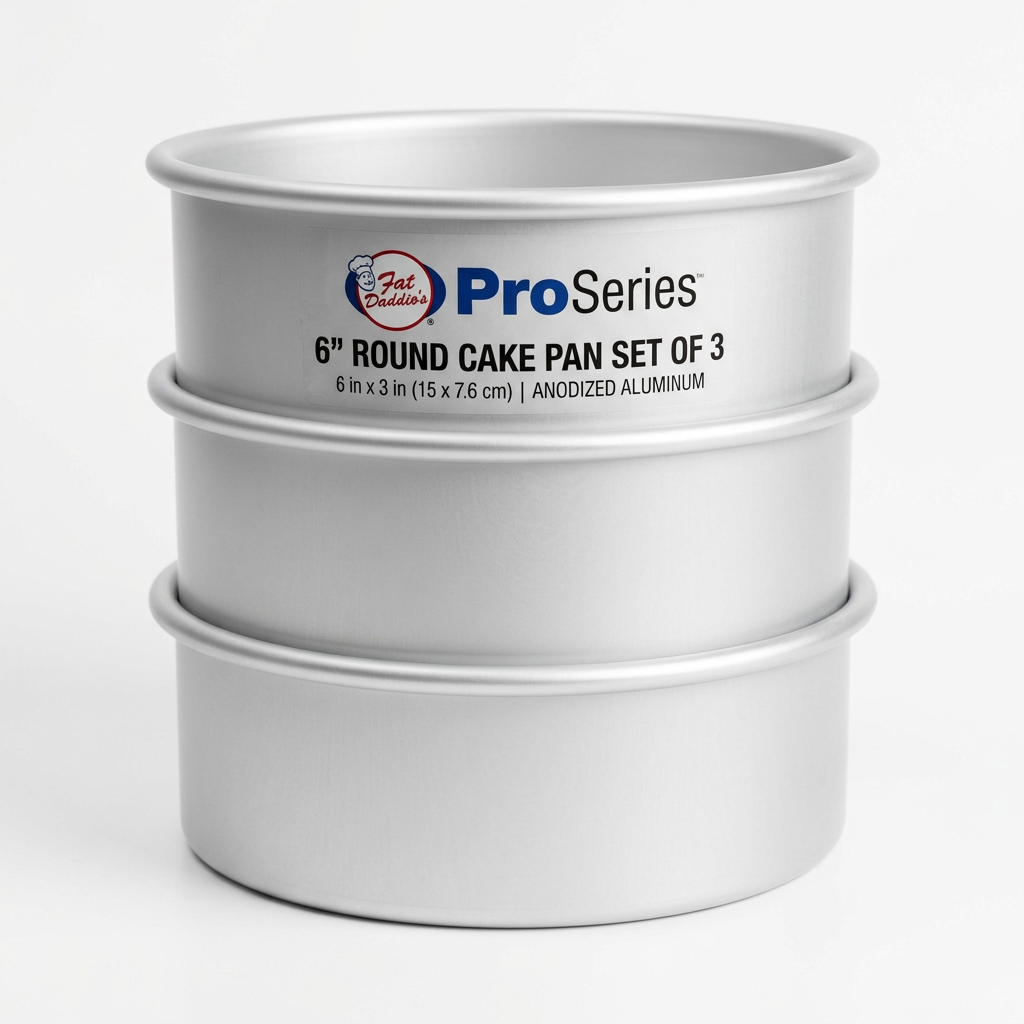
●Choose the Right Pan: Use quality, non-stick round or square cake pans. For optimal results, line your pans with parchment paper to avoid sticking.
●Baking Time: Bake for 25-35 minutes for round layers and 30-40 minutes for a larger rectangular cake. Start checking for doneness a few minutes before the minimum time by inserting a toothpick into the center; it should come out clean or with a few crumbs attached.
Cooling Techniques
Proper cooling is critical to maintain moisture and prevent your cake from becoming soggy.
1.Cool in the Pan: Once baked, let the cake cool in the pan for 10-15 minutes. This step ensures that the cake remains stable and doesn’t break when flipped out.
2.Transfer to a Wire Rack: Carefully remove the cake from the pan and place it on a wire rack to cool completely. This allows moisture to escape and prevents sogginess.
3.Wrap for Freshness: If you need to store the cake, wrap it tightly in plastic wrap. This preserves moisture until you’re ready to frost or serve.
"Cooling is as crucial as baking. Take your time, and ensure your cake is perfectly cooled before frosting."
Layering Flavors with Frosting and Fillings
To enhance the taste of your chocolate cake, consider the frosting and fillings. Different layers can offer complex flavors that complement the rich chocolate.
Frosting Options
●Classic Chocolate Buttercream: A staple for chocolate cakes, this frosting blends butter, powdered sugar, cocoa powder, and milk. Use high-quality cocoa powder for a more intense flavor.
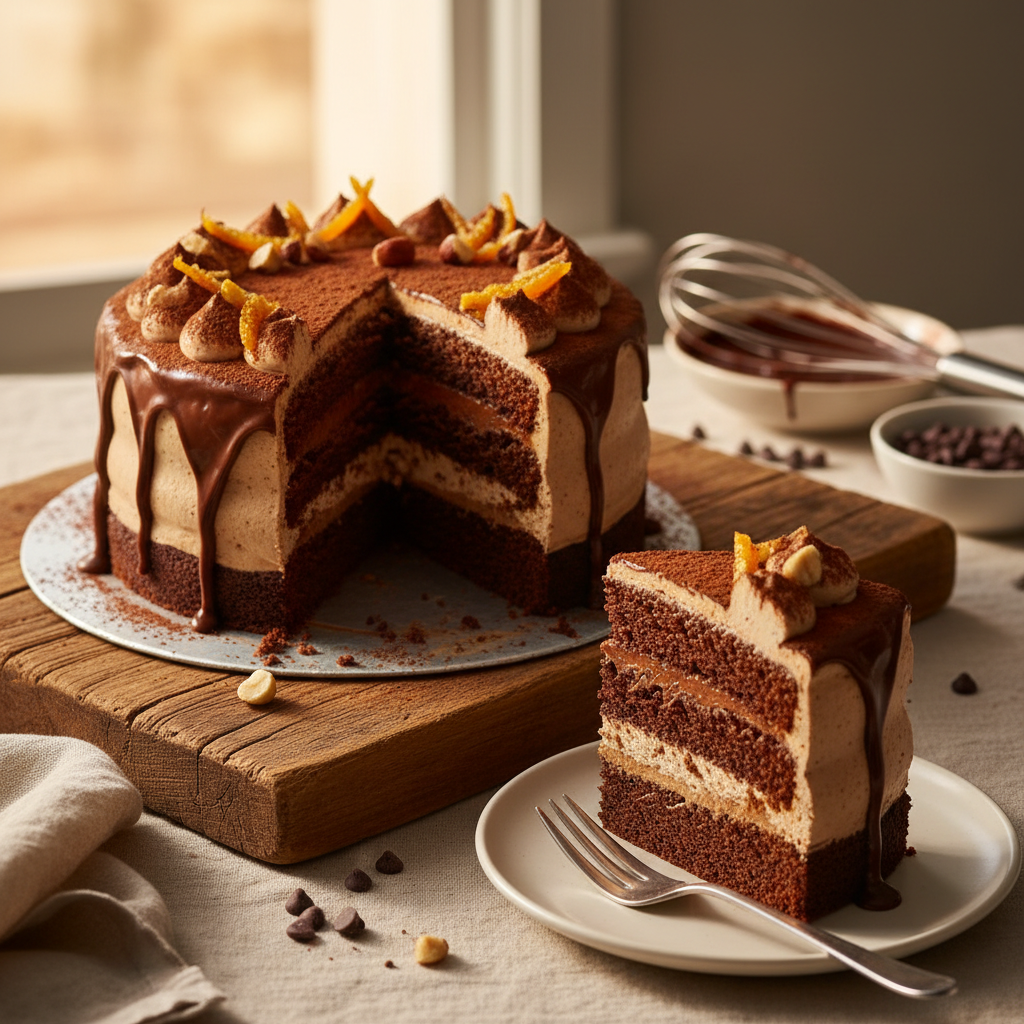
●Ganache: Made from heavy cream and chocolate, ganache can be poured over the cake for a luxurious finish. Allow it to cool slightly before pouring to ensure it doesn’t slide off, creating a gorgeous drip effect.
●Flavored Frostings: Consider adding flavors such as espresso, vanilla, or even orange zest to your buttercream for added depth. These subtle additions can make a noticeable difference.
Maximizing Flavor with Fillings
●Fruit Fillings: Layering in fruit preserves, such as raspberry or cherry, can provide a tart contrast to the richness of chocolate.
●Spiced Layers: Integrating spices such as cinnamon or cardamom into your fillings can elevate the flavor profile and bring warmth to your cake.
●Matching Frosting and Filling: Ensure that your filling complements your frosting. For instance, a citrus frosting pairs well with berry preserves, while a deep chocolate ganache is better suited for a rich chocolate filling.
Decorating Your Cake
Once your cake is frosted and filled, it’s time to think about decoration. This step is not just about aesthetics; it can enhance flavor and texture, making your cake truly unforgettable.
Basic Decorating Techniques
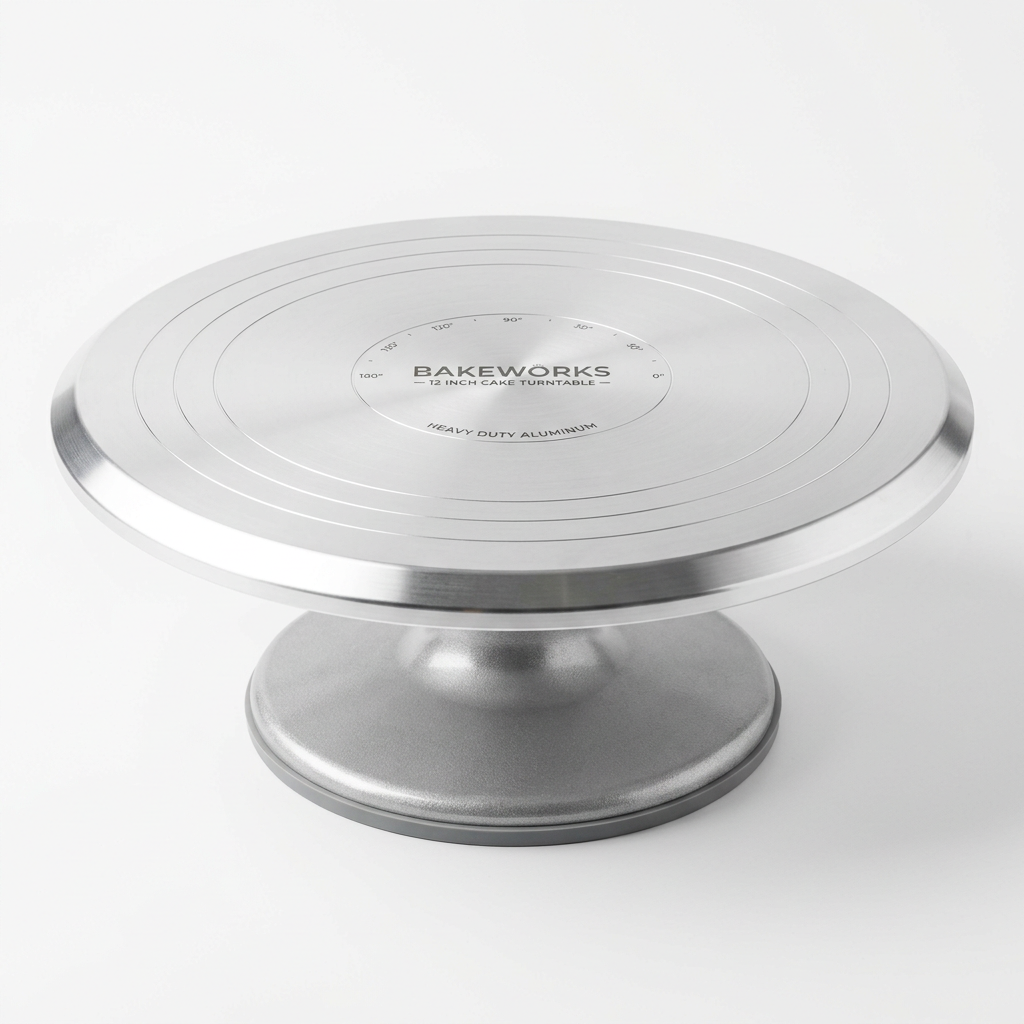
1.Smooth Frosting: Use a bench scraper or an offset spatula to create a sleek, smooth finish on the sides of your cake.
2.Textured Frosting: For a rustic look, create swirls or peaks using the back of a spoon or the tines of a fork.
3.Drip Effect: Pouring ganache over the top edge of the cake allows it to drip down the sides, creating a dramatic appearance.
Creative Garnishes
●Chocolate Shavings: Use a vegetable peeler to create delicate chocolate shavings as an elegant topping.
●Edible Flowers: Adding flowers, such as violets or pansies, can introduce color and a delightful presentation.
●Nuts or Sprinkles: A sprinkle of crushed nuts, such as pistachios or pecans, can provide a textural contrast.
Serving Suggestions
When it comes time to serve your cake, consider:
●Temperature: Serve the cake at room temperature so that the flavors shine. If refrigerated, bring it out about 30-60 minutes before serving.
●Garnishing Individual Slices: For a personal touch, add a dollop of whipped cream or a sprinkle of sea salt to individual servings.
Final Thoughts
The process of baking a decadent chocolate cake goes beyond simply combining ingredients; it’s an exploration of flavors, textures, and techniques that require a careful balance and thoughtful approach. From selecting quality chocolate and other essential ingredients to employing proper mixing and baking methods, each step adds to the final outcome. Layering flavors leads you to not only a visually stunning chocolate cake but one that ignites the senses and creates lasting memories for those who indulge.
Remember, baking is also about experimentation. Don’t hesitate to try new combinations or techniques. With each cake you create, you'll gain confidence and develop your unique style, ensuring that your decadent chocolate cake will always be a standout, whether for celebrations or simply treating yourself. So, roll up your sleeves, gather your gear, and let the chocolate adventure begin!