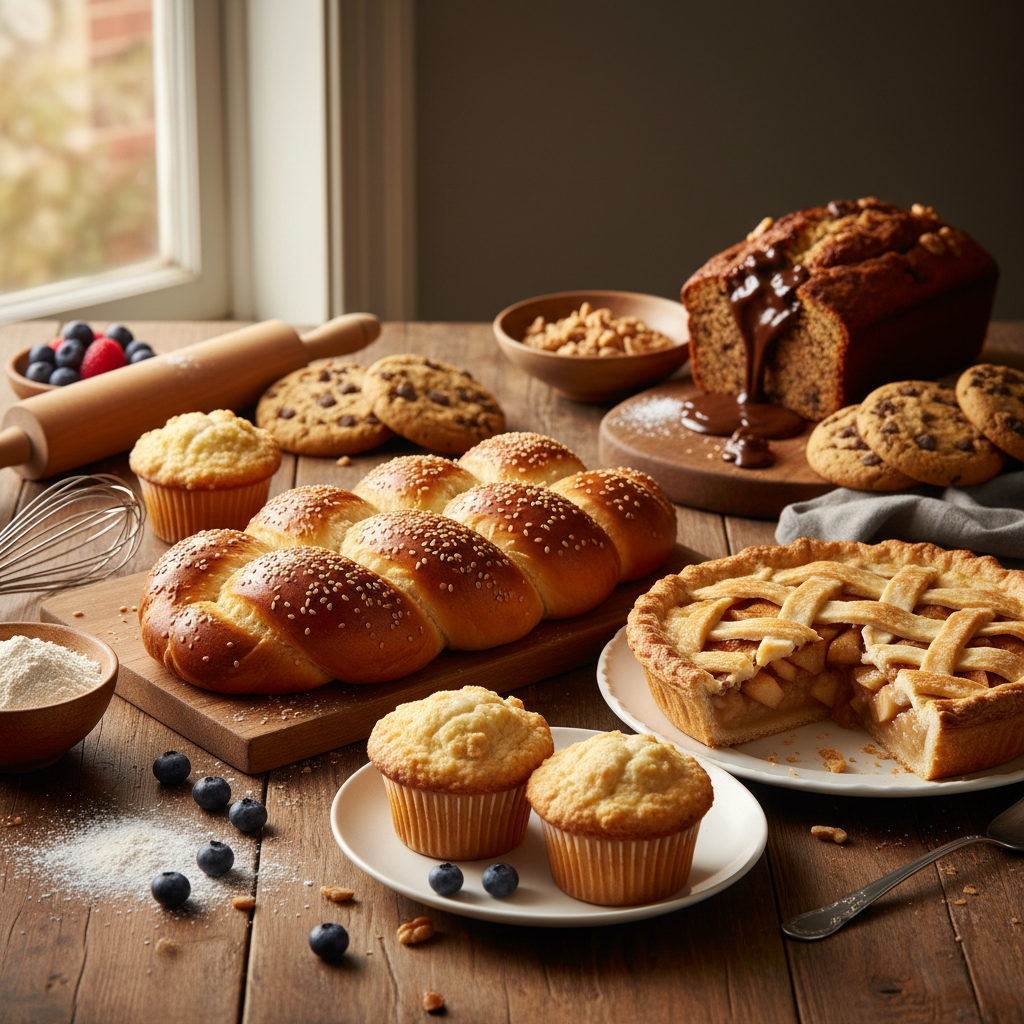
Secrets to Perfect Baking: 10 Essential Techniques Every Home Baker Should Know
Baking is often seen as both an art and a science, where precision and creativity must intertwine seamlessly. The allure of freshly baked bread, cakes, and pastries brings joy not only to those who consume them but also to those who create them. However, many home bakers face hurdles that can prevent their culinary dreams from coming to fruition. The secrets to perfect baking lie in understanding the essential techniques and tools that can make a significant difference in your results. Whether you're a seasoned baker or a novice, mastering these techniques will elevate your baking game and ensure consistently delectable treats.
As you embark on your baking journey or refine your existing skills, it’s vital to understand that successful baking doesn’t solely depend on following a recipe step by step. While precise measurements and timings are crucial, a true baker must also grasp the underlying principles of how ingredients interact with one another. Understanding the interactions between flour, fat, sugar, and eggs is key. Each ingredient plays a specific role, and how you handle them can lead to heavenly results or disappointing failures. A little knowledge about techniques can transform your baking prowess, enabling you to troubleshoot any mishaps and innovate on the spot.
In this exploration of baking mastery, we will delve into ten essential techniques every home baker should know. From understanding the importance of ingredient temperature to using the right tools, each section aims to provide insights that not only improve your baking results but also enhance your enjoyment of the process. Let’s roll up our sleeves, preheat the oven, and start uncovering the secrets that will make your baking endeavors truly exceptional.
Mastering Measurements
Importance of Accurate Measurements
Accurate measurements are the cornerstone of successful baking. Unlike cooking, where you can often wing it and adapt recipes to taste, baking requires precision. This is because baked goods rely on the chemical reactions between ingredients to rise and develop flavor. When measurements are off, even by a small margin, the outcome can be drastically altered.
There are two main systems for measuring ingredients: weight and volume. While many recipes may provide measurements in cups and teaspoons, using a kitchen scale for weighing ingredients is highly recommended. It eliminates discrepancies that can arise from variations in how ingredients are packed, especially with dry goods. For instance, a cup of flour can weigh anywhere from 120 to 150 grams depending on how it's scooped.
“A perfectly measured ingredient is a key for unlocking the door to baking success.”
When measuring by weight, here are some general conversions to remember:
Measuring Techniques
When measuring your ingredients, ensure that you're using the right techniques to achieve accuracy:
By following these habits consistently, you'll ensure that your baked goods remain consistent, delicious, and free from the pitfalls of incorrect measurements.
Ingredient Temperatures Matter
Room Temperature Ingredients
Using ingredients at the right temperature is crucial for achieving optimal texture and consistency. Most recipes call for ingredients like butter, eggs, and dairy to be at room temperature, typically around 68°F to 72°F (20°C to 22°C). This prevents the formation of lumps and helps achieve even mixing.
How to Quickly Bring Ingredients to Temperature
Sometimes you need to bake on a whim, and your ingredients aren’t at room temperature. Here are a few tips to expedite the process:
By ensuring the right temperatures, you set the stage for better incorporation of ingredients, leading to superior baked goods.
The Art of Mixing
Types of Mixing Methods
Mixing is more than just stirring; it’s a technique that can drastically affect the texture and flavor of your baked goods. Understanding various mixing methods is essential:
“The way you mix is as important as what you mix; finesse can be the difference between a masterpiece and a flop.”
Signs of Proper Mixing
Knowing when to stop mixing is key:
By mastering these mixing techniques, you'll achieve a range of textures that elevate your baking.
Temperature Control: The Oven’s Role
Preheating Your Oven
One of the most critical steps in baking is to preheat your oven. This ensures that your baked goods begin cooking at the right temperature, leading to even baking. Different recipes may specify different preheat temperatures, but a general rule of thumb is to preheat for at least 15 to 20 minutes before placing items in the oven.
Oven Thermometer
Many home ovens can be off by a significant margin, thereby affecting your baking results. Investing in an oven thermometer is a wise decision to ensure your baked goods cook at the desired temperatures.
Baking with Conventional and Convection Ovens
Understanding the difference between conventional and convection ovens can also refine your baking:
“Knowing your oven inside and out is like being on friendly terms with an old companion; it can help you deliver beautiful baked goods every time.”
Baking Time and Timing
Understanding Baking Times
Baking times vary widely based on the type of baked good and even the specific oven in use. Cakes may take anywhere from 20 to 40 minutes, while cookies may bake in as little as 10 minutes.
Timing Techniques
Timers are crucial in baking. For complex recipes, consider setting multiple timers or reminders. Here’s how:
Cooling Time
Cooling is just as important as baking. It may be tempting to cut into your cake right out of the oven, but letting it cool can result in better texture and flavor.
Essential Baking Tools
Must-Have Baking Instruments
Investing in quality baking tools can significantly impact your results. Here’s a list of essential tools every baker should have:
Specialty Tools
For the more adventurous baker, specialty tools can elevate your baking game:
Maintenance of Baking Tools
Investing in tools is just one part of the equation, maintaining your tools is vital for long-term success.
“Your tools are your companions in the kitchen; treat them well, and they will serve you deliciously.”
Advanced Techniques for Unique Flavors and Textures
Flavor Enhancements
In baking, you can elevate standard recipes with a few advanced techniques:
Textural Variations
Experimenting with textures creates exciting outcomes:
Alternative Baking Techniques
Baking doesn’t always have to be traditional; consider some alternatives:
By embracing these advanced techniques, you unlock a world of possibility in the baking realm, allowing creativity to take centre stage.
Conclusion
Becoming a proficient baker takes time, practice, and a good understanding of fundamental techniques. As you experiment with various recipes and methods, remember that the keys to success are in the details. Accurate measurements, proper ingredient temperatures, and mastering mixing techniques all contribute to creating delightful baked goods. Additionally, investing in the right tools and taking the time to understand your oven’s quirks significantly enhances your baking experience.
Ultimately, baking is not just about following recipes; it's about developing an intuition for the process. As you continue to immerse yourself in baking, remember to enjoy the journey, learn from your mistakes, and celebrate your successes. Sharing your creations with family and friends adds to the joy, turning each baking session into a cherished memory.
With these 10 essential techniques in your back pocket, you're now well-equipped to tackle any recipe that comes your way. So preheat the oven, gather your ingredients, and let your imagination and taste buds lead you to create some magic. Happy baking!




Get the Next Recipe
Weekly recipes, techniques, and gear picks — straight to your inbox.
