Should You Oil Cast Iron After Every Use?
The world of cast iron is often shrouded in a thick layer of folklore, conflicting advice, and downright intimidation. You have likely heard the tales of the "pristine" skillet, passed down through generations, which is never touched by soap and always oiled with the precision of a watchmaker. Many home cooks approach their cast iron with a sense of trepidation, fearing that a single misstep—like letting it soak for a minute too long or forgetting to apply a layer of fat—will result in an immediate, rusted catastrophe. This apprehension is understandable, as cast iron behaves differently than the non-stick surfaces or stainless steel pans that populate most modern kitchens. However, the truth about maintaining this heavy-duty workhorse is far less demanding than the internet would lead you to believe, rooted instead in simple chemistry and consistent, common-sense care.
When we talk about the legendary "seasoning" of cast iron, we are really discussing the polymerization of fats. This is the process where oil is heated to its smoke point, transforming it from a liquid coating into a hard, plastic-like layer that bonds to the metal surface. This layer is what provides the pan with its natural non-stick properties and serves as a vital shield against moisture, which is the primary enemy of iron. Understanding this chemical bond changes the entire perspective on maintenance. Instead of treating your pan like a delicate artifact, you should view it as a living surface that gets better the more you use it. The questions regarding oiling, cleaning, and storing are all simply strategies to ensure that the integrity of this polymer layer remains intact over the decades.
Ultimately, the goal of this guide is to strip away the anxiety that surrounds cast iron ownership. You do not need to follow a rigid, exhausting ritual after every single meal to keep your pan in top condition. Professional kitchens treat these pans as tools meant for high-heat, high-volume production, yet they survive for decades of service. By learning the fundamental principles of thermal expansion, fat management, and moisture control, you can master your cast iron with confidence. Let’s dive deep into the science and practice of maintaining your cookware, helping you decide exactly when—and why—that bottle of oil should come off the shelf.
The Science of Seasoning and Polymerization
To understand why we oil cast iron, we must first define what the seasoning actually is. It is not, as some beginners suspect, just a layer of grease sitting on the surface. When you apply a thin layer of cooking oil and heat it, the triglycerides in the oil break down and cross-link into a solid film. This polymerized layer is essentially a bonded finish that protects the iron substrate from oxidation. When you introduce moisture to raw iron, the metal reacts with oxygen to form iron oxide—better known as rust. By maintaining a robust seasoning, you are physically preventing the environment from damaging the metal.
The Role of Smoke Points
Not all fats are created equal when it comes to building or maintaining a seasoning layer. You want to choose oils with a high smoke point to ensure they polymerize efficiently before they simply burn off. Grapeseed oil, refined avocado oil, and even standard vegetable oil are excellent candidates because they can withstand the high temperatures required to set the seasoning. Oils like extra virgin olive oil or butter have lower smoke points and higher water content, making them less ideal for building a durable foundation, though they are fine for everyday cooking once the pan is already well-seasoned.
Why Thickness Matters
One of the most common mistakes home cooks make is using too much oil. If you apply a thick, gloppy layer, the oil will not polymerize evenly. Instead, it will become gummy and sticky, creating a mess that will ruin your cooking surface the next time you heat the pan. The rule of thumb in professional kitchens is the "wipe on, wipe off" technique: apply a tiny amount of oil, then use a clean cloth or paper towel to wipe it away as if you made a mistake and are trying to remove it all. That microscopic layer remaining is exactly what you need to create a slick, durable finish.
"The secret to a perfect cast iron surface is not how much oil you apply, but how much you remove before heating. Less is almost always more when it comes to maintaining that signature sheen."
Should You Oil After Every Use?
The short answer is: it depends on your cleaning method and the state of your pan. If you scrub your cast iron with hot water and a mild soap, you are removing surface debris, but you might also be thinning that protective layer of lipids. In this case, a quick refresh with a tiny dab of oil is a great way to "top off" your protection. If you have merely wiped the pan clean after a light cook, you might not need to add any oil at all. The key indicator is the visual appearance of the pan; if it looks dull or dry, it craves a coat of oil. If it looks shiny and dark, it is already well-protected.
The Moisture Factor
Moisture is the primary catalyst for rust. If you live in a humid climate, oiling your pan after every use is a smart insurance policy. Even if you dry the pan thoroughly with a towel, microscopic pores in the iron can hold water. By heating the pan on the stove for a minute to evaporate that water, and then rubbing a drop of oil over the surface while the metal is warm, you are effectively sealing those pores. This is particularly important for pans that are stored in cabinets where air circulation might be limited.
When Oiling is Redundant
If you frequently cook high-fat foods like bacon, sausage, or even shallow-fried chicken, your pan is constantly being "refreshed" by the fats used in your cooking. In these scenarios, adding more oil after cleaning is often redundant. You can simply wipe the pan dry and store it. The goal is to keep the iron from being exposed to air and water. If you have just seared a steak in oil, your pan is already perfectly seasoned for the next session.
Effective Cleaning Techniques
The myth that you must never use soap on cast iron is a relic of the days when soap contained harsh lye that could strip away fat. Modern dish soaps are surfactants designed to lift grease and debris, not strip the chemically bonded polymer of a well-seasoned pan. You can absolutely use a small amount of mild dish soap to clean your cast iron. The critical factor is what you do after the cleaning is finished. You should never, under any circumstances, let your cast iron soak in a sink of water, as this will lead to immediate rusting and the degradation of your hard-earned seasoning.
The Scrubbing Process
Use a stiff-bristled brush or a chainmail scrubber to remove stubborn bits of food. If you have burnt-on debris, try the "salt scrub" method: pour a half-cup of kosher salt into the pan and use a folded paper towel to scrub the surface vigorously. The salt acts as an abrasive that clears the debris without damaging the seasoned layer. Once the pan is clean, rinse it quickly with hot water and move immediately to the drying phase.
Dealing with Acidic Foods
Many people fear cooking acidic foods like tomatoes, wine, or citrus in their cast iron. While it is true that these acids can interact with the iron and potentially strip away some of your seasoning, they are not forbidden. If you are cooking a tomato-based sauce, just be aware that it might require a touch-up seasoning session afterward. If you notice a metallic taste in your food, it is a sign that your seasoning is compromised and you should remove the food immediately and re-season the pan before the next use.
The Art of Maintenance and Re-Seasoning
Even with the best care, a pan may eventually lose its luster or develop a patch of rust. This is not the end of the world; in fact, one of the greatest things about cast iron is that it is completely renewable. You do not need to throw away a "ruined" pan. You simply need to strip it back to the bare metal and start fresh, or perform a maintenance seasoning cycle. To maintain, simply place your oiled pan in an oven at 450°F (232°C) for one hour, letting it cool down naturally inside the oven.
How to Tell if Your Pan Needs Help
If your food is sticking frequently or if you see brown, rusty spots, your pan is crying out for attention. A healthy pan should be matte black or dark bronze and feel smooth to the touch. If the surface feels rough, like sandpaper, it often means the seasoning is built up unevenly or that carbonized food particles have become stuck to the pan. In these cases, a gentle scrub with steel wool is perfectly acceptable. Do not be afraid to be aggressive; you are not hurting the metal; you are simply smoothing out the finish so you can build a better layer on top.
The Oven-Seasoning Protocol
If your pan needs a major overhaul, use the oven method:
* Wash and thoroughly dry the pan.
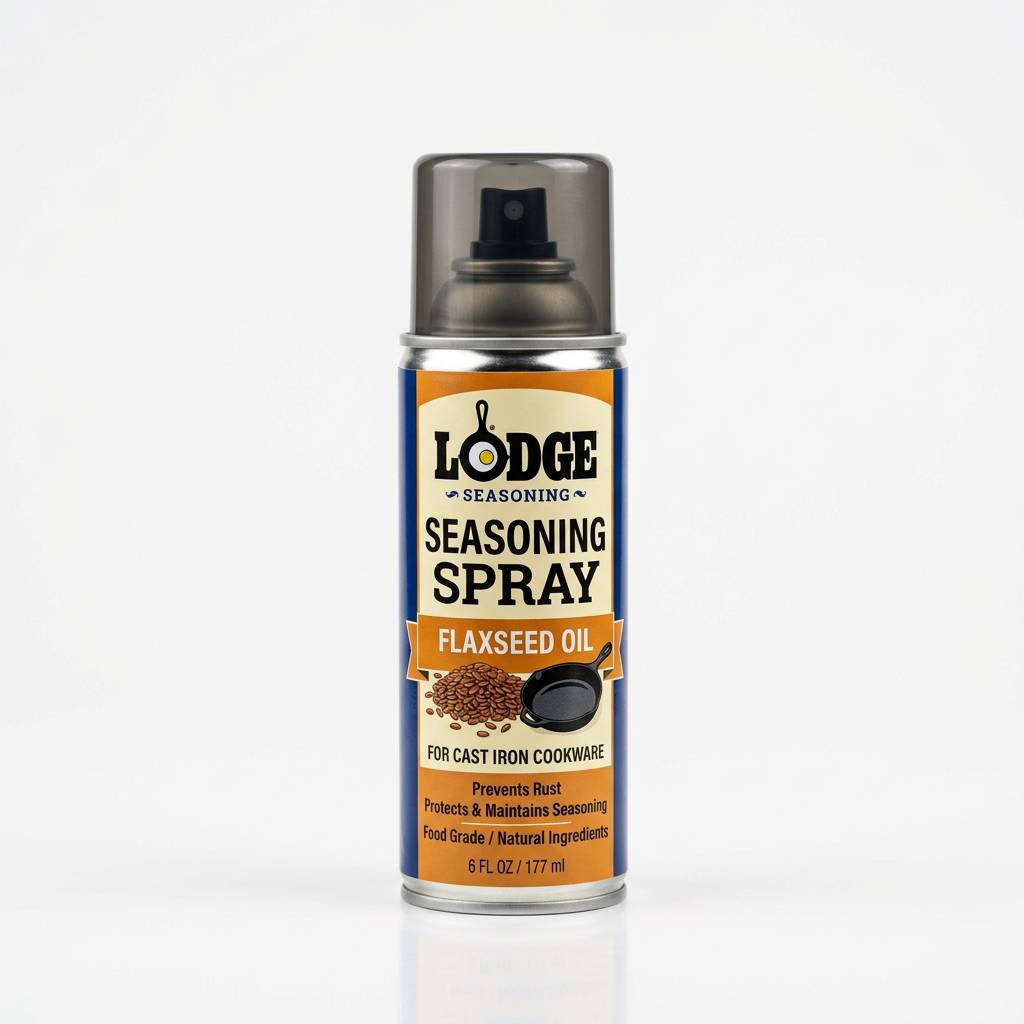
* Apply a very thin layer of flaxseed or grapeseed oil over the entire surface, including the handle and the bottom.
* Place the pan upside down on the middle rack.
* Place a baking sheet or aluminum foil on the rack below to catch any drips.
* Bake at 500°F (260°C) for one hour, then turn off the oven and let the pan cool completely inside.
"Cast iron is the only kitchen tool that gains value and utility with age. Treat every 'oiling' session not as a chore, but as an investment in the heirloom status of your cookware."
Storing Your Cast Iron Correctly
Where and how you store your cast iron is just as important as how you clean it. Many people stack their pans inside one another, which is a great space-saver, but can lead to scratches on the seasoning or moisture traps. If you do stack your pans, place a paper towel or a felt pan protector between them. This prevents the bottom of one pan from scraping the seasoned surface of the one below it.
Climate Control Matters
If you live in a high-humidity area, your cast iron is constantly fighting a battle against the elements. Consider storing your pans in a dry cupboard or even the oven if you have the space (provided you remove them before preheating!). Some chefs prefer to store their pans hanging on a rack. This is actually an ideal storage method because it allows air to circulate around the entire pan, preventing moisture from pooling in the bottom or along the rim.
The Bottom Side
Don't forget the bottom of the pan! Many people spend all their energy focusing on the cooking surface and forget the exterior. Over time, the bottom of the pan can accumulate rust or grime, especially if it sits on damp stovetops. When you are performing your occasional maintenance oiling, make sure to coat the underside of the pan as well. This will keep the entire vessel protected and looking professional, regardless of how many decades it has been in your kitchen.
Advanced Techniques: Elevating Your Skill
Once you move past the basics of whether or not to oil, you can start using your cast iron for advanced culinary techniques. Cast iron has incredible thermal mass, meaning it holds onto heat far longer than thin aluminum or stainless steel pans. This makes it the superior choice for searing meats. When you drop a cold steak into a preheated cast iron skillet, the temperature of the pan does not drop significantly. This allows for a deep, dark brown crust—the Maillard reaction—that provides the intense flavor we crave.
The Preheating Secret
Professional chefs never add food to a cold cast iron pan. You should always preheat your pan on low or medium heat for at least 5-10 minutes before adding fat. This allows the heat to distribute evenly across the surface. If you see smoke, your pan is likely too hot; if the food sticks immediately, it is likely too cold. Getting to know the "sweet spot" of your stove’s heat settings in relation to your specific skillet will make you a better cook than any non-stick pan ever could.
Deglazing and Fond
After searing a piece of meat, you will often find a layer of browned, stuck-on bits at the bottom of the pan. This is called fond, and it is pure flavor. Instead of scrubbing it off immediately, deglaze the pan with wine, stock, or even water. Scrape the bits up with a wooden spatula and let them reduce into a pan sauce. This is a culinary technique that only works well in heavy-duty pans like cast iron or stainless steel. Once you master this, you will see your pan as a flavor-building tool rather than just a vessel for frying eggs.
Troubleshooting Common Issues
Even the most seasoned chefs run into trouble from time to time. The most common issue is the "sticky pan" syndrome. This is almost exclusively caused by applying too much oil during the seasoning process. If your pan is sticky, it is not "well-seasoned"; it is improperly maintained. You can fix this by placing the pan in a 450°F oven for 30 minutes to help the excess oil fully polymerize or, if the mess is too thick, by scrubbing it down and beginning the seasoning process over.
Dealing with Rust
If you find orange, dusty rust on your pan, do not panic. It is not ruined. Rust is simply iron oxide, and it is easily removed. Use a piece of steel wool or a scouring pad to scrub the rust away until you reach the gray, clean iron underneath. Wash it, dry it immediately on the stove, and then perform a fresh seasoning cycle in the oven. It will look as good as new, and no one will ever know the difference.
The Flaking Seasoning
If you see small black flakes coming off your pan during cooking, it means your seasoning is too thick or it hasn't bonded correctly to the iron. This often happens if you don't clean the pan well enough before applying new layers of oil. The new layer is bonding to a dirty surface rather than the metal itself. If this happens, don't try to salvage it. Strip the pan with a more thorough scrub and start your seasoning from scratch. It is a one-time process that will restore the pan for another few years of reliable service.
Final Thoughts
The question "Should you oil cast iron after every use?" is a bit of a misnomer. It assumes that there is only one correct way to handle the tool. The reality is that your cast iron pan is a responsive, adaptive piece of technology that demands only your respect and a basic understanding of its chemistry. You do not need to be a slave to your skillet, oiling it with religious fervor after every breakfast if the pan is already well-maintained and thriving. You should, however, be mindful of moisture and the condition of the surface.
If your pan is looking dull, dry, or grey, treat it to a thin, glistening coat of oil before it goes back into the cupboard. If it is dark, shiny, and slick, a quick dry-off is all it needs. The goal is to reach a point where you feel confident in your pan’s performance, recognizing that it is designed to last generations, not just for a few years. It is a workhorse, an heirloom, and a fundamental component of the home kitchen. By moving away from the myths and focusing on the science, you can transform your cast iron from an intimidating object into your most reliable, versatile, and beloved companion in the kitchen.
Remember, the pan's history is written in its surface. Each time you cook a meal—each time you sear a steak, fry an egg, or bake a loaf of crusty sourdough—you are adding a new layer to that story. Don't stress the small details, don't fear the soap, and certainly don't worry if you forget to oil it once or twice. As long as you keep it dry and use it often, your cast iron will reward you with unparalleled performance and a lifetime of exceptional meals. So, heat up the stove, grab your favorite skillet, and get cooking; the best seasoning you can give your pan is the consistent, loving use that only a busy kitchen can provide. Enjoy the process, trust the technique, and keep experimenting, because that is where the true joy of culinary mastery resides. There is no "perfect" pan, only the pan that you have taken the time to know and master. Happy cooking, and may your seasoning always be strong and your food always be perfectly seared.

Get the Next Recipe
Weekly recipes, techniques, and gear picks — straight to your inbox.