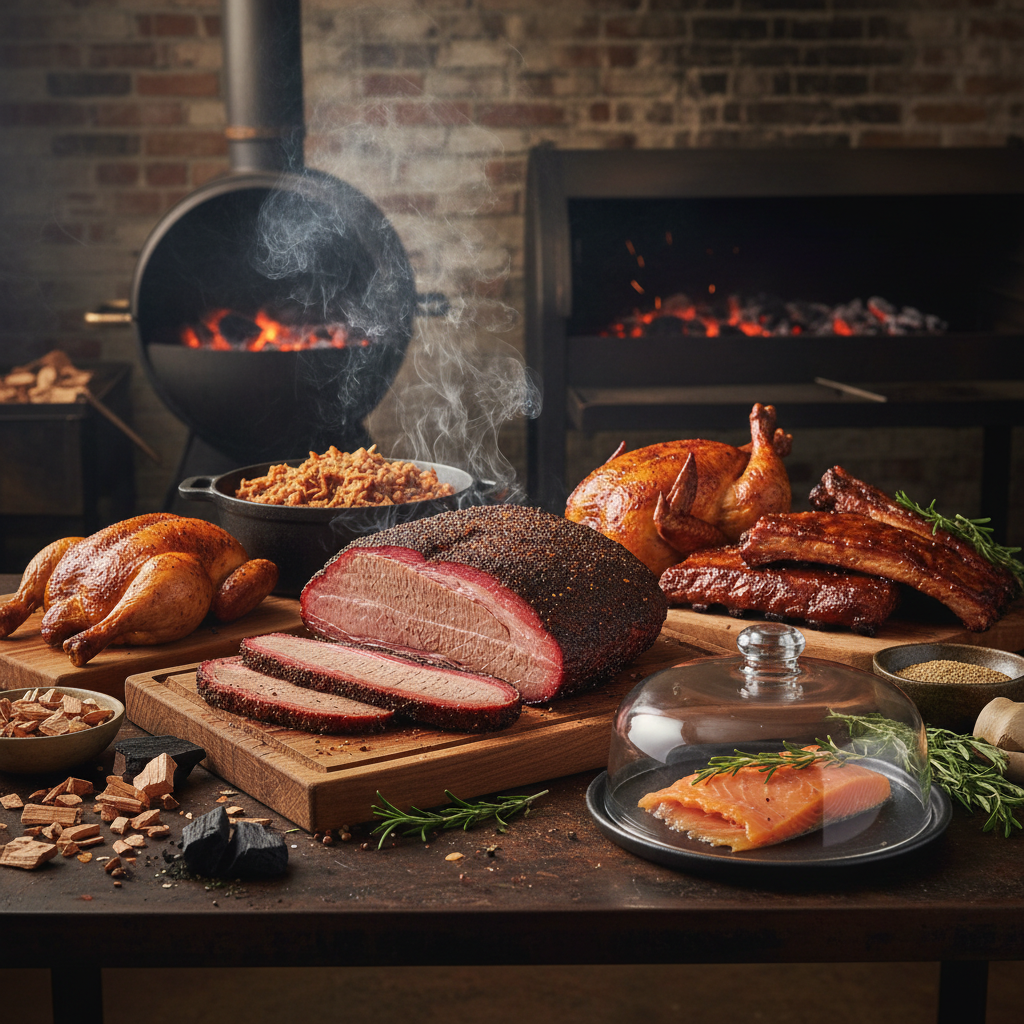
Smoking Techniques: Low, Slow, Flavorful
The art of smoking food is one of the most rewarding and flavorful techniques in the culinary world. When properly executed, it can transform even the simplest cuts of meat into gastronomic delights that sing with rich, complex flavors. While many home cooks are intimidated by the thought of smoking, it’s essential to understand that the key to achieving succulent results lies in the philosophy of low and slow cooking. By allowing food to be infused with smoke over extended periods and at controlled temperatures, you unlock deep flavors that can’t be replicated through traditional cooking methods.
At its heart, smoking is all about patience and precision. The low temperatures and extended cooking times create a wonderful interplay between heat, moisture, and smoke, leading to tender meats that practically melt in your mouth. One of the most beautiful aspects of smoking is how regional variations influence flavors. The choice of wood chips, the style of smoking, and the seasoning can each elevate a dish to new heights while adding diversity to your culinary repertoire.
For those willing to embrace this technique, it’s essential to familiarize yourself with the various smoking methods and their unique attributes. From cold smoking to hot smoking and everything in between, understanding how temperature and time affect the outcome will empower you to craft dishes that impress. Let’s dive into the magnificent world of smoking techniques, utilizing low temperatures and long cooking times to create flavors that are absolutely unforgettable.
Understanding the Basics of Smoking
Before diving into specific smoking techniques, it’s crucial to grasp the foundational concepts of how smoking works. When we talk about smoking, we refer not just to the act of applying smoke but to the chemical changes that occur during the cooking process. The smoke produced contains various compounds that contribute to flavor, color, and even preservation.
Smoking Woods and Flavor Profiles
The type of wood you choose has a profound impact on the flavors imparted to your food. Each type of wood has its unique profile, determining how sweet, intense, or subtle the smoke will be.
When selecting woods, it is essential to consider how the smoke interacts with the natural qualities of the food and the finish you aim to achieve.
Types of Smokers
Understanding these fundamental components will not only make you a more successful smoker but also enable you to experiment safely and creatively in your kitchen.
The Science of Low and Slow Cooking
At the core of smoking is the philosophy of low and slow cooking, which refers to maintaining lower temperatures over extended periods. This technique allows collagen in tougher cuts of meat to break down beautifully, resulting in a tender, juicy final product.
Ideal Temperatures for Smoking
The ideal range of temperatures for smoking varies depending on the method and food type. Here are some general guidelines:
Recommended Cooking Times
Timing is crucial in the world of smoking. The duration can vary significantly based on the type and size of the meat you're working with. Here’s a quick reference:
Cooking times can vary greatly depending on your smoker, the external environment, and the specific type of meat, so it is best to use a meat thermometer to ensure doneness.
Monitoring and Adjusting Temperature
Maintaining consistent temperatures throughout the smoking process is critical. Here are some tips:
With a focus on low and slow, you set the stage for flavor enhancement and moisture retention, creating dishes that are worthy of your culinary aspirations.
Preparing Your Meat for Smoking
Preparation is a critical step in achieving that perfect smoky flavor. The way you season, marinate, and even trim your meat can make a noticeable difference in the end result.
Trimming and Seasoning
Properly trimming your meat can ensure even cooking and optimal flavor absorption. Here’s how:
- 1 tablespoon brown sugar
- 1 tablespoon paprika
- 1 tablespoon salt
- 1 teaspoon black pepper
- 1 teaspoon garlic powder
Apply the rub liberally, ensuring it adheres well to the surface of the meat. Allow it to sit for at least 30 minutes before smoking, or for deeper flavor absorption, let it marinate overnight.
Brining for Moisture
Brining meats before smoking can add flavor and moisture. Here’s how to effectively brine:
By taking these preparatory steps, you’ll create an excellent foundation, resulting in beautifully smoky, flavorful dishes.
The Smoking Process
Once your meat is prepared, it’s time to begin the smoking process. Below are detailed steps and some professional tips to ensure success.
Setting Up the Smoker
Smoking Your Meat
Finishing Touches
- Pork Shoulder: 195°F - 205°F
- Brisket: 195°F - 205°F
- Chicken: 165°F
- Ribs: There’s no specific temperature; look for a nice bend and separation of meat from bones.
Advanced Smoking Techniques
Once you're comfortable with the basics of smoking, it’s time to explore advanced techniques. These can elevate your smoking game, producing even more mouthwatering dishes.
Reverse Searing
Reverse searing is a technique that involves smoking your meat at a lower temperature before finishing it off on high heat. This method allows for a beautifully seared crust while keeping the inside moist and tender.
Cold Smoking for Unique Flavors
Cold smoking opens a world of culinary creativity, allowing for flavors that typically aren’t achievable through traditional cooking. Cheese, fish, and vegetables can impart fantastic flavors when cold smoked.
Experimenting with Air-Dried and Fermented Foods
Smoking can also be combined with air-drying and fermentation. For example, meats like salami and prosciutto can be smoked after the fermentation process, resulting in a unique flavor and texture.
Through these advanced techniques, you can continue to push the boundaries of your smoking skills and explore a new realm of delicious possibilities.
Safety and Best Practices
While smoking can be an exciting culinary venture, it’s important to follow safety and best practices to ensure you produce both delicious and safe food.
Food Safety Guidelines
Avoiding Common Pitfalls
By adhering to these practices, you can ensure that your smoking adventures are delicious, safe, and full of flavor.
Conclusion
Smoking is not just a cooking method; it's a journey filled with flavors, aromas, patience, and creativity. By understanding the science behind low and slow cooking, selecting the right woods, preparing your meats appropriately, and mastering the smoking process, you can achieve restaurant-quality dishes right in your home kitchen.
As you experiment with different techniques and flavors, remember that great smoking comes down to a few core principles: temperature control, anticipation, and love for the craft. Every trial and every error presents an opportunity to learn and develop your skills. So grab your favorite cuts of meat, select your wood, and embark on your flavorful journey. Whether feeding family, friends, or simply indulging yourself, great smoked dishes will always be worth the time they take. Embrace the process and enjoy the wonderful results that low, slow, and flavorful smoking brings to your table.

Get the Next Recipe
Weekly recipes, techniques, and gear picks — straight to your inbox.
