The Art of Sourdough: Mastering Fermentation for Perfect Bread
There is something profoundly primal about the process of transforming flour, water, and salt into a crusty, golden loaf of sourdough bread. For the home cook, it represents the ultimate convergence of biology, patience, and intuition, turning a simple countertop project into a life-long culinary pursuit. Unlike commercial breads that rely on rapid-acting industrial yeast to achieve a quick rise, sourdough is a study in slow fermentation, a method that honors the history of baking while demanding respect for the living culture within. When you commit to sourdough, you aren’t just following a recipe; you are entering into a symbiotic relationship with a colony of wild yeast and beneficial bacteria. This process requires you to slow down, listen to the dough, and understand how environment, time, and temperature dictate the final structure and flavor profile of your loaf.
Most beginners approach sourdough with a sense of trepidation, intimidated by the perceived complexity of maintaining a starter or managing the long bulk fermentation. However, the secret lies not in perfection, but in consistency and observation. By mastering the fundamental variables—your hydration levels, the ambient temperature of your kitchen, and the strength of your starter—you can move from producing dense, uninspired bricks to airy, complex loaves with a distinct, tangy crumb. We at Blame The Chef believe that every baker has the capacity to master this craft, provided they are willing to strip away the myths and focus on the science of what makes bread truly great. Over the next several thousand words, we will dissect the anatomy of the perfect loaf, providing you with the tools to troubleshoot your progress and refine your technique with professional precision.
As you embark on this journey, remember that failure is not a flaw in your character; it is a vital part of the data-gathering process. If your dough spreads too flat or fails to rise, it is simply telling you that one of the variables—perhaps your starter’s vigor or the length of your proof—was slightly misaligned with your environmental conditions. Throughout this guide, we will examine the autolyse stage, the nuances of stretch and fold techniques, and the critical importance of a proper bench rest. We are here to bridge the gap between amateur attempts and artisanal excellence, ensuring that your kitchen becomes a sanctuary of smell, texture, and deep, fermented satisfaction. Let us dive into the mechanics of the dough, leaving behind the shortcuts and embracing the art of time-honored fermentation.
The Foundation: Understanding Your Starter
Cultivating Your Wild Yeast Culture
The heart of your sourdough operation is your starter, a living culture of wild yeast and lactobacilli. To begin, you must understand that this is a stable, self-sustaining ecosystem that requires consistent maintenance. Use high-quality, organic rye or whole wheat flour to initiate your culture, as these grains are rich in the nutrients and microbes necessary to kickstart fermentation. Within the first five to seven days, you are looking for a consistent rise and fall, accompanied by a pleasant, slightly fruity, or yeasty aroma. If the culture smells overly acetone-like or sour, it may be hungry; regular feedings are the only way to establish the microbial balance required for professional-grade results.
Maintain your starter at a hydration ratio of 1:1 by weight, meaning equal parts flour and water. Professional bakers often advocate for a stiff starter (lower hydration) for more manageable doughs or a liquid starter for faster fermentation, but for the home cook, a standard 100% hydration starter is the most versatile starting point. Keep your starter in a glass jar with a loose-fitting lid, stored in a spot that stays between 68°F and 74°F. Remember that the temperature is the primary driver of your fermentation speed; warmer temperatures will encourage yeast activity, while cooler environments will slow the process down, allowing more time for the lactic acid bacteria to develop the deep, complex flavors we associate with artisan bread.
Feeding Schedules and Vigor
A common mistake is using a starter that is either too young or past its peak. You want to use your starter at the peak of its activity, which is when it has roughly doubled or tripled in size and the surface shows visible bubbling. If you notice a "hooch"—the liquid layer that forms on top—it is a clear sign that your starter is starving and needs more frequent feedings. For regular home baking, a daily feeding schedule is sufficient, but if you are preparing for a bake, consider performing a "build" or a "levain" where you increase the volume of your starter the night before to ensure maximum fermentation power for your main dough.
"True bread is not made by the clock, but by the rhythm of the dough. Listen to the bubbles, observe the stretch, and trust the fermentation more than the timing on your phone."
The Science of the Autolyse
Developing Gluten Structure
The autolyse is perhaps the most undervalued step in the sourdough process. By mixing only your flour and water and letting the mixture rest for 30 to 60 minutes, you allow the flour to fully hydrate and the enzymes to begin breaking down starches into simple sugars. This simple act of patience does two things: it makes the dough significantly more extensible (easier to shape) and it begins the process of gluten development before you have even added the salt or the levain. You will notice that after an autolyse, the dough feels more cohesive and less ragged than it does when you initially mix the ingredients together.
When performing the autolyse, ensure that all the flour is fully incorporated and no dry clumps remain. Cover the bowl with a damp cloth or a silicone lid to prevent a crust from forming on the surface. During this time, the protease enzymes in the flour are working to relax the protein chains, which makes the dough less "tough" and more resilient during the subsequent mixing and folding phases. This is the stage where the magic begins; by letting nature handle the initial work, you are setting the stage for a superior crumb structure that is both open and light.
The Role of Salt and Leaven
After the autolyse is complete, you add your levain (the active starter) and the salt. It is important to note that salt tightens the gluten structure and regulates fermentation; adding it too early in the autolyse stage can inhibit the enzymes you are trying to activate, so stick to the sequence of water/flour first, then the remaining ingredients. When mixing the salt into the dough, use a small amount of reserved water to help it dissolve evenly. Be thorough in this stage—the goal is to achieve total integration so that every portion of the dough has the same composition, which leads to a uniform rise throughout the bulk fermentation period.
The Bulk Fermentation Phase
Monitoring the Rise
Bulk fermentation is the period of the process where the majority of the gas production and flavor development occurs. In a professional bakery, this is often managed in a climate-controlled proofer, but at home, you must be more observant. Your dough should increase in volume by approximately 30% to 50% during this stage, but volume alone is not the only indicator of success. You are looking for a dough that feels "alive"—it should be puffy, have visible bubbles on the surface, and show a slight doming effect at the edges of the bowl. If you poke the dough gently, it should bounce back slowly; if it stays indented, it may be under-proofed, and if it collapses, it is likely over-proofed.
The Art of the Stretch and Fold
Unlike traditional yeast breads that require aggressive kneading, sourdough benefits from the stretch and fold technique. This method builds strength gently without degasifying the dough, which is crucial for preserving the delicate air pockets created by the yeast. Over the course of three to four hours, perform a set of folds every 30 to 45 minutes. To do this, reach under one side of the dough, pull it upward until you feel resistance, and fold it over the center. Rotate the bowl and repeat this on all four sides. This repetitive strengthening aligns the gluten strands and creates a structured matrix that can hold onto the carbon dioxide being produced during the fermentation process.
Shaping and Tension
The Pre-Shape and Bench Rest
Once bulk fermentation is complete, turn the dough out onto a lightly floured surface. The goal of the pre-shape is to create a basic round or "boule," which gives the dough a uniform structure before the final shaping. Use a dough scraper to tuck the edges under, creating a taut surface tension. Do not over-handle the dough at this stage; you want to maintain the air bubbles you worked so hard to build. Let the dough rest, uncovered or lightly covered, for 20 to 30 minutes. This bench rest allows the gluten to relax again, making it much easier to achieve the final, tight shape that ensures a good "oven spring."
Final Shaping Techniques
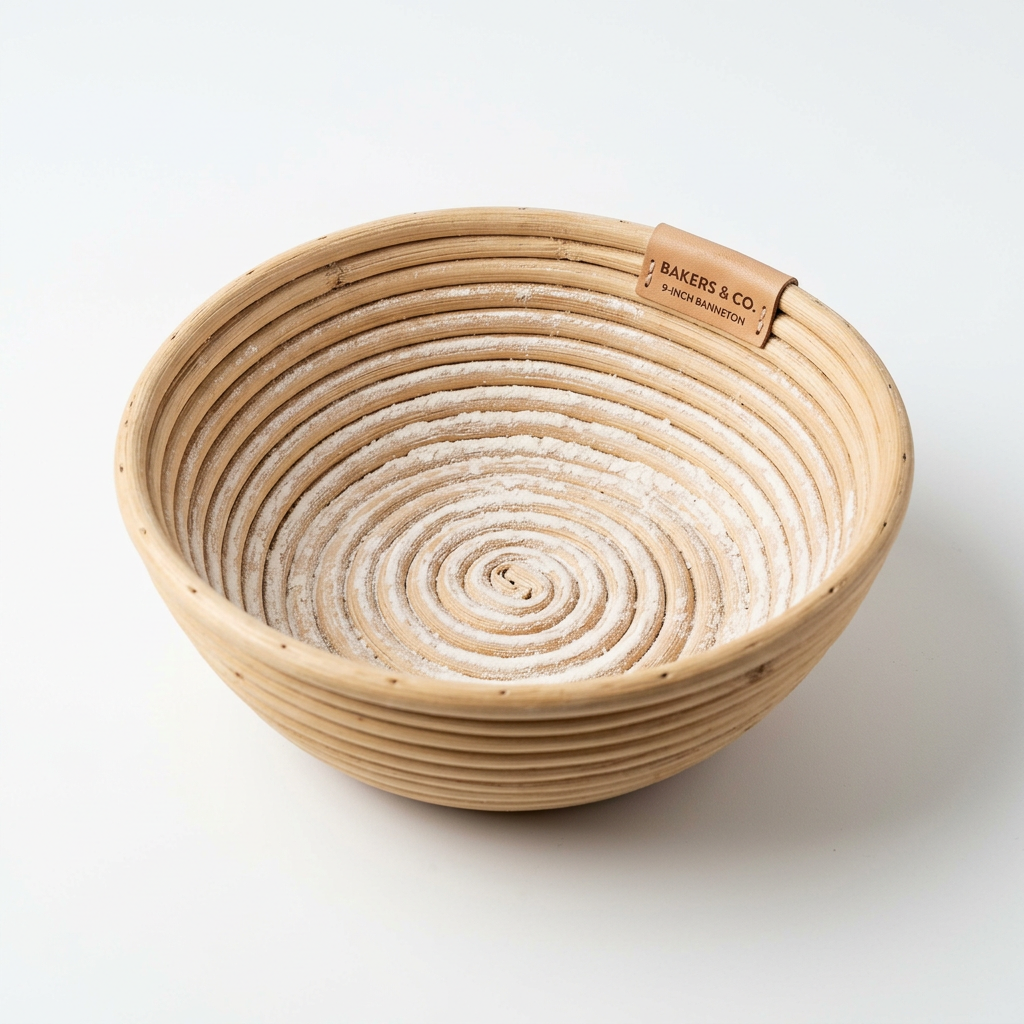
For the final shape, you are looking to create a taut skin on the surface of the loaf. Whether you are shaping a round boule or an oblong batard, the technique remains the same: pull the dough towards you to increase the surface tension, then seal the edges. A tight skin is essential because it forces the bread to expand upward during the bake rather than spreading out into a flat pancake. If you are using a banneton or proofing basket, ensure it is well-floured with rice flour, which is less likely to absorb moisture and stick to the dough than standard wheat flour.
"Bread baking is the intersection of architecture and chemistry. The tension you create in the shaping phase is the foundation upon which your oven spring will be built."
The Final Proof and Scoring
The Cold Retard
A secret weapon for many bakers is the cold retard, or final proofing in the refrigerator. After shaping, place your dough in the banneton, cover it, and put it in the fridge for 8 to 24 hours. The cold temperature slows down the yeast significantly but allows the bacteria to continue producing the organic acids that give sourdough its signature tang. Furthermore, cold dough is much easier to score than room-temperature dough. This extended proofing period also helps to develop a more complex, blistered crust, which is a hallmark of high-quality, artisanal sourdough.
The Scoring Masterclass
Scoring is not just decorative; it is a vital functional step. By creating a controlled incision on the surface of your loaf, you provide a designated place for the bread to expand, which prevents it from tearing unevenly as it rises in the heat of the oven. Use a sharp lame or a razor blade held at a 45-degree angle. A shallow cut will not suffice; you need to cut deep enough—about a half-inch—to create a "hinge" that allows for the ear (the dramatic ridge of crust) to form during the bake. Experiment with different patterns, but always prioritize the depth and angle of your primary expansion cut.
The Bake: Heat and Steam
Creating an Oven Spring
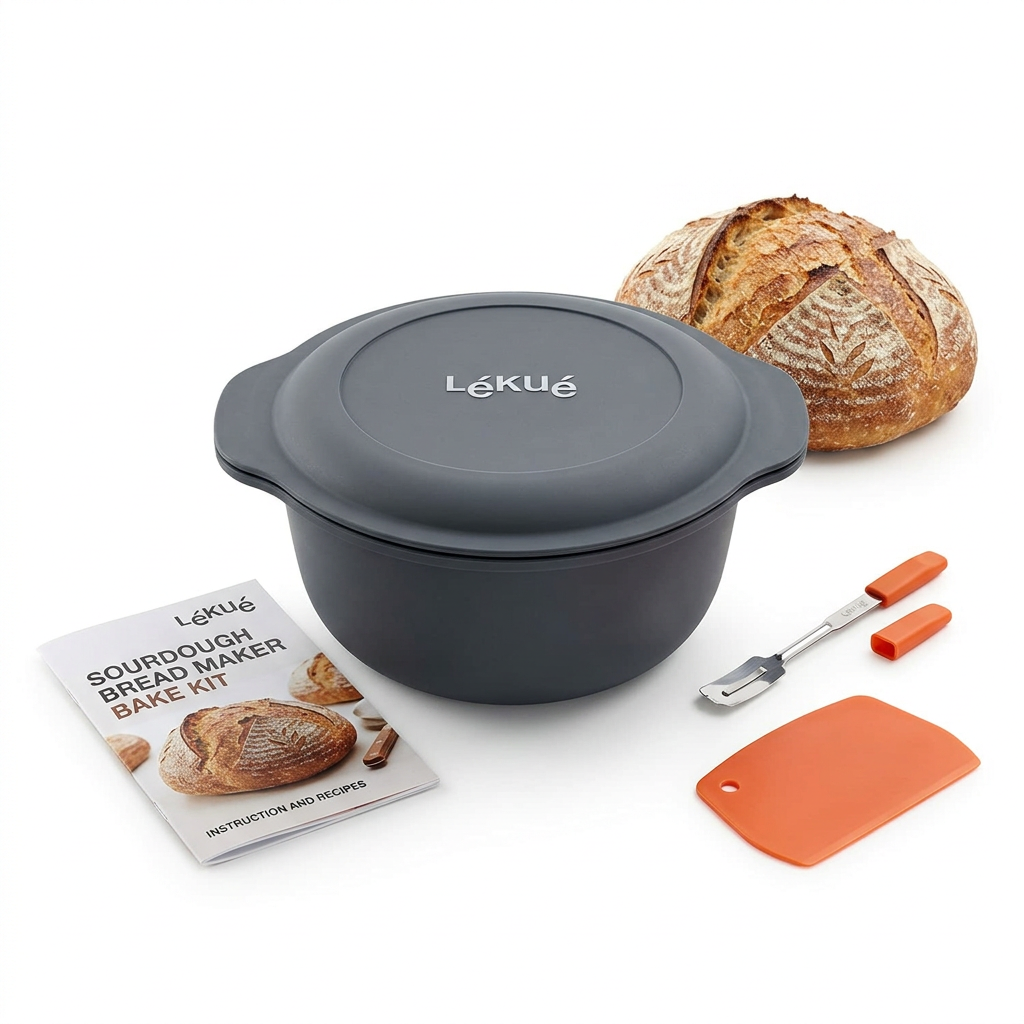
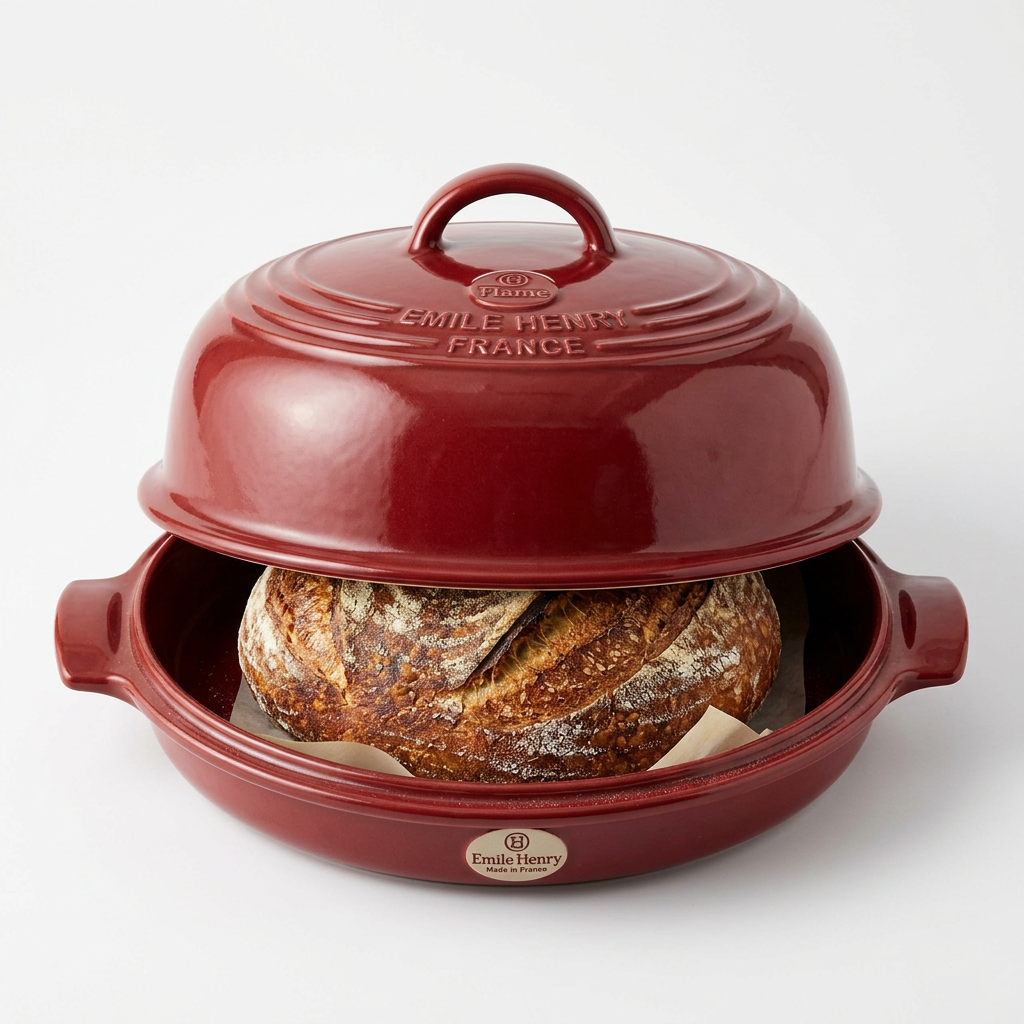
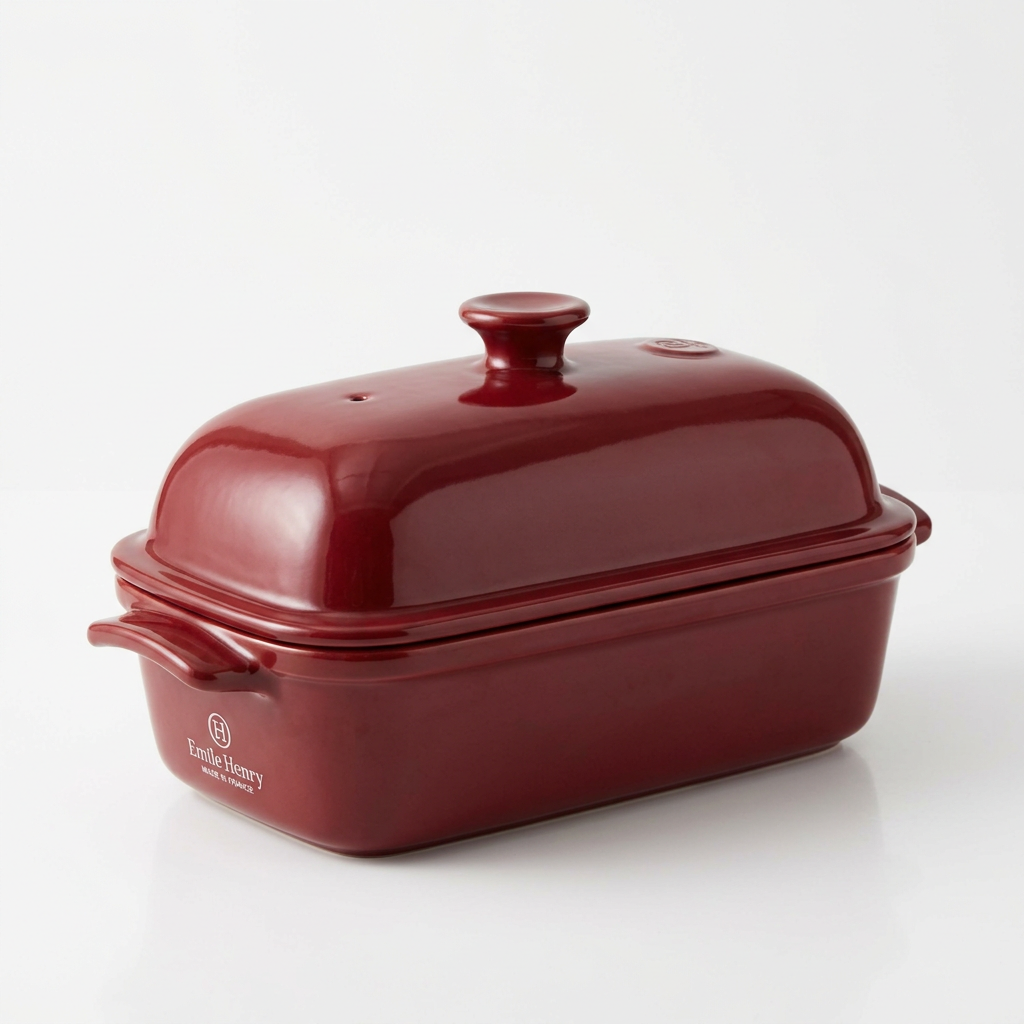
The key to a spectacular oven spring—the rapid rise of the bread in the first few minutes of baking—is heat and steam. Most home ovens are vented, which allows steam to escape too quickly. To replicate a professional deck oven, use a Dutch oven or a heavy cast-iron combo cooker. By trapping the moisture released by the dough during the first 20 minutes of baking, you keep the surface of the loaf flexible, allowing it to rise fully before the crust sets. Remove the lid halfway through the bake to allow the crust to caramelize into a deep, mahogany brown.
Monitoring the Crust and Interior
Do not pull the bread out too early. A pale loaf is a soft, uninspired loaf. You are looking for a deep, dark, caramelized color, which indicates that the Maillard reaction has occurred, providing the complex, toasted flavor profiles that define great bread. Once you remove the loaf from the Dutch oven, let it finish baking directly on the oven rack for an additional 10 to 15 minutes. This ensures the bottom is crispy and the interior is fully set. Always use a digital thermometer if you are unsure; the internal temperature of a perfectly baked loaf of sourdough should reach approximately 205°F to 210°F.
Troubleshooting Your Sourdough
Common Crumb Issues
If your bread comes out with a "gummy" interior, it is often due to cutting into the loaf too soon. Patience is the final ingredient. Your bread continues to cook as it cools; cutting into it while it is hot causes moisture to escape prematurely, leading to a doughy texture. Wait at least two to four hours before slicing. If the loaf is flat, check your shaping technique to ensure you are building enough tension. If the crumb is dense and tight, your starter may have been too weak or your bulk fermentation time was insufficient.
Adapting to Your Environment
Every kitchen has a unique micro-climate. If your home is very cold, you may need to extend your bulk fermentation significantly or use a proofing box to keep the temperature steady. Conversely, in the heat of summer, fermentation will move at an accelerated pace. Learn to rely on the sensory cues of the dough—the smell, the touch, and the look—rather than strictly adhering to the timers in a recipe. This level of engagement is what separates the casual baker from the master.
Conclusion
Mastering the art of sourdough is a journey that rewards the curious and the persistent. It requires you to balance the technical aspects of hydration and temperature with the intuitive art of reading the dough as it evolves. By internalizing these techniques—from the initial feeding of your starter to the final, caramelized crust of your loaf—you are not just making food; you are participating in a tradition that has sustained humanity for millennia. Every loaf you bake is an opportunity to learn, to adjust, and to refine your process. Do not be discouraged by the early experiments that don't quite hit the mark; even a "failed" loaf is filled with the deep, fermented flavor of your own hard work.
As you become more comfortable with the process, start experimenting with different flours, such as heritage grains like spelt, einkorn, or emmer, which add unique nutritional profiles and flavor complexities to your bread. Introduce inclusions like toasted walnuts, dried cranberries, or fresh herbs during the folding stages to personalize your creations. The beauty of sourdough lies in its infinite capacity for variation. Keep your starter healthy, keep your observations sharp, and never lose your passion for the process. At Blame The Chef, we are confident that with these foundational principles, you have everything you need to transform your kitchen into a home bakery, producing loaves that are as beautiful to behold as they are delicious to eat. Happy baking, and may your crumb always be open and your crust always shatteringly crisp.
Remember that the ultimate goal of this culinary endeavor is to share your bread with others. There is no greater joy in baking than breaking into a fresh, warm loaf of sourdough with friends and family. It serves as a reminder that while the process is a solitary pursuit of skill, the final product is meant to be a communal experience. Continue to refine your craft, stay consistent with your fermentation, and treat every bake as a new experiment in excellence. You now possess the knowledge to troubleshoot the challenges that arise, from dense loaves to over-proofed dough, and you have the foundation to build your own legacy of artisanal baking. Take pride in your sourdough, trust the wild microbes you have cultivated, and continue to push the boundaries of what you can create in your home kitchen. Your perfect loaf is waiting.
Get the Next Recipe
Weekly recipes, techniques, and gear picks — straight to your inbox.