Sous Vide Bags vs Ziploc: Displacement Method
The world of sous vide cooking often feels like it requires a laboratory setup, filled with expensive vacuum sealers, specialized rolls of plastic, and an endless supply of equipment that takes up precious cabinet space. Many home cooks approach the immersion circulator with a sense of trepidation, thinking that the barrier to entry is simply too high. However, the truth is that precision temperature cooking is far more accessible than the marketing materials of high-end kitchenware brands would have you believe. By mastering the displacement method, you can achieve professional, restaurant-quality results using nothing more than a standard kitchen storage bag and a bowl of water. It is a liberating technique that democratizes the process, proving that great cooking is about understanding the physics of heat transfer rather than owning the most expensive gadgets.
When we talk about the displacement method, we are effectively leveraging Archimedes' principle to remove air from the cooking environment. This approach is not just a hack for those who lack a vacuum sealer; it is a legitimate, chef-approved technique that offers unparalleled control for liquid-heavy marinades or delicate ingredients. Unlike commercial vacuum sealers, which can often crush or distort the texture of fragile foods like fish or tender vegetables, the displacement method allows for a gentle, uniform pressure that hugs the food without bruising it. By transitioning to this method, you open up a world of experimentation that allows you to cook faster, reduce waste, and stop relying on proprietary plastic rolls that are both costly and difficult to recycle.
In this guide, we will break down the precise mechanics of how to bag food like a professional, the specific types of bags that hold up under heat, and the troubleshooting steps for ensuring your cook is as safe as it is delicious. We will move beyond the basic "dunk and seal" technique to explore why pressure matters, how to ensure your circulator remains stable, and why certain ingredients demand specific types of plastic. Whether you are prepping a massive batch of short ribs for a dinner party or a simple weeknight steak, understanding the nuances between commercial-grade sous vide bags and high-quality storage bags is the secret to moving from a beginner home cook to a proficient culinary technician. Let us strip away the intimidation factor and get back to the basics of thermal precision.
The Physics of Displacement: How It Works
At its core, the displacement method is an elegant solution to the problem of oxygen exposure during long, low-temperature water baths. When we submerge a bag containing food into water, the external pressure of the water pushes against the flexible plastic, forcing the air upward and out of the opening. Because water is significantly denser than air, it acts as a perfect molding agent, conforming the bag to the irregular shape of your protein or vegetable. This creates a near-perfect vacuum that facilitates efficient thermal conductivity between the immersion circulator’s heated water and the food. If there is air trapped inside, it acts as an insulator, creating hot and cold spots that can ruin the delicate texture of a perfectly medium-rare steak.
The key to mastering this is patience. You cannot rush the immersion; if you drop the bag in too quickly, you risk trapping air pockets near the folds of the food. Instead, you must allow the water pressure to do the heavy lifting while you monitor the seal. This method is exceptionally effective for anything involving liquids, such as infusions, oils, or braising liquids, because you don’t have to worry about a vacuum sealer trying to suck up the liquid before the seal is set. In professional kitchens, we often use the displacement method even when we have access to chamber vacuum sealers, simply because it is faster for small-batch applications.
"The beauty of the displacement method lies in its simplicity; by utilizing the natural weight of water, we create an environment where the heat can travel directly into the food without the interference of insulating air pockets."
Selecting the Right Bag for the Task
Not all plastic bags are created equal, and this is where many home cooks encounter frustration. When shopping for storage bags to use for sous vide, you must look for the label indicating they are BPA-free and, more importantly, constructed from polyethylene or polypropylene. These plastics are designed to withstand the heat of a standard sous vide bath, which generally ranges from 125°F to 185°F. Avoid cheap, thin sandwich bags at all costs; their seams are likely to split under the sustained pressure of a long cook, leading to water ingress that will destroy your meal.
For most applications, a heavy-duty freezer-grade bag is your best friend. These bags are engineered with thicker walls and, crucially, a double-lock closure mechanism that provides a redundant seal. When you are buying these, check the thickness—a mil rating of 3.0 or higher is ideal. If you find a brand that specifically advertises its compatibility with "boiling" or "hot water," you are in the safe zone. Remember that while these bags are excellent, they are not designed for extreme temperatures; never use them for high-heat poaching in boiling water, as the bag may melt or degrade.
Step-by-Step: The Perfect Displacement Technique
To execute the displacement method effectively, start by placing your food into the bag, leaving about two inches of space at the top. If you are seasoning your food, do so now, but be aware that salt can draw out moisture over long cooks, changing the texture of the protein. When you are ready, slowly lower the bag into a vessel of water, keeping the opening above the waterline. As the water level rises, the air is naturally displaced. Once the water level reaches just below the seal, click the tracks closed, ensuring that you have removed every possible bubble of air.
If you find that the food is particularly bulky or has sharp bones—such as a rack of lamb—you may need to "double bag" the item. This acts as a safety insurance policy against punctures. Simply place the first sealed bag inside a second bag and repeat the displacement method. This is a trick often used in professional catering to ensure that even if the inner bag has a micro-tear, the cooking liquid remains contained and the food remains uncontaminated.
When to Choose Vacuum Bags Over Storage Bags
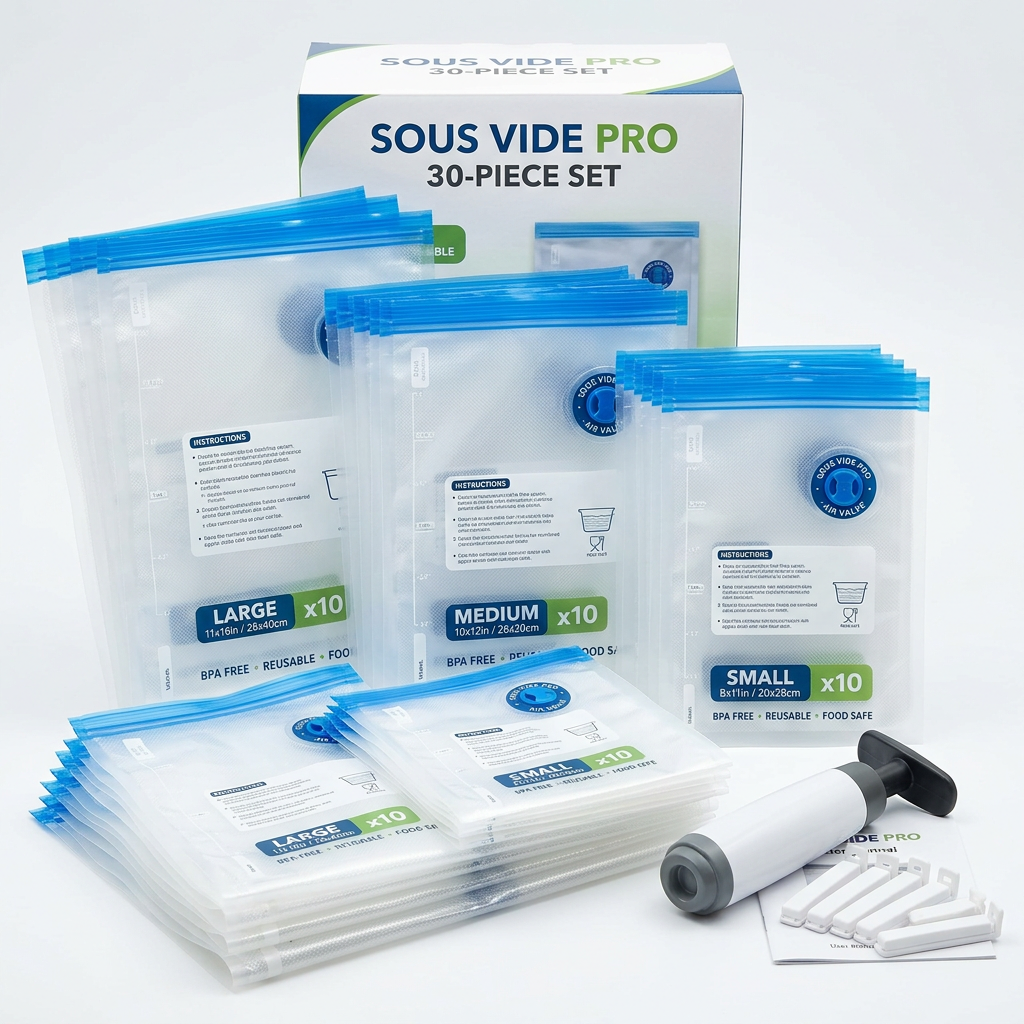
While the displacement method is versatile, there are specific scenarios where a dedicated vacuum sealer and specialized sous vide bags are superior. Vacuum sealer rolls are made of a multi-layer composite plastic that is far more resistant to punctures than standard freezer bags. If you are cooking a protein that requires a very long cook time—such as a 48-hour short rib or a 72-hour brisket—the standard freezer bag can begin to weaken. Over such long durations, the heat and moisture can soften the plastic, potentially leading to a seal failure at the 36-hour mark.
Furthermore, vacuum sealing allows for better stackability in your water bath. If you are cooking for a large crowd, you can fit more items into a container if they are perfectly flat and rigid. Vacuum-sealed bags also allow you to freeze food directly in the bag, meaning you can move items from the freezer to the water bath without any extra work. This is the hallmark of professional meal prep. However, for 90% of home cooking tasks, such as cooking chicken breasts for an hour at 145°F or salmon at 120°F, the displacement method is not only sufficient but often preferred for its lack of mess.
The Problem with Soft Plastic
One issue with standard bags is their tendency to float. When air is trapped, the food becomes buoyant, which can lead to uneven cooking if a portion of the meat rises above the waterline. While you can use a heavy spoon or a clip to weigh the bag down, vacuum-sealed bags are inherently heavier and less prone to floating. If you are using the displacement method, always keep a small clip on hand to secure the open end of the bag to the side of the container. This prevents the bag from slipping into the water and ensures that the entire mass of the food stays submerged at the set temperature.
Marinades and Liquid Infusions
Cooking with liquids inside the bag is where the displacement method truly shines. Attempting to vacuum-seal a bag full of red wine, olive oil, or citrus juice is an exercise in futility; the vacuum sealer will invariably pull the liquid up into the machine’s intake, potentially ruining the vacuum pump. With the displacement technique, you can add your marinade, place the bag in the water, and let the hydrostatic pressure gently seal the liquid around your protein. This ensures that every inch of the food is in constant contact with the flavor profile, leading to a much more intense infusion.
When marinating for sous vide, remember that you do not need as much liquid as you would for a traditional marination in a bowl. Because the bag is tightly compressed against the food, a small amount of liquid goes a long way. A quarter-cup of marinade is usually more than enough for two large chicken breasts. This method is also excellent for compound butters or herb infusions, where you want the heat to gently melt the fats into the fibers of the meat without the abrasive force of a machine-driven vacuum.
"Liquid marinades provide a protective layer that aids in even heat distribution; by using the displacement method, you avoid the messy risks of traditional vacuum sealing while ensuring a perfectly seasoned end product."
Tips for Professional Infusions
Troubleshooting the "Floating Bag" Phenomenon
Even the most experienced home cooks deal with the occasional floating bag. This happens when the displacement method hasn't quite removed every single bubble of air, or when the protein itself—such as a particularly fatty piece of meat—naturally wants to rise to the surface. If you see your bag ballooning, it is almost certainly a sign that air is trapped inside or that gases are being released by the food during the cooking process.
To manage this, ensure you are utilizing a submersion rack or a simple heavy object, like a stainless steel spoon, to weigh the bag down. Another professional trick is to leave the very top corner of the bag unsealed for just a second longer, allowing any remaining air to escape before the final "dunk." If you notice a persistent bubble that simply refuses to go away, you can use a specialized tool to nudge the air pocket toward the opening, or—in a pinch—you can carefully pierce the very top of the bag with a sanitized needle, squeeze the air out, and place a small piece of waterproof tape or a clean clip over the spot. However, usually, a quick re-submerging is all that is required.
Safety Protocols and Temperature Control
Safety is paramount when cooking at low temperatures. Because sous vide operates in the "danger zone" of 40°F to 140°F, you must be precise with your time and temperature. Never cook for shorter than the recommended time, as your food will not reach the core temperature required to achieve pasteurization. The displacement method works just as well for safety as a professional vacuum seal, provided you ensure the food is fully submerged. If your bag floats, the portion above the water line is not being cooked, which creates a significant health hazard.
Always verify your water bath temperature with an independent digital thermometer. While most modern circulators are highly accurate, they can drift over time. A reliable thermometer is the final check in the chain of custody for your food safety. Furthermore, always move quickly when transferring food from the water bath to the sear station. The goal is to keep the core of the food at the target temperature while crisping the exterior. If you have used the displacement method correctly, you should be able to simply snip the corner of the bag, drain the juices (or save them for a pan sauce!), and pat the protein dry with a clean paper towel before searing.
Maintaining the Water Bath
The Future of Home Cooking: Embracing Versatility
As you gain confidence with the displacement method, you will find that you no longer need to be tethered to specific tools. You can cook eggs, tenderize tough cuts of meat, and even prepare delicate desserts like crème brûlée directly in glass jars, which also utilize the displacement principle by the way they are positioned in the water bath. The goal is to foster an environment where your technique is limited only by your imagination, not by your equipment inventory.
The transition from a specialized vacuum-sealer user to a displacement method expert represents a shift in culinary philosophy. It signals that you are focused on the outcome—the perfect texture and flavor of your ingredients—rather than the aesthetic of the packaging. It allows for spontaneity; if you decide on a Tuesday night to cook a perfect steak, you don't need to hunt for bags or clear the counter for a bulky machine. You just need a bowl, a bag, and your circulator. This is the definition of elevated home cooking.
Conclusion
Mastering the displacement method is perhaps the single most impactful skill you can learn when starting your sous vide journey. It provides a level of freedom that allows you to cook with confidence, regardless of whether you have the latest kitchen gadgets. By understanding how to properly submerge, seal, and monitor your food, you ensure that every meal you prepare is held to the highest standards of safety and quality. The displacement method is not just a shortcut; it is a professional-grade technique that honors the ingredients and gives you total control over your culinary environment.
Remember that sous vide is ultimately about consistency. Whether you are using a professional vacuum chamber or a freezer-safe storage bag, the principles of physics remain the same. The heat transfers, the proteins denature, and the fibers break down, all while you enjoy the process of creating something extraordinary. I encourage you to experiment with different proteins, marinades, and temperatures this week. Put away the vacuum sealer for a moment, grab a handful of bags, and see for yourself how the humble power of water displacement can change the way you think about dinner. Keep cooking, keep questioning, and above all, keep blaming the chef when things turn out this delicious. Happy cooking!
Get the Next Recipe
Weekly recipes, techniques, and gear picks — straight to your inbox.
