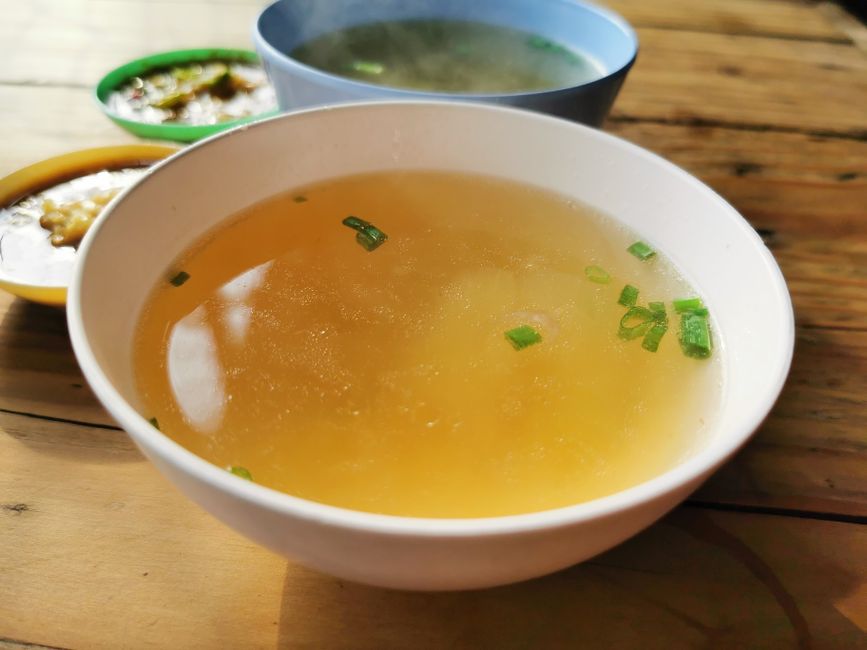
Stock vs Broth: Understanding the Difference
The world of cooking is filled with nuances, and understanding the differences between stock and broth is fundamental for anyone looking to elevate their culinary skills. Both stock and broth serve as essential components in a myriad of dishes, yet they are often misused or misunderstood. So, what precisely sets these two culinary staples apart? This exploration will take you through the definition, preparation, and applications of stock and broth, enabling you to make informed choices in your kitchen.
When you begin to unravel the basic ingredients that comprise these two liquids, you will find that they both serve as foundations for soups, sauces, and various recipes. However, the techniques used to create each are distinct, leading to different flavors, textures, and nutritional profiles. For home cooks and professionals alike, knowing the differences is key—not only for flavor development but also for achieving the desired outcomes in your culinary creations.
Through a careful examination of stock and broth, we can give more than just definitions; we’ll explore when to use each, how to properly prepare them, and even how to make the most of leftovers. By understanding the intricacies of these two liquids, you will not only enhance your cooking repertoire but also impress your friends and family with enriched flavors and textures.
The Basics: What Are Stock and Broth?
To discern between stock and broth, we must first explore their foundational definitions. Stock is typically made by simmering bones (with or without meat) along with aromatics and vegetables. The lengthy simmering process allows the collagen and gelatin from the bones to be extracted, resulting in a rich and deeply flavored liquid. A great stock has a velvety mouthfeel and is often a little thicker due to the high gelatin content.
Broth, on the other hand, is usually prepared using meat, often with some bones, alongside vegetables and seasonings. Broth is generally cooked for a shorter period—typically just enough time to cook the meat through—resulting in a lighter, clearer liquid. Although broth can have a modest amount of flavor, it does not achieve the same level of depth that stock possesses due to its less extensive cooking time.
Why go through the hassle of making stock and broth when stores offer ready-made versions? While convenience can be alluring, homemade versions provide a richness and authenticity that pre-packaged options often lack. The flavor from simmering fresh ingredients together cannot be replicated. Additionally, making stock or broth at home allows you to control the quality of the ingredients—an essential consideration for health-conscious cooks.
The Key Ingredients
When creating both stock and broth, the ingredients play a crucial role in the final product. Let’s take a closer look at what goes into each and the specific purposes of these components.
#### Stock Ingredients
- Beef bones (like knuckles, shanks, and oxtail)
- Chicken carcasses
- Veal bones
- Onions: Provide sweetness and balance.
- Carrots: Add natural sweetness.
- Celery: Known as part of the “mirepoix,” it adds earthiness.
- Garlic: Amplifies the depth of flavor.
#### Broth Ingredients
- Chicken (in pieces, often with skin)
- Beef cuts (like chuck or brisket)
Cooking Techniques
While the ingredients differ, the techniques employed to prepare stock and broth are vital for achieving the desired outcome.
#### Making Stock
#### Making Broth
**"The difference in cooking time between stock and broth is crucial—stock is an all-day endeavor, while broth can come together in mere hours."**
Flavor Profiles: Stock vs. Broth
The Richness of Stock
Stock has a complex, layered flavor profile that is enriched by bone marrow and collagen. This depth makes stock the perfect base for sauces and other dishes, lending a sense of richness that positively impacts flavor.
The Lightness of Broth
Broth, by contrast, serves as a lighter, more straightforward flavor base, perfect for soups and stews where a clear, unencumbered flavor is desired.
**"While stock is powerful and robust, broth offers a gentler, fresher vibe that’s indispensable in lighter cooking applications."**
When to Use Stock vs. Broth
Having crafted stock and broth, the choice of which to use can greatly influence the final dish. Here we will navigate through scenarios to clarify their best applications.
Stock: Perfect for Rich Dishes
- Coq au Vin: An intensely flavored braised chicken dish.
- Osso Buco: A complex veal shank dish that thrives on such depth.
- Gravy and Sauces: Stocks are the backbone of gravies, lending body and cohesiveness to sauces like mushroom or demi-glace.
Broth: Light and Clean
- Miso Soup: An authentic Japanese soup that utilizes a clear fish or vegetable broth for flavor.
- Pho: A Vietnamese noodle soup where a clear broth is key to achieving classic flavors.
Preserving and Storing Your Stock and Broth
Once you’ve invested time making stock or broth, knowing how to properly store them is essential to maintain flavor and freshness.
Freezing Stock and Broth
- Ice cube trays: Ideal for smaller quantities perfect for sauce-making.
- Quart-sized freezer bags: Good for larger recipes. Leave room for expansion.
- In the fridge: About 3 to 4 days.
- In the freezer: Up to 6 months.
Refrigeration Tips
If you’re plans to use your stock or broth within the coming week, refrigerate it immediately after cooling.
Enhancing Your Stock and Broth
If you wish to step beyond basic recipes and really enhance your stock and broth, consider these advanced techniques.
Roasting for Richness
Roasting vegetables or bones not only maximizes flavor but also introduces caramelized notes that become more complex. A light charring can add a new depth that will transform a basic stock into something memorable.
Adding Acid
A touch of acid can brighten and elevate the flavors of your stock or broth. The use of tomatoes (fresh or canned), lemon juice, or acidity from vinegar can help balance the richness that stock offers.
Seasoning Appropriately
While stocks should remain relatively unseasoned for versatility, broth may be adjusted as desired:
Utilizing Leftover Bones and Ingredients
No one loves to waste food, and the beauty of stock and broth is that they allow you to use up leftover ingredients.
Bones and Scraps
After enjoying a roast chicken, refrain from discarding the bones.
Shredded Ingredients
Creative Transformations
Conclusion
In the realms of home cooking, understanding the distinction between stock and broth is crucial. Whether you're savoring a deeply satisfying soup made from rich stock or enjoying a light broth that's been crafted carefully, the knowledge you've gained here empowers you to elevate your dishes significantly.
By embracing these essential aspects of stock and broth—from ingredients and cooking techniques to appropriate applications—you will become a more confident and skilled cook. Stock provides the backbone to robust flavors, while broth brings lightness and simplicity to your culinary repertoire.
As you venture further into the culinary arts, remember that making stock and broth from scratch is not only an enjoyable process but also a wonderful way to create a warm and inviting atmosphere in your kitchen. So gather your bones, vegetables, and seasonings, and let the simmering begin. Cooking thoughtfully and mindfully will not only enhance your dishes but also forge a deeper connection between you and the culinary traditions that span the globe. Happy cooking!
Get the Next Recipe
Weekly recipes, techniques, and gear picks — straight to your inbox.
