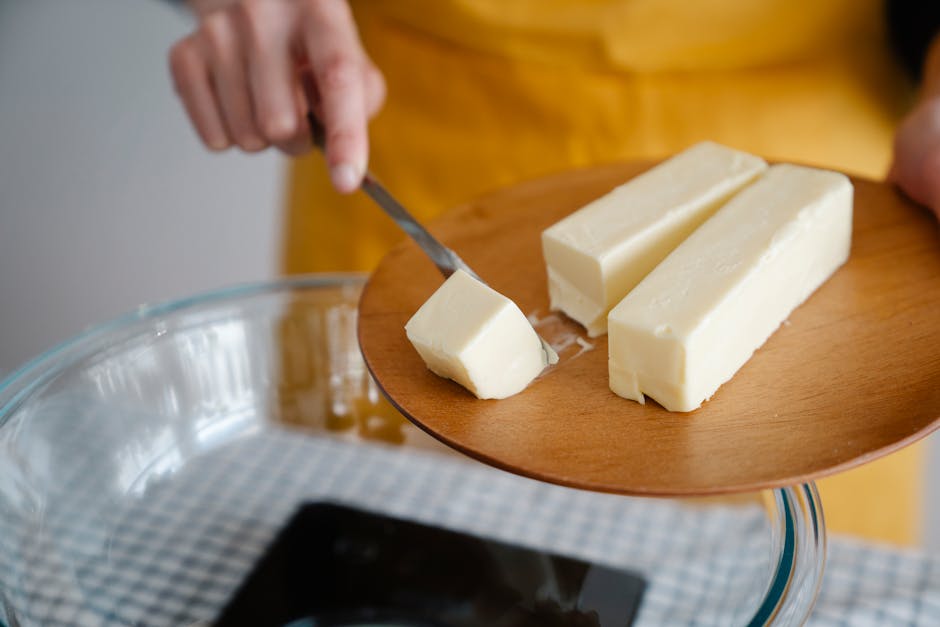
Oil vs Butter in Baking: How to Substitute
The eternal debate between oil and butter in the realm of baking is one that every home cook encounters the moment they decide to take their craft seriously. While a stick of butter may feel like the heart and soul of traditional baking, oil offers a distinct set of physical and chemical properties that can dramatically alter the outcome of your cakes, muffins, and quick breads. Understanding the relationship between these two fats is not just about following a recipe, but about grasping the fundamental mechanics of how ingredients interact to create the perfect crumb. When you begin to view your pantry through this technical lens, you transform from a casual follower of instructions into a conscious baker capable of tweaking textures to suit your personal preferences.
Many beginners assume that these fats are interchangeable, leading to occasional kitchen disasters where a delicate butter cake is replaced by an oily, dense mess. The reality is that fats serve multiple roles: they provide tenderness by coating flour proteins to inhibit gluten formation, they contribute to the flavor profile of the final product, and they influence the moisture retention of the crumb after baking. Butter, being a solid fat containing roughly 80-82% milk fat and 16-18% water, brings a rich, nuanced flavor and a structural integrity that comes from its ability to hold air when creamed. Oil, conversely, is 100% fat and remains liquid at room temperature, which keeps baked goods moister for longer periods and results in a more uniform, tender crumb.
As we dive deep into the chemistry and application of these fats, remember that the "Blame the Chef" philosophy is built on experimentation and the courage to fail. Baking is a science, yes, but it is a science that rewards the curious and the bold. By mastering the ability to substitute or combine these fats, you gain the freedom to innovate beyond the bounds of a printed recipe. Whether you are aiming for the nostalgic, golden-brown crust of a butter-based pound cake or the cloud-like, long-lasting softness of an oil-based muffin, the following guide will arm you with the professional knowledge necessary to make an informed choice every single time you preheat your oven.
The Chemistry of Fat: Why It Matters
The Role of Fat in Gluten Development
At the most basic level, fat acts as a "shortener" for flour strands. When you mix flour with liquid, you activate proteins that form gluten networks. While gluten is essential for the chewiness of bread, it is often the enemy of a tender cake. Fats coat the flour particles, physically preventing the water in your recipe from binding to the proteins, effectively "shortening" those strands. This is the primary reason why adding fat results in a tender, melt-in-your-mouth texture rather than a tough or rubbery one.
Solid vs. Liquid States
The physical state of your fat at room temperature is the single most important factor in determining the final structure of your bake. Butter is a solid fat, meaning it has a crystalline structure. When you cream butter with sugar, those crystals cut into the sugar grains, creating tiny pockets of air. These air pockets expand in the oven, acting as the foundation for a light, aerated crumb. Oil, being liquid, cannot hold air. Consequently, oil-based recipes almost always rely on chemical leaveners like baking powder or baking soda to achieve their rise, rather than mechanical aeration through creaming.
"Fat is the bridge between a dry, crumbly mistake and a moist, luxurious masterpiece. Understanding the state of your fat is the gateway to professional-level baking."
Moisture Retention and Shelf Life
Because butter contains water and milk solids, it contributes to a more complex flavor profile as it browns or caramelizes during the bake. However, because butter hardens when cooled, it can make baked goods feel dry or dense after just a day or two in the refrigerator. Oil, remaining liquid even at cooler temperatures, ensures that the crumb stays soft and moist for several days. This is why commercial bakeries often lean toward oil-based formulas for products that need to withstand shelf time without losing their appeal to the consumer.
When to Use Butter: The Gold Standard for Flavor
Achieving the Perfect Creaming Technique
When a recipe calls for butter, it is usually because the recipe designer intends for you to create a structured crumb through the creaming method. To do this correctly, your butter must be at a cool room temperature, typically around 65°F (18°C). If the butter is too warm or greasy, it won't hold the air bubbles; if it is too cold, it will remain in hard lumps. Using a stand mixer with a paddle attachment, beat the butter and sugar until the mixture is pale yellow and significantly increased in volume. This step can take anywhere from three to five minutes and is the secret to a professional-quality cake.
The Importance of Butter Quality
In baking, fat is a primary ingredient, not just a lubricant. The quality of your butter will be reflected in the depth of flavor. High-fat European-style butters (containing 84% fat or more) are preferred by professionals because the lower water content leads to less steam release, resulting in a tighter, more uniform crumb. When you are making shortbread, butter cookies, or delicate sponge cakes, the milk solids in butter are what give the product that signature nutty, sweet finish that oil simply cannot replicate.
Butter-Based Baking Applications
Pound Cakes:* These rely on the structure of butter to support a dense, rich batter.
Shortbreads and Sugar Cookies:* The solidification of butter at room temperature creates the "snap" and melt-in-the-mouth texture.
Frostings:* Butter’s ability to whip into a stable, stable emulsion makes it the only choice for traditional American or Swiss Meringue Buttercreams.
Pie Crusts:* Cold butter shards are essential for creating the layers of steam that result in a flaky, distinct crust.
When to Use Oil: The Secret to Moistness
The Convenience of Neutral Oils
When you want your bakes to be moist and light, oil is your best friend. Neutral oils like canola, vegetable, or grapeseed oil are ideal because they don't add their own flavor to the dish. If you are baking a recipe with strong spices or extracts, such as a chocolate cake or a spiced carrot cake, oil allows those delicate aromatic compounds to shine without being masked by the richness of dairy. Always use a high-quality, refined oil; cold-pressed oils like extra virgin olive oil have a lower smoke point and a distinct, peppery flavor that can clash with sweet ingredients.
Achieving Texture without Creaming
Because you don't need to cream oil, oil-based recipes are significantly faster and easier to prepare. These recipes typically follow the muffin method: mix your dry ingredients in one bowl, your wet ingredients in another, and fold them together just until combined. It is vital to avoid over-mixing at this stage. Once you add the wet to the dry, you start developing gluten. Since oil doesn't provide the mechanical lift of butter, you must rely on your leavening agents—ensure your baking powder is fresh and active!
"Oil is the ultimate tool for efficiency. It is the workhorse of the home kitchen, ensuring that your cakes stay as moist on day three as they were the moment they came out of the oven."
Oil-Based Baking Applications
Muffins and Quick Breads:* Oil ensures a soft, moist texture that doesn't harden when refrigerated.
Chocolate Cakes:* Cocoa powder is naturally drying; oil offsets this to keep the cake tender and velvety.
Carrot Cakes or Banana Bread:* Heavy ingredients need a fat that keeps the structure loose and supple rather than heavy or greasy.
Layer Cakes for Storage:* If you plan to make a cake in advance, oil-based sponges handle the chilling process much better than butter-based versions.
How to Substitute Successfully
The Golden Ratio for Substitution
If you find yourself in the middle of a project and discover you don't have the required fat, you can substitute, but you must respect the ratios. Generally, you can substitute oil for melted butter in a 1:1 ratio by weight. However, remember that butter is only about 80% fat, whereas oil is 100%. If you are replacing solid, cubed butter in a recipe (like a biscuit or pie crust), do not use oil; the result will be a greasy failure. Stick to using oil as a substitute only in recipes where the butter was intended to be melted or creamed into the batter.
Adjusting for Liquid Content
When swapping butter for oil, you are removing the milk solids and water that were previously adding flavor and hydration. To compensate for the loss of flavor, increase your vanilla extract or add a pinch of salt to the dry ingredients. If you are concerned that the final product might be too heavy, you can create a hybrid approach. Many professional pastry chefs use a blend of 70% butter and 30% oil in their cakes. This provides the flavor of the butter with the long-lasting moisture of the oil, offering the best of both worlds.
Step-by-Step Conversion Process
The Hybrid Approach: Professional Secrets
Why Choose One When You Can Have Both?
The most sophisticated bakers often reject the binary choice of oil versus butter, opting instead for a synergistic blend. By using butter for its structural and flavor-forward properties and oil for its moisturizing capabilities, you can engineer a cake that possesses a superior crumb architecture. This is a common practice in high-end commercial baking, where moisture retention is as important as the initial sensory experience.
Mastering the Hybrid Ratio
A common starting point for a hybrid cake is a ratio of 3:1—three parts butter to one part oil. This is sufficient to influence the moisture profile without sacrificing the buttery mouthfeel that customers crave. To execute this, melt your butter until it is just liquid but not hot, whisk in the oil until emulsified, and proceed with your recipe as if you were using only butter. This prevents the "greasy" texture that can occur if you add oil to a creamed butter mixture haphazardly.
Tips for Implementation
Whisk the fats:* Always ensure the oil and melted butter are fully integrated before adding them to your sugar or dry ingredients.
Temperature control:* Keep your melted butter and oil at a lukewarm temperature—around 75°F (24°C)—before adding them to your eggs. If the fats are too hot, they may cook the eggs; if too cold, they may solidify into clumps.
Use as a flavor carrier:* If you choose to use a hybrid, consider adding a hint of browned butter (beurre noisette) for a nutty, complex depth that permeates the entire cake.
Troubleshooting Common Issues
My Cake Is Too Greasy
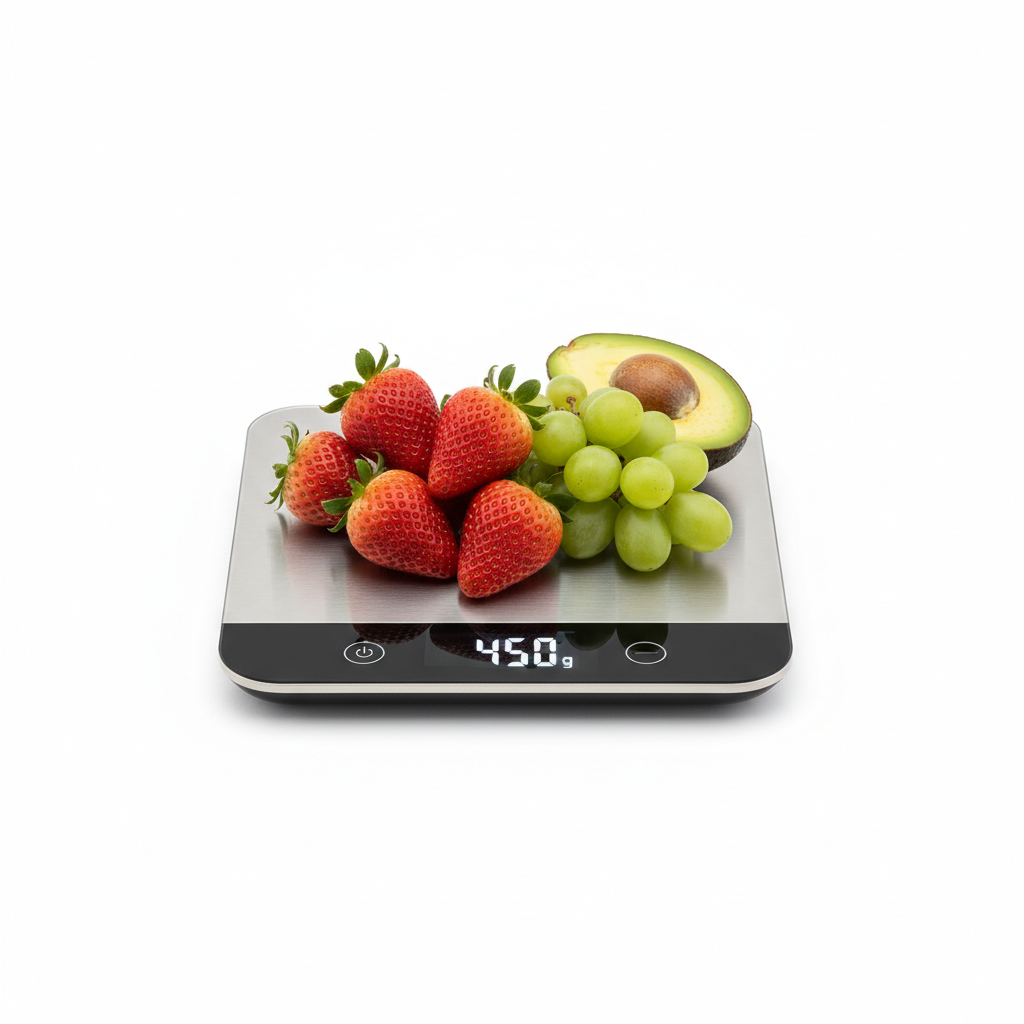
This typically happens when you substitute 1:1 using volume (cups) rather than weight (grams). Because oil is 100% fat, using a full cup of oil instead of a full cup of butter (which is only 80% fat) adds 20% more fat to the recipe, which the flour cannot absorb. This leads to a greasy finish. Always switch to a digital scale for your fats; a standard stick of butter is 113 grams, and you should use 113 grams of oil—not the volume equivalent.
My Cake Is Dense
If you used oil but your cake is dense, the issue is likely a lack of air. Remember, oil cannot hold air. If your recipe was designed for the creaming method (butter + sugar), simply swapping in oil will result in a flat, dense texture because you have removed the structural support and the aerated foundation. Ensure that if you are using oil, you are using a recipe specifically formulated for oil, which will rely on higher ratios of leavening agents to compensate.
The Flavor Is Lacking
Butter carries flavor compounds that oil cannot. If you find your oil-based cakes bland, think about your other ingredients. Are you using high-quality cocoa? Are you using real vanilla bean paste rather than synthetic extract? Are you adding a splash of buttermilk or sour cream? Since oil doesn't provide the dairy tang of butter, you must incorporate acidic elements—like yogurt, buttermilk, or lemon juice—to ensure the cake has a "bright" flavor profile.
"A cake should never be a one-note experience. If your fat choice feels lackluster, look to your acids and extracts to provide the complexity that a clean oil cannot provide on its own."
Final Thoughts: The Art of the Informed Baker
The transition from a home cook to a proficient baker is marked by the moment you stop fearing ingredient substitutions and start managing them with precision. The debate between oil and butter is not a battle to be won, but a toolset to be mastered. You now have the knowledge to decide whether a recipe demands the structural elegance of butter, the long-lasting softness of oil, or the sophisticated balance of a hybrid. Every choice you make in the kitchen is an opportunity to learn, adjust, and improve your technical repertoire.
As you move forward, keep a baking journal. Record when you swapped butter for oil, how it changed the texture, and what the final flavor profile felt like. Did the cake rise as high? Was the crumb more delicate? Did it hold up better after two days in the kitchen? These small data points are the foundation of your culinary intuition. The "Blame the Chef" method is not about being right; it is about being observant. When you understand the "why" behind every ingredient, you become the author of your own recipes rather than a mere interpreter of someone else’s instructions.
Do not be afraid to experiment with different types of oil—try walnut oil in a chocolate cake for added depth, or a mild coconut oil in a tropical lime muffin. Play with the temperature of your butter, and practice your creaming technique until the consistency is consistent and reliable. The kitchen is your laboratory, and the butter and oil in your pantry are your primary variables. Embrace the science, respect the ratios, and continue to challenge yourself with every bake. Your mastery of these fundamental fats will undoubtedly elevate your baking from the standard to the extraordinary, ensuring that every result you pull from your oven is a triumph of culinary skill. Never settle for the status quo—keep refining, keep testing, and most importantly, keep baking with the confidence that you now possess the knowledge to execute any vision you bring into your kitchen.

Get the Next Recipe
Weekly recipes, techniques, and gear picks — straight to your inbox.