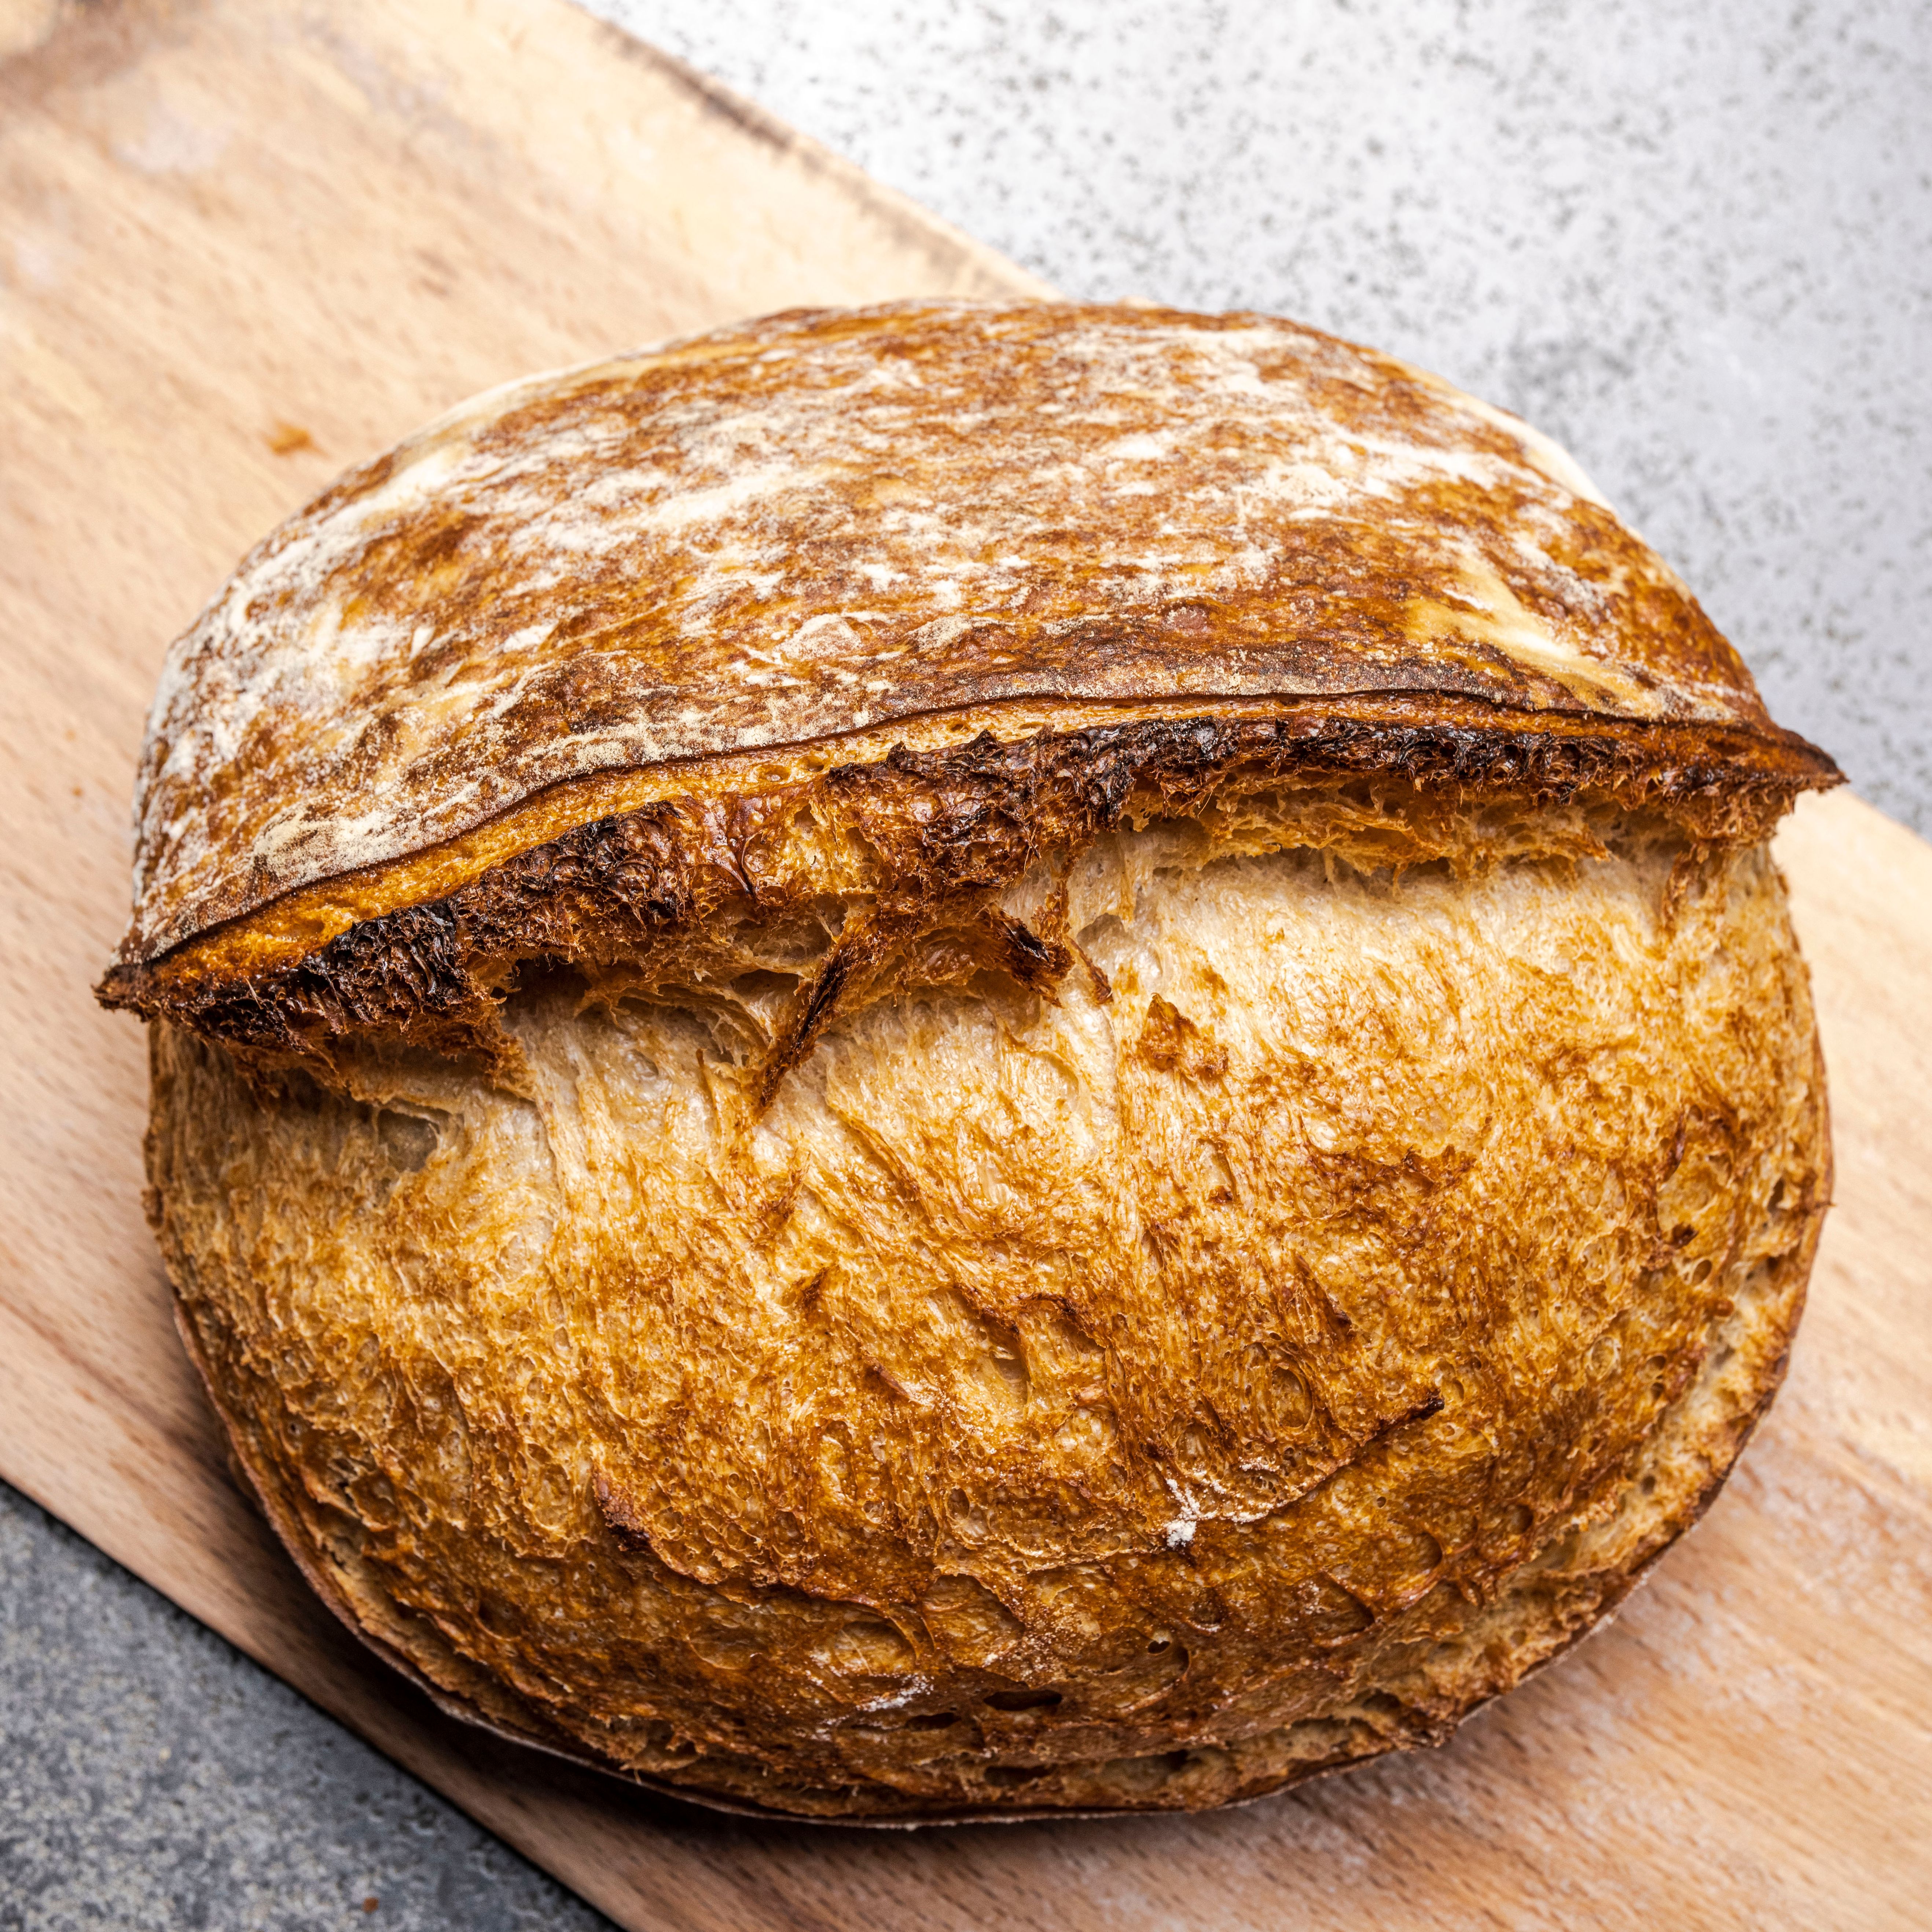
The Art and Science of Sourdough Fermentation
Sourdough bread has captured the hearts—and taste buds—of home bakers and gourmet chefs alike. The allure of a crusty exterior with a soft, chewy center and that unmistakable tang makes sourdough a standout choice among bread varieties. Behind this delightful loaf lies a complex world of fermentation, a process that has been practiced for millennia and is revered in artisan baking circles. Understanding the intricacies of sourdough fermentation not only enhances the flavor and texture of your bread but also allows you to master the craft, leading to a deep appreciation of each loaf you create. Whether you are an eager beginner or a seasoned baker, the art and science of sourdough fermentation hold endless possibilities for experimentation and improvement.
At its core, sourdough fermentation is a dance between flour, water, and wild microorganisms. Unlike other commercially yeasted breads, sourdough relies on naturally occurring lactic acid bacteria and wild yeasts present in the environment. These elements work in tandem to create a rich, complex flavor profile and enhance the texture of the finished product. The process is not merely a series of steps to follow, but a journey of observation and intuition that transforms simple ingredients into something extraordinary. As you immerse yourself in the world of fermentation, you will discover the various factors that influence the final outcome, from temperature to hydration levels and fermentation times.
The journey of sourdough fermentation requires patience and practice. At its best, this bread-making journey can become meditative, allowing you to connect deeply with both the ingredients and the transformation taking place. The balance between art and science is delicate; while you can follow established guidelines, each environment, flour type, and starter will influence the outcome. The key is to observe and adjust, learning to read the signs that your dough gives you throughout its life cycle. In this comprehensive guide, we will delve into the fundamentals and advanced techniques of sourdough fermentation, equipping you with the knowledge you need to create perfect loaves every time.
Understanding Sourdough
Before we dive into the mechanics of fermentation, let’s explore the key components that define sourdough and its unique characteristics.
What is Sourdough?
Sourdough is a type of bread that uses naturally occurring lactic acid bacteria and wild yeast as leavening agents instead of commercial yeast. The presence of these microorganisms contributes to the sour flavor and chewy texture that sourdough is famous for. This method of fermentation not only enhances the flavor profile but also provides various health benefits through the breakdown of gluten and phytic acid during the fermentation process.
The Role of the Starter
A sourdough starter is a mixture of flour and water that has fermented over time. It harbors a population of wild yeast and bacteria that allows for the fermentation process to take place.
Characteristics of Great Sourdough
A well-fermented sourdough bread boasts several key characteristics:
By familiarizing yourself with what makes sourdough great, you can start to experiment with different methods and ingredients to achieve your desired results.
The Science Behind Fermentation
Fermentation is at the core of sourdough baking. Understanding the science behind this natural process will allow you to manipulate variables for optimal results.
What Happens During Fermentation?
Fermentation occurs in two main stages: the propagation of yeast and the production of lactic acid bacteria.
The temperature at which fermentation occurs plays a vital role in the rate of these processes. Warmer temperatures tend to accelerate fermentation, while cooler temperatures slow it down.
Factors Influencing Fermentation
Several factors affect the fermentation process:
- Optimal Range: Most sourdough ferments well at temperatures between 75°F to 80°F (24°C - 27°C).
- Cool Fermentation: A cool environment can prolong fermentation, leading to more complex flavors.
- A higher hydration dough (more water) than standard (around 60-70%) can produce larger holes in the crumb structure due to the increased activity of the wild yeast.
- Conversely, lower hydration yields a denser loaf.
- A longer bulk fermentation often yields a more flavorful loaf. Depending on your starter and environmental conditions, this can vary from 4 hours to over 12 hours.
Monitoring Fermentation
To ensure your dough is fermenting correctly, visual cues are important:
Equipping yourself with knowledge about fermentation allows you to troubleshoot issues as they arise and adjust accordingly.
The Process of Sourdough Making
Baking sourdough isn’t just about mixing the ingredients; it’s about entering into a philosophy of slow food that values craftsmanship, time, and results.
Ingredients
The basic ingredients for sourdough bread include:
Step-by-Step Process of Making Sourdough
"Baking sourdough is a journey that encourages patience and mindfulness. Each step brings you closer to understanding your ingredients and the magic of fermentation."
Troubleshooting Common Problems in Sourdough Baking
Even seasoned bakers encounter challenges when making sourdough. Here are some common issues and solutions:
The Importance of Hydration and Flour Types
Hydration levels and flour types are crucial elements of sourdough baking, influencing everything from flavor to crumb structure.
Understanding Hydration Percentages
Hydration percentage refers to the ratio of water to flour in the dough.
Choosing the Right Flour
Different types of flour have unique protein contents and absorbency levels. Consider the following:
Experimenting with flour combinations can enhance flavor and texture, enabling you to customize your sourdough experience.
Flavor Development in Sourdough
A well-rounded sourdough loaf is all about flavor. The fermentation process contributes significantly to the resulting taste, and various techniques can manipulate these flavors.
The Fermentation Time Factor
Incorporating Different Ingredients
You can experiment with adding ingredients to transform your sourdough’s flavor profile:
"In sourdough baking, you are not just following recipes; you are crafting flavor profiles that speak to your personal taste and the environment you bake in."
Sampling and Tasting
Allow yourself to taste your sourdough at various stages. Understanding how flavors develop through fermentation will enhance your ability to create a loaf that pleases your palate.
Advanced Techniques for Experienced Bakers
Once you’ve gained confidence with the basics, it’s time to venture into advanced sourdough techniques that can elevate your baking game.
Autolyse Method
This technique involves mixing flour and water and letting it rest before adding the starter and salt. This not only improves the dough's extensibility but also enhances gluten development.
Lamination Technique
For those who want a unique open crumb structure, consider laminating your dough.
Experiment with Shaping
Mastering different shaping techniques such as batard (oval) and boule (round) can create loaves with different crust and crumb characteristics. Use tension during shaping to achieve a good surface structure, which will affect oven spring.
Final Bakes
Aim for a steam-baked environment. Here’s how to create a steamy setup if you’re not using a Dutch oven:
This steam trapped in the oven promotes excellent oven spring and a beautifully caramelized crust.
Conclusion
Mastering sourdough fermentation is a labor of love that rewards patience and practice with uniquely flavored, textured loaves. By embracing both the artistic and scientific aspects of this age-old craft, you will find your bread-making skills evolving with each batch you bake. Remember that each loaf tells a story, shaped by your environment, ingredients, and techniques.
Whether you are adjusting your fermentation times, experimenting with hydration levels, or fine-tuning your shaping techniques, every step offers opportunities for learning and creativity. So, gather your ingredients, nourish your starter, and embark on a delightful journey through sourdough baking. Here’s to the many loaves you will create, filled with the flavors and textures that reflect your culinary journey!




Get the Next Recipe
Weekly recipes, techniques, and gear picks — straight to your inbox.
