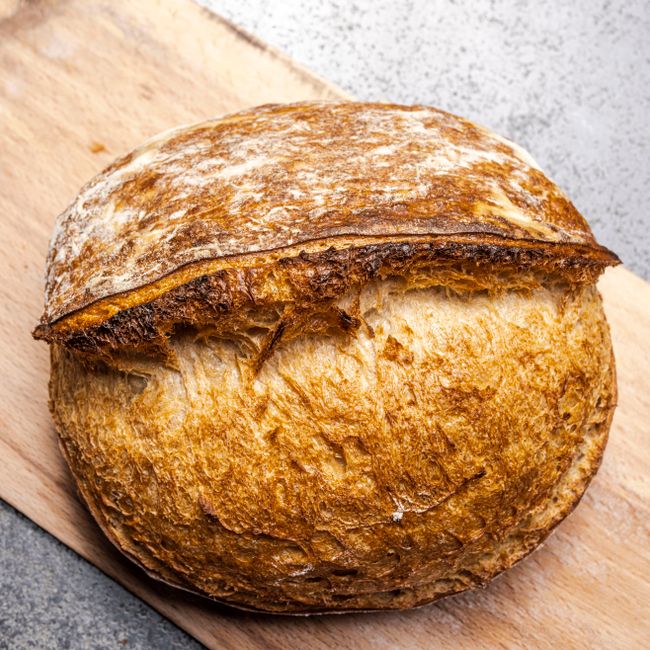
The Art and Science of Sourdough: Master Your Fermentation
The world of baking is as complex as it is rewarding, with each loaf or pastry serving as a canvas for creativity and precision. At the heart of artisanal baking lies sourdough, a beloved bread that embodies the perfect marriage of art and science. While many choose to pick up loaves from the bakery, true culinary enthusiasts understand that making sourdough from scratch is an experience that cultivates patience, technique, and an unwavering commitment to quality. The allure of sourdough is not just in its tangy flavor and chewy texture but also in the unique fermentation process that develops a rich depth of flavor unlike any other bread.
Understanding sourdough means diving into the principles of fermentation, where flour and water, combined with wild yeast and bacteria from the environment, transform into a living, breathing culture. This fermentation not only leavens the bread but also contributes to its nutritional value, creating a loaf that's easier to digest and rich in flavor. For many home bakers, the journey to mastering sourdough starts with nurturing a starter—a symbiotic community of wild yeast and lactic acid bacteria. This starter is the key to unlocking the bread’s complex acidity, which is shaped by both the ingredients and the fermentation time.
As we explore the multifaceted world of sourdough, you will discover both the artistic flourishes that come with shaping and scoring a loaf as well as the scientific principles that guide the fermentation process. From the selection of the right flour to understanding hydration levels, each decision impacts the final product. This guide is designed for the novice baker aspiring to elevate their sourdough skills and the experienced cook looking for insights that might have been overlooked. Prepare to roll up your sleeves and dive deep into the process of mastering one of baking’s most treasured styles—artisanal sourdough.
Understanding Sourdough Starter
The Basics of a Starter
At the core of sourdough baking is the starter, which serves as the source of the wild yeast necessary for fermentation. Unlike commercial yeast, wild yeast captures the natural microorganisms from your environment, leading to a uniquely personalized baking experience. A typical sourdough starter is made from equal parts of flour and water by weight, usually with a 1:1 ratio at the beginning.
The most common method to create a starter begins with a mixture of whole wheat flour and water. Whole wheat flour contains more nutrients and wild yeast compared to all-purpose flour, making it an ideal choice for initial growth.
Feeding Your Starter
Once your starter shows signs of life—bubbles forming and a slight increase in volume—it’s time to feed it. This feeding process invigorates the yeast and bacteria, allowing the starter to grow stronger.
Characteristics of a Healthy Starter
A healthy sourdough starter should have:
“A thriving starter is the soul of any successful sourdough loaf. It embodies the balance of nature and nurture.”
The Science of Fermentation
How Fermentation Works
Fermentation is a biochemical process that occurs when yeast and bacteria convert sugars into carbon dioxide, alcohol, and organic acids. In sourdough, these acids, particularly lactic acid and acetic acid, contribute to the bread's flavor profile.
Factors Influencing Fermentation
Several factors can impact the effectiveness of fermentation:
Recognizing Fermentation Stages
During the fermentation process, the dough moves through several distinct stages:
Selecting Ingredients
Choosing Flour
The choice of flour is paramount in achieving the desired texture and flavor of your sourdough. Here are some guidelines:
Water Quality
Salt: An Essential Component
Don’t underestimate the importance of salt, which not only enhances flavor but also strengthens dough structure and controls fermentation.
“Using quality ingredients transforms a mediocre loaf into a masterpiece. Treat each component with respect and intention.”
Techniques for Shaping and Scoring
The Art of Shaping
Shaping is one of the most crucial steps in sourdough baking, influencing both the loaf’s structure and overall aesthetic. Here’s how to shape your dough effectively:
Scoring Techniques
Once shaped and ready for proofing, it’s essential to score the loaf before baking. Scoring allows the bread to expand properly during baking:
Baking the Perfect Loaf
Preheating the Oven
To achieve a crisp crust and well-developed interior, preheat your oven with a baking stone or a Dutch oven for at least 30 minutes prior to baking. This ensures that the heat is adequately distributed, allowing for immediate steam creation.
Determining Doneness
Knowing when your sourdough is perfectly baked is crucial for achieving the right texture:
Cooling Process
After baking, let your bread cool on a wire rack for at least 1 hour before slicing. Cutting too soon can create a gummy texture as the bread continues to steam during the cooling process.
“Patience is your best friend in baking. Allow your loaf to cool completely before slicing, and you’ll be rewarded with a crumb structure that speaks of your dedication.”
Troubleshooting Common Issues
Dense Loaves
If your sourdough turns out dense, consider these factors:
Crumb Issues
A gummy or coarse crumb can be a result of various factors:
Overly Tangy Flavor
While a certain degree of tanginess is characteristic of sourdough, an overly sour loaf can result from:
Conclusion
Mastering sourdough is a wonderful journey that combines the elements of art and science, patience, and practice. A well-crafted loaf not only satisfies the craving for bread but also offers a sense of accomplishment and connection to the age-old traditions of baking. As you hone your skills, embrace each loaf as an opportunity to learn more about fermentation, flavor development, and the intricacies of working with natural ingredients.
Every batch of sourdough is unique. By understanding the fundamental principles and monitoring your variables, you can create a range of flavors and textures that will delight your palate and the palates of those you share with. Whether you’re baking for yourself, family, or friends, the time spent nurturing your starter and crafting your loaf is a labor of love that will yield not just delicious bread but also satisfaction in each delicious bite.
So gather your ingredients, set aside some time, and let the magic of sourdough ignite your baking passion. What you create will be more than just bread; it will be a testament to your culinary journey and your mastery of fermentation. Enjoy the process as much as the product, and soon you will find yourself not just a baker, but a creator of culinary art.




Get the Next Recipe
Weekly recipes, techniques, and gear picks — straight to your inbox.
