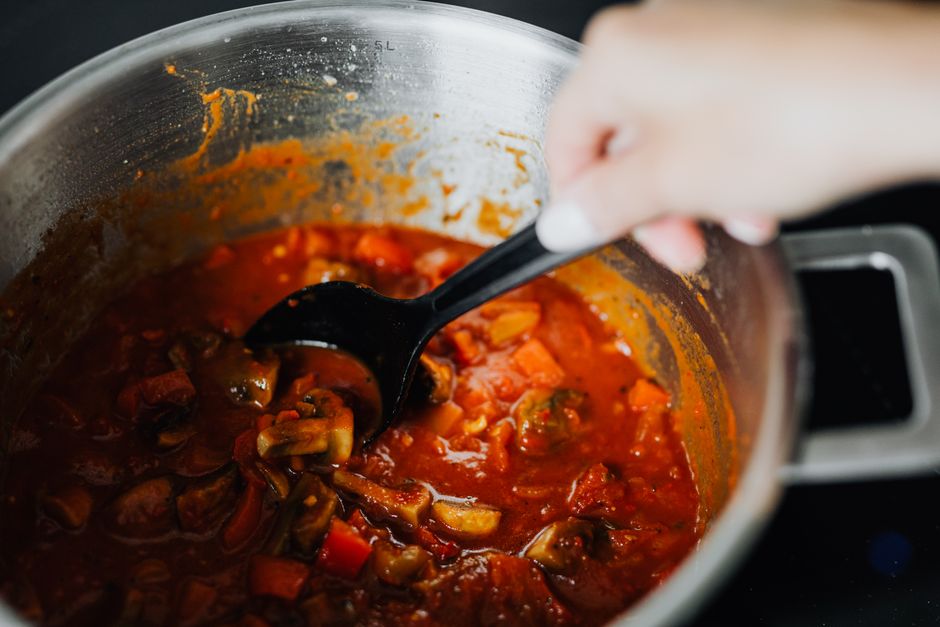
The Art of Braising: Low and Slow Perfection
Braising is a cooking technique that brings together the best of both worlds—slow and gentle cooking methods to transform tough cuts of meat into tender, flavorful bites. It is an age-old method that allows fibers to break down, thereby enhancing the taste and texture of the dish. Using low heat and moisture, braising elevates humble ingredients while imparting a deep, rich flavor that results in comfort food at its finest. As the enticing aromas waft through your kitchen, you are drawn into a world where culinary magic occurs, and the anticipation builds for the meal that awaits.
This method is not limited to meat alone; vegetables and grains can benefit beautifully from the same principles. The beauty of braising lies in its versatility, allowing cooks to experiment with various herbs, spices, and liquids that not only complement the main ingredients but also create a symphony of flavors in every bite. Whether you are braising in a Dutch oven, slow cooker, or pressure cooker, understanding the nuances of the technique will elevate your culinary repertoire and create meals that will impress even the most discerning palates.
One of the many joys of mastering braising is that it allows for excellent meal prep and makes cooking for a crowd far more manageable. With a few straightforward steps, you can create large quantities of food ahead of time, all while embracing the leisurely pace of cooking that braising promotes. By the end of this post, you will find yourself prepared to dive into the art of braising with confidence, ready to create dishes that sing with flavor and warmth.
Understanding the Basics of Braising
Braising can be broken down into two main components: searing and slow cooking. This technique starts with applying high heat to achieve a rich, caramelized crust on your chosen protein, which in turn adds a complex layer of flavor. Once seared, the meat is combined with a flavorful liquid (broths, stocks, or even wine) and cooked slowly, allowing the connective tissues to soften and become melt-in-your-mouth tender.
The Science Behind Low and Slow Cooking
At the heart of braising is the science of collagen—the connective tissue found in tougher cuts of meat. Collagen requires long cooking times to break down into gelatin, which not only enhances the mouthfeel of the dish but also contributes a silky texture to gravies and sauces. Cooking at low temperatures allows this transformation to occur while preserving the moisture in the meat, which is crucial for achieving that desirable tenderness.
To put this into perspective, cooking meat at temperatures above 300°F will result in a dry texture, while the 180°F to 200°F range is ideal for maximizing flavor and tenderness without overcooking. The goal is to create an environment where the meat can cook gently while absorbing the flavors of the braising liquid.
Choosing the Right Ingredients
Successful braising is about choosing the right combination of ingredients to work harmoniously together. Begin by selecting a good cut of meat for braising, such as:
These cuts have a higher fat content and more connective tissue, making them perfect candidates for the braising process. When selecting vegetables, root vegetables like carrots, parsnips, and potatoes add flavors and act as a base to your dish, while aromatics such as onions, garlic, and herbs provide depth. Lastly, pick a braising liquid that complements the ingredients, such as beef broth, chicken stock, or a rich red wine.
The Importance of Searing
The process of searing before braising enhances the overall flavor by creating a delicious crust via the Maillard reaction. This reaction occurs when proteins and sugars breastheat at high temperatures, producing complex flavor compounds.
Perfecting the Searing Technique
To achieve the perfect sear, follow these essential steps:
“Searing is the bridge between raw and cooked, imparting depth and dimension to each bite.”
Once your meat is beautifully browned, remove it from the pan and set it aside, as you will be using the same dish for the braising process. Those delicious browned bits, or fond, are packed with flavor and will significantly contribute to the final dish.
Building Layers of Flavor
Now comes the fun part: building your flavor base. This step is critical in creating a dish that resonates with complexity, so take your time.
Aromatic Vegetables
Return your pan to medium heat and add a touch more oil if needed. Start by adding your chopped aromatics:
Sauté these until they soften and become fragrant. This will create an enticing base for your braising liquid. You can also consider adding herbs at this stage, such as thyme or bay leaves, to infuse herbal notes throughout the dish.
Deglazing the Pan
Once your vegetables are slightly caramelized, it’s time to deglaze the pan to extract the fond. Pour in your selected braising liquid, scraping the bottom with a wooden spoon to incorporate those browned bits. This is not only a demonstration of skill but a vital element in achieving a rich finish.
Creating the Braising Liquid
When crafting your braising liquid, aim for a balance between acidity, richness, and flavor. Consider a mixture that includes:
For a strong flavor balance, aim for a liquid volume that is about 1/3 of the total volume of the braising pot, ensuring the protein is at least half-submerged but not completely covered.
The Perfect Braising Method
Once you have your ingredients and flavor base prepared, it’s time to bring everything together for the braising process.
Oven Braising vs. Stovetop Braising
Braising can be accomplished either on the stovetop or in the oven. Both methods have their unique advantages:
Regardless of the method you choose, aim for a cooking time of about 2 to 4 hours, depending on the size and type of the protein you are braising.
Monitoring Temperature and Timing
Keep a meat thermometer handy to ensure you reach a safe internal temperature while still allowing the meat to become tender. For beef cuts, aim for at least 190°F; for pork, around 190°F to 205°F; and for lamb, 190°F suffices.
After your cooking time is completed, you can remove the pot from the heat. It’s often beneficial to let the braise rest at room temperature for 30 minutes to an hour before serving. This resting period allows the flavors to meld and will improve the overall flavor of the dish.
Enhancing with Finishing Touches
Once your braisey goodness is cooked, the fun isn't over. This is the moment to incorporate some finishing touches to elevate the dish.
Thickening the Sauce
If you desire a thicker sauce, there are a couple of methods to achieve the perfect consistency:
Seasoning Adjustments
Taste your sauce and adjust accordingly. Depending on the depth of flavor, you may need to add a pinch of salt, a dash of vinegar for acidity, or a sprinkle of sugar to balance out any excess acidity.
Garnishing for Presentation
Garnishing your dish not only enhances its appearance but can also provide a flavor contrast. Some ideas for garnishes include:
Variations on Braised Dishes
Once you’ve mastered the traditional techniques of braising, consider exploring different cultural variations that offer unique flavors and experiences.
Coq au Vin
This classic French dish features chicken braised with red wine, lardons (pork, typically bacon), and assorted mushrooms. The braising method perfectly tenderizes the chicken while imparting rich flavors due to the wine.
Osso Buco
A specialty from Northern Italy, osso buco includes braised veal shanks cooked with white wine, broth, and vegetables. The marrow in the center of the bone provides intense flavors and a silky texture when cooked low and slow.
Chinese Red-Braised Pork
In Chinese cuisine, pork belly is braised in soy sauce, sugar, rice wine, and spices, resulting in a sweet and savory dish known as Hong Shao Rou. It often features star anise and ginger, showcasing the rich flavors typical of Chinese cooking.
Moroccan Lamb Tagine
Braised meats in Moroccan cooking frequently include spices such as cumin, coriander, and cinnamon, making it a delightful entry to the world of exotic braising. Serve it with couscous for a hearty meal.
“Braising is about the journey, not the destination. Each step, ingredient, and hour spent cooking adds to the depth of flavor.”
Troubleshooting Common Braising Issues
Even the best chefs encounter issues with braising sometimes. Here are some common problems and possible solutions:
Meat Not Tender
If your meat does not reach the desired tenderness after cooking, it may need more time; braising can be forgiving, and patience is vital. Keep in mind that tougher cuts often take longer to break down.
Bitter Sauce
A bitter sauce can result from overcooking certain vegetables or herbs. Ensure you do not have any burnt bits in your braising mixture and balance flavors as you taste along the way.
Too Salty
If your sauce turns out too salty, adding a splash of vinegar can help balance the flavors. Alternatively, a spoonful of sugar can neutralize excessive saltiness.
Conclusion
Braising is truly an art form that combines the science of cooking with the magical transformation of flavors and textures. As you embrace the low and slow approach, remember that patience is your greatest ally. The essence of braising lies in the magic that happens over time—tenderizing tough cuts, creating rich sauces, and crafting unforgettable meals.
By mastering the basics of searing, building layers of flavor, and understanding the nuances of preparation and presentation, you not only expand your culinary toolkit but also begin to appreciate the beauty of slow cooking as a nurturing experience. Embrace the technique, experiment with flavors, and savor the rewards of braising as you delight in sharing your new creations with family and friends.
In every braise you create, remember to let the aroma guide you, the flavors inspire you, and the smiles around the table remind you why you started cooking in the first place.


Get the Next Recipe
Weekly recipes, techniques, and gear picks — straight to your inbox.
