
The Art of Charcuterie: Curing, Smoking, and Aging Meats at Home
There is an undeniable magic that happens when you take a simple, raw piece of protein and, through the alchemy of salt, time, and temperature, transform it into something transcendent. For centuries, charcuterie was not a hobby but a necessity, a vital preservation method that allowed our ancestors to survive the lean winter months. Today, however, it represents the ultimate frontier for the dedicated home cook—a practice that demands patience, precision, and a profound respect for the ingredients at hand. When you set out to cure, smoke, or age your own meats, you are not merely cooking; you are participating in a culinary tradition that predates modern refrigeration and links you directly to the artisans of old. It is an act of defiance against the processed, plastic-wrapped goods of the supermarket shelf, favoring instead the deep, complex flavors that only time can cultivate.
The learning curve for charcuterie is admittedly steep, as it requires moving away from the "instinctive" cooking style many home chefs are accustomed to and embracing the scientific side of the kitchen. You must become comfortable with nitrates, humidity control, and precise weight measurements, as there is no room for "a pinch of this" or "a dash of that" when you are dealing with curing salts. Every gram of salt, every degree of temperature, and every percentage point of relative humidity acts as a guardian against spoilage, ensuring that what comes out of your curing chamber is as safe as it is delicious. By mastering these variables, you will find that the process becomes less of a chore and more of a meditative ritual. You are building a relationship with the meat, watching it shrink, harden, and develop a bloom of flavor that is entirely unique to your specific home environment.
To embark on this journey with "Blame The Chef," you need to cultivate a mindset of observation and patience. You will inevitably face challenges, perhaps a stubborn case of case hardening or an unruly batch of bacterial mold, but each mistake is a lesson that brings you closer to mastery. We are going to strip away the intimidation factor, breaking down the chemistry and the craft into manageable, repeatable processes that you can execute in your own kitchen. Whether you are aiming to hang your first coppa, smoke a batch of traditional bacon, or craft a rustic salami, the foundational principles remain the same. Prepare to clear off your counters, invest in a reliable scale, and embrace the slow, methodical process that turns meat into a masterpiece.
The Foundation: Safety and Salt Chemistry
The most common misconception about charcuterie is that it is dangerous or overly complex, but with the right understanding of curing agents, it is remarkably safe. The primary goal of any cure is to lower the water activity of the meat, creating an environment where harmful pathogens like Clostridium botulinum cannot thrive. This is achieved through the careful application of salt and, in many cases, curing salts like Prague Powder #1 or #2. Without these additives, you are essentially gambling with your health, as sea salt alone is insufficient to protect meat during the long, slow dehydration process. Understanding the ratio of salt to meat is the single most important skill you will develop in your culinary career.
For most short-term cures—like bacon, pancetta, or gravlax—you will use Prague Powder #1, which contains 6.25% sodium nitrite. This is designed for quick-cured products that will be cooked or smoked shortly after curing. For long-term projects like whole-muscle prosciutto or salami, you will reach for Prague Powder #2, which contains both sodium nitrite and sodium nitrate. The latter is a slow-release agent that breaks down over several weeks into nitrites, providing long-term protection as the meat ages. Always treat these salts with the respect they deserve; they are not a substitute for kosher salt but a supplement, usually calculated at a rate of 0.25% of the total weight of the meat.
"Charcuterie is not about speed; it is about the quiet, steady dance between proteins and enzymes, where the salt acts as the choreographer ensuring that only the good bacteria are invited to the party."
When you start your first project, you must commit to the equilibrium curing method. Rather than burying a piece of meat in an excess of salt (the "salt box" method), which can lead to unpredictable saltiness, the equilibrium method relies on precision. You weigh your meat, calculate a specific percentage of salt (usually 2.5% to 3% by weight), and vacuum seal it with its curing agents. This ensures that every inch of the meat is perfectly seasoned and that the salt concentration is consistent throughout the entire muscle. It removes the guesswork and produces a product that is perfectly balanced every single time you make it.
The Art of the Cold Smoke
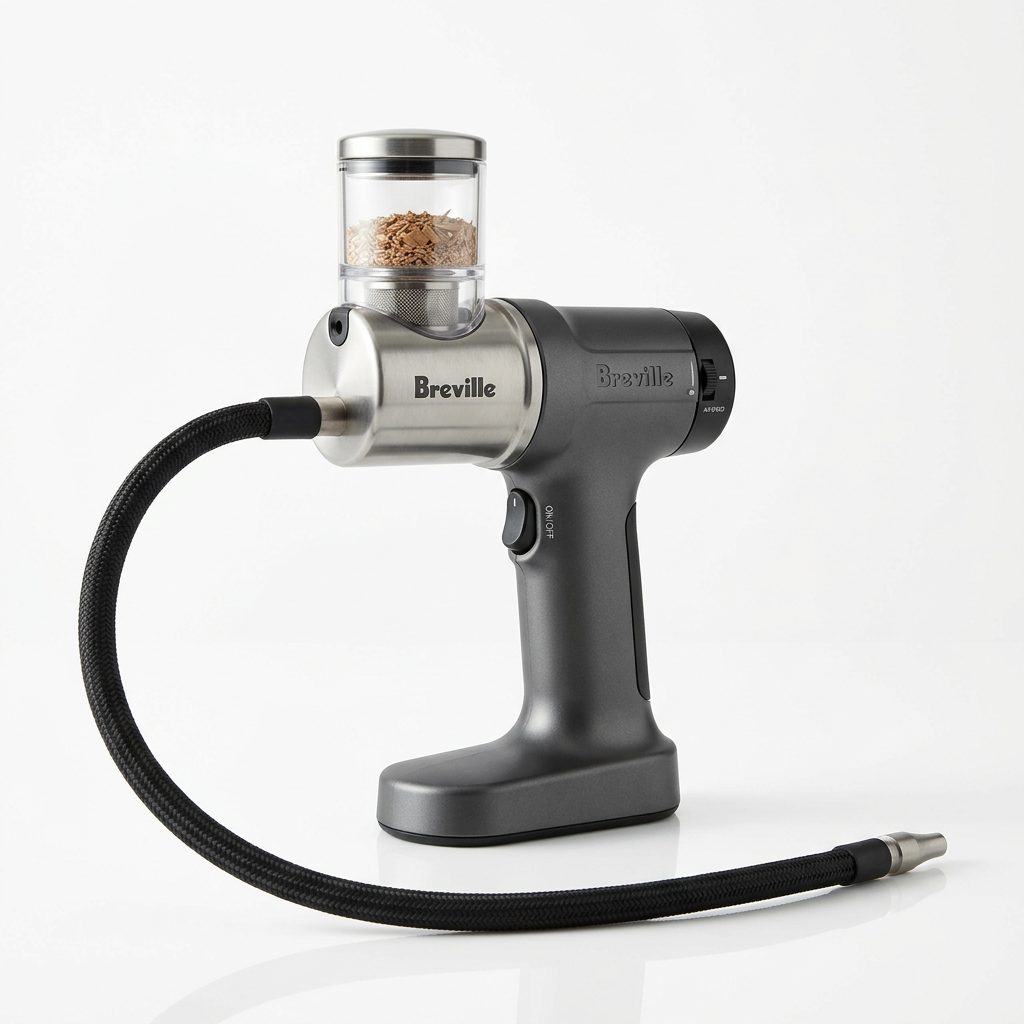
Smoking is often confused with cooking, but in the realm of charcuterie, we are primarily dealing with cold smoking. While hot smoking is essentially slow-roasting with wood smoke, cold smoking happens at temperatures below 80°F (27°C). The goal is not to cook the meat but to infuse it with the aromatic compounds found in the wood smoke while maintaining the integrity of the raw, cured protein. This requires a dedicated setup, such as a smoke tube, a smoke generator, or a cold smoke box, ensuring the heat source remains entirely separate from the chamber containing the meat.
Choosing Your Wood
The flavor profile of your final product is dictated entirely by the wood you choose to burn. Strong, resinous woods like pine or spruce should be avoided at all costs, as they produce bitter, soot-heavy smoke that will ruin the meat. Instead, lean toward hardwoods that offer a clean, balanced burn. Hickory provides a classic, aggressive, bacon-forward profile, while apple or cherry wood offers a lighter, fruit-forward sweetness that pairs beautifully with pork and duck. For a more subtle touch, oak is a fantastic neutral base that allows the quality of the meat to shine through without overwhelming it with heavy smoke flavors.
Managing Airflow and Humidity
Cold smoking is a delicate balance of airflow. You want just enough oxygen to keep the smolder going, but not so much that you blast the meat with heat or dry it out too aggressively. If you are smoking in a backyard shed or a custom-built cabinet, aim for a steady, thin ribbon of blue smoke. If the smoke is thick, white, and billowing, you are likely producing too much creosote, which will leave a metallic, chemical aftertaste on your cured goods. Always allow your meat to develop a pellicle—a dry, tacky outer surface—in the refrigerator for 12 to 24 hours before smoking, as this helps the smoke particles adhere to the meat surface efficiently.
Mastering Whole-Muscle Curing
Whole-muscle curing, such as making a lonzino (cured pork loin) or a coppa (cured pork shoulder), is the most accessible entry point for the amateur charcutier. Unlike salami, which involves grinding meat and managing complex fermentations, whole-muscle curing focuses on the integrity of the cut itself. Your success depends on your ability to trim the meat properly and ensure that the seasoning rub is applied uniformly. Because these cuts have a large surface area, they are more susceptible to drying out too quickly, which leads to the dreaded case hardening.
The Equilibrium Method in Practice
To prevent case hardening—where the outside of the meat becomes a hard, leathery shell while the inside remains raw—you must control the environment of your curing chamber. A simple mini-fridge equipped with a humidity controller (like an Inkbird) and a small humidifier is the gold standard for the home cook. You want to maintain a constant temperature of 55°F (13°C) and a relative humidity of 70-75%. This slow, steady environment allows moisture to migrate from the core of the meat to the surface at a consistent rate, ensuring even shrinkage and a beautiful, tender texture throughout.
Weighing and Tracking
You must keep a meticulous log of every single piece of meat you hang in your chamber. Weigh your meat the day you put it in to cure, and record that "green weight." As it hangs, the meat will lose moisture, and you should aim for a final weight loss of 30% to 40% of its starting weight. Weigh it once a week; if it is losing weight too fast, increase your humidity. If you see a light dusting of white mold, do not panic! This is usually the beneficial Penicillium nalgiovense, which protects the meat from bad mold and adds a wonderful earthy aroma. You can wipe away any green or black fuzzy mold with a cloth dipped in white vinegar.
"A curing chamber is a living ecosystem. When you open that door, you aren't just checking on your project; you are checking the pulse of an aging process that you have curated through your understanding of science and climate control."
Fermentation: The Soul of Salami
If whole-muscle curing is the entry-level course, then making fermented salami is the PhD program. This process involves grinding meat with fat, adding starter cultures (such as Lactobacillus), and stuffing the mixture into casings. The starter culture consumes the sugars you add to the mix, producing lactic acid. This drop in pH not only gives the salami that signature "tangy" flavor we all associate with fine charcuterie, but it also creates an acidic environment that is hostile to bad bacteria. This is a scientific process that requires precise temperature control during the first 24 to 48 hours.
The Role of Temperature and pH
During the "fermentation stage," your salami must be kept in a warmer environment—usually between 68°F and 75°F (20°C - 24°C)—with high humidity (90%). This allows the starter cultures to wake up and perform their work efficiently. If the temperature is too low, the bacteria remain dormant; if it is too high, you risk the growth of spoilage organisms. Many home chefs use a simple space heater in their chamber to achieve these temperatures during the initial phase. Once the pH drops below 5.3 (measured with a simple pH strip), you can move the salami into the standard curing phase of 55°F and 75% humidity.
Selecting Casings and Fats
Do not compromise on your ingredients when making salami. Use back fat from the pig, which is firm and has a high melting point, rather than soft belly fat. If your fat is too soft, it will smear during the grinding process, leading to a greasy, unappealing texture. Use natural casings (hog or beef middles) that have been soaked in warm water to ensure they are pliable. When stuffing, be diligent about removing air pockets, as trapped air can be a breeding ground for mold inside the salami. Use a needle to prick the casings if you see any bubbles—a technique known as "pinning the casing."
Equipment: The Home Curing Setup
You do not need a commercial kitchen to produce professional-grade charcuterie. In fact, most of the equipment you need is likely already in your garage or available second-hand. The most significant investment is your curing chamber, which, as mentioned, is essentially a converted refrigerator. You will need a controller to regulate both the temperature and the humidity. Beyond that, a reliable digital scale that can measure in 0.1-gram increments is non-negotiable. You are dealing with potent additives, and you must be precise.
Essential Tools for Success
Digital Scale*: Accuracy is your primary defense against failure.
Meat Grinder*: A sturdy grinder with a sharp blade is essential for keeping the fat and meat separate during the grind.
Stuffer*: A vertical manual stuffer is far superior to a grinder attachment for filling casings without damaging the texture of the meat.
Curing Chamber*: A converted fridge with an Inkbird controller is the heartbeat of your operation.
Hygiene Supplies*: Food-grade vinegar for wiping, nitrile gloves for handling, and clean butcher’s twine.
Sanitation Protocols
Charcuterie is a game of managing microbial life. You are not trying to create a sterile environment—you are trying to create a competitive environment where the good bacteria win. This starts with impeccable sanitation. Wash your grinder components in hot soapy water and sanitize them with a food-safe solution like Star San. Never touch your meat with bare hands while stuffing or rubbing; always wear fresh, food-safe nitrile gloves. If you are ever in doubt about the smell, appearance, or integrity of a piece of meat, trust your instincts and dispose of it. The goal is to eat, enjoy, and share, and safety is the foundation of that pleasure.
Troubleshooting the Process
Even for the seasoned professional, problems arise. The key to "Blame The Chef" success is knowing how to read the signals your meat is giving you. If you encounter case hardening, where the outer layer is dry and brittle while the inside is soft, you have been too aggressive with your airflow or too light with your humidity. In the future, increase the relative humidity or wrap the product in a tighter, less breathable material to slow down the dehydration. If you notice a slimy surface, you likely have poor air circulation in your chamber, allowing moisture to pool on the meat.
Managing Mold
Not all mold is bad, but you must learn the difference.
White Mold (Penicillium nalgiovense)*: This is the gold standard. It is chalky, dry, and clean-smelling. It acts as a protective shield and adds a complex, mushroom-like aroma.
Black, Green, or Blue Mold*: This indicates an issue with moisture, poor air circulation, or contamination. It often smells "off" or like wet basement. Use a cloth dampened with vinegar to wipe this away immediately.
Pink/Orange Slime: This is a major warning sign. This is often Serratia* or other spoilage bacteria that thrive in high-moisture, low-acid environments. If you see this, the batch should be discarded to be safe.
"A truly great charcuterie board is a map of time, showcasing the transformation of raw materials into a symphony of textures and flavors that linger long after the wine is gone."
Remember that your curing chamber is not a "set it and forget it" appliance. It requires a weekly check-in. Open the door, check the weight, smell the environment, and observe the surface of your meats. The more time you spend observing these small, subtle changes, the better you will become at identifying issues before they turn into losses. You are learning the language of aging, and like any language, it becomes fluent through constant practice and exposure.
Scaling Up and Advanced Techniques
Once you have mastered the basics of a simple lonzino or cured bacon, you might find yourself wanting to experiment with more complex flavors. This is where you can begin to introduce aromatics into your cure. Try adding toasted coriander seeds, cracked black peppercorns, juniper berries, or even a splash of high-quality red wine or brandy to your vacuum-sealed bags. The meat will absorb these flavors during the curing process, creating a deeper, more layered profile that is entirely unique to your kitchen.
Incorporating Spices and Aromatics
When working with dry spices, toast them lightly in a dry pan to release their essential oils before crushing them. This small step significantly impacts the aromatic intensity of the final product. For herbs, fresh is often better, but dried herbs can also be used if they are high-quality. Be wary of using too much fresh garlic, as it can occasionally introduce moisture or create pockets that encourage bad mold growth. Instead, consider using garlic powder or rehydrated dried garlic for a more consistent outcome in your fermented sausages.
The Finishing Touches
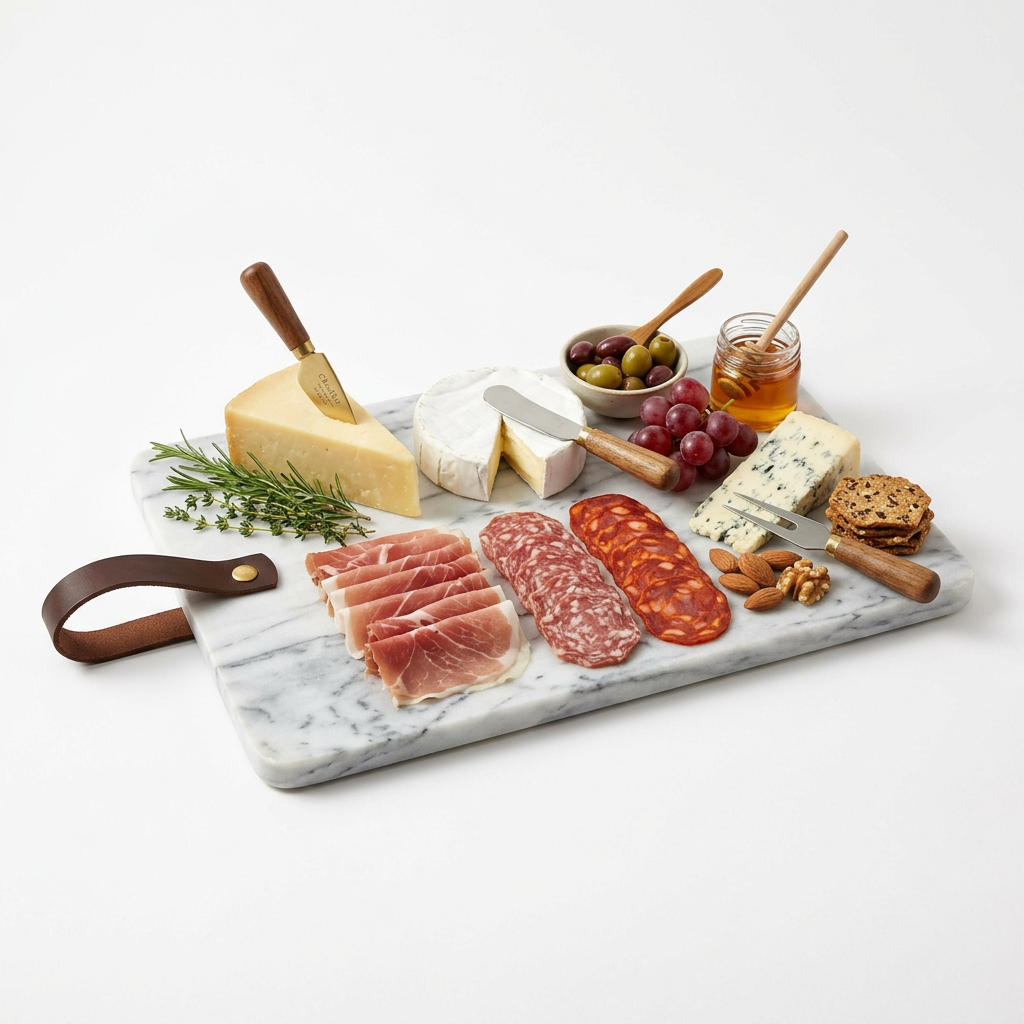
Presentation is the final step in the art of charcuterie. When you are ready to serve, thin slicing is everything. A high-quality slicer or a very sharp, long ham knife is essential. The meat should be sliced so thin that it is nearly translucent. Serve your charcuterie on a wooden board at room temperature, allowing the fats to soften slightly, which releases the full bouquet of flavors. Pair your creations with crusty sourdough bread, cornichons, stone-ground mustard, and a glass of acidic, bright red wine—the fat needs that acidity to cut through and cleanse the palate.
Conclusion
The path to mastering charcuterie is not a race; it is a slow, methodical climb toward culinary excellence. Throughout these sections, we have covered the science of salt, the nuances of smoke, the environmental control of curing chambers, and the precision required for fermentation. By embracing these techniques, you have shifted from a cook who follows a recipe to an artisan who understands the fundamental building blocks of flavor and preservation. The meat you pull from your chamber is not just food; it is a testament to your patience, your attention to detail, and your willingness to step into the world of traditional craft.
As you look back on your first successful hanging of coppa or your first batch of perfectly smoked bacon, realize that you have acquired a skill set that is increasingly rare in our modern, fast-paced world. You have learned how to harness time, how to balance chemistry, and how to create something that provides lasting satisfaction. Always remember that the quality of your finished product is only ever as good as the ingredients you start with, so source your pork from local, reputable farms that prioritize animal welfare and quality feed.
Do not be discouraged by the occasional failure. Even the best chefs in the world have lost batches to mold or improper humidity. The beauty of charcuterie lies in the iterative nature of the craft. With every batch, you will refine your ratio of salt, adjust your smoke timing, and better understand the internal climate of your curing chamber. You are now part of a lineage of makers, and your kitchen has become a site of preservation and creative expression. Keep your knife sharp, your scale calibrated, and your spirits high—the world of charcuterie is deep, rewarding, and waiting for your next project.
Final Thoughts
The final lesson of charcuterie is perhaps the most important: share it. There is nothing quite like the experience of pulling a piece of meat you have aged for months from your chamber, slicing it thin, and serving it to friends and family. It is a conversation starter, a centerpiece, and a true testament to the value of "slow food." Whether you are serving a simple spread of cured loin or a complex, multi-textured salami, you are sharing the result of your own time and effort.
In a world where we can have almost anything instantly, there is a profound, quiet luxury in the things that take time to grow, change, and settle into themselves. You have taken the time to wait, to observe, and to learn. Continue to explore new spice profiles, experiment with different meat sources, and perhaps even try your hand at pâtés or terrines to further broaden your charcuterie repertoire. The journey never truly ends because there is always another technique to refine or a new flavor combination to explore. Thank you for choosing to elevate your culinary skills with "Blame The Chef"—may your chambers always be at the perfect temperature and your salts always accurately measured. Now, go forth and start your next cure; the cycle is just beginning. Your journey into the art of curing, smoking, and aging is a lifelong pursuit, and I am honored to have been part of your starting point. Stay hungry, stay patient, and keep curing.

Get the Next Recipe
Weekly recipes, techniques, and gear picks — straight to your inbox.
