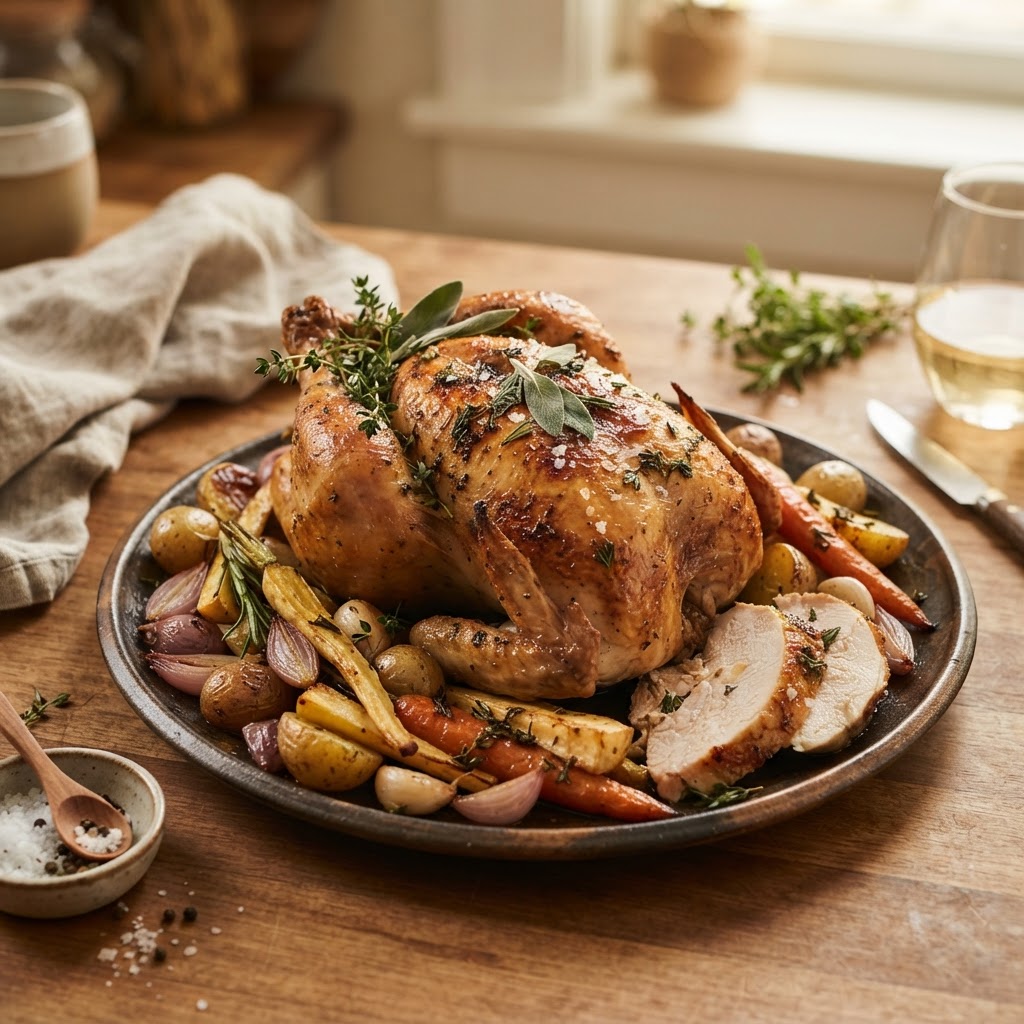
The Art of Dry-Brining: How to Achieve Superior Moisture and Flavor in Every Roast
There is a specific, sinking feeling that every home cook knows all too well: the moment you pull a beautifully golden-brown roast from the oven, only to slice into it and find that the interior is as dry as the Sahara. We have all been there, standing in the kitchen with a knife in hand, watching the precious juices evaporate into the air while our guests wait for a dinner that promised succulence but delivered sawdust. For years, the culinary world preached the gospel of "searing to lock in juices," a persistent myth that has led to countless overcooked centerpieces and disappointed dinner parties. The truth is far simpler and infinitely more effective, relying not on high-heat magic tricks, but on the patient application of chemistry and basic thermodynamics. Welcome to the world of dry-brining, the single most transformative technique you can bring into your home kitchen to ensure that your roasts are always, without exception, succulent, tender, and intensely flavorful.
When we talk about dry-brining, we are essentially discussing a controlled process of osmosis and protein modification that happens right inside your refrigerator. By applying a measured amount of kosher salt to the surface of a protein well in advance of cooking, you are allowing the salt to pull moisture out, dissolve into a concentrated brine, and then be reabsorbed deep into the muscle fibers. This process does more than just season the exterior; it alters the structure of the proteins themselves, allowing them to retain more moisture during the intense stress of the roasting process. It is a technique that demands only one ingredient you likely already have in your pantry and, more importantly, a little bit of foresight. By planning your meals just twenty-four hours in advance, you can elevate your culinary output from "adequate" to "restaurant-quality" with almost zero additional effort.
In the pages that follow, we are going to dismantle the complexities of dry-brining and show you exactly why it is the gold standard for chefs worldwide. We will explore the science behind salt distribution, the importance of surface dehydration for achieving that elusive, crackling-crisp skin, and the specific ratios you need to master everything from a holiday turkey to a simple Sunday night pork loin. You do not need professional equipment or a culinary degree to pull this off; all you need is a reliable thermometer, a bit of patience, and the willingness to rethink how you approach the seasoning phase of your preparation. Forget the elaborate basting routines and the complicated spice rubs that burn long before your meat is cooked through. We are stripping cooking back to its core, focusing on the intersection of salt, time, and heat to create roasts that will change the way you cook forever.
The Science of Salt: Why Dry-Brining Works
At its most fundamental level, dry-brining is a lesson in osmosis. When you salt the surface of a piece of meat, the high concentration of sodium on the exterior draws water out of the cells through the semi-permeable membranes. This creates a liquid brine on the surface of the meat. If you were to cook it immediately, the moisture would be lost, leaving the surface dry and the interior under-seasoned. However, if you leave the protein uncovered in the refrigerator, that liquid brine is eventually reabsorbed into the meat through the process of diffusion. As it migrates inward, the salt denatures the proteins, causing them to loosen their tight structure.
This structural shift is the secret to moisture retention. When meat is exposed to heat, proteins naturally tighten up and squeeze out moisture; it is essentially the same way a sponge reacts when you twist it. By pre-treating the meat with salt, you are keeping those protein strands "relaxed," so when the heat hits, they do not contract as violently. The result is a roast that holds onto its internal juices far more effectively than a piece of meat that was seasoned just moments before hitting the oven. It is a profound shift in texture that you can feel the moment your knife passes through the crust.
The Role of Dehydration
Beyond the interior moisture, dry-brining serves another critical function: surface dehydration. Because the refrigerator is a cold, dry environment, and because we leave the meat uncovered during the brining process, the surface of the protein loses a significant amount of moisture to the air. While we want moisture inside the meat, we want the surface to be as dry as possible. This is the secret to achieving that perfect, shatteringly crisp skin or a deep, dark brown sear. Water is the enemy of Maillard reaction, the chemical process that creates those complex, savory flavors we crave. By removing the excess surface moisture, you allow the heat of the oven to focus on browning the proteins rather than first having to evaporate a layer of surface water.
"Dry-brining is not merely a method of seasoning; it is an act of structural engineering for your food, ensuring that moisture is trapped deep within the muscle fibers where it belongs, while simultaneously preparing the exterior for the perfect sear."
The Essential Toolkit and Ratios
You do not need fancy equipment to dry-brine effectively. The most important tool in your arsenal is a digital probe thermometer. Regardless of how well you brine, the ultimate success of your roast depends on hitting the correct internal temperature. A dry-brined bird that is overcooked to 185°F will still be dry, just as a wet-brined piece of meat that is undercooked might be unsafe. Your focus should always be on reaching the precise "doneness" temperature, allowing for a generous resting period after the roast leaves the oven to allow the juices to redistribute throughout the meat.
Calculating Your Salt Ratio
The most common question home cooks ask is: "How much salt is too much?" The beauty of dry-brining is that it is remarkably forgiving, but you should aim for consistency to achieve repeatable results. A good rule of thumb for most red meats and poultry is to use approximately 1/2 teaspoon of kosher salt per pound of meat. If you are dealing with a particularly thick cut, such as a whole standing rib roast or a large turkey, you can go slightly heavier, but err on the side of caution until you get a feel for your personal salt preference.
Mastering Different Proteins: From Poultry to Red Meat
Every protein reacts slightly differently to the dry-brining process. Poultry, with its delicate skin, benefits most from the dehydration phase. When you dry-brine a turkey or a whole chicken, the skin essentially becomes a cured, translucent layer that crisps up beautifully in the oven without the need for butter basting or oil rubs. The skin acts as a protective barrier, while the salt penetrates deep into the breast meat, which is notoriously prone to drying out. For poultry, 24 hours is the sweet spot. Any longer, and you might find the texture becomes slightly "cured" or ham-like, which is fine for some tastes but perhaps not what you want for a classic roast dinner.
Red meats, particularly beef and lamb, handle the extended brine time exceptionally well. A thick, bone-in ribeye or a prime rib roast can benefit from a 48-hour dry-brine. Because these cuts contain more intramuscular fat (marbling), the salt works with the fat to create a richer flavor profile over time. The salt helps break down the connective tissue, resulting in a more tender bite. When preparing beef, you can also add aromatics to your salt rub—cracked black pepper, dried thyme, or even a hint of garlic powder—though many chefs prefer to keep the salt pure during the brine and add herbs and spices just before cooking to prevent them from burning during the roasting process.
The Problem with Table Salt
A note on chemistry: never use standard table salt for dry-brining. Table salt is much denser and contains anti-caking agents that can provide a harsh, metallic bite if used in large quantities. Always stick to Kosher salt (Diamond Crystal is the industry standard for its flake size and lower density) or Sea salt. If you only have table salt on hand, you must significantly reduce the amount you use, or you risk over-salting the dish to the point of being inedible. A good rule of thumb is to use about half the volume of table salt compared to kosher salt.
Avoiding Common Pitfalls in the Kitchen
The most frequent mistake home cooks make with dry-brining is failing to account for the salt content in other ingredients. If you are planning on making a pan sauce or a jus from the drippings of your dry-brined roast, you must be extremely careful. Since the meat has been infused with salt, those drippings will be naturally concentrated with sodium. If you use a store-bought chicken or beef stock that is also salted, you are almost guaranteed to end up with an unpalatable, salty sauce. Always use low-sodium or unsalted homemade stock for your pan sauces, and hold off on adding extra salt until the very final stages of seasoning your gravy.
Another common issue is improper storage. When you place a piece of raw meat in the refrigerator for 24 hours, it is vital to ensure it is not touching other foods and that your refrigerator temperature is consistently below 40°F. The "uncovered" aspect of dry-brining is essential for the dehydration of the skin, but it also creates a risk of cross-contamination if your fridge is cluttered. Dedicate a specific shelf or area of the fridge to your roast and ensure there is nothing else sitting directly above it that could drip onto your main dish.
"The magic of dry-brining is that it moves the labor of cooking from the high-stress final hour to the relaxed, preparatory phase, giving you a superior product that requires less attention when guests are at your door."
The Final Countdown: Roasting Techniques
Once your meat has finished its 24 to 48-hour brine, it is time to transition to the cooking phase. Remove the meat from the refrigerator about 30 to 60 minutes before roasting to take the chill off. This ensures more even cooking throughout the interior. Do not wash the salt off; that is the flavor you have worked so hard to incorporate. If you want to add a dry rub or a coat of fat—such as olive oil or softened butter—do so just before placing the meat in the oven.
When selecting your oven temperature, consider your goals. For smaller cuts like a tenderloin or a pork chop, a high-heat sear followed by a lower roasting temperature works well to maximize crust. For large roasts, such as a prime rib or a whole turkey, a low-and-slow approach (starting at 325°F or 350°F) is generally superior. This prevents the exterior from overcooking while the center reaches the required temperature. Regardless of the method, always ensure that your oven is fully preheated before the meat goes in. Using an oven thermometer to verify the actual temperature is a pro-move that separates amateur cooks from true practitioners of the craft.
The Importance of the Rest
Perhaps the most neglected step in the entire process is the resting period. After the meat hits your target internal temperature, remove it from the oven and move it to a cutting board or a warm plate. Tent it loosely with foil, but do not seal it tightly, or you will trap steam and ruin that crispy skin you spent days perfecting. Let the meat rest for at least 15 to 20 minutes for smaller roasts, and up to 45 minutes for a large whole bird or a significant piece of beef. During this time, the juices reabsorb into the fibers, and the internal temperature will likely rise another 5 to 10 degrees due to carryover cooking. If you cut into the meat too soon, all that moisture you fought to preserve will simply leak out onto the board.
Troubleshooting Your Results
If you find that your first attempt at dry-brining was a little too salty, look at your application technique. It is easy to accidentally pile more salt on one side of a roast than the other. Try using a fine-mesh shaker or your fingers to "dust" the meat rather than dumping it on. If you are still finding it too salty, simply reduce the brine time. Even a 6-hour dry-brine is better than none at all, and it will give you a taste of the benefits without the intensity of a full 24-hour cycle.
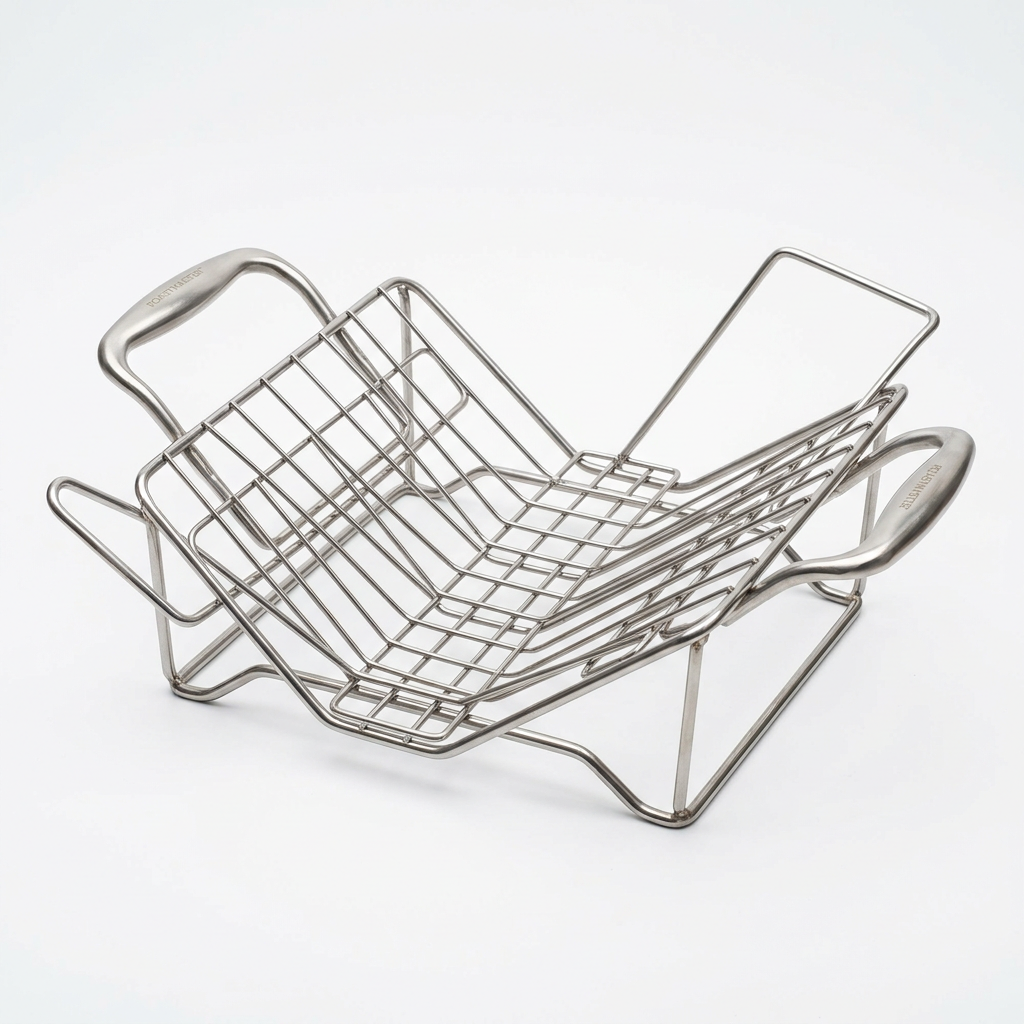
If you find the exterior was not as crispy as you hoped, double-check your humidity levels. A crowded refrigerator or too many items packed in alongside the roast can prevent the air from circulating properly. You need the cold, dry air of the fridge to pull the moisture out. Also, ensure you are using a wire rack. If you place the meat directly on a plate or a tray, the bottom side will sit in a pool of its own juices and become mushy rather than crisp. If you have extra time, leave the meat uncovered for an additional 6 hours; that extra time can make a world of difference.
Advancing Your Techniques
Once you have mastered the basics of salt, try experimenting with cured-style dry-brines. This involves mixing your salt with dried herbs, citrus zest, or even a touch of brown sugar. The sugar will help the browning process, as it caramelizes under the heat, while the herbs will infuse their oils into the meat during the long refrigeration period. Just be cautious with sugar, as it can burn at high temperatures. Keep the sugar content low—perhaps a 4:1 ratio of salt to sugar—and monitor your oven temperature closely to prevent the surface from darkening too quickly.
Final Thoughts
The art of dry-brining is a testament to the fact that the best cooking techniques are often the ones that rely on time rather than complicated machinery. It is a humble, patient method that rewards those who plan ahead and take the time to respect the chemistry of their ingredients. By embracing the simple power of salt and the cold air of your refrigerator, you can elevate your roasts to a level of succulence that was previously reserved for professional kitchens. It removes the guesswork, reduces the stress of your dinner preparations, and guarantees a result that will have your guests asking for your secret.
As you begin your journey with dry-brining, remember that it is a skill that improves with every iteration. Keep a cooking journal, note the weight of the meat you are brining, the exact amount of salt you use, and the duration of the brine. Over time, you will develop an intuitive sense for what each cut of meat needs, allowing you to move beyond the recipe and cook with confidence. Whether it is a simple chicken on a Tuesday or a grand holiday rib roast that serves a dozen, dry-brining will be the consistent factor that ensures every meal is a success.
Take the time to master this technique, and you will find that the "blame" for a dry roast will no longer fall on your shoulders. Instead, you will be the cook known for the moistest poultry, the most tender beef, and the most perfectly crisped skin at every table you serve. Cooking is a craft, and like any craft, it is built upon the mastery of fundamental principles. Dry-brining is perhaps the most high-impact fundamental you can adopt, and once you start, you will never go back to the old, hurried way of seasoning your food again. Happy roasting, and remember: let the salt do the work.
When you look back at your culinary journey, you will likely mark the transition into "chef-level" cooking by the moment you stopped over-complicating your roasts and started trusting the basics. It is easy to get caught up in the allure of complex rubs, liquid brines, and hours of basting, but these often serve as a distraction from the foundational needs of the meat. Dry-brining forces you to be deliberate, to be present, and to recognize that the very best flavors are often the result of patience. It turns a piece of protein into a masterpiece of texture and taste, proving that if you give your ingredients the right conditions to succeed, they will reward you with perfection every single time you turn on the oven.
As we wrap up this exploration, consider the impact of moisture retention on the overall dining experience. A succulent roast is not just about the taste; it is about the mouthfeel, the ease of cutting, and the way the juices interact with the sides on the plate. It is a holistic experience that is missing from too many home-cooked meals. By mastering dry-brining, you are not just seasoning meat; you are curating a better eating experience for your friends and family. This is the heart of what we do in the kitchen—the intent to nourish, to impress, and to create lasting memories around a beautifully prepared plate of food.
Final tips for your success: stay organized in your prep, keep your thermometer close, and never underestimate the power of a long, undisturbed rest before you carve. You have the tools, you have the science, and now you have the technique. The next time you find yourself at the butcher counter looking for the perfect roast, you will know exactly how to handle it once you get home. Trust the process, enjoy the quiet rhythm of the preparation, and revel in the accolades that will undoubtedly follow when you serve a roast that is, by every metric, truly superior. You are ready to elevate your kitchen game, one dry-brine at a time. The kitchen is yours to conquer, and with this foundational skill, you are well on your way to becoming the chef your kitchen deserves. Remember that cooking is an ongoing evolution; don't be afraid to tweak your ratios, adjust your times, and tailor your dry-brines to suit your specific taste. Each roast is an opportunity to learn, a chance to refine your technique, and a step toward total mastery of your home kitchen. Enjoy the process, for that is where the real joy of cooking lies. Go forth, keep your fridge clean, your salt dry, and your roasts succulent. The art of dry-brining is now in your hands, and your dinner guests are about to find out exactly why you are the expert in your home. Your kitchen is no longer a place of guesswork; it is a laboratory of flavor, and every meal is a success story waiting to happen. Embrace the craft, enjoy the journey, and happy cooking.

Get the Next Recipe
Weekly recipes, techniques, and gear picks — straight to your inbox.
