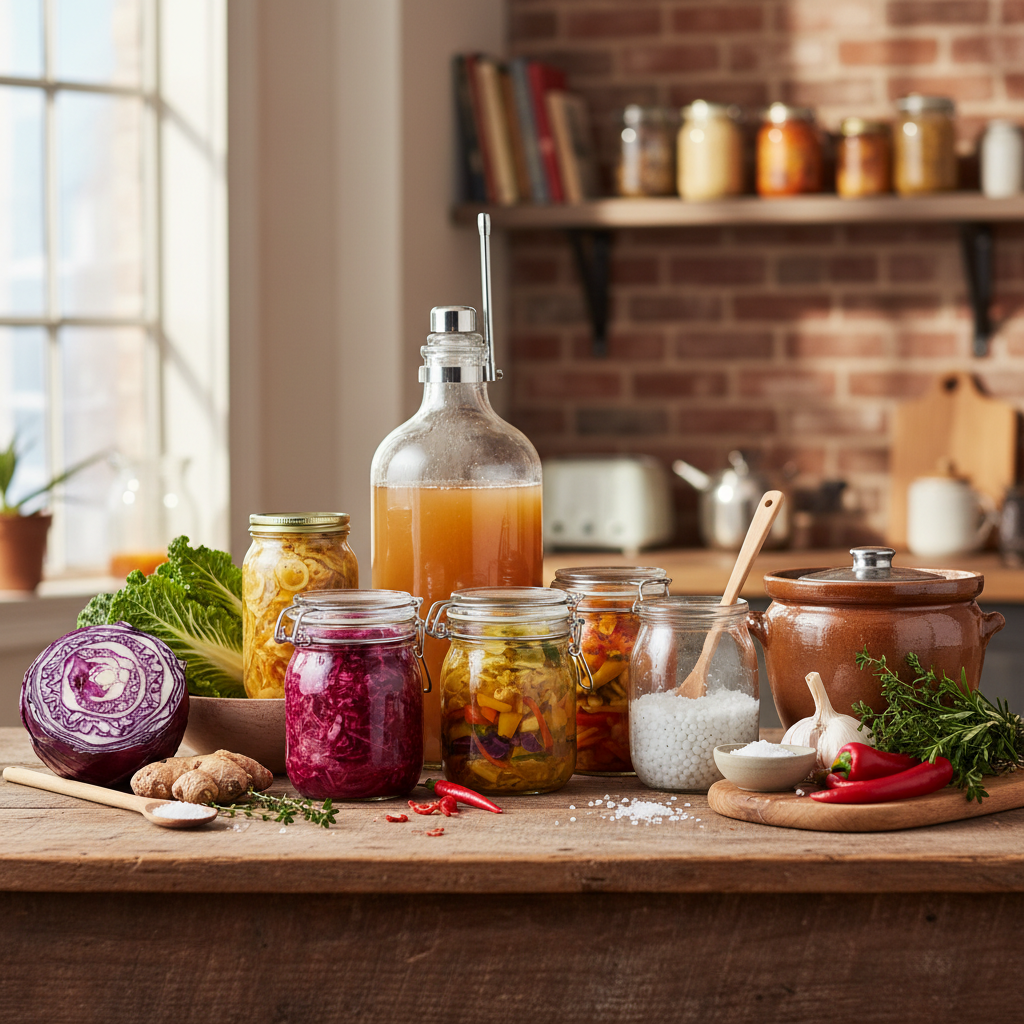
The Art of Fermentation: Unlock Probiotic Flavors
The world of cooking is a vast and varied landscape, filled with techniques that have been passed down through generations. Among these techniques, fermentation stands out for its unique ability to transform ingredients into something entirely new and extraordinary. Fermentation not only boosts the flavor profile of foods, but it also enhances their nutritional value by creating beneficial probiotics that contribute to gut health. For home cooks looking to elevate their culinary repertoire, understanding and mastering the art of fermentation can open up a Pandora's box of flavors and techniques.
At its core, fermentation is a natural metabolic process where microorganisms, such as bacteria, yeasts, and molds, convert sugars and starches into acids, gases, or alcohol. This biological reaction is what gives fermented foods their distinctive tangy taste and complex aroma. There is a rich tapestry of fermented foods worldwide, from the beloved sauerkraut and kimchi of traditional European and Asian diets to the artisanal breads and cheeses that have captivated food lovers everywhere. By creating these exciting flavors at home, you not only revitalize familiar ingredients but also embark on a creative culinary journey.
As you delve deeper into fermentation, you'll find that it is not merely a cooking technique but an art form that requires patience, precision, and a touch of intuition. The beauty of fermentation lies in its versatility; it can be applied to vegetables, grains, dairy products, and even beverages. Each method presents its own range of possibilities and challenges, revealing layer upon layer of flavor as each batch develops over time. Whether you're a novice cook or an experienced chef, this guide will lead you through various fermentation techniques and illuminate the path to unlocking some of nature's most probiotic-rich flavors.
The Science of Fermentation
To grasp the art of fermentation, it's crucial to first understand the science behind it. At its essence, fermentation is a form of anaerobic respiration, where microorganisms thrive in the absence of oxygen, switching from aerobic to anaerobic pathways. This switch enables homolactic and heterolactic fermentation, where glucose is converted into lactic acid or a mix of organic acids, respectively. These processes not only create flavors but also serve as natural preservatives, extending the shelf life of foods.
The Role of Microorganisms
Microorganisms are categorized primarily into two groups—bacteria and yeasts. Lactic acid bacteria (LAB), such as Lactobacillus and Streptococcus, are particularly prominent in the fermentation process of dairy and vegetables. These beneficial bacteria are responsible for creating lactic acid, which gives fermented products their characteristic tang. Yeasts, on the other hand, are key players in the fermentation of grains and sugars; they produce alcohol and carbon dioxide, leading to the rise of breads and the fizz in beers.
Understanding pH and Temperature
The pH level is another critical aspect of fermentation. Most fermentation processes thrive best at a slightly acidic pH, generally between 4.0 and 4.6. This acidity is favorable for the growth of good bacteria while inhibiting spoilage organisms. Monitoring pH levels is essential, especially in vegetable fermentation. You can use pH strips or meters to ensure your fermentation is within the appropriate range.
Temperature is another determining factor for successful fermentation. Most lactic acid bacteria are best at temperatures ranging from 60°F to 72°F (15°C to 22°C). For most home fermentation projects, it’s important to ferment at room temperature. However, if the environment is too warm, it can promote unwanted bacterial growth and spoilage. Conversely, if it's too cold, fermentation will slow down significantly. Keep in mind that temperature fluctuations throughout the fermentation process can lead to different flavor profiles.
"Fermentation is a dance of microorganisms, orchestrating flavors while preserving nourishment."
Essential Fermentation Equipment
Before you start your fermentation journey, you’ll need to gather some essential tools. The good news is that you do not require sophisticated or expensive equipment. Many fermentation processes can be accomplished using items that you likely already have in your kitchen, along with a few specialized tools.
Basic Equipment for Fermentation
Additional Tools
Having the proper equipment ensures that you can create a conducive environment for your food and microorganisms, leading to successful fermentation.
The Fermentation Process: Step-by-Step
Now that you have an understanding of the science and essential tools of fermentation, let’s explore the actual process of fermenting your first batch. Here, I’ll guide you through simple steps to create basic fermented vegetables, specifically sauerkraut, which is one of the most accessible and rewarding ferments.
Step 1: Choose Your Ingredients
Choosing the right ingredients is crucial. For sauerkraut, you will need:
Choosing fresh, high-quality ingredients will yield the best results, so visit your local farmer’s market if possible.
Step 2: Prepare the Cabbage
Step 3: Massage the Cabbage
Using your hands, massage the salt into the cabbage. This process breaks down the cell walls, releasing water and creating brine. Continue to knead the cabbage for about 5 to 10 minutes, or until you see plenty of liquid forming at the bottom of the bowl.
"The more you massage, the more flavors you unleash; this is your moment to connect."
Step 4: Pack the Cabbage
Once you've released enough liquid, begin packing the cabbage into your sterilized jar or fermentation crock:
Step 5: Fermentation Time
Keep in mind that factors like temperature and the freshness of the cabbage can affect fermentation time.
Advanced Fermentation Techniques
Having mastered basic ferments, you might be ready to explore advanced techniques that yield complex flavors and additional varieties of ferments. Here are a few options to consider:
Fermented Hot Sauce
Creating your own fermented hot sauce is a fantastic way to capture bold flavors while savoring the benefits of probiotics. The general process is similar to vegetable ferments but can include a variety of peppers and spices.
Fermenting Dairy: Yogurt
Fermenting yogurt at home opens another culinary door, creating a live culture yogurt that is enriching and fulfilling.
Breads and Sourdough
Sourdough bread is a quintessential example of fermentation in the baking world. Its distinctive flavor comes from the wild yeast and bacteria present in a sourdough starter. Creating a starter is as simple as mixing equal parts flour and water:
Using a bubbly starter, you can create delicious sourdough loaves that have complex aromas and tastes, all derived from the fermentation process.
Common Fermentation Troubleshooting
Although fermentation is a relatively straightforward process, various factors can lead to complications. Understanding common pitfalls can help prevent mishaps and enhance your confidence in the kitchen.
Mold Growth
Mold can appear on the surface of your ferment. If it’s white or grayish, you may be able to remove it without compromising the entire batch. However, if you notice black, green, or fuzzy molds, it’s best to discard the batch entirely.
Off Odors
Fermented foods should smell sour and tangy, not rotten or putrid. If your ferment gives off an unpleasant odor, it’s a sign that bad bacteria may have contaminated your batch. Unfortunately, this indicates it’s time to toss the ferment.
Insufficient Brine
Your ingredients must remain submerged in brine to avoid surface mold. If your ferment appears exposed, add a salted water mixture (1 teaspoon of salt per cup of water) to cover the ingredients.
Too Sour or Not Sour Enough
Many variables can influence flavor, including fermentation time and temperature. If it’s too sour, reduce the fermentation time next batch. Conversely, if it’s not sour, lengthen fermentation by a few days.
Conclusion
Fermentation is a beautiful blend of science and art, enabling home cooks to create textured, flavorful, and probiotic-rich foods. It invites experimentation and inspires endless creativity in the kitchen; from pickling vegetables to crafting complex breads, if you leverage the principles outlined in this guide, the world of flavors will become yours to explore.
Embarking on the journey of fermentation may seem daunting at first, but as you become familiar with the techniques and potential pitfalls, it will feel less like a chore and more like a craft filled with personal expression. The only limit is your imagination. So grab some fresh ingredients, gather your tools, and allow the magic of fermentation to stir some excitement in your culinary endeavors. Happy fermenting!


Get the Next Recipe
Weekly recipes, techniques, and gear picks — straight to your inbox.
