The Art of Making Perfect Gravy
Techniques

The Art of Making Perfect Gravy

C
By The Chef
|February 17, 2026|11 Min Read

When it comes to elevating any home-cooked meal from ordinary to extraordinary, few elements possess the transformative power of a well-made gravy. This rich, flavorful sauce can enhance the taste of meats, vegetables, and even grains, providing a silky glide that captures the essence of what was carefully prepared beforehand. Surprisingly, many home cooks shy away from making gravy from scratch, often opting for store-bought varieties laden with preservatives. However, mastering the art of gravy is not merely about following a recipe—it’s about understanding the underlying techniques that allow for flexibility and creativity in your kitchen.

Gravy preparation might seem daunting, especially when balancing flavors and achieving the perfect texture, but it doesn't have to be! This guide will demystify the methods of making gravy while empowering you to feel confident and in control of the process. By learning how to create a foundational roux, utilize meat drippings, and balance seasonings, you'll be able to whip up a delicious gravy that is tailored to your preferences. Not only does homemade gravy taste infinitely better, but it also allows you to incorporate your personal touch into your dishes, giving each meal a special significance.

Additionally, understanding the nuances of various types of gravies—whether it's the classic brown gravy from meat drippings or a lighter, smoother white sauce—can open up endless possibilities in your cooking repertoire. The beauty of gravy-making lies in its adaptability, allowing you to adjust flavors and consistency according to the dish you are pairing it with. In this comprehensive guide, we'll explore the essential techniques, ingredients, and tips for crafting the perfect gravy every time.

Understanding the Basics of Gravy

Before you start making gravy, it’s important to comprehend its core elements. At its most fundamental, gravy is simply a sauce made from the drippings of roasted meat, combined with other ingredients to create a rich and flavorful accompaniment. While preparing a traditional gravy can seem elusive, the basic components remain consistent: a fat source, a thickener, and a liquid. By mastering these three parts, you'll be positioned to create a variety of gravies to suit your menu.

The Key Components of Gravy

1.Fat Source: The foundation begins with the fat collected from cooked meats (like turkey, chicken, or beef) or you can use additional fats like butter or oils when using vegetables as a base. The fat provides flavor and a smooth texture, acting as the transport medium for the other ingredients.
2.Thickener: This is where gravies can differ based on personal preference or style. The most common thickeners are flour or *cornstarch*. Flour-based gravies, made with a roux (a mixture of equal parts fat and flour), provide a more robust flavor. Cornstarch offers a gluten-free alternative with a different texture, which is particularly useful for those with dietary restrictions.
3.Liquid: The liquid component typically consists of stock or broth, although water can also work in a pinch. For enhanced flavor, always choose a liquid that complements your main dish, ensuring your gravy ties everything together.

By understanding these three main components, you will be more equipped to experiment with flavors and techniques as you create gravies that are perfectly suited to your meals.

Choosing the Right Ingredients

While gravies can be simple, the quality of your ingredients significantly impacts the final product. Here are important considerations:

●Use High-Quality Stocks: If you are making gravy from a pan drippings, it's ideal. However, if you don't have these, opt for homemade chicken, beef, or vegetable broth. Store-bought alternatives can work, but ensure they are low-sodium for better control over seasoning.
●Flavorful Aromatics: Onions, garlic, and herbs can enhance your gravy immensely. SautĂ© these in the fat to build layers of flavor right from the start. Fresh herbs like thyme or rosemary can also provide significant depth.
●Season Wisely: Gravity evolves in flavor during cooking, so start with a pinch of salt and build up as needed. Black pepper is a classic go-to, while nutmeg can be a surprising but welcome addition, especially in cream-based gravies.

"The secret to a great gravy lies in layering flavors from the beginning. Don’t rush through it!"

Understanding these ingredients will lead you to better choices that significantly heighten the overall flavor profile of your gravy, which in turn elevates the dishes it accompanies.

Crafting a Basic Gravy from Pan Drippings

One of the hallmark techniques in gravy-making is utilizing pan drippings from roasted meats. This method not only brings out an impressive flavor profile but also makes your use of resources more efficient in the kitchen. Here’s how to effectively transform those delicious drippings into shiny, flavorful gravy:

Step-by-Step Guide to Making Gravy from Pan Drippings

1.Collecting the Drippings: After roasting your meat, allow it to rest and retain its juices. In the roasting pan, carefully tilt it to one side, using a spoon to remove excess fat if necessary. You want about 1/4 to 1/2 cup of drippings.
2.Deglazing the Pan: Place your roasting pan on the burner over medium heat. Carefully add about 1 cup of stock or wine to the pan, using a wooden spoon to scrape up the brown bits stuck to the bottom—the fond—which are packed with flavor.
3.Making the Roux: Once deglazed, add 1/4 cup of flour to your pan drippings, whisking constantly for about 1-2 minutes. This creates what is known as a roux, which serves as the thickening agent for your gravy.
4.Incorporating the Liquid: Gradually add in the remaining stock (about 2 to 3 cups) while continuing to whisk vigorously to prevent lumps from forming. Bring the mixture to a gentle boil, then reduce heat to low and let it simmer for about 5-10 minutes, allowing the gravy to thicken.
5.Finishing Touches: Season to taste with salt, pepper, and any additional herbs or spices of your choice. If desired, use a hand blender to smooth out the consistency or strain through a fine mesh sieve for an ultra-smooth finish.

"The key to a silky gravy is to whisk continuously as you add your liquids. This prevents lumps and gives you that perfect texture."

This method, while straightforward, will yield a salsa-like gravy bursting with flavor complexities. Once you become comfortable with this process, feel free to start incorporating your own unique twists, such as adding a spoonful of mustard or a splash of cream for richness.

Exploring Variations of Gravy

Once you have mastered the basic gravy, it’s time to delve into exciting variations that can suit various types of dishes. Each variation has a unique flavor profile and texture, allowing you to keep your meals exciting and balanced.

Creamy Gravy

For a richer, creamy alternative, consider making a white gravy. This gravy typically pairs well with fried chicken or biscuits. Here’s how to make a creamy gravy that’s sure to impress:

1.Start with a Roux: In a pan, melt 1/4 cup of butter over medium heat and whisk in the same amount of flour. Cook for 2-3 minutes until bubbly but not browned.
2.Add Milk or Cream: Gradually pour in 2-3 cups of whole milk or heavy cream, whisking constantly to prevent lumps. Keep stirring as it thickens to the desired consistency, about 5-8 minutes.
3.Season it Up: Add salt, pepper, and a hint of nutmeg for flavor. Fresh herbs, such as chives or parsley, can also brighten the gravy.

Mushroom Gravy

For an earthy, vegetarian alternative, mushroom gravy delivers a deep umami flavor that can complement any meal, particularly roasted vegetables or pasta. Here’s how to go about it:

1.Sauté Mushrooms and Aromatics: In a skillet, heat 2 tablespoons of butter or oil. Add sliced mushrooms (2 cups), minced garlic, and diced onions. Sauté until soft, about 5-7 minutes.
2.Make the Roux: Add 1/4 cup of flour to the mushroom mixture and stir for another 2 minutes, allowing it to combine fully.
3.Incorporate Broth: Slowly pour in 2-3 cups of vegetable broth while whisking, ensuring you avoid lumps. Simmer for 10-15 minutes until thickened.
4.Final Seasoning: Finish with soy sauce or tamari for extra depth and adjust seasoning to taste. Fresh herbs can add brightness.

Advanced Techniques and Chef Tips

Though mastering a basic gravy is an essential skill, being able to enhance it further can set your cooking apart. Here are advanced techniques and tips that professional chefs swear by:

Infusing Flavors

1.Use Herbs: Adding sprigs of fresh herbs while the gravy simmers can impart deep flavors. Strain them out before serving.
2.Wine Pairing: Deglazing the pan with wine not only enhances flavor but adds acidity, which can balance heavy sauces.
3.Use Citrus Zest: Zesting lemon or orange into your gravy contributes brightness and can cut through richness, refreshing the palate.

Achieving the Perfect Consistency

1.Gradual Liquids: Always add your liquids gradually while whisking. Begin with a smaller amount and increase as needed to achieve the desired consistency.
2.Adjust for Thickness: If your gravy gets too thick, you can always add a splash of additional broth or water. If it's too thin, let it simmer longer to reduce, or consider adding a cornstarch slurry (1 tablespoon cornstarch mixed with 1 tablespoon cold water) to thicken it up.

Presentation Matters

1.Serve with Style: Presentation is key; consider serving your gravy in a gravy boat or a small bowl for individual servings.
2.Garnish: A sprinkle of fresh herbs or black pepper on top of the gravy before serving can enhance visual appeal and flavor.
3.Temperature Matters: Serve the gravy hot for the best experience, as cooler gravies can become gelatinous.

By incorporating these advanced techniques into your repertoire, you’ll be able to produce gravies that not only enhance dishes but also impress guests and family alike.

Gravy Pairings

While creating delicious gravies is an art, knowing which dishes they complement can drive your cooking to the next level. Understanding these pairings allows your meals to shine brighter, making occasions feel even more special.

Classic Pairings

1.Beef Gravy with Roast Beef or Meatloaf: A thick, rich brown gravy is a fantastic companion to roast beef, adding flavor and moisture to the meat.
2.Turkey Gravy with Thanksgiving Dinner: A must-have for turkey, fluffy mashed potatoes, and stuffing, turkey gravy is a staple that ties the entire feast together.
3.Dripping Gravy with Fried Chicken: Don’t skimp on the gravy when serving fried chicken; it adds an extra layer of decadence that is irresistible.

Creative Pairings

1.Mushroom Gravy with Pasta: For a vegetarian dish, serve mushroom gravy over a bed of egg noodles or stuffed pasta for a filling meal.
2.Creamy Gravy with Biscuits or Toast: A breakfast classic, creamy gravy over biscuits is a Southern staple that creates a warm, comforting meal.
3.Vegetarian Gravy with Mashed Potatoes: Creamy or mushroom gravies can pair beautifully with hearty vegetarian fare like shepherd’s pie made from lentils and vegetables.

Conclusion

As we’ve explored throughout this extensive guide, mastering the art of making perfect gravy is not only about following a recipe; it’s about understanding the fundamental techniques, knowing your ingredients, and allowing your creativity to shine. From basic gravies made from pan drippings to variations suited for all tastes and dietary preferences, this versatile sauce can elevate any meal.

Remember, the key lies in practice and experimentation. With each attempt, you will grow more comfortable with the methods, nuances, and applications of this culinary craft. The joy of cooking often lies in the details, and the perfect gravy is one of those details that can turn an everyday meal into a memorable occasion.

Now that you have the knowledge and skills to make gravy, don't hesitate to challenge yourself—experiment with flavors, try new recipes, and discover what variations you love best. As you continue to hone this skill, you’ll not only impress your guests but also build a strong foundation for your culinary journey. Happy cooking!
🧰 Gear for this recipe
Tools our chefs reach for when cooking this
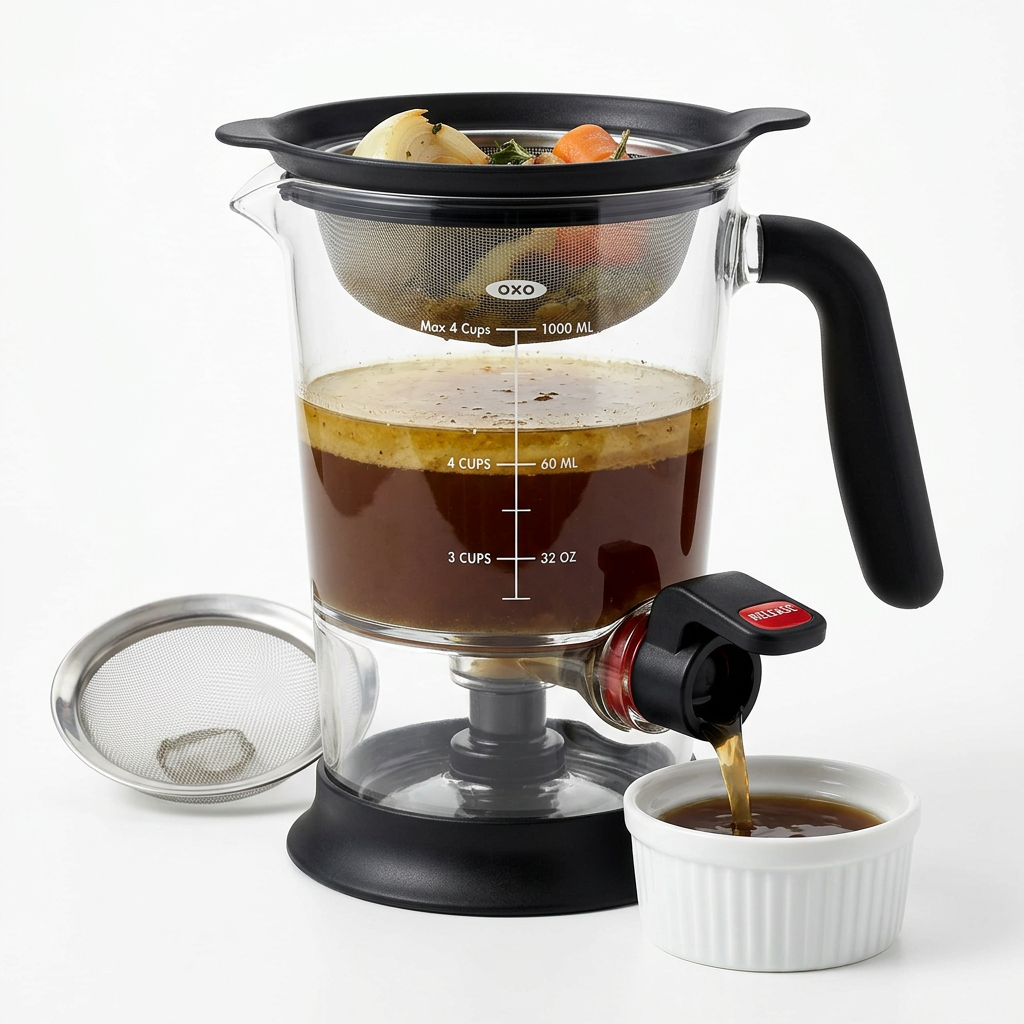
Fat Separator Glass Bottom-Release Valve
Prep Tools
Fat Separator Glass Bottom-Release Valve
★★★★★4.6
$15-$22
View on Amazon
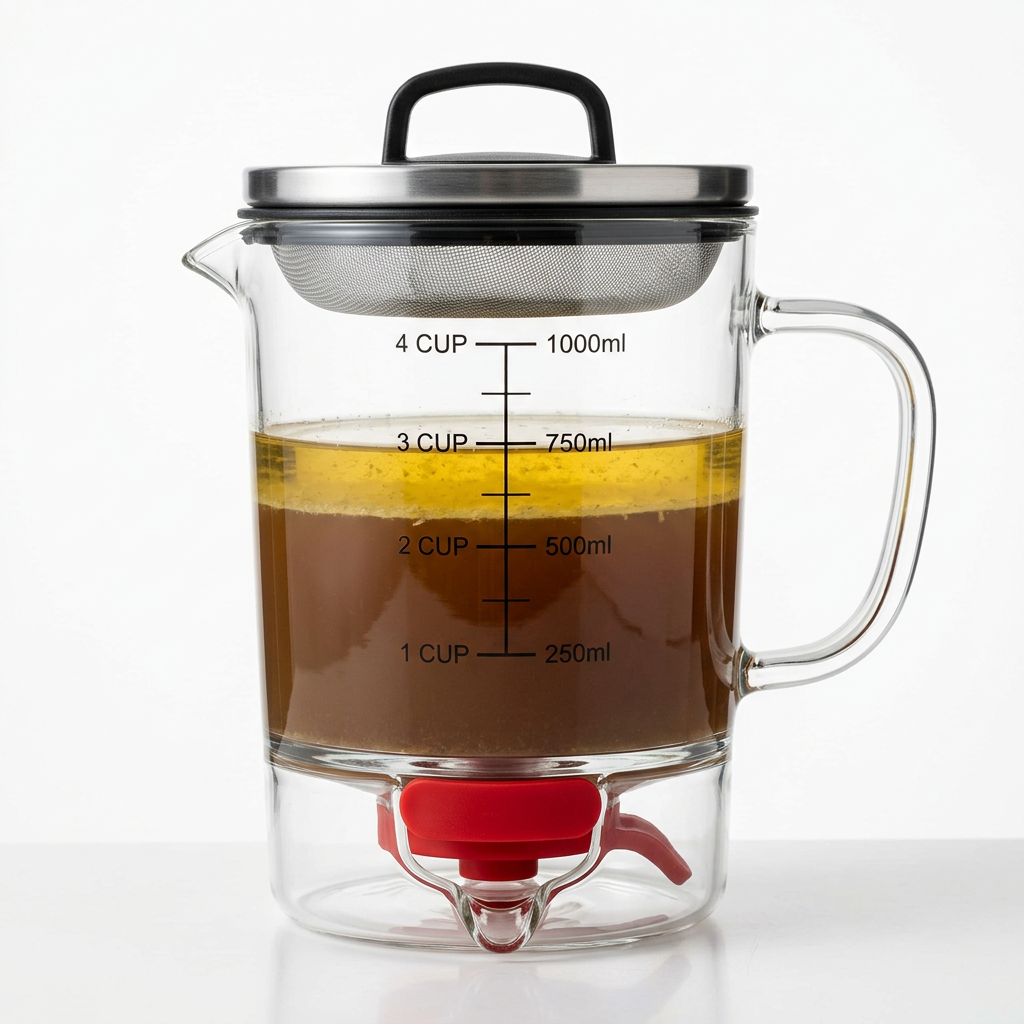
Fat Separator 4-cup Glass
Prep Tools
Fat Separator 4-cup Glass
★★★★★4.6
$15-$22
View on Amazon

As an Amazon Associate we earn from qualifying purchases.

🍳

Get the Next Recipe

Weekly recipes, techniques, and gear picks — straight to your inbox.

No spam, ever. Unsubscribe anytime.

YesChef - Learn from the world's best chefs
© 2026 Blame The Chef
🍳

Never Miss a Recipe

Weekly recipes, kitchen tips, and gadget picks — straight to your inbox.

No spam, ever. Unsubscribe anytime.