The Art of Pan-Searing: Achieve Restaurant-Quality Crusts Every Time
Cooking Techniques

The Art of Pan-Searing: Achieve Restaurant-Quality Crusts Every Time

C
By The Chef
|April 8, 2026|12 Min Read

The art of pan-searing is one of the key techniques that can elevate a home cook's skills and transform simple ingredients into exquisite dishes. This cooking method focuses on creating a luscious, caramelized crust while retaining the inherent flavors and juiciness of the protein being cooked. Whether you’re searing a steak, chicken breast, or fish, mastering the technique of pan-searing can make all the difference between a good dish and a restaurant-quality masterpiece. Understanding the science and method behind this technique will empower you in the kitchen, making you more confident and creative as a cook.

At its core, pan-searing is about achieving the perfect balance of heat and timing. It’s an exhilarating process where the Maillard reaction – the chemical reaction that occurs when proteins and sugars in food react to high heat – takes center stage. The result is nothing short of spectacular: a golden-brown crust that not only adds visual appeal but also deepens the complexity of flavors in your dish. While it may seem straightforward, various factors such as temperature, oil choice, and cooking vessel can significantly influence your results.

To effectively harness the pan-searing technique, one needs to delve into some key elements that contribute to success. Familiarizing yourself with the best types of pans, the ideal temperatures for cooking, and the importance of resting your proteins post-cooking are crucial for delivering a well-seared dish. Embracing the intricacies of this method will undoubtedly set you on the path to culinary greatness, allowing you to impress family and friends with your newfound abilities. So, let’s embark on this flavorful adventure together, uncovering the secrets behind achieving restaurant-quality crusts every time.

What You Need to Get Started

Before diving into the specifics of the pan-searing technique, it’s essential to have the right tools and ingredients at your disposal. These foundational elements can significantly impact your cooking experience and the quality of the final dish. Let’s go over what you’ll need to ensure successful pan-searing.

Essential Cookware

Pans: Choosing the right pan is critical for achieving a well-seared crust. Here are your best options:

●Cast Iron Skillet: Renowned for its heat retention and distribution, cast iron is excellent for searing. It can withstand high temperatures without warping and creates a flawed crust that promotes browning.
●Stainless Steel Skillet: Another great choice, stainless steel pans are durable and non-reactive. They provide a delicious fond (the browned bits stuck to the pan) essential for making sauces.
●Carbon Steel Skillet: Similar to cast iron but lighter, carbon steel skillets have excellent heat retention and are favored by many professional chefs.

Pro Tip: Avoid non-stick pans for pan-searing. While they may seem convenient, they don’t achieve the high temperatures necessary for a beautiful crust.

Oils and Fats

Not all oils are created equal when it comes to pan-searing. Choosing oils with high smoke points is crucial to prevent burning and off-flavors. Here are the top choices:

●Canola Oil: High smoke point (around 400°F), neutral flavor, and versatile.
●Grapeseed Oil: Similar to canola, with a smoke point of about 420°F, ideal for searing and sautéing.
●Avocado Oil: With a smoke point of approximately 520°F, this oil is fantastic for high-heat cooking.
●Clarified Butter or Ghee: While butter has a lower smoke point, clarified butter has removed the milk solids, allowing for higher temperatures while maintaining a rich flavor.

Proteins

The choice of protein can greatly affect your pan-searing results. Here are some popular options and tips for each:

●Steak: Look for cuts like ribeye, sirloin, or filet mignon. Aim for 1-inch thickness for even cooking and searing.
●Chicken: Bone-in, skin-on breasts provide moisture and flavor. Thighs are more forgiving due to their fat content.
●Fish: Salmon, trout, and halibut are excellent choices. Ensure they are skin-on for added texture and flavor.
●Tofu: For a vegetarian option, extra-firm tofu can be pressed to remove excess moisture, allowing for a nice sear.

The Science of Searing: Maillard Reaction

Understanding the Maillard reaction is crucial for anyone serious about cooking. This complex chemical process occurs when proteins and sugars are exposed to heat, resulting in browning and flavor development. Here’s a closer look at how it works and why it’s important for pan-searing.

The Importance of Temperature

One of the most critical aspects of the Maillard reaction is temperature. For home cooks, achieving the right temperature can be a game changer:

●Optimal Temperature: Aim for a cooking surface temperature of about 400°F to 500°F. This range is hot enough to foster browning without burning the food.
●Preheating: Always preheat your pan before adding oil. A simple test is to sprinkle a few drops of water into the pan; if they dance across the surface and evaporate quickly, the pan is hot enough.

Time is of the Essence

Timing is another crucial factor. You want to sear your protein without overcooking it. Here are some time guidelines based on protein types:

1.Steak: For a medium-rare 1-inch steak, sear for 3-4 minutes on each side, depending on your desired doneness.
2.Chicken: Bone-in chicken should sear for 5-6 minutes on the skin side before flipping for an additional 4-5 minutes.
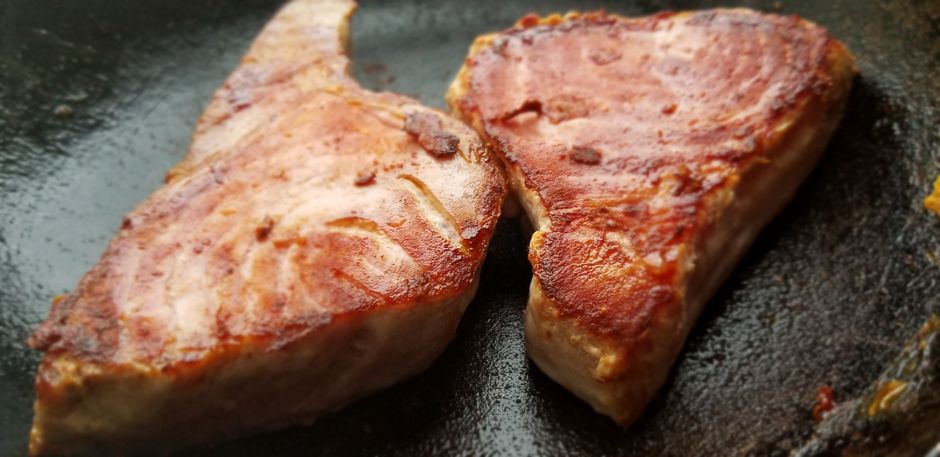
3.Fish: A 1-inch thick piece of salmon should cook for 4-6 minutes skin-side down before flipping for another 3-4 minutes.
4.Tofu: Sear tofu for around 4-5 minutes on each side until golden brown.

Avoiding Common Pitfalls

Even seasoned cooks can make mistakes when pan-searing. Here are some common pitfalls to avoid:

●Crowding the Pan: Giving your protein room to breathe is crucial. If the pan is overcrowded, the temperature drops, and you'll end up steaming your protein rather than searing it.
●Moving the Protein Too Soon: Patience is key. Resist the urge to flip or move your protein too soon. Wait until it naturally releases from the pan, creating that tantalizing crust.

"A perfect sear is a dance between heat, time, and patience. Let the pan do its magic!"

Preparing Your Protein for Searing

Before you heat your pan, it’s essential to properly prepare your protein for the best results. This involves a few steps that ensure a delicious outcome.

Drying Your Protein

Moisture is the enemy of searing. Before cooking, pat your protein dry with paper towels. Excess moisture prevents browning, resulting in a steamed effect rather than a beautifully seared crust.

Seasoning Effectively

Proper seasoning is crucial for enhancing the natural flavors of your proteins. Here are some steps to follow:

1.Use Kosher Salt: It adheres better to the surface and allows you to season evenly.
2.Season Generously: Don’t be shy with the salt. For a steak, use about 1 teaspoon of salt per pound.
3.Incorporate Spice Blends: Consider adding black pepper, garlic powder, or a herb mixture to enhance flavor.

Allowing Protein to Come to Room Temperature

Letting your protein rest at room temperature for about 30 minutes before cooking ensures more even cooking and better searing. This is especially true for thicker cuts of meat.

The Art of the Sear

Now that we have our equipment, knowledge, and prep down, let’s get into the actual technique of searing. This is where the magic happens and you can elevate your cooking.

Step-by-Step Guide to Pan-Searing

Here’s a simple, step-by-step guide to pan-searing your protein effectively:

1.Preheat Your Pan: Use medium-high heat to preheat your cast iron or stainless steel skillet.
2.Add Oil: Once the pan is hot, add about 1-2 tablespoons of your chosen oil. Swirl the oil to coat evenly.
3.Add the Protein: Carefully lay the protein in the pan away from you to prevent splatters. Do not touch or move it for the first few minutes.
4.Monitor the Searing: After about 3-4 minutes (depending on your protein), use tongs to gently lift one corner and check for a crust. If it releases easily and looks golden, it's time to flip.
5.Flip and Cook the Other Side: Once you’ve achieved that beautiful crust, flip the protein and reduce the heat to medium to allow it to cook through without burning.
6.Use Butter for Basting (Optional): For added flavor, consider adding a tablespoon of butter and herbs (like thyme or rosemary) during the last minute of cooking. Tilt the pan and use a spoon to baste the protein.
7.Check Doneness: Use an instant-read thermometer to ensure perfect doneness. For beef, aim for 130°F for medium-rare, and for chicken, ensure it reaches 165°F.
8.Rest Your Protein: Transfer the protein to a cutting board and let it rest for at least 5 minutes before slicing. This allows juices to redistribute, ensuring a moist bite.

Sauce Making with Fond

One of the joys of pan-searing is the opportunity to create a delicious sauce using the fond left in the pan. Here’s how to do it:

1.Deglaze the Pan: After removing your protein, pour in a splash of wine, stock, or vinegar to dissolve the fond, scraping the bottom with a wooden spoon.
2.Reduce the Liquid: Allow the liquid to simmer and reduce by half for concentrated flavors.
3.Finish with Butter: Add a knob of cold butter, swirling it into the sauce to create a silky texture.
4.Season to Taste: Adjust with salt and pepper prior to serving.

"The fond is a treasure. Don’t waste it; it’s the key to a delicious sauce that elevates your dish!"

Mastering Different Proteins

While the principles of pan-searing remain consistent, each type of protein requires specific attention to detail. Here’s how to master the art of pan-searing various proteins.

Pan-Searing Steak

When searing steak, achieving the perfect crust while keeping the interior tender is the goal. Here are additional tips:

●Selecting the Right Cut: Choose cuts with a good fat content for flavor and juiciness.
●Resting After Searing: Once your steak is seared, allow it to rest for 5-10 minutes to improve tenderness and flavor.
●Slicing Against the Grain: For the best texture, always slice steak against the grain, which prevents the fibers from being long and chewy.

Pan-Searing Chicken

Searing chicken, especially breasts, requires slight adjustments due to their lower fat content. Here’s what to keep in mind:

●Use Bone-In Cuts for Flavor: Skin-on, bone-in chicken thighs or breasts are more forgiving and flavorful than boneless cuts.
●Ensure the Skin is Dry: Pat the skin dry to promote crispiness.
●Finish in the Oven: For thicker cuts, consider finishing chicken in a preheated oven set at 375°F after searing to cook through without burning.

Pan-Searing Fish

Fish can be delicate and benefits from careful handling during the searing process. Here are some tips for best results:

●Skin-On is Key: Cooking fish skin-side down first adds texture and helps hold the fillet together.
●Handle Gently: Fish cooks quickly and can fall apart easily. Use a spatula to flip gently.
●Consider a Light Flour Dredge: For an extra crispy exterior, lightly coat fish in flour before searing.

Pan-Searing Tofu

Tofu’s unique texture makes it an excellent candidate for pan-searing, providing a crispy outer layer. Here’s how to maximize its potential:

●Press Your Tofu: Before cooking, press the tofu to remove excess moisture. This helps in achieving a golden crust.
●Use cornstarch for Extra Crispiness: Lightly dust the tofu with cornstarch before placing it in the hot pan, promoting browning.
●Pair with Flavorful Sauces: Tofu’s mild flavor makes it a blank canvas. Consider marinating the tofu before cooking or serving it with a zesty sauce.

Tips and Tricks for Perfect Pan-Searing

Even with proper technique, there are nuances that can take your pan-searing skills to the next level. Here are some advanced tips to ensure success every time:

Heat Control

Understanding how to control your heat is essential. If your protein is burning on the outside but raw on the inside, the temperature is too high. Conversely, if it isn’t browning, it may be too low. Here are some pointers:

●Adjust Your Heat Gradually: Use medium-high heat to start, then lower it if you notice excessive smoking or burning.
●Use an Instant-Read Thermometer: This is your best friend when it comes to ensuring doneness without cutting into your protein.

Timing and Technique

Timing is everything. Each protein type and thickness has its own ideal cooking time, so remember:

●Invest in a Timer: Set a timer for your cooking stages to avoid wandering attention and resulting overcooking.
●Practice Knife Skills: Practice timing your cooking while prepping your sides or sauces - multitasking is key to a well-timed meal.

Experiment with Flavors

Pan-searing opens up numerous flavor combinations. Here’s how to discover new dimensions in your dishes:

●Incorporate Fresh Herbs: Add herbs like rosemary, thyme, or sage into the pan during the last few minutes of cooking for added aroma and flavor.
●Try Different Marinades: Experiment with marinades or dry rubs to infuse flavors before searing, especially for meats.
●Finish with Acid: Brighten your dish with a squeeze of citrus or a splash of vinegar, which can enhance the seared flavors.

Conclusion

In the world of culinary arts, mastering the technique of pan-searing is akin to unlocking a treasure chest of flavors and textures. This versatile method, when executed correctly, allows you to create dishes that rival those found in the finest restaurants. By understanding the science behind the Maillard reaction, properly preparing your protein, and employing points of finesse, you’ll find that creating that perfect restaurant-quality crust is not only achievable but also immensely satisfying.

As you experiment and refine your skills, remember the importance of each step, from preheating the pan to allowing your protein to rest. The journey of achieving the perfect sear is both an art and a science, filled with opportunities to learn, adapt, and create dishes that resonate with your personal style. So, gather your tools, choose your protein, and embark on this culinary adventure — your kitchen is waiting, and the perfect sear is just moments away. Enjoy the process, and remember, practice makes perfect!


🧰 Gear for this recipe
Tools our chefs reach for when cooking this
Searzall Torch Attachment for Searing
Prep Tools
Searzall Torch Attachment for Searing
★★★★★4.4
$60-$80
View on Amazon
Searzall Torch Attachment by Booker
Prep Tools
Searzall Torch Attachment by Booker
★★★★★4.4
$60-$80
View on Amazon
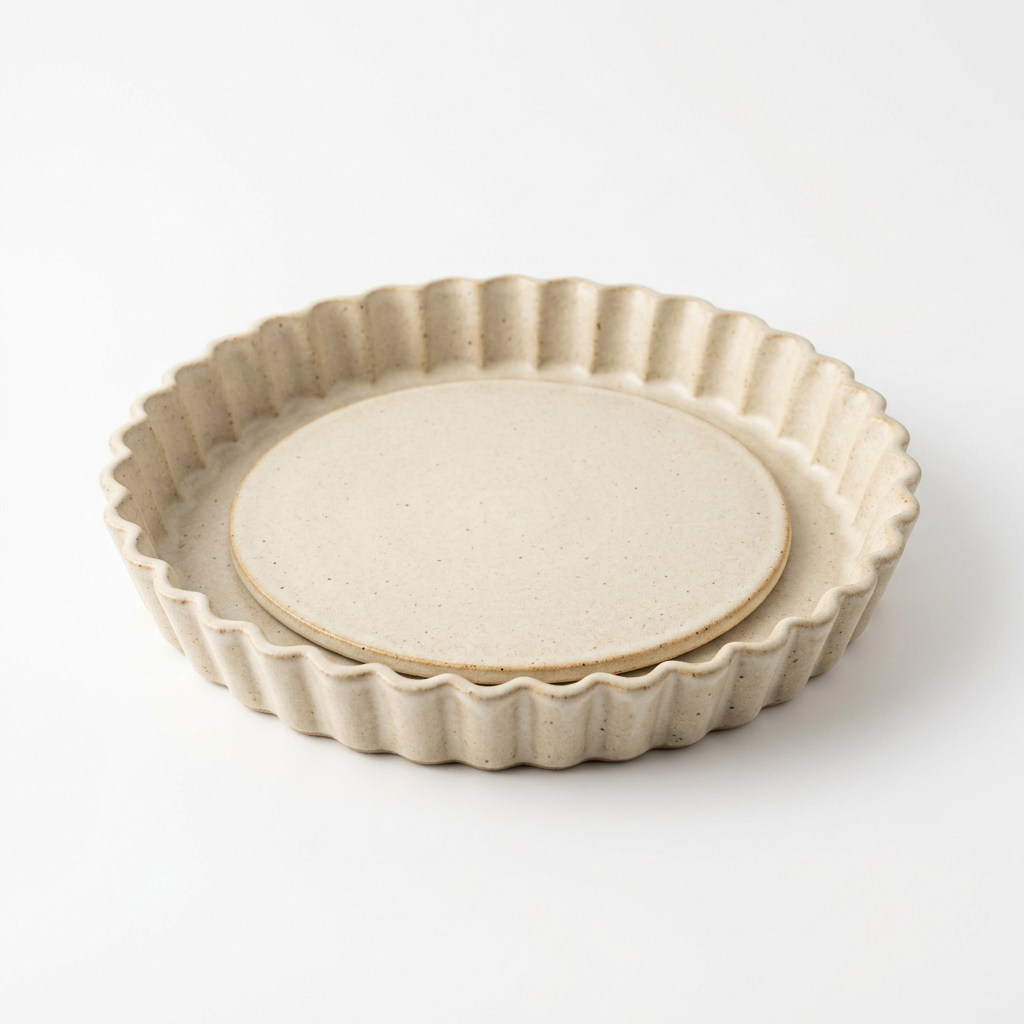
Stoneware Fluted Tart Pan Removable Base
Baking
Stoneware Fluted Tart Pan Removable Base
★★★★★4.6
$25-$35
View on Amazon
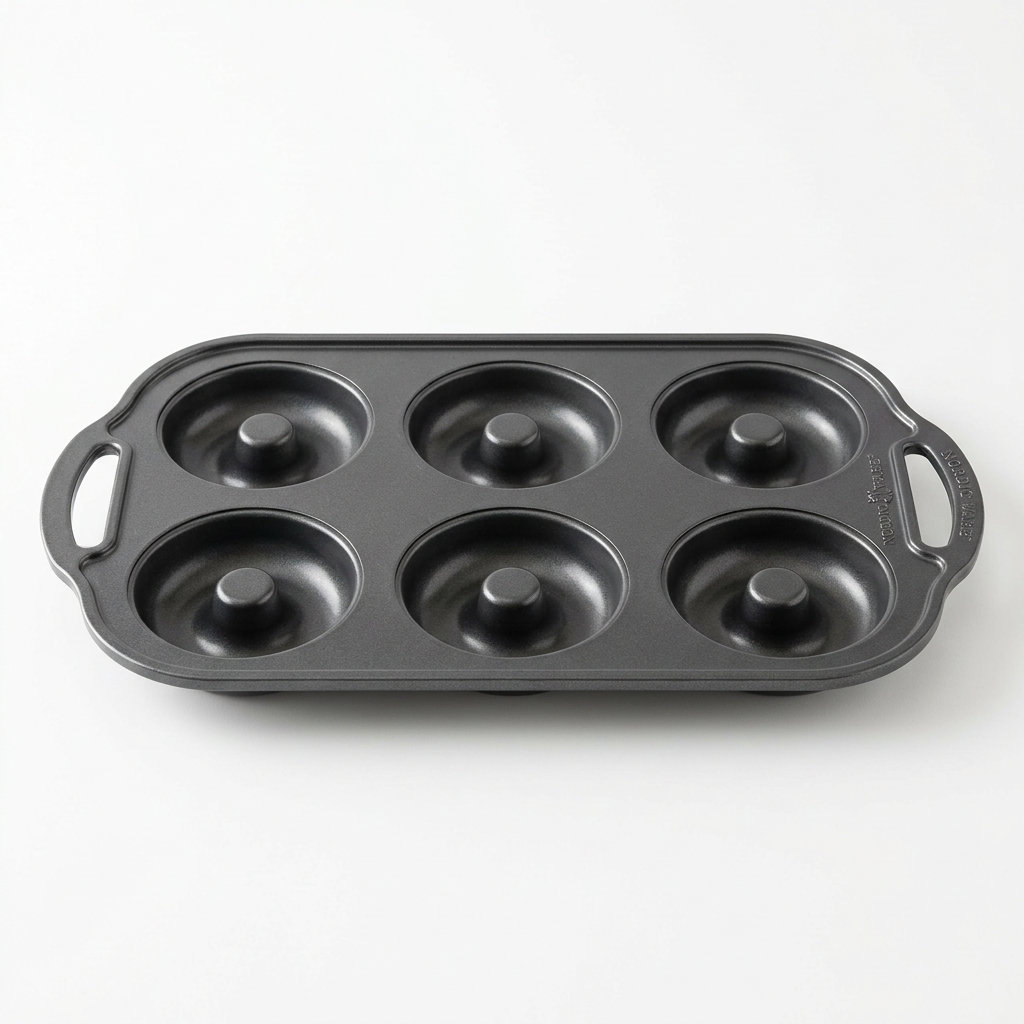
Nordic Ware Donut Pan Nonstick 6-cavity
Baking
Nordic Ware Donut Pan Nonstick 6-cavity
★★★★★4.6
$12-$18
View on Amazon

As an Amazon Associate we earn from qualifying purchases.

🍳

Get the Next Recipe

Weekly recipes, techniques, and gear picks — straight to your inbox.

No spam, ever. Unsubscribe anytime.

YesChef - Learn from the world's best chefs
© 2026 Blame The Chef
🍳

Never Miss a Recipe

Weekly recipes, kitchen tips, and gadget picks — straight to your inbox.

No spam, ever. Unsubscribe anytime.