The Art of Perfect Caramelization: Science and Technique
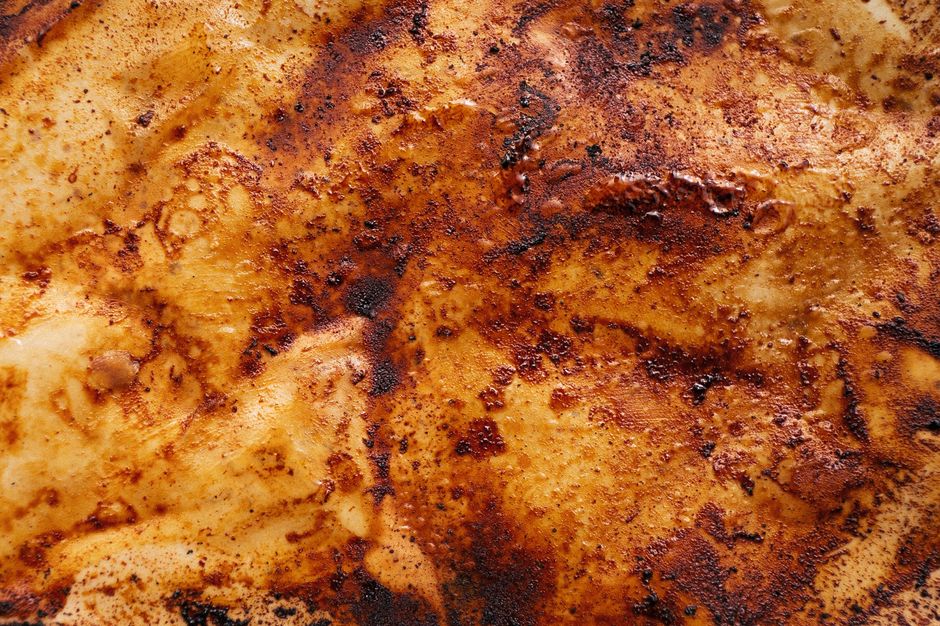
Caramelization is arguably one of the most beautiful transformations in cooking, showcasing the magic of heat applied to sugar. The allure of perfectly caramelized food lies not just in its rich, golden color but also in the complex, delightful flavors that emerge during the process. For many cooks, understanding and mastering caramelization can elevate an average dish to an extraordinary culinary experience. Whether you’re aiming to sweeten a sauce, enhance a dessert, or add depth to savory dishes, the art of caramelization is a skill worth mastering.
At its core, caramelization involves the oxidation of sugar, a chemical process that ignites a dance of flavors and aromas as the sugar, typically in the form of granulated or brown sugar, transforms from a simple sweetener to a complex ingredient, bursting with nuance. However, this process is not limited to just sugars; myriad foods that contain natural sugars, such as onions, vegetables, and fruits, also undergo caramelization when cooked properly, revealing their inherent sweetness and deepening their flavors. Understanding how various sugars and foods caramelize differently and the golden rule of temperature and timings is crucial for every aspiring home cook.
Knowledge of the science behind caramelization helps cooks navigate the fine line between golden perfection and burnt disappointment. When sugars are heated to around 320°F (160°C), they undergo a series of chemical reactions, breaking down into simpler compounds that yield various flavors. As the temperature rises and reaches approximately 340°F (170°C), the sugars reach their melting point, and soon after, they begin to turn amber. By mastering this process at a molecular level, cooks can precisely control the outcome of their culinary creations, delivering perfect caramel flavors every time. Now, let’s delve deeper into the art and science of caramelization.
Understanding Caramelization: The Science Behind the Sweetness
What is Caramelization?
Caramelization is the process of heating sugars to transform them into a rich, sweet syrup. The term refers to the browning reaction that occurs when sugar is exposed to heat. This process doesn’t just change the color of sugar; it also develops complex flavors and aromas that are critical for many dishes, from desserts to savory sauces.
During caramelization, sucrose (table sugar) breaks down into glucose and fructose. As the sugars continue to heat, they undergo further transformation through a series of stages, producing distinct compounds that contribute to the caramel flavor profile. While it might seem straightforward, achieving the perfect level of caramelization requires attention to temperature control and patience. A well-caramelized ingredient will have deep, complex flavors with hints of bitterness that balance its sweetness.
The Stages of Caramelization
Caramelization can be broken down into several stages, each with its unique characteristics. Understanding these stages is vital for achieving the desired flavor and color in your dishes. Here’s a simplified overview of the stages:
Factors Influencing Caramelization
Several factors play a crucial role in the caramelization process, including the type of sugar used, the heat source, and the moisture content of the ingredients. Here are some key considerations:
Techniques for Successful Caramelization
Preparing Your Ingredients
Before diving into the caramelization process, it’s crucial to prepare your ingredients properly. Here are some best practices to ensure success:
Cooking Techniques
To achieve successful caramelization, it's imperative to control the cooking environment. Here are techniques that will optimize your caramelization results:
- Ideal pans include cast iron, stainless steel, or non-stick options that can withstand high heat.
- Monitor the temperature closely with a digital thermometer for precise control.
- For sugar caramelization, do not stir until the sugar has melted fully; otherwise, it can cause crystallization.
- For vegetables, stir continuously to ensure even browning without burning.
Timing: Patience is Key
One of the fundamental aspects of achieving the perfect caramelization is timing. Although it can be tempting to rush the process, allowing the sugars and ingredients the necessary time to fully develop their flavors is crucial. Here’s how to manage timing effectively:
Caramelizing Common Ingredients
Onions: Sweetness Unleashed
Caramelizing onions is a sublime way to enhance the natural sugars present in this versatile vegetable. The slow cooking process transforms pungent raw onions into sweet and complex flavor-packed jewels. Here’s how to achieve that:
Vegetables: Layering Flavors
Many vegetables, like carrots, sweet potatoes, and bell peppers, can also be caramelized to enhance their natural sweetness. The process is similar to that of onions but requires slight adjustments based on the vegetable's moisture and sugar levels.
Fruits: Nature's Candy
Fruits can also be beautifully caramelized, introducing unique flavor profiles to desserts and savory dishes alike. Just think of those perfectly caramelized bananas topping a luscious sundae.
Caramel Sauces and Confections
Classic Caramel Sauce
A classic homemade caramel sauce comprises just three ingredients: sugar, cream, and butter. Here’s how to achieve a silky, smooth caramel sauce:
- 1 cup sugar
- ½ cup heavy cream
- ¼ cup unsalted butter
- Tiny pinch of salt
- In a heavy saucepan, heat the sugar over medium heat, stirring gently until the sugar dissolves and turns amber.
- Remove the pan from heat and carefully add the cream while whisking vigorously.
- Add the butter and salt, stirring until fully incorporated.
Salted Caramel
Salted caramel combines the sweet and salty, enhancing flavor complexity. You can turn your classic sauce into salted caramel with the addition of sea salt or fleur de sel. Follow the same steps as above, and simply sprinkle ½ teaspoon of salt into the hot mixture before cooling.
Troubleshooting Common Issues in Caramelization
Over or Undercooking
One of the most common challenges faced by cooks is knowing when sugar is perfectly caramelized. Here are some tips to avoid over or undercooking:
Sugar Crystallization
Crystallization can occur when sugar is disturbed before fully melting, leading to a grainy texture. To help avoid crystallization:
Burning
Burnt caramel is both unpleasant in flavor and a culinary disaster. If you find yourself in this situation:
Safety Considerations
Caramelization involves high temperatures, making it essential to adhere to safety measures while cooking. Here are some pointers:
Conclusion
Mastering the art of caramelization is a valuable skill that can significantly enhance your culinary repertoire. By understanding the science, techniques, and applications, you’ll discover that caramelization isn’t just about the sugar but a range of ingredients—each with its potential waiting to be unlocked. From richly caramelized onions to silky sauces and decadent desserts, commitment to this technique promises to elevate your dishes.
By applying the knowledge gained from this post, you'll embrace the beauty of caramelization confidently. As you practice and refine your approach, those golden-brown hues and rich flavors will soon become a hallmark of your culinary creations. Embrace your inner chef, and remember: when in doubt, just blame the chef!
Mastering this crafty process will change the way you approach cooking, giving you another tool in your culinary toolkit. Get ready to transform your kitchen adventures into flavorful successes as you harness the power of caramelization!
Word Count: 2,076


Get the Next Recipe
Weekly recipes, techniques, and gear picks — straight to your inbox.
