The Art of Perfect Pan-Searing: Science Meets Technique
Techniques

The Art of Perfect Pan-Searing: Science Meets Technique

C
By The Chef
|June 13, 2026|11 Min Read

Perfect pan-searing is a culinary technique revered by chefs and home cooks alike for its ability to transform simple ingredients into a symphony of flavors through the magic of heat. Understanding this technique involves not just knowing how to do it, but also why it works, calling upon both culinary science and artistry. When executed correctly, pan-searing creates a beautifully caramelized crust on proteins, while keeping the inside tender and juicy. This level of mastery elevates your dishes to gourmet status, making them restaurant-worthy, all from your home kitchen.

As we dive into the craft of pan-searing, it’s essential to understand that this technique is more than just cooking; it's about harnessing the physics of heat transfer, surface reactions, and the unique characteristics of different proteins. Whether you're working with delicate fish fillets, juicy chicken breasts, or a thick cut of beef, each ingredient requires a tailored approach that balances temperature, time, and technique. By learning how to adapt your method to different proteins, you'll be able to achieve incredible results consistently, leaving your guests—or yourself—impressed and satisfied.

Throughout this article, we will cover the nuances of pan-searing: from choosing the right kind of pan and fat to determining optimal temperatures and techniques for various proteins. You'll learn step-by-step methods that demystify the process, empowering you to create exquisite seared dishes that burst with flavor and texture. So, whether you're a novice cook or an experienced chef looking to refine your skills, prepare to unlock the secrets of perfect pan-searing and watch your cooking transform.

The Science of Pan-Searing

Understanding the science behind pan-searing enhances your ability to achieve that perfect sear. At its core, pan-searing employs Maillard reaction, a complex chemical reaction that occurs when proteins and sugars in food undergo a transformation when exposed to high heat. This reaction is responsible for the browning and development of complex flavors in seared proteins. When the surface of the food reaches a temperature of about 300°F (150°C), the Maillard reaction kicks in, resulting in that delightful crust we all crave.

The Role of Temperature

Temperature is critical in pan-searing. To achieve a lovely crust without drying out the interior, you want to create a balance. Here’s how temperature plays a role:

1.Cooking Surface: The cooking surface must be extremely hot before adding the protein. The perfect range for searing is typically between 400°F and 500°F (204°C to 260°C). Too low, and you risk steaming rather than searing; too high, and you may burn the outer layer before the inside is fully cooked.
2.Internal Temperature: Different proteins have varying recommended internal temperatures for doneness. For instance:

- Chicken: 165°F (75°C)

- Fish: 145°F (63°C)

- Beef: 130°F (54°C) for medium-rare

The Importance of Fats

Fats play a dual role in pan-searing: they serve as a cooking medium and contribute flavor. The choice of fat is crucial to achieving the desired sear and texture. Here’s a breakdown:

●Butter: Adds rich flavor but has a lower smoke point. It’s often combined with oil for better heat tolerance. Ideal for finishing sears and basting.
●Canola Oil: High smoke point around 400°F (204°C), versatile, and flavor-neutral.
●Grapeseed Oil: Another neutral oil, perfect for high-heat applications with a smoke point around 420°F (215°C).
●Clarified Butter: Has a smoke point of around 450°F (232°C), providing a rich flavor without burning easily.

"The choice of fat can elevate the flavor profile of your seared protein, making it an integral part of the dish, not just a cooking medium."

Selecting The Right Pan

Choosing the correct pan is foundational for achieving perfect pan-searing. Not all pans are created equal, and your selection directly affects heat retention, distribution, and overall results.

Types of Pans

1.Cast Iron Skillets: Renowned for superior heat retention and even cooking, cast iron is ideal for high-heat searing. It develops a natural non-stick surface over time with proper seasoning.
2.Stainless Steel: A staple in professional kitchens, stainless steel pans are great for achieving a perfect sear. While they don’t retain heat as well as cast iron, they deliver excellent results when preheated sufficiently.
3.Non-stick: While convenient, these pans are generally not recommended for high-heat searing, as their coatings can break down and produce harmful fumes at elevated temperatures.

Preheating the Pan

Regardless of the type of pan you use, preheating is vital. Here's how to properly preheat your pan:

1.Place the pan on medium-high heat for about 5 minutes, allowing it to fully heat before adding fat.
2.Test the temperature by flicking a few drops of water onto the surface. If the water dances and evaporates quickly, the pan is ready.
3.Add the fat and allow it to heat up—look for shimmering or slight ripples in the oil to determine readiness.

"A well-preheated pan is the first step toward achieving the coveted crust that defines perfect searing."

Preparing the Protein

To achieve optimal results, the preparation of your protein is just as essential as the cooking technique itself. Ignoring this step could mean the difference between a mediocre or exquisite dish.

Selecting Quality Ingredients

Start with high-quality ingredients that are fresh and suitable for your intended dish. Here's what to consider:

●Meat: Look for well-marbled cuts, as the fat enhances flavor and juiciness. Grass-fed beef tends to have a richer taste compared to grain-fed.
●Fish: Fresh fish will not only taste better but will also hold its structure during cooking. Get your fish from reputable sources, and look for “sushi grade” for the highest quality.
●Poultry: Organic or free-range options generally provide better flavor and texture.

Seasoning

A simple but effective seasoning can elevate your dish. Here’s a quick guide to seasoning your protein before searing:

1.Salt: Use coarse kosher salt or sea salt. Season generously on both sides to enhance the flavor. Don’t be afraid to season right before cooking, or better yet, up to an hour in advance, allowing the salt to penetrate the meat.
2.Pepper: Freshly cracked black pepper adds a lovely aroma.

"Season generously! Proper seasoning elevates the natural flavors of the protein and can’t be overstated."

3.Additional Ingredients: Consider using herbs (rosemary, thyme, garlic) or marinades for added complexity. Just ensure that any sugars in marinades won't burn during searing.

Drying the Surface

For that perfect sear, moisture must be minimized. Here’s how to prepare your protein:

●Pat the surface with paper towels before seasoning to ensure it’s as dry as possible.
●If marinating, try to remove excess marinade using a paper towel or allow it to air dry slightly before cooking.

The Searing Technique

Now that you have your pan and protein prepped, it's time to delve into the actual technique of searing.

Step-by-Step Process

1.Heat the Pan: Follow the preheating guidelines mentioned earlier.
2.Add the Fat: Once the pan is hot, add your choice of fat. Swirl it around to ensure an even coating.
3.Placement: Carefully lay your protein into the pan away from you. This prevents splatters and helps maintain the temperature of the fat.
4.Do Not Move: Let the protein rest undisturbed for the first few minutes. This allows for the formation of that necessary crust.
5.Flip: After 3-5 minutes (for most proteins; adjust accordingly based on thickness), use tongs to flip the protein gently. Look for a rich brown crust before flipping.
6.Finish Cooking: Sear the other side until it reaches the desired internal temperature.

Basting and Finishing Touches

To elevate your dish, consider basting towards the end of cooking. Here’s how:

●Reduce the heat slightly to medium-low.
●Add a couple of tablespoons of butter, garlic cloves, or fresh herbs to the pan.
●As the butter melts, tilt the pan and use a spoon to scoop the melted butter and drizzle it over the protein. This adds moisture and flavor as well as assists in achieving a luscious crust.

Common Mistakes to Avoid

Even the best cooks can fall victim to common misconceptions and errors while searing. Here are some of the most frequent mistakes and how to avoid them:

Too Much Fat

While fat contributes to flavor and aids in searing, adding too much can lead to splattering and uneven cooking. A tablespoon or two should suffice, just enough to coat the bottom of your pan.

Overcrowding the Pan

Placing too much protein in the pan reduces the surface temperature, which can cause steaming instead of searing. If you have multiple pieces to cook, work in batches to preserve heat and ensure that each piece gets the attention it deserves.

Not Resting the Protein

The resting phase post-cooking is often overlooked. After removing from the heat, let your seared protein rest for about 5 minutes. This allows the juices to redistribute, resulting in a more succulent bite when served.

Searing Different Proteins

Different proteins have unique characteristics that require slight adjustments in technique. Understanding these distinctions is key to perfect execution.

Searing Fish

Fish cooks quickly, so timing is essential. Here’s a breakdown:

1.Heat: Pan should be hot, about 375°F (190°C) for fish, slightly lower than for meat to avoid overcooking.
2.Skin-On Fillets: Start with skin-side down. This provides a natural barrier and a delicious crispy skin.
3.Cooking Time: Generally, fish need about 3-4 minutes per side, depending on thickness.

Searing Chicken

Chicken is a versatile protein for searing but requires proper timing to prevent dryness.

1.Thickness Matters: For even cooking, pound chicken breasts to a uniform thickness.
2.Cook Time: Sear both sides for about 5-7 minutes, depending on thickness, and finish in an oven if necessary to reach desired internal temperature.
3.Bone-In Cuts: Allow longer cooking times (about 25 minutes total) at a lower temperature.

Searing Beef

Steaks present a broader range of techniques based on cut and desired doneness.

1.Thickness: Thicker cuts like ribeye or filet mignon may benefit from a reverse-searing technique—cooking slowly in the oven before searing.
2.Resting Time: Rest the steak for 5-10 minutes post-cooking, which enhances juiciness.
3.Crusting Techniques: For an added layer of flavor, consider coating the steak in Dijon mustard or herb mixtures prior to searing.

Searing Pork

Pork can be tricky, but when done correctly, it shines.

1.Boneless Loin: Requires about 7-8 minutes on each side. Finish cooking in the oven if necessary.
2.Belly or Shoulder: For richer cuts, slow cooking is advisable after searing.
3.Flavoring: Incorporate spices (like coriander or paprika) during the last minute of cooking for depth.

Complementing Your Seared Proteins

Once you’ve perfected the searing technique, the next step is to complement your protein with sides, sauces, and garnishes that heighten the meal's overall profile.

Sides to Serve

1.Vegetables: Roasted seasonal veggies bring out natural sweetness, perfect for pairing with the savory elements of seared proteins. Think asparagus, Brussels sprouts, or root vegetables.
2.Starches: Classic pairings like creamy mashed potatoes, herbed couscous, or flavorful rice add a satisfying texture contrast.
3.Salads: A fresh salad with lemon vinaigrette balances out the richness of the proteins, cleansing the palate.

Sauces and Accents

1.Pan Sauces: Use the residual fat in your pan along with a splash of wine or stock to create a rich sauce. Scrape the browned bits from the bottom for added flavor.
2.Herb Vinaigrettes: A simple blend of olive oil, vinegar, and fresh herbs can add brightness to the richness of seared meats.
3.Salsas or Chutneys: For added complexity, consider a fruit-based salsa or a spicy chutney that can cut through the richness while adding an element of surprise.

"The beauty of perfect pan-searing lies not just in the process, but in how you build upon it with complementary flavors and textures that enhance the overall dining experience."

Conclusion

Mastering the art of pan-searing is an invaluable skill that can elevate your culinary repertoire. With a scientific understanding of heat, the right tools, and proper techniques, you can achieve the delectable crust and succulent interior that define professionally-seared proteins. Every cooking endeavor presents an opportunity for learning and refinement.

So, as you embark on your pan-searing journey, remember that practice makes perfect. Test different proteins, adjust your methods, and explore flavors to create dishes that satisfy and impress. The kitchen is a canvas, and with the principles of pan-searing at your disposal, it's time to unleash your inner chef and create truly exceptional meals.


🧰 Gear for this recipe
Tools our chefs reach for when cooking this
Searzall Torch Attachment for Searing
Prep Tools
Searzall Torch Attachment for Searing
★★★★★4.4
$60-$80
View on Amazon
Searzall Torch Attachment by Booker
Prep Tools
Searzall Torch Attachment by Booker
★★★★★4.4
$60-$80
View on Amazon
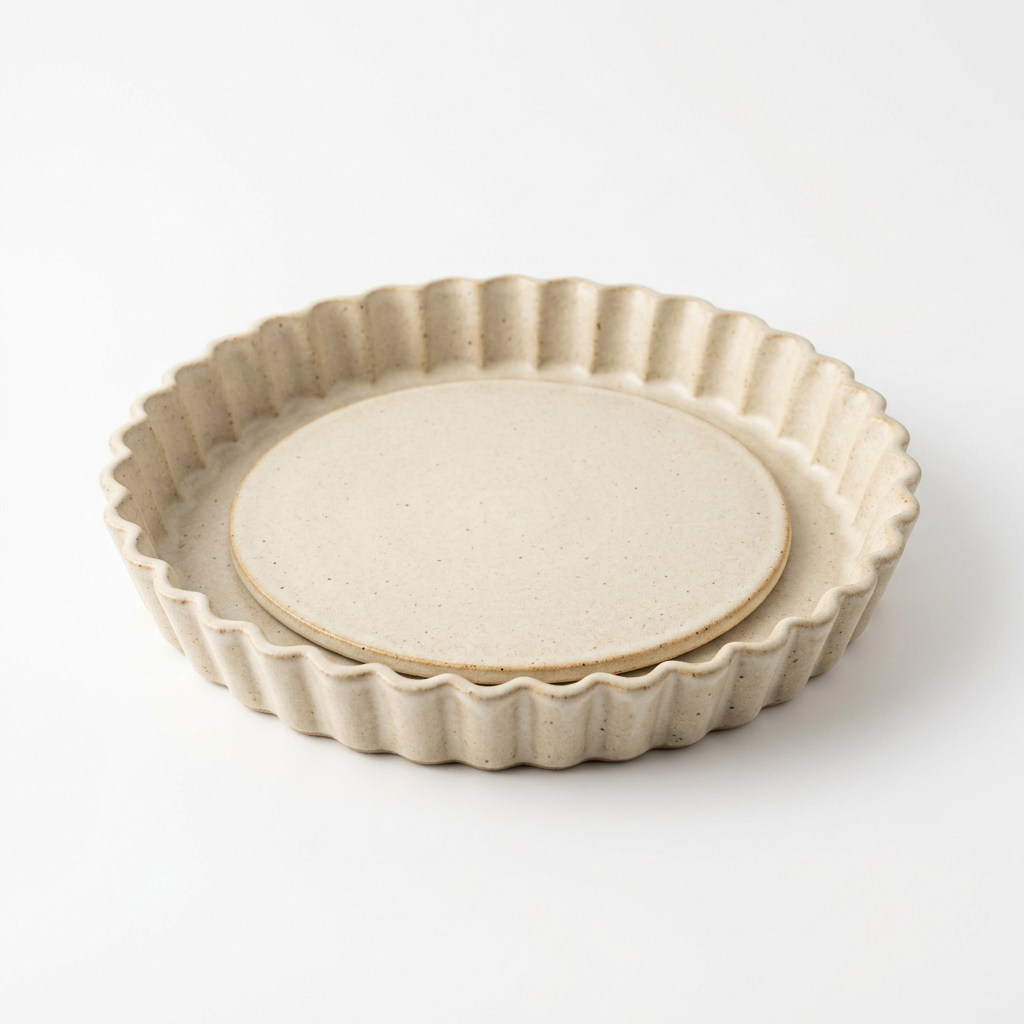
Stoneware Fluted Tart Pan Removable Base
Baking
Stoneware Fluted Tart Pan Removable Base
★★★★★4.6
$25-$35
View on Amazon
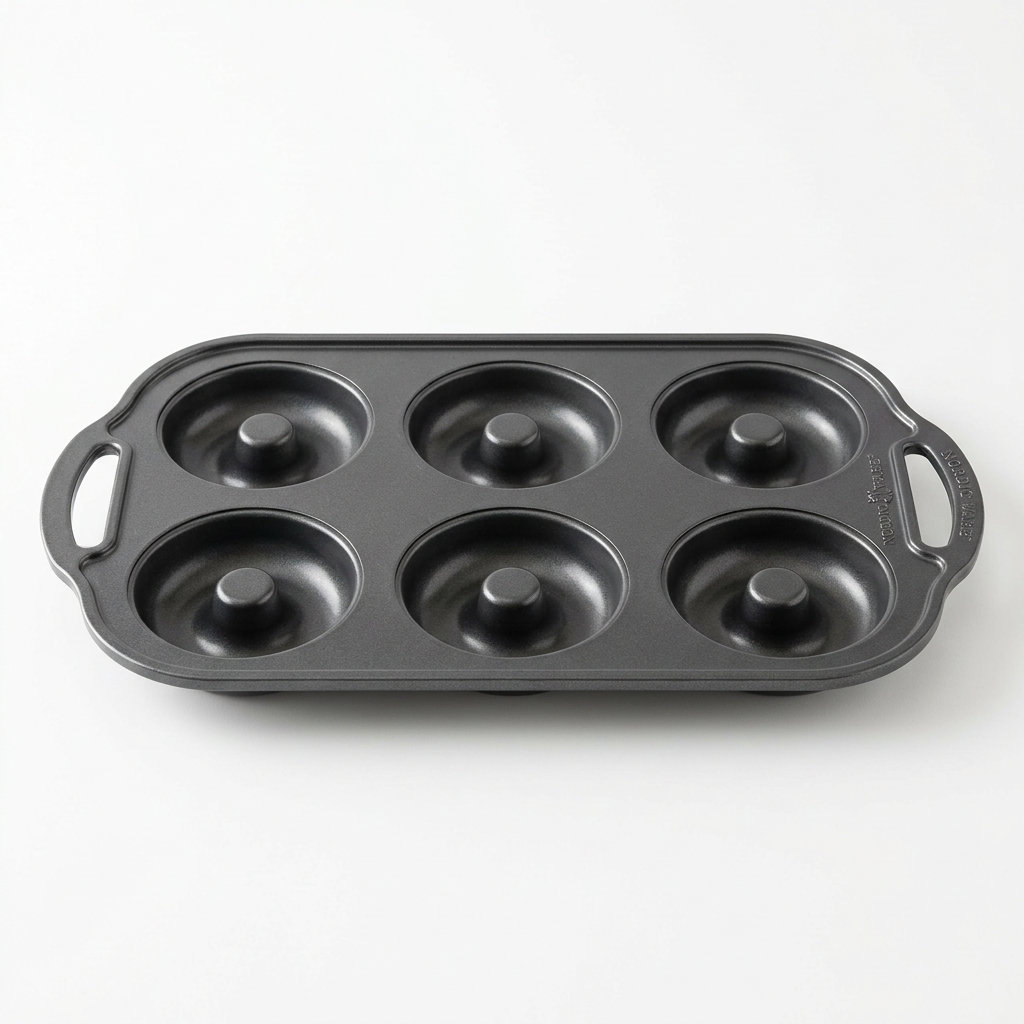
Nordic Ware Donut Pan Nonstick 6-cavity
Baking
Nordic Ware Donut Pan Nonstick 6-cavity
★★★★★4.6
$12-$18
View on Amazon

As an Amazon Associate we earn from qualifying purchases.

🍳

Get the Next Recipe

Weekly recipes, techniques, and gear picks — straight to your inbox.

No spam, ever. Unsubscribe anytime.

YesChef - Learn from the world's best chefs
© 2026 Blame The Chef
🍳

Never Miss a Recipe

Weekly recipes, kitchen tips, and gadget picks — straight to your inbox.

No spam, ever. Unsubscribe anytime.