The Art of Stock Making: Building Deep Flavors from Simple Bones
There is a profound, almost primal satisfaction that comes from transforming what most people consider kitchen refuse into a liquid gold that forms the foundation of great cooking. We live in an era of convenience where shelf-stable cartons line the aisles of every grocery store, yet those products are mere shadows of the real thing. When you take the time to simmer bones, aromatics, and water, you are engaging in an alchemical process that extracts collagen, minerals, and deep, savory essence that simply cannot be synthesized in a lab. Learning to master the stock pot is the single most significant step you can take to elevate your home cooking from merely acceptable to truly professional. It is the secret language spoken by every great chef, and today, we are going to translate that language into your kitchen.
Many beginners are intimidated by the sheer duration of the process, fearing that a six-hour simmer is an insurmountable hurdle in a busy life. However, once you understand that the stock is doing 99% of the work while you go about your day, the "effort" evaporates. You are not shackled to the stove; you are merely orchestrating a slow extraction. The goal is not just to produce a liquid, but to build a flavor profile that can stand on its own as a broth or act as a sturdy scaffold for soups, sauces, gravies, and braises. By the end of this guide, you will view your leftover rotisserie chicken carcasses and vegetable scraps not as garbage, but as the building blocks of culinary excellence.
The artistry of stock making lies in your ability to control the variables: the quality of the bones, the ratio of aromatics, the gentle heat of the simmer, and the final clarity of the liquid. It is a forgiving process, yet it rewards those who pay attention to the subtle cues of the liquid—the way the bubbles rise, the transformation of the mirepoix, and the way the kitchen begins to smell like a bustling restaurant kitchen in Paris. You will learn to move beyond recipes and start cooking by intuition, recognizing when a stock has reached its peak potential. Prepare to clear your schedule and sharpen your knife, because we are about to build flavor from the ground up, one ladle at a time.
The Anatomy of a Perfect Stock
The foundation of any great stock begins with selecting the right bones. You want a variety of connective tissue-rich parts, such as knuckles, necks, feet, and joints, because these are loaded with collagen. When collagen is broken down through long, slow simmering, it turns into gelatin, which gives the finished stock its signature mouthfeel and body. Without this gelatin, a stock will taste thin and watery, no matter how much salt or herb you add. Always prioritize bones that have been roasted, as the Maillard reaction—the browning process that occurs on the surface of the bone—is where the deep, mahogany color and intense savory notes originate.
Selecting Your Ingredients
Whether you are making chicken, beef, or vegetable stock, the ratio remains relatively constant. You want enough bones to fill the pot about halfway, then fill it with cold water until the bones are just covered. Using too much water will lead to a diluted, weak flavor, so exercise restraint. For aromatics, the classic mirepoix is your best friend: two parts onion, one part carrot, and one part celery. While some chefs swear by precise measurements, I prefer to eyeball it. Ensure your onions are roughly chopped with the skin left on—this provides a beautiful, natural golden hue to your stock—and keep your carrot and celery chunks large so they don't disintegrate into mush during the long simmer.
The secret to a stock that tastes like a restaurant's isn't a secret ingredient; it's patience and the willingness to treat the pot with the same respect you'd treat a high-end cut of steak.
The Role of Cold Water
One of the most common mistakes home cooks make is starting their stock with hot or boiling water. Always start with cold, filtered water. Cold water allows the proteins and impurities in the bones to dissolve slowly as the temperature rises. If you start with hot water, these impurities will instantly coagulate and become trapped in the liquid, leading to a cloudy, murky stock. By starting cold, you give yourself the best chance to skim these impurities off as they rise to the surface, resulting in a crystal-clear finished product that looks as good as it tastes.
Roasting for Depth and Color
Roasting your bones is a non-negotiable step if you want to move away from the pale, insipid stocks found in the supermarket. Set your oven to a high temperature, around 400 degrees Fahrenheit or 200 degrees Celsius, and roast the bones until they are deeply browned and caramelized. Do not be afraid of a little dark color; those charred bits are pure flavor. If you are roasting beef bones, a light coating of tomato paste spread over them during the last ten minutes of roasting can add an extra layer of complexity and acidity that complements the richness of the bone marrow.
The Maillard Reaction Explained
The Maillard reaction is the chemical reaction between amino acids and reducing sugars that gives browned food its distinctive flavor. When you roast bones, you are essentially concentrating the marrow's fats and the surface proteins into a dense, flavor-packed crust. When this crust hits the hot water, it dissolves, releasing those complex, savory notes into the liquid. If you boil raw bones without roasting, you get a "white stock" that is mild and clean, which has its place in delicate sauces, but for robust gravies and soups, roasting is your golden ticket.
Deglazing the Pan
Once your bones are roasted to perfection, do not leave those precious browned bits—the fond—behind on the roasting pan. Add a splash of water or wine to the hot pan and scrape the bottom with a wooden spoon to release everything. This liquid gold should be poured directly into your stock pot. It is the concentrated essence of the roasting process and is essential for achieving the deep, restaurant-quality color you are striving for. Skipping this step is akin to pouring flavor down the drain.
The Simmering Technique
Temperature control is where the stock making process truly separates the novice from the pro. You are looking for a gentle simmer, not a vigorous boil. A boil will agitate the liquid, emulsifying the fat and impurities back into the stock and turning it cloudy. You want to see small, occasional bubbles breaking the surface, typically around 185 to 195 degrees Fahrenheit. This is the "sweet spot" where the collagen slowly transforms into gelatin without muddying the liquid. If the pot is boiling, you are effectively destroying the delicate balance you've worked so hard to create.
Maintaining Clarity
Skimming is a meditative, necessary act. Within the first thirty to forty-five minutes of cooking, you will notice a grayish foam rising to the top of the pot. This is coagulated protein and impurities. Use a wide, shallow spoon or a fine-mesh skimmer to gently lift this foam off the surface. If you let it boil over or incorporate back into the liquid, it will never clear up. Once the surface is clean, you can reduce the heat to your low, steady simmer and walk away. Check back every hour or so, and if any more scum rises, skim it off.
Great stock is the backbone of the kitchen; it is the silent partner in every great sauce, the hidden depth in every soup, and the true mark of a chef who understands the value of time.
Timing the Components
Different ingredients reach their flavor threshold at different times. If you put your vegetables in at the very beginning of a 12-hour beef stock, they will turn into flavorless, mushy pulp by the end. For long-simmered stocks, add your mirepoix and herbs during the final 90 minutes of the process. This ensures that their bright, aromatic qualities are infused into the liquid without the off-putting taste of overcooked, disintegrated vegetables. Save your delicate herbs like parsley stems, thyme sprigs, and bay leaves for this final phase to maintain a fresh, vibrant finish.
The Importance of Aromatics and Herbs
A classic bouquet garni is an essential tool in your stock-making kit. Tie a few sprigs of fresh parsley, a couple of sprigs of thyme, and a bay leaf together with butcher's twine. You can add a couple of whole black peppercorns, but avoid adding salt at this stage. Salt should always be added to the final dish you are preparing, not the stock itself. If you salt your stock and then reduce it to create a concentrated glaze or sauce, you will end up with an unpalatably salty final product. Keep the stock a blank, albeit rich, canvas.
Beyond the Basics: Adding Complexity
If you want to push your stock into professional territory, consider adding "secret" aromatics based on the final intended use. For an Asian-inspired chicken broth, add a piece of smashed ginger, a star anise, or a strip of dried tangerine peel. For a more traditional French style, a clove-studded onion or a smashed garlic clove adds a layer of depth that is difficult to place but impossible to ignore. Remember, these additions should complement the bones, not mask them. The bone is the star; the aromatics are the supporting cast.
The Sachet d’Épices
Using a sachet d’épices—a small cheesecloth bag containing peppercorns, cloves, and bay leaves—allows you to infuse intense spice flavors without having to strain individual seeds out of your finished liquid. This is especially helpful if you are making large batches. Simply hang the string over the side of the pot so you can easily pull it out when the flavor reaches the desired intensity. This level of control is what separates someone who "follows a recipe" from someone who "cooks."
Straining and Cooling: The Final Steps
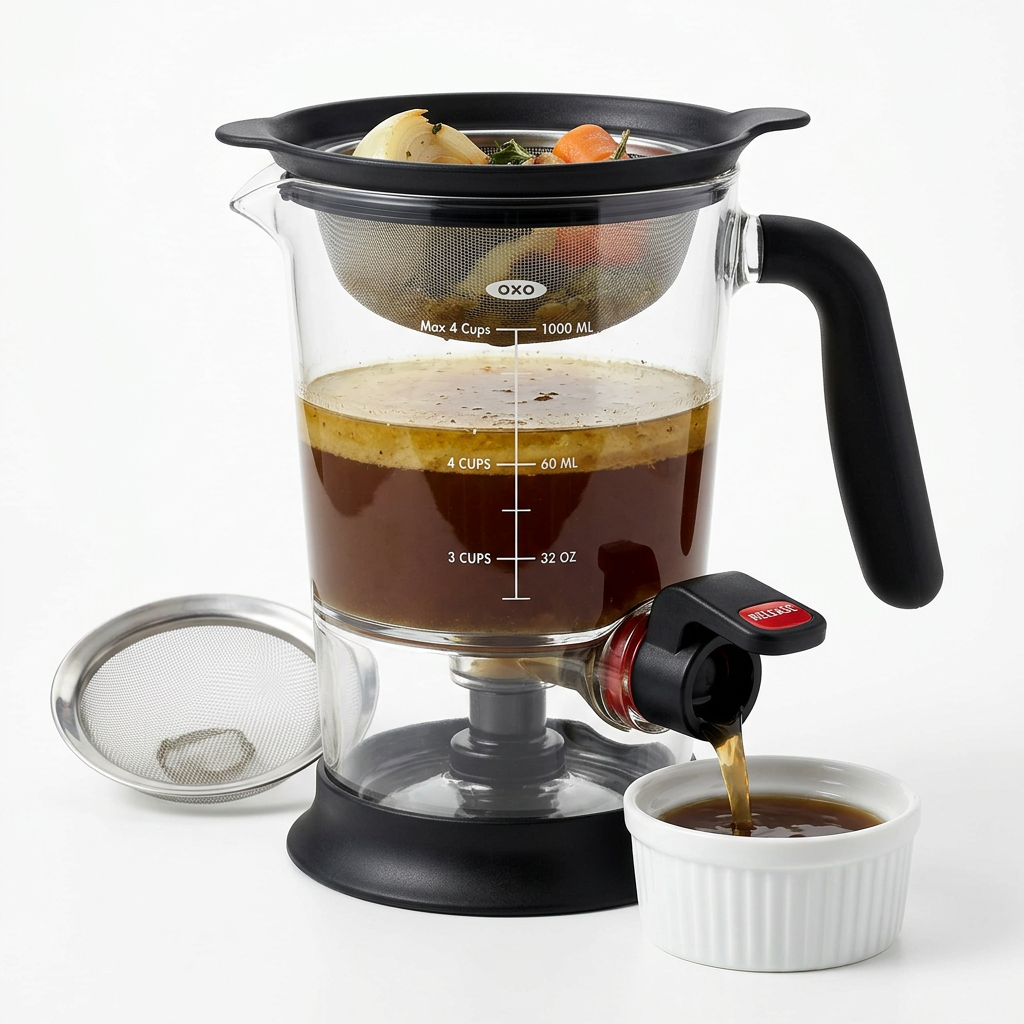
Once your time is up and your kitchen smells like a temple of umami, it is time to strain. Use a fine-mesh chinois or a colander lined with several layers of cheesecloth set over a large, clean bowl. Do not press down on the solids to squeeze out every last drop of liquid; this will force cloudy, particulate matter through the mesh and ruin the clarity of your hard work. Let it drain naturally by gravity. The patience you exhibit here determines the aesthetic beauty of your final product.
The Cooling Process
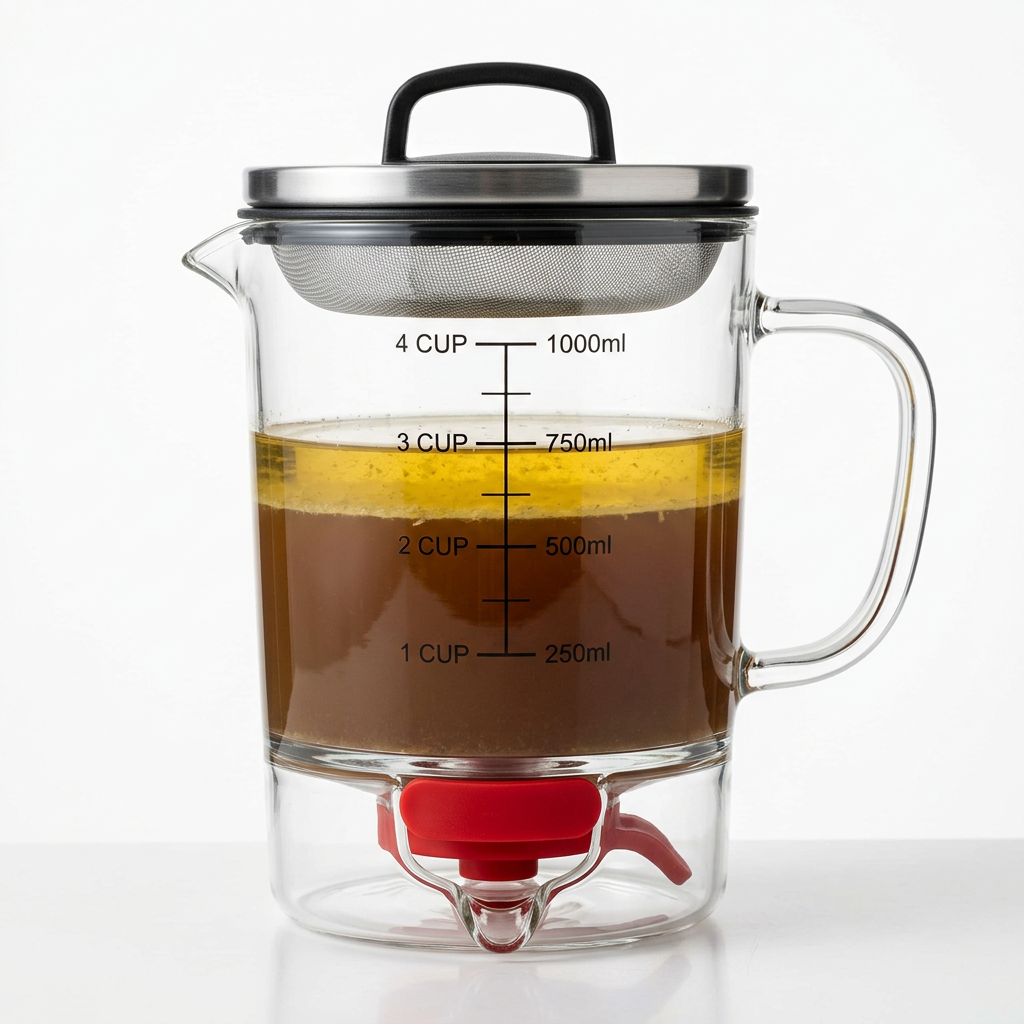
Food safety is paramount. Do not let your stock sit at room temperature for hours. The most efficient way to cool a large batch is to place the pot in an ice bath in your sink. Stir the stock occasionally to help the heat escape. Once it has reached room temperature, portion it out into containers and refrigerate. If you find a layer of hardened fat has formed on top of the chilled stock, leave it there—it acts as a protective seal that keeps the stock fresher for longer. Only remove the fat layer when you are ready to use the liquid.
Preservation Tactics
If you won't be using your stock within three to four days, freeze it immediately. Ice cube trays or muffin tins are perfect for creating "stock portions." Once frozen solid, pop them into a freezer-safe bag. This allows you to pull out exactly what you need for a quick pan sauce or a bowl of soup without having to thaw a massive container. You are essentially creating your own high-quality, preservative-free bouillon cubes, but with infinite times more flavor.
Troubleshooting Common Issues
Is your stock still cloudy despite your best efforts? Don't despair. Even professional chefs have the occasional "off" batch. If the cloudiness is just aesthetic, it won't affect the flavor; proceed as planned. If you are serving a consommé or a crystal-clear soup, you can clarify it using an egg white raft. By whisking egg whites and lean ground meat into the cold stock and slowly heating it, the proteins will rise to the surface, trapping the impurities in a foam crust. Once you skim this off, you are left with a liquid that is as clear as glass.
Dealing with Thinness
If your stock feels thin or lacking in body, it is usually a sign that your ratio of connective tissue to liquid was off. Next time, add a few more chicken feet or a veal knuckle. If you have already finished the batch, you can "fortify" it. Simmer a fresh batch of bones in the finished stock, effectively double-extracting the collagen. It’s an extra step, but for a special occasion or a signature dish, it transforms a standard stock into a rich, lip-smacking demi-glace base.
A stock is only as good as the intention behind it. If you rush the process, you will taste the haste; if you honor the process, you will taste the craft in every spoonful.
The Salt Trap
Never forget the rule: Never salt your stock. There is no scenario where pre-salting is beneficial. When you reduce a stock by half or two-thirds to make a sauce, the salt concentration becomes exponentially higher. If you pre-salted, you will end up with an inedible, briny mess. Keep your pantry staples separate, and season your final creations only when you are finalizing the dish. This gives you total control over the balance of salt, acid, and fat.
Conclusion
Mastering the art of stock making is not about memorizing complex chemical formulas or buying expensive equipment; it is about embracing a rhythm. It is about understanding the transition from raw, solid ingredients to a liquid that carries the essence of the animal and the earth. By roasting your bones, starting with cold water, skimming the impurities, and simmering with intent, you are participating in a culinary tradition that dates back centuries. You are building flavor from nothing, turning the mundane into the extraordinary, and providing your family and guests with a level of nutrition and taste that store-bought cartons can never touch.
As you begin to build your repertoire, you will find that your kitchen feels different. The pantry becomes a place of potential, and your freezer becomes a vault of flavor. You will no longer look at a leftover chicken carcass as something to be tossed, but as a future batch of soup, a base for risotto, or a secret weapon for a Sunday gravy. The time you invest in the stock pot is an investment in your own skill, your own health, and the joy you bring to the table. Embrace the slow simmer. Let the aromas fill your home. And remember, when the soup is this good, you can definitely blame the chef—because the chef took the time to do it right.
Final Thoughts on the Journey
The journey to becoming a confident cook is paved with these small, repetitive acts of care. Stock making is perhaps the most repetitive of all, yet it remains the most rewarding. It teaches you about patience, about the importance of raw materials, and about the invisible structures that hold a recipe together. When you eventually serve a dish that relies on your homemade stock—perhaps a velvety velouté or a rich, dark beef stew—you will know that the depth of flavor you are tasting isn't a fluke. It is the result of your own dedication to the craft.
Keep a journal of your ratios if you like, or simply rely on your senses as you get more comfortable. Notice how the color changes from hour to hour, how the viscosity shifts as the gelatin develops, and how the scent profile matures. Each batch is a learning experience, a chance to refine your technique and sharpen your palate. There is no such thing as a "perfect" stock, only the one that is perfect for the dish you are creating today. So, start your first pot, clear your counters, and begin building the foundation of your future masterpieces. The art is in the process, and the reward is in the bowl. Enjoy the quiet moments of the simmer, and may your kitchen always be a place of discovery.
Always remember that professional cooking is often about subtraction rather than addition. By removing the impurities, by straining the solids, and by reducing the volume to reach the peak of flavor, you are distilling the essence of food. The stock pot is the ultimate tool of this distillation. It is where you learn to let ingredients speak for themselves. Whether you are a weekend warrior or someone who spends every spare minute in the kitchen, this skill will serve you for a lifetime. Happy simmering, and may your stocks always be clear, your flavors deep, and your kitchen the heart of your home. You are now equipped to lead your culinary efforts with authority. Take these lessons, apply them with care, and watch how quickly your reputation as a cook begins to soar. You have the knowledge; now, you just need the bones. Get to work.
Get the Next Recipe
Weekly recipes, techniques, and gear picks — straight to your inbox.
