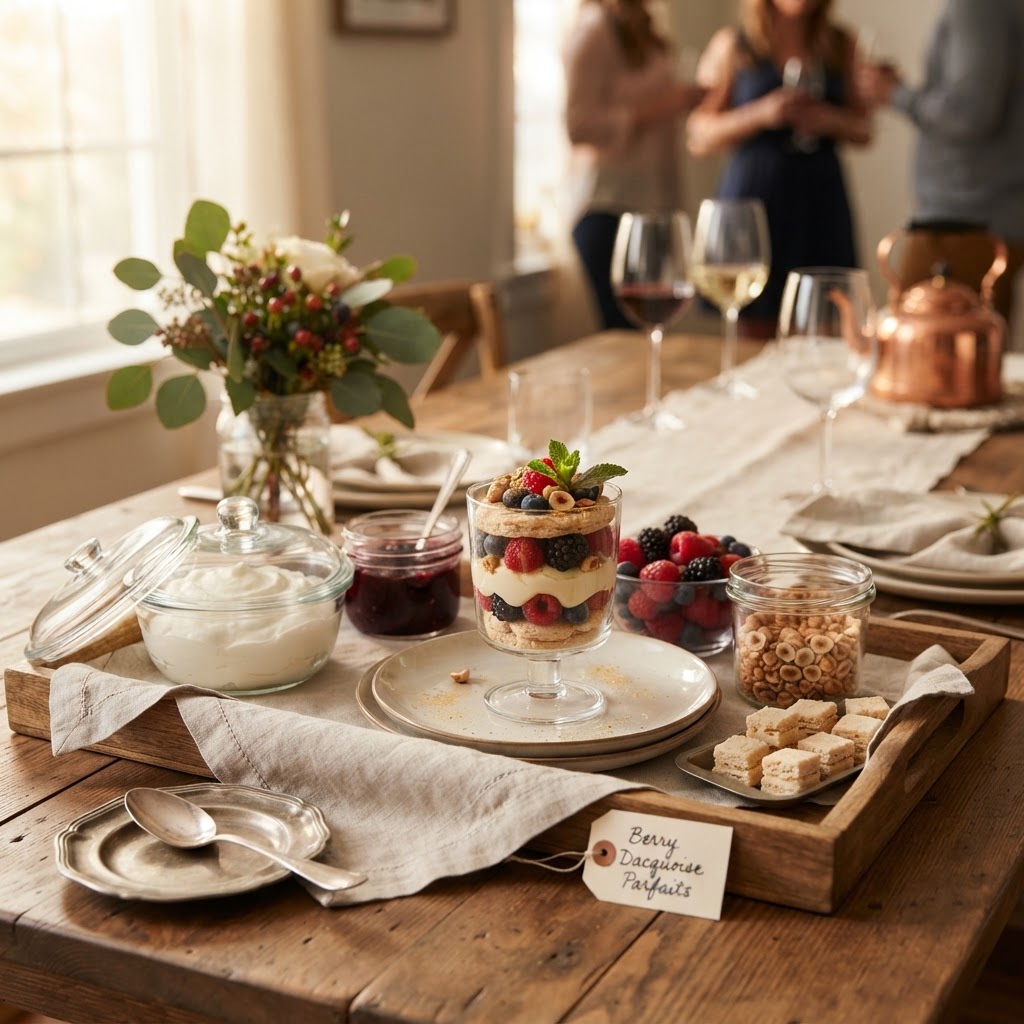
The Art of the "Advance-Prep" Dessert: Mastering Make-Ahead Component Assembly for Stress-Free Hosting
There is a specific, frantic brand of adrenaline that typically accompanies the final hour before guests arrive for a dinner party. You are likely juggling a hot oven, a simmering sauce, and the sinking realization that you have yet to assemble the centerpiece dessert. The kitchen transforms from a place of creative expression into a battlefield of scattered measuring cups and frantic timers. However, the true secret of the professional kitchen is not just speed, but the deliberate implementation of a mise-en-place philosophy that extends far beyond the main course. By shifting your perspective on dessert, you move away from the "all-at-once" disaster and toward a systematic approach that turns hosting into an act of genuine enjoyment rather than an endurance test.
The concept of the "Advance-Prep" dessert is not about settling for pre-packaged shortcuts or inferior quality; it is about architectural assembly. When you break down a complex dessert—a classic tart, a layered mousse, or a refined parfait—into individual, stable components, you gain the ability to distribute the workload over several days. Temperature control, texture preservation, and flavor melding become your allies rather than your enemies. By mastering the art of the component, you ensure that every element of the final dish is at its peak of freshness and structural integrity. This is the difference between a panicked kitchen meltdown and the cool, collected demeanor of a chef who has clearly already done the work.
In this guide, we will explore the culinary physics behind high-end dessert components that thrive under refrigeration and freezing. We will look at how fats, sugars, and stabilizers interact to hold shape and flavor over time, allowing you to build masterpieces in minutes when the doorbell finally rings. You will learn to prioritize "anchor" textures—the firm crunches and stable creams—that form the backbone of a successful plate. It is time to reclaim your dinner parties and serve desserts that look like they required hours of labor, all while you spend that time laughing with your guests instead of scrubbing mixing bowls. When the inevitable compliment comes, you can simply smile and say that you have a secret system for staying sane, effectively letting the technique take the credit.
The Architecture of Component Assembly
To build a professional-grade dessert, you must stop thinking of the finished product as a single, overwhelming entity and start thinking of it as a collection of modular building blocks. In a professional pastry kitchen, we categorize these elements into textures: the Crunch, the Cream, the Fruit/Acid, and the Temperature/Finish. By separating these elements, you can prepare the high-sugar or high-fat components days in advance, while leaving only the final structural assembly for the moment of service. This modularity prevents the "soggy bottom" phenomenon that plagues home cooks who assemble their desserts too far in advance.
Understanding the Anchor Elements
The Anchor Element is the structural foundation—usually a shortbread crust, a tuile, or a stable dacquoise—that provides the necessary bite. These items rely on high concentrations of fats and low moisture content to remain crisp. You can bake these components up to five days in advance, provided you store them in airtight containers with desiccant packets or simply in a cool, dry pantry. Professional chefs use a "sugar-seal" technique, where a very thin layer of melted cocoa butter or white chocolate is brushed over a crust before adding a moist filling; this acts as a moisture barrier that keeps the crisp element from losing its integrity.
"The difference between an amateur dessert and a professional masterpiece lies in the intentionality of texture. Never let your crunch meet your cream until the very last second, or you forfeit the complexity of the experience."
Balancing Moisture and Stability
When assembling ahead of time, you must consider the migration of water between components. If you have a moisture-heavy ingredient, such as a fruit compote or a fresh mousse, it must be isolated from the dry, crisp components until the moment of plating. Use ingredients like xanthan gum or high-quality gelatin to stabilize your creams, ensuring they hold their shape even if they sit out at room temperature for an hour. Always aim for a ratio of 2:1 between your stable, fat-based elements and your volatile, moisture-heavy elements to ensure consistent results.
The Science of the "Stable Cream"
The heart of many desserts is a stable, luscious cream, whether it be a diplomat, a ganache, or a stabilized whipped cream. The biggest mistake home cooks make is whipping cream too far in advance or failing to use a stabilizer, which leads to a "weeping" effect where the liquid separates from the fats. To master the Advance-Prep cream, you must look to additives that have been used for centuries, such as mascarpone, cream cheese, or technical stabilizers like calcium-based gelling agents.
The Role of Temperature in Emulsion
Temperature management is critical when working with ganache or pastry creams. When emulsifying a chocolate ganache, aim for an internal temperature of 95°F to 105°F for the fat phase. This allows the cocoa butter to melt completely, ensuring a smooth, glossy finish that remains stable once it cools. A properly emulsified ganache can be kept in the refrigerator for up to a week and will retain its shine and texture, provided it is kept covered to prevent the absorption of odors from your refrigerator.
Professional Stabilizers for Home Kitchens
While you don't need a lab to make great desserts, incorporating a small amount of stabilized gelatin can change your workflow entirely. Bloom your gelatin in cold water for five minutes, then whisk it into a warm base (like a pastry cream or fruit reduction) before it cools. This creates a matrix that traps moisture and prevents the cream from collapsing.
The Component Prep Schedule
A successful Advance-Prep dessert program relies on a tiered schedule. By working backward from your event date, you can ensure that you are never doing too much on the day of. Break your tasks into "Dry Components," "Emulsions," and "Garnishes." This segmentation allows you to clean your station between each batch, keeping your workflow organized and your stress levels low.
The Five-Day Lead Time
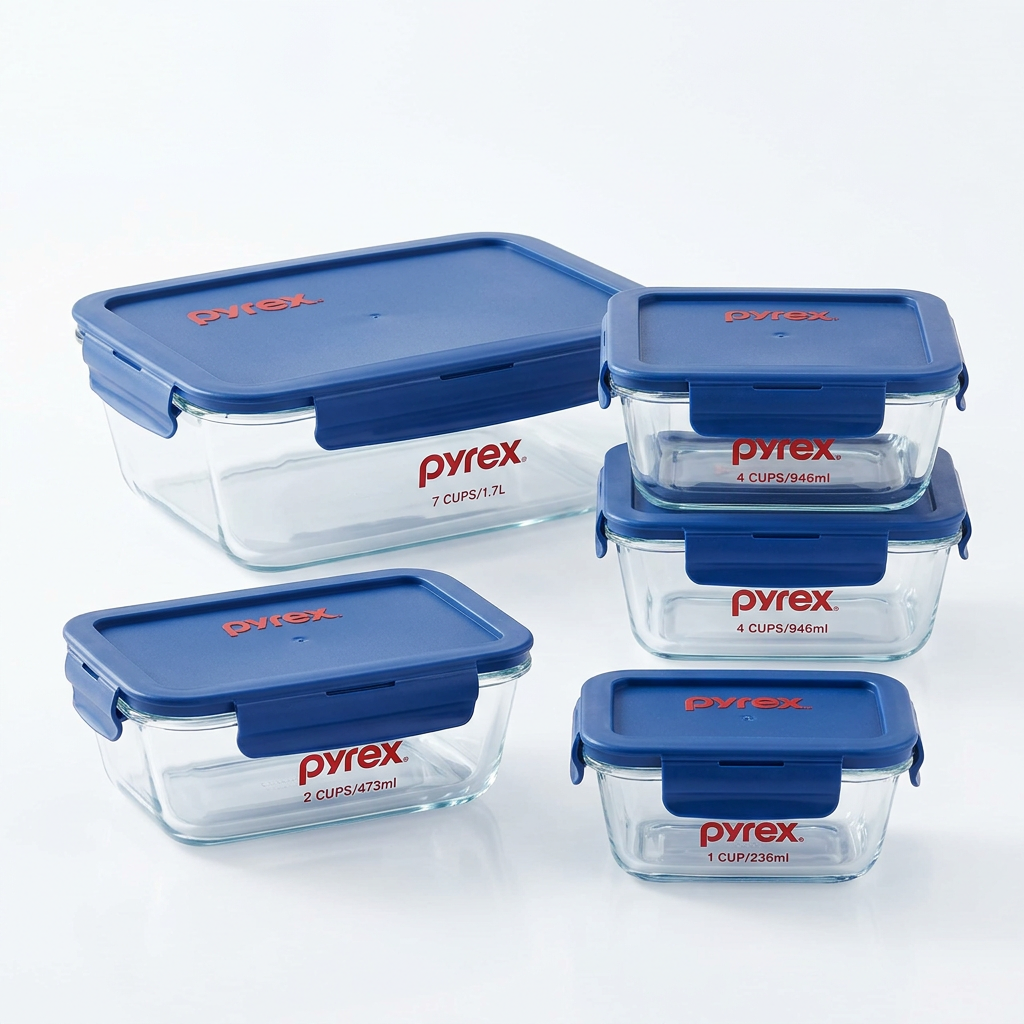
The five-day window is perfect for your Dry Components. Shortbread cookies, nut crumbles, and tuiles can all be made during this period. Store these in airtight glass jars or heavy-duty plastic containers. These items are the most forgiving and can survive the longest without losing their quality. Make sure your oven is calibrated correctly; even a 10-degree variance can affect the caramelization of your crumbles, which is essential for flavor depth.
The Three-Day Lead Time
Focus on your fruit-based components and stable bases at this stage. Compotes, curds, and jellies are best made three days out. These items require time for flavors to macerate and for the natural pectins to settle. A high-quality fruit curd, for instance, tastes significantly better after 72 hours in the refrigerator, as the proteins in the egg yolks fully integrate with the acidity of the citrus, creating a more cohesive, velvet-like texture.
"A well-executed plan is the most important ingredient in any recipe. If you don't have a schedule, you are not cooking; you are simply reacting to the chaos of the kitchen."
Mastering the "Crunch" Factor
The "crunch" is arguably the most neglected part of the dessert experience, yet it is the one that most delights the diner. Whether it is a candied hazelnut, a shard of tempered chocolate, or a delicate sugar lace, the crunch adds a layer of sensory complexity. However, moisture is the enemy of the crunch, which is why most people fail to include it. The secret is to coat your crunch components in a thin layer of protective fat or to keep them physically separated until the very last second.
The Art of the Nut Crumble
A classic crumble, or streusel, is a staple in my kitchen. By substituting a portion of the flour with almond flour and using high-fat European-style butter, you create a deeper, more robust flavor profile. Bake your crumble at 325°F until it is a deep golden brown. The key to the Advance-Prep method here is to allow the crumble to cool completely on a wire rack before storage. If you place it in a container while it is even slightly warm, it will trap steam and lose its snap.
Protecting Your Tuiles
Tuiles, those incredibly thin, delicate baked wafers, are the pinnacle of refined dessert plating. To keep them crisp for days, store them between layers of parchment paper in a tin. If they lose their crispness, you can revive them by placing them in a 300°F oven for exactly three minutes. This restores the moisture balance, making them as snappy as the moment they were first baked. Remember to always cool them on a curved surface if you want them to hold an elegant, sculptural shape.
The Logic of Plating and Presentation
When the guests finally arrive, the goal is to transform your components into a cohesive dish without breaking a sweat. Your plating should be intentional and architectural. Start with your base—the stable cream or the curd—and build upward. By using a piping bag, you can ensure that your components are placed with precision, giving your dessert a professional, restaurant-quality look that would be impossible to achieve with a spoon.
The Piping Bag Advantage
Using a piping bag is not just for fancy cakes; it is the most efficient way to plate individual desserts. It allows you to control the volume of cream or mousse, ensuring that each plate is identical. For a clean, minimalist look, use a large, plain round tip to create spheres or drops. For a more classical presentation, a star tip provides texture and shadow. Pro tip: Always pipe onto a plate at room temperature to ensure your cream doesn't set too quickly, which can make it look jagged rather than smooth.
The Importance of Negative Space
Do not feel the need to cover every inch of the plate. Negative space is an essential element of modern plating. By focusing your components in the center or to one side of the plate, you draw the eye to the craftsmanship of the dessert itself. Consider the weight of your colors and textures; a dark, rich chocolate ganache pairs beautifully with a bright, acidic fruit garnish, which also provides a necessary visual balance.
Troubleshooting Common Issues
Even with the best planning, things can occasionally go sideways. Understanding how to troubleshoot your components is what separates a home cook from a skilled host. If your ganache is too firm, don't throw it out; gently warm it over a bain-marie to bring it back to a pliable, pipeable state. If your curd has curdled, you can often save it by passing it through a fine-mesh chinois and whisking it vigorously as it cools.
Correcting Texture Failures
If you find your cream is not holding its shape, check the fat content of your cream. You should always use heavy cream with at least 36% milkfat. Anything less, and the emulsion will be unstable. If you are using a non-dairy alternative, ensure you are using a stabilizer like agar-agar or a commercial non-dairy whipping aid. Always chill your mixing bowls and whisks in the freezer for at least 15 minutes before whipping, as this helps the fats stay solid while air is incorporated.
Managing Flavor Migration
If you notice that your dry components (like a cookie base) are becoming soft, you have a migration issue. This usually happens when the base has high sugar content, which is hygroscopic (it attracts moisture from the air). To combat this, ensure your storage containers are as airtight as possible. For professional results, keep a small, food-grade silica gel packet in your container of cookies or crumbles. This small addition makes a world of difference in maintaining that essential "first-bite" crunch.
"True kitchen confidence comes from knowing that when the pressure is on, you have already done the heavy lifting. You are simply completing a masterpiece you began days ago."
Final Thoughts
Mastering the art of the "Advance-Prep" dessert is, at its core, an exercise in regaining control over your kitchen. By deconstructing the complex into the simple, you transform the high-stress environment of a dinner party into an opportunity for creativity and connection. When you take the time to prepare stable creams, crisp crumbles, and vibrant fruit components, you are not just making dessert—you are curating an experience. You are building a system that allows you to be a host who is present, relaxed, and genuinely enjoying the company of those you invited.
The techniques outlined here—from the precision of the mise-en-place to the science of stabilizers and emulsifiers—are not reserved for pastry chefs in high-end kitchens. They are accessible tools that, when utilized with care and planning, will elevate your home entertaining to new heights. The next time you find yourself staring at an empty kitchen hours before a party, remember that you have already won the battle. You have your components, you have your plan, and you have the confidence that comes from knowing that your dessert is not just delicious, but perfectly executed.
As you continue to experiment with these modular components, you will find that your confidence grows. You will begin to see new combinations, new textures, and new ways to layer flavors that you never would have attempted if you were still trapped in the "all-at-once" cycle of stress. Remember that the ultimate goal of cooking is joy—both the joy of creation and the joy of sharing. So, take these methods, adapt them to your favorite recipes, and own your kitchen with the authority of a professional. Your guests will be impressed, but more importantly, you will finally have the time to sit down, take a breath, and enjoy the evening you worked so hard to create.
Get the Next Recipe
Weekly recipes, techniques, and gear picks — straight to your inbox.
