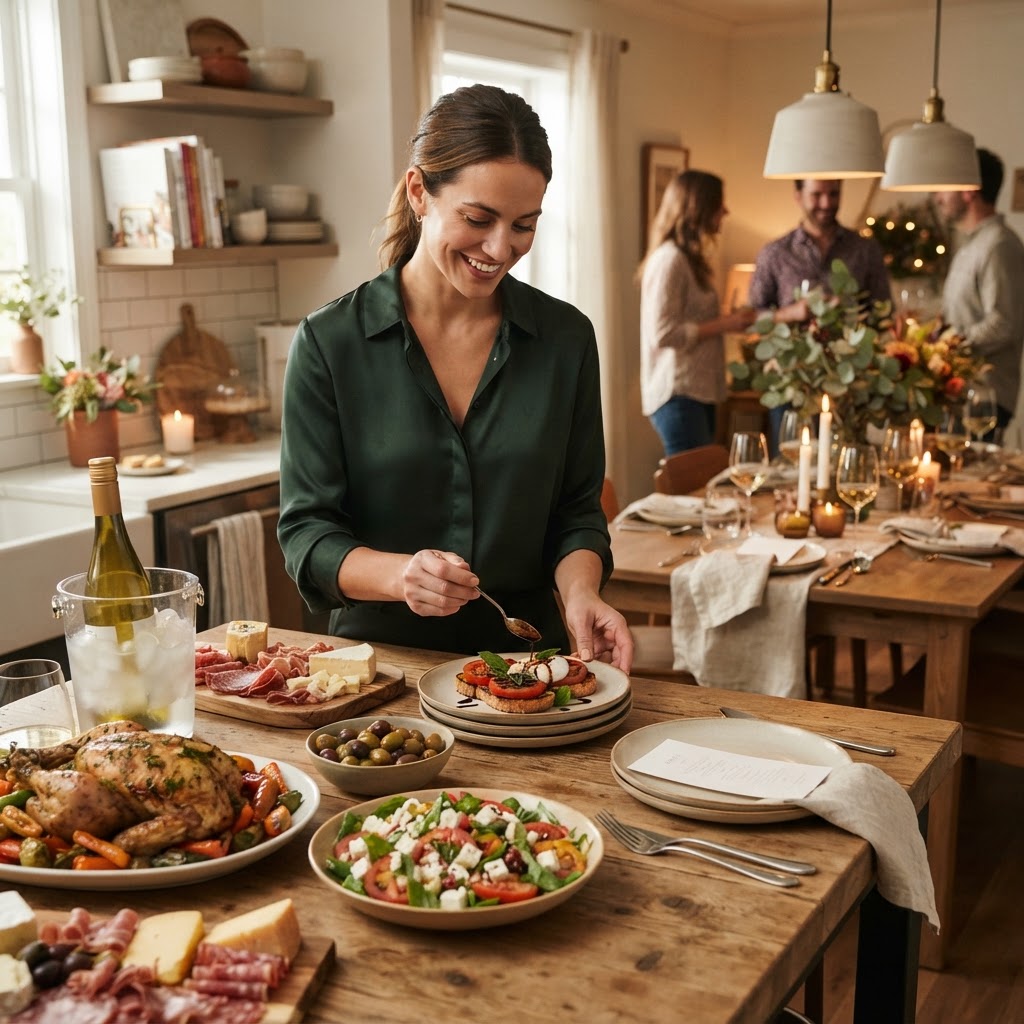
The Art of the Pre-Party Timeline: How to Strategically Sequence Your Prep to Enjoy Your Own Dinner Party
There is a specific, sinking feeling that every home cook knows all too well: the moment your doorbell rings while you are still frantically zestng a lemon, your stove is covered in splattered oil, and you have yet to find a clean wine glass. We have all been there, standing in the middle of a chaotic kitchen, wishing we could simply evaporate into the pantry. The dream of hosting a dinner party is often far more elegant than the reality of executing one, but the difference between a frantic host and a graceful one lies entirely in the power of the pre-party timeline. When you master the art of staging your work, you transform your kitchen from a site of high-stress labor into a sanctuary of culinary creation. It is about shifting your perspective to view your menu as a series of manageable, asynchronous tasks rather than a singular mountain to climb.
To truly enjoy your own dinner party, you must stop looking at your recipes as individual entities and start seeing them as a master timeline. Professional chefs operate under the principle of mise en place, which goes beyond just chopping onions; it is a total state of mental and physical organization. By breaking down your menu into distinct stages—prep, par-cooking, finishing, and assembly—you remove the pressure of the "last-minute rush." When you arrive at the moment the first guest walks through the door, you should be pouring yourself a drink, not scrambling to find the salt. This transition from frantic to flourishing is not a matter of speed, but one of strategic sequencing.
The philosophy of "Blame The Chef" is simple: if you are stressed, your guests feel it, and the entire atmosphere of the evening shifts from hospitality to anxiety. When you take the time to build a robust production schedule, you are essentially buying back your own time. This article will guide you through the intricate steps of creating a seamless flow, from three days out to the final plating. We will cover everything from the logic of cold-chain management to the critical temperatures that ensure your protein rests perfectly while you manage the conversation. Prepare to reclaim your kitchen and become the host you have always wanted to be—one who is present, calm, and perfectly in control.
The Three-Day Strategy: Building Your Foundation
The most successful dinner parties are won in the days leading up to the event, not during the final hour of cooking. If you try to do everything on the day of the party, you are setting yourself up for failure. Instead, adopt a three-day prep schedule that divides your labor into logical chunks. By the time the actual party day arrives, you should only be responsible for final touches, such as searing proteins or tossing a salad. This creates a psychological buffer that allows you to manage unexpected hiccups, such as a missing ingredient or a guest arriving early, without feeling like the world is ending.
Mapping the Workflow
Start by writing out your entire menu. Beside every dish, identify every individual component. For example, if you are making a braised short rib, identify the sear, the aromatics, the braising liquid, and the final reduction as separate steps. Once you have this list, assign a day to each component. Vegetables can be peeled and stored in water two days out; sauces can be prepared and reduced three days out; and dry rubs can be applied 24 hours before cooking. By the time you get to the morning of your dinner, the heavy lifting—the "messy work"—is already behind you, leaving you with a clean slate.
The Power of Mise en Place
Never underestimate the importance of mise en place—literally meaning "putting in place." Your goal is to have every single ingredient measured, chopped, and portioned into small bowls or containers well before the oven is even turned on. When you are deep in the flow of cooking, the last thing you want to do is hunt for a spice jar or measure flour. This is the difference between an amateur and a professional. If you have your ingredients organized in the order of their use, you can execute complex dishes with almost mechanical efficiency, keeping your work area clean and your mind sharp.
"A kitchen is not a place for improvisation under pressure; it is a laboratory of precision where the secret to brilliance is simply doing as much as possible before the first guest even steps into the room."
The Science of Temperature and Timing
Understanding the thermal dynamics of your food is the most important skill in managing a party timeline. If your guests are late, your food doesn't have to suffer. The key is to learn how to hold, reheat, and rest your proteins properly. Many home cooks make the mistake of cooking everything to the final degree of doneness at the exact moment of service. Instead, aim to pull your proteins off the heat about five to ten degrees before they reach their target temperature, allowing for carry-over cooking to bring them to the perfect level of finish while they rest.
Mastering Carry-Over Cooking
Carry-over cooking is the phenomenon where heat continues to travel from the outer surface of the meat toward the cooler center even after it is removed from the heat source. For a large roast or a whole chicken, this can be as much as 10 to 15 degrees. If you take a roast out at 135°F and it sits on your counter for 20 minutes while you chat with guests, you will likely end up with meat that is overdone and dry. By removing it at 120°F and letting it rest in a warm (not hot) place, you achieve the perfect medium-rare result every time, without being tethered to the stove.
Strategic Reheating
If you have prepared components in advance, reheating is a delicate science. Avoid the microwave whenever possible, as it tends to cook unevenly and can turn delicate sauces into oily emulsions. Instead, use a gentle water bath (sous vide style, even if you don't have the machine) or a low-temperature oven set to 200°F. For sauces, a small saucepan over low heat with a touch of cold butter whisked in at the last second—a technique known as monter au beurre—will restore the glossy, professional finish that might have been lost during the cooling process.
Cold-Chain Management and Ingredient Storage
In a professional kitchen, we talk about the "cold chain," which is the journey of an ingredient from the cooler to the plate. At home, you need to be equally vigilant. Overcrowding your refrigerator is the quickest way to ruin the quality of your food, as it prevents air circulation and leads to uneven cooling. If you are prepping for a large group, designate a specific shelf or container for "ready-to-cook" items. This prevents cross-contamination and ensures that you aren't digging through a mountain of produce to find the butter you need for the sauce.
Organizing Your Refrigerator
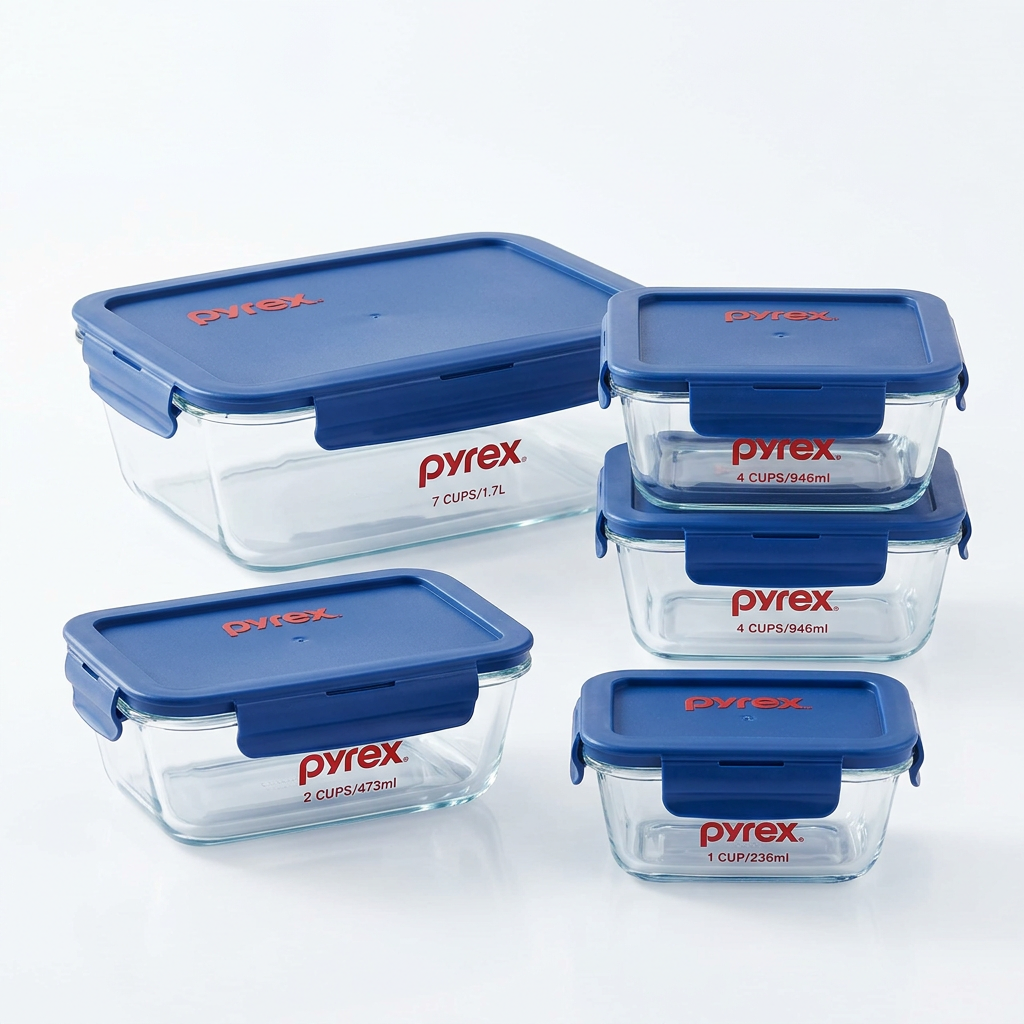
Take everything out of the fridge the night before the party and reorganize it. Place your prepped mise en place on the middle shelves, keeping raw meats on the bottom to prevent drips. Use stackable, clear containers so you can see exactly what you have without having to open every lid. When everything has a place, you save precious seconds during the service period. Furthermore, keeping your fridge organized helps you maintain food safety, which is the most critical element of any successful culinary venture.
The Ice Bath Advantage
For green vegetables like asparagus, haricots verts, or blanched peas, the secret to maintaining a vibrant, bright green color is an ice bath. After boiling your vegetables for 2-3 minutes until just tender, plunge them immediately into a bowl of ice water. This stops the cooking process instantly and "sets" the chlorophyll. You can then store them, pat them dry, and quickly toss them in a hot pan with butter or oil just seconds before serving. This technique is exactly how restaurants achieve perfectly cooked vegetables that never look gray or mushy.
The Art of the Intermission: Managing Guest Arrivals
The first 30 minutes of a dinner party are the most crucial. This is when your guests are settling in, grabbing a drink, and judging the vibe of the evening. If you are sweating and looking stressed, the energy in the room will inevitably dip. Your goal is to have the transition from the "cocktail hour" to the "dining room" be as fluid as possible. This is where your sequencing of snacks becomes your secret weapon. Choose an appetizer that requires zero last-minute assembly, such as a curated cheese board or a chilled seafood platter.
Preparing the Signature Drink
Never be the host who is constantly mixing individual cocktails. If you are stuck behind a shaker, you are not participating in the social aspect of the party. Instead, create a batch cocktail that can be poured from a beautiful pitcher or dispenser. Whether it is a seasonal punch, a high-quality sangria, or a batch of Negronis, having a ready-to-serve drink allows you to hand a glass to every guest as soon as they cross the threshold. This simple act immediately makes them feel welcome and keeps you out of the "bartender" role.
Seating and Lighting
While the food is the focus, the environment is the vessel. Use this time to ensure the lighting is dim and the music is at an appropriate volume. I always recommend placing candles in areas where they won't be in the way of serving dishes. A warm, ambient glow transforms a standard dining room into an intimate space. When the environment is right, guests are more relaxed, and they are much less likely to notice if you have to slip into the kitchen for a few minutes to finish the final plating of the main course.
"True hospitality is the art of making your guests feel as though you have nothing better to do than spend time with them, even when your stove is working double-time behind the scenes."
Plating for Impact and Efficiency
The final stage of the evening—plating—is where your hard work culminates. If you have followed a proper timeline, your components should be ready to assemble. The biggest mistake home cooks make is trying to create complex, multi-layered plates that require a dozen steps per dish. Instead, think in terms of visual hierarchy. Use a base, a protein, a vegetable, and a sauce. This four-component structure is the backbone of professional plating and is surprisingly easy to execute once you have the elements ready.
The Architecture of the Plate
The Base:* Use a puree, a grain, or a bed of greens to provide a foundation for the dish.
The Protein:* Place this slightly off-center to create visual interest.
The Vegetable:* Use this to add height and color, creating contrast against the protein.
The Sauce/Garnish:* Add this last, drizzling it around the plate or carefully over the protein to add shine and depth.
Warming the Plates
One of the most overlooked "pro" tips is the warmed plate. If you are serving a hot meal, serve it on a hot plate. You can warm your plates in a low oven (around 150°F) for 15 minutes before serving. This simple step keeps your food hot for much longer, which is essential if you are serving multiple courses or have a group that likes to linger over their food. It is a small detail that your guests will notice immediately, as it elevates the entire sensory experience of the meal.
Navigating the Unforeseen
Even with the most perfect timeline, things will occasionally go wrong. Maybe the roast takes longer than expected, or a sauce breaks. The secret to being a great host is the graceful pivot. If a dish fails or is delayed, don't apologize profusely. Simply acknowledge it with humor and move on. Your guests are there for your company, not for a Michelin-star performance. If the main course is delayed, bring out an extra round of drinks or a simple appetizer you had tucked away.
Handling the "Broken" Sauce
If your sauce breaks—meaning the fat separates from the liquid—it is not the end of the world. Simply whisk in a tablespoon of cold water or cream and place the sauce back on very low heat, whisking constantly. In most cases, this will bring the emulsion back together. If it doesn't, strain it through a fine-mesh sieve and call it a "jus" instead of a "velouté." No one will be the wiser. Confidence is the most important ingredient in any recipe, and if you act like the dish is exactly as you intended, your guests will believe you.
The Art of the Pivot
If a protein is cooking too slowly, cut it into smaller, manageable portions and increase the heat slightly, or sear it on the stovetop to finish it off. Never feel like you are chained to your original plan. A good chef knows when to deviate from the recipe to save the meal. Keep a few "emergency ingredients" in your pantry, such as high-quality olive oil, fresh herbs, or a wedge of Parmigiano-Reggiano. These can transform almost any dish that feels a bit "flat" into something that feels complete and intentional.
Final Thoughts
At the end of the night, when the plates are cleared and the wine bottles are empty, your success is not measured by the technical perfection of your soufflé or the precise sear on your steak. It is measured by the laughter around your table and the ease with which you participated in the evening. By mastering the pre-party timeline, you are choosing to be a participant in your own life rather than a spectator locked in the kitchen.
The strategy we have discussed—three-day prep, mise en place, thermal control, and graceful pivoting—is not just about cooking; it is about reclaiming the joy of entertaining. When you remove the stress from the equation, you leave space for creativity and connection. Your kitchen should be a place of joy, not a battleground. So, the next time you decide to host, start with a list, follow your timeline, and remember that even if the sauce breaks or the timing is off, you have already won because you are present, you are prepared, and you are having fun. Go forth, cook with confidence, and always remember—if anything goes wrong, you can always blame the chef.
Get the Next Recipe
Weekly recipes, techniques, and gear picks — straight to your inbox.
