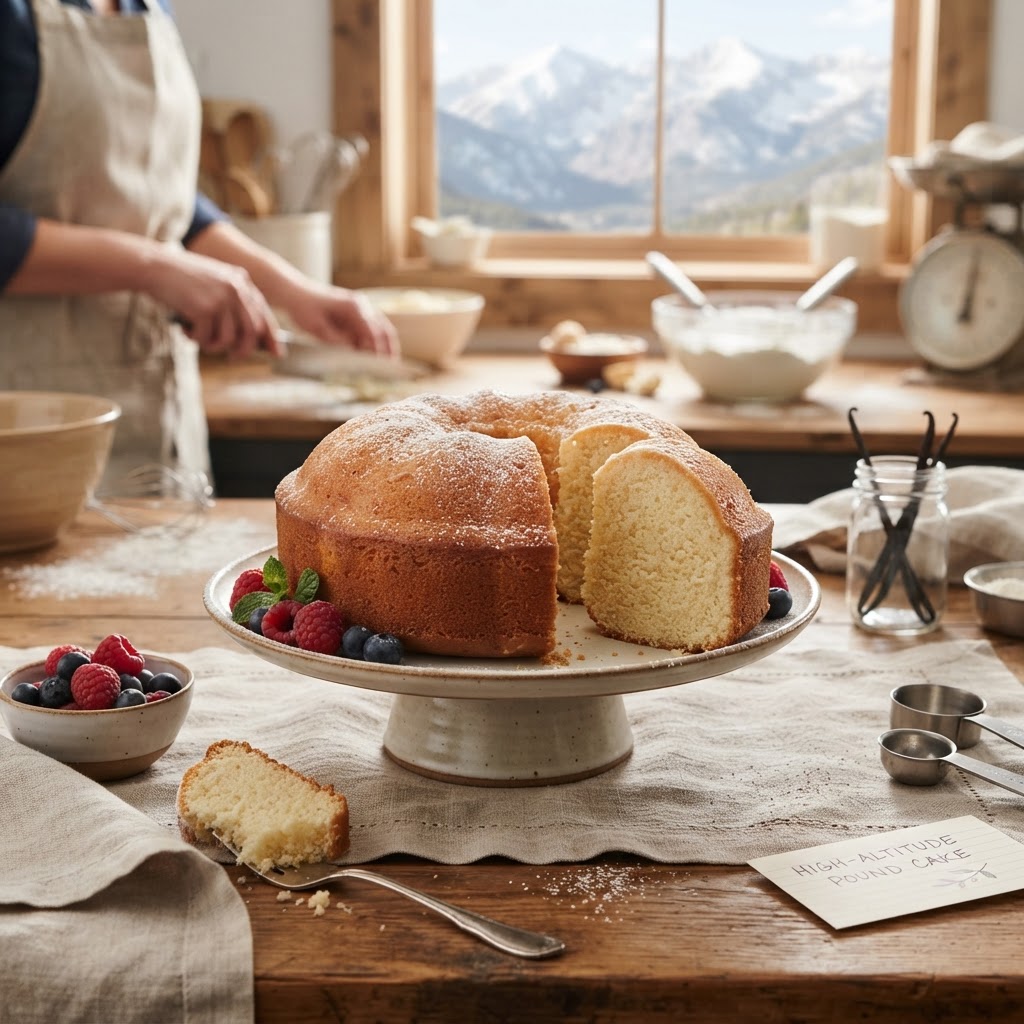
The Baker’s Guide to High-Altitude Baking: Mastering Leavening Ratios and Oven Temperatures for Perfect Results at Every Elevation
There is a profound, almost humbling silence that greets a baker when they move from sea level to the thin, crisp air of the mountains. You come armed with your grandmother’s legendary sourdough recipe or a fool-proof sponge cake that has never failed you, only to find that at 7,000 feet, the chemistry of your kitchen has fundamentally shifted. The flour feels different under your fingertips, the yeast behaves with erratic urgency, and the oven seems to hold heat in a way that defies the logic of your old recipes. It is easy to blame the equipment or the humidity, but the truth is that the atmosphere itself is pulling the strings. Mastering high-altitude baking is not about reinventing your craft; it is about learning to negotiate with the physics of a lower-pressure environment.
When we bake at sea level, we are essentially working in a protected, consistent cocoon of standard atmospheric pressure. As you ascend, that atmospheric pressure decreases, meaning there is less weight pressing down on your rising dough or batter. This is why cakes often collapse in the center and bread rises so rapidly it practically leaps out of the pan before the structure has time to set. Your ingredients, which have relied on the constant resistance of the air for their structural integrity, suddenly find themselves in a state of rapid expansion. This disruption forces the baker to rethink the very architecture of a recipe, from the amount of leavening agent used to the temperature at which the oven is calibrated.
The journey to becoming a high-altitude expert requires a departure from rigid adherence to written instructions and a movement toward a deeper, more intuitive understanding of culinary science. You must begin to view your kitchen not as a static space, but as a dynamic laboratory where the variable of elevation is just as important as the quality of your butter or the age of your eggs. We will be deconstructing these challenges together, looking at the hydration levels, the protein content of your flours, and the delicate balance of sugar-to-fat ratios that keep a cake from becoming a cavernous, structural disaster. Grab your apron and perhaps a notebook, because we are about to recalibrate everything you thought you knew about the art of the perfect bake.
The Atmospheric Effect on Leavening Agents
The most immediate casualty of high-altitude baking is usually your leavening agents, specifically yeast, baking powder, and baking soda. At higher elevations, the air is thinner, offering less resistance to the gases produced by these agents during fermentation or chemical reaction. Because the air provides less downward pressure, bubbles of carbon dioxide expand faster and grow significantly larger than they would at lower elevations. This leads to an over-expansion of the dough or batter, causing the cell walls of your baked goods to stretch to the point of rupture, resulting in a cake that rises beautifully for ten minutes and then collapses like a tragic souffle.
Reducing Your Leavening Ratios
To combat this premature expansion, your first line of defense is a measured reduction in your leavening agents. As a general rule of thumb, for every 1,000 feet of elevation above 3,000 feet, you should consider reducing your baking powder by approximately 1/8 to 1/4 teaspoon per teaspoon called for in the recipe. This is not a precise science, as the humidity and the specific type of flour can alter the outcome, but it is the most reliable starting point for stabilizing your structure. If your recipe calls for two teaspoons of baking powder, dropping it to one and a half teaspoons at 5,000 feet can be the difference between a dense, sturdy muffin and a handful of crumbs.
Yeast Fermentation Dynamics
For bread bakers, yeast is your greatest ally and your most volatile enemy. In the mountains, the fermentation rate is accelerated significantly because the lower pressure allows the yeast to work more efficiently. You will often find that your first rise, which might take an hour at sea level, concludes in forty minutes or less in high-altitude conditions. If you allow the dough to double in size as the recipe dictates, you are likely over-proofing the dough, which leads to a sour flavor, a sticky texture, and a crust that lacks the golden, crisp finish you crave.
"Baking at altitude is not a failure of your skill; it is a fundamental shift in the physics of your kitchen. Embrace the adjustment as a new layer of mastery."
* Monitor your dough visually rather than strictly by the clock.
* Use cooler water (around 65°F to 70°F) to slow the yeast activity down.
Consider a retarded proofing method* in the refrigerator to develop flavor without over-extending the yeast.
Structuring Your Recipes for Success
When leavening is reduced, you often find that the overall volume of your batter or dough decreases, leaving your baked goods feeling slightly dense. This is where you must compensate by strengthening the protein structure of your items. Cakes, in particular, rely on the coagulation of proteins and the setting of starches to maintain their shape. If your cake is losing its structure, you need to increase the "scaffolding" of the recipe, which is done through a few strategic tweaks to your ratios of fat, sugar, and flour.
Boosting Protein with Flour Selection
At high elevations, the air does not support the delicate structure of cake flour as well as it supports the more robust structure provided by all-purpose flour. Many bakers choose to swap out their cake flour for a blend of all-purpose and a small percentage of bread flour. The higher protein content in bread flour helps create a stronger gluten network, which acts like a net to hold the air bubbles inside the cake as they expand. Even if you are making a delicate pound cake, a 10% increase in the protein content of your dry base can provide the stability needed to prevent an ugly collapse.
Managing Sugar and Fat Ratios
Sugar is a tenderizer; it weakens the structure of a cake by interfering with protein coagulation and starch gelatinization. At high altitudes, this tenderizing effect is magnified, causing the center of the cake to stay raw while the edges burn. To counteract this, you should reduce the sugar by about one to two tablespoons per cup. Simultaneously, you may need to increase the liquid—usually by adding an extra tablespoon of milk or a splash of water—to ensure the flour is sufficiently hydrated and can fully develop its structure during the baking process.
* Reduce sugar slightly to strengthen structure.
* Increase liquid content to ensure hydration.
* Increase protein by choosing all-purpose or high-protein flour over cake flour.
The Oven as a Precision Instrument
If you believe that 350°F is always 350°F, you are in for a surprise. At high altitudes, the boiling point of water is significantly lower than the standard 212°F. Because evaporation occurs much faster, the internal moisture of your baked goods escapes with alarming speed. If you bake at the same temperature you used at home, your cakes will turn out dry, crumbly, and potentially scorched on the outside. You must treat your oven as an instrument that needs constant calibration to account for the thinning air and the rapid moisture loss.
Elevating the Oven Temperature
Counterintuitively, while you might think a lower temperature is best to prevent drying, you often need to increase the oven temperature by about 15 to 25 degrees Fahrenheit for cakes and muffins. This quick blast of high heat helps the structure of the cake "set" before the gases have a chance to expand too quickly and collapse the internal matrix. By hardening the exterior quickly, you lock in the moisture and create a rigid frame that can support the internal crumb, preventing the dreaded "pancake effect" that plagues so many amateur mountain bakers.
The Importance of Convection
If your oven has a convection setting, use it with caution. Convection fans circulate the air, which accelerates the drying process even further. When baking delicate items like cookies or quick breads, start with the convection fan turned off to ensure even heat distribution without the aggressive air movement. If you find your products are browning too fast before they are cooked through, use a double layer of baking sheets to shield the bottom of your tins, which will help moderate the heat transfer and prevent scorched bases.
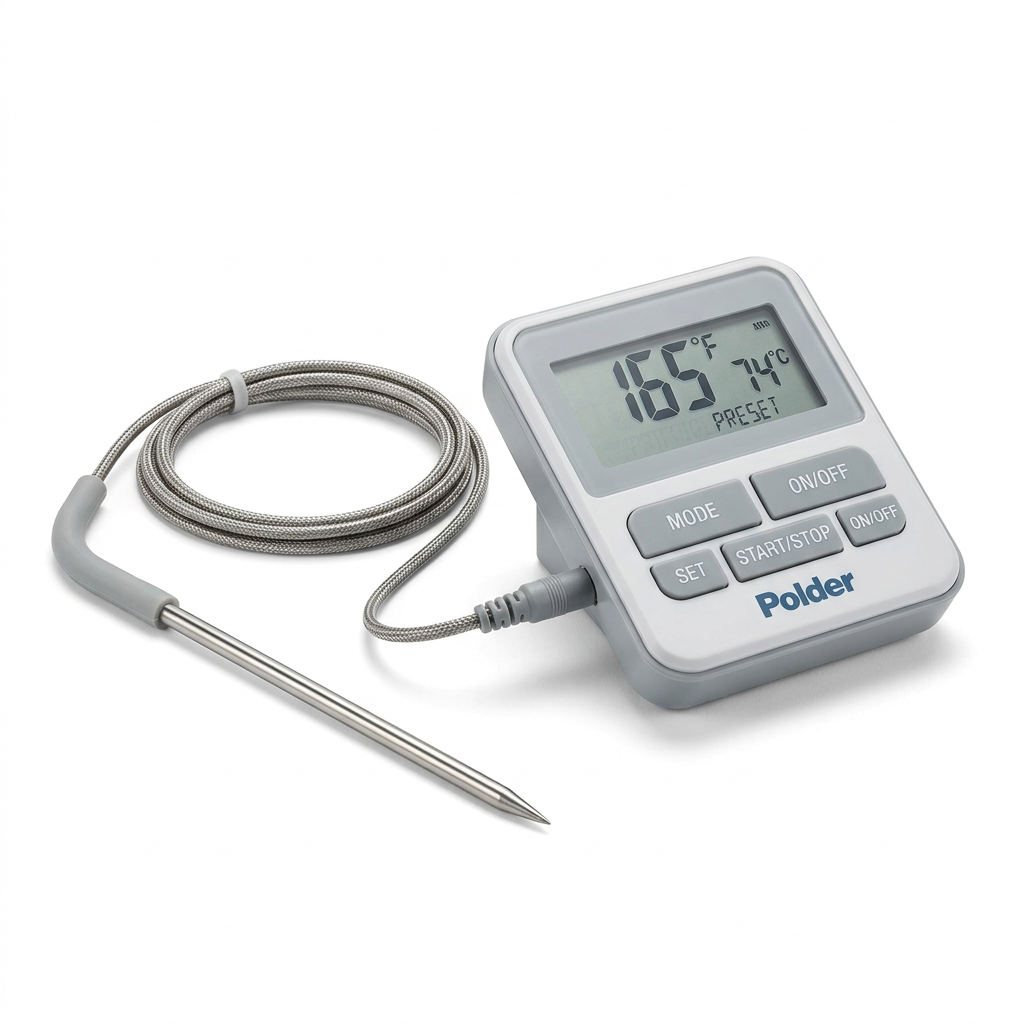
"A thermometer is the only honest witness in your kitchen. Trust your internal probe more than the timer on your oven."
* Check your oven’s calibration with an independent, oven-safe thermometer.
* Increase oven temperature for cakes to set structure quickly.
* Use insulated pans to prevent over-browning on the bottom.
Hydration and Moisture Retention
One of the most persistent issues in high-altitude baking is the "dry crumb." Because water boils at a lower temperature—at 7,000 feet, water boils at roughly 199°F—your baked goods spend less time actually cooking before the water evaporates. This constant moisture loss makes high-altitude bakes notoriously fickle. The trick is to infuse your recipes with ingredients that hold onto moisture, ensuring that your end product remains tender, moist, and flavorful even after it has cooled.
Incorporating Hygroscopic Ingredients
To fight off the desert-like atmosphere of high-altitude living, you should turn to ingredients that are hygroscopic, meaning they naturally attract and retain water. Honey, molasses, and brown sugar are excellent choices for replacing a portion of your white sugar. They hold onto moisture far more effectively than refined white sugar, providing a buffer against the rapid evaporation that occurs during the baking cycle. Additionally, incorporating dairy products like sour cream, Greek yogurt, or buttermilk can add fat and acidity, which helps tenderize the crumb while keeping the cake from drying out.
The Role of Eggs
Eggs are the silent architects of your baked goods. They provide both structure (through protein coagulation) and moisture (via their fat and water content). At higher elevations, you should consider increasing your egg count by one. The extra protein in the white provides more structural integrity, while the fat in the yolk adds a richness that offsets the dryness. If your recipe is particularly airy, like a sponge cake, consider using an extra egg white to provide that necessary lift without the heaviness of the extra yolk.
Troubleshooting Common Failures
No matter how much you prepare, there will be days when the bread just won't rise or the cookies spread into a single, giant sheet of burnt sugar. When this happens, do not immediately blame the recipe. Instead, look at the conditions of your specific kitchen at that exact moment. Troubleshooting is an essential part of the baker’s journey. Often, the solution is as simple as adjusting your mixing technique or changing the order in which you incorporate your ingredients to better manage the aeration of your dough or batter.
The Cookie Spread Conundrum
Cookies are perhaps the most sensitive to altitude. Because the air is thin and the pressure is low, the air bubbles trapped inside the cookie dough expand rapidly, causing the cookie to lose its shape and spread flat before it has a chance to bake through. To combat this, cream your butter and sugar for less time than you normally would. You want to incorporate less air into the dough. Furthermore, chilling your dough for at least an hour before baking is non-negotiable. Cold fat takes longer to melt, which gives the cookie structure time to set before the sugars liquefy and cause spreading.
The Bread Collapse
If your bread is coming out of the oven with a crater in the center, you have likely over-proofed it. In the mountains, you need to rely on the "poke test." When you press the dough with your finger, it should spring back slowly. If it springs back instantly, it needs more time. If your finger leaves an indentation that remains, you have over-proofed. At high altitudes, you want the dough to be slightly under-proofed by sea-level standards. This leaves enough "energy" in the yeast to give you that final, dramatic oven spring without the dough collapsing from exhaustion.
* Always chill cookie dough to stabilize fat.
* Avoid over-creaming butter and sugar for cookies.
* Use the "poke test" to ensure your bread isn't over-proofed.
Mastering the Science of Ratios
As you continue your journey, you will find that following recipes becomes less about the specific measurements and more about the ratios. In the professional culinary world, we rely on baker’s percentages. This is a system where the weight of each ingredient is expressed as a percentage of the total weight of the flour. By learning these ratios, you can adjust your recipes for any altitude by simply increasing the structure (flour) or decreasing the leavening (baking powder) as the conditions dictate.
Building Your Own Base Formulas
Once you understand the basic ratios, you can create a "Master Recipe" for cakes, muffins, and cookies that works for your specific altitude. For example, a standard sponge cake might have a ratio of 1:1:1:1 for flour, sugar, fat, and eggs by weight. At 5,000 feet, you might adjust this to a 1.2:0.9:1:1.1 ratio. This allows you to scale your recipes up or down while maintaining the structural integrity of the bake. This level of mathematical control removes the guesswork from the kitchen and transforms you from a recipe follower into a true culinary architect.
The Value of Weighing Ingredients
If you are still using volume measurements (cups and spoons), you are fighting a losing battle. Volume is inherently inaccurate, especially when atmospheric pressure is constantly changing. A cup of flour in Denver is not the same as a cup of flour in Miami because the density of the flour itself can vary based on how it settles. Switch to a digital scale. Weighing your ingredients in grams provides the precision needed to make small, iterative adjustments to your recipes. When you can measure your baking powder down to the tenth of a gram, you gain a level of control that is impossible to achieve with a measuring spoon.
Final Thoughts
The beauty of baking is that it is a dialogue between the baker and the elements. When you step into a kitchen at 8,000 feet, you are not just baking bread or cakes; you are participating in a grand experiment of physics and chemistry. Do not be discouraged by the failed loaves or the fallen cakes. Those moments are not failures—they are data points. Every collapsed soufflé is teaching you about the tensile strength of your batter, and every dry cookie is telling you about the humidity levels in your pantry.
Take the time to observe how your ingredients behave. Watch how the yeast reacts to the water temperature, how the butter softens under the ambient heat of your kitchen, and how the oven cycles its elements. When you start to pay attention to these minute details, the "mystery" of high-altitude baking begins to dissipate, replaced by a deep, technical competence. You become a baker who doesn't just rely on a recipe card, but one who understands the fundamental forces at play.
As you head back into your kitchen, remember that the most important ingredient remains patience. Mastering these adjustments takes time, and your palate will eventually become the best judge of whether your adjustments are working. Keep your journals, keep your scale handy, and most importantly, keep experimenting. The mountains are a challenging place to bake, but there is no greater reward than pulling a perfect, golden, structurally sound loaf of bread out of the oven when you know exactly why it turned out that way. Happy baking, and may your oven always be calibrated and your crumb always be perfect.
***
A Note on Equipment
Before closing, it is worth noting that your choice of baking pan matters just as much as your ingredients. Dark-colored pans absorb more heat and will brown your baked goods faster than light-colored, reflective aluminum pans. In high-altitude environments, where heat control is everything, stick to light-colored, heavy-gauge aluminum for your cakes. These pans provide the most even heat distribution and will help prevent the bottom and sides from setting too quickly before the center has had a chance to rise and stabilize.
Also, consider the size of your pans. High-altitude batters tend to rise more quickly and aggressively, which can lead to overflow. If you are baking a recipe that historically fills your pan to the brim, consider using a slightly larger pan or filling your current tins only 1/2 to 2/3 full instead of the standard 3/4. This small change prevents the messy, scorched edges of an overflow and gives the batter the necessary room to expand upward without spilling over the side.
Seasonal Considerations
While we have focused heavily on elevation, do not forget that the season plays a massive role in your hydration levels. Even at high altitudes, summer months bring a decrease in relative humidity that will suck moisture right out of your dough. Winter, while potentially drier, often brings static electricity into the kitchen, which can make handling flour a chore. Always keep a spray bottle of water nearby to lightly mist the air or your work surface if you find your dough is becoming too brittle to handle.
Ultimately, your kitchen is a reflection of your commitment to the craft. Whether you are baking for family, for friends, or for your own personal satisfaction, the lessons learned at high altitude will make you a better, more thoughtful, and more precise baker, regardless of where you decide to set up your oven. Embrace the challenge, learn the ratios, and continue to "Blame the Chef"—in this case, you are the chef, and you are entirely in control.
Final Checklist for Success
Reduce Leavening:* Always start by cutting baking powder/soda by 20% if you are over 5,000 feet.
Increase Temperature:* 15-25°F higher for cakes; keep an eye on the clock.
Add Moisture:* An extra splash of milk or a tablespoon of yogurt is your best friend.
Structure:* Don't be afraid to swap to a stronger flour if your results are crumbling.
The Scale:* If you haven't bought a gram scale yet, do it today; it is the single most effective tool for altitude adjustment.
Patience:* Your bread will rise faster, but your flavor needs time to develop—don't rush the proofing process.
By integrating these techniques into your routine, you are taking the guesswork out of mountain baking. The science is on your side, and with a bit of practice, you will find that your results are not just "good for high altitude," but simply exceptional by any standard. Your journey toward culinary mastery continues, one precisely weighed ingredient at a time. The mountain air may be thin, but your baking skills are about to reach new heights. Proceed with confidence, adjust with precision, and enjoy the delicious fruits of your scientific labor.



Get the Next Recipe
Weekly recipes, techniques, and gear picks — straight to your inbox.
