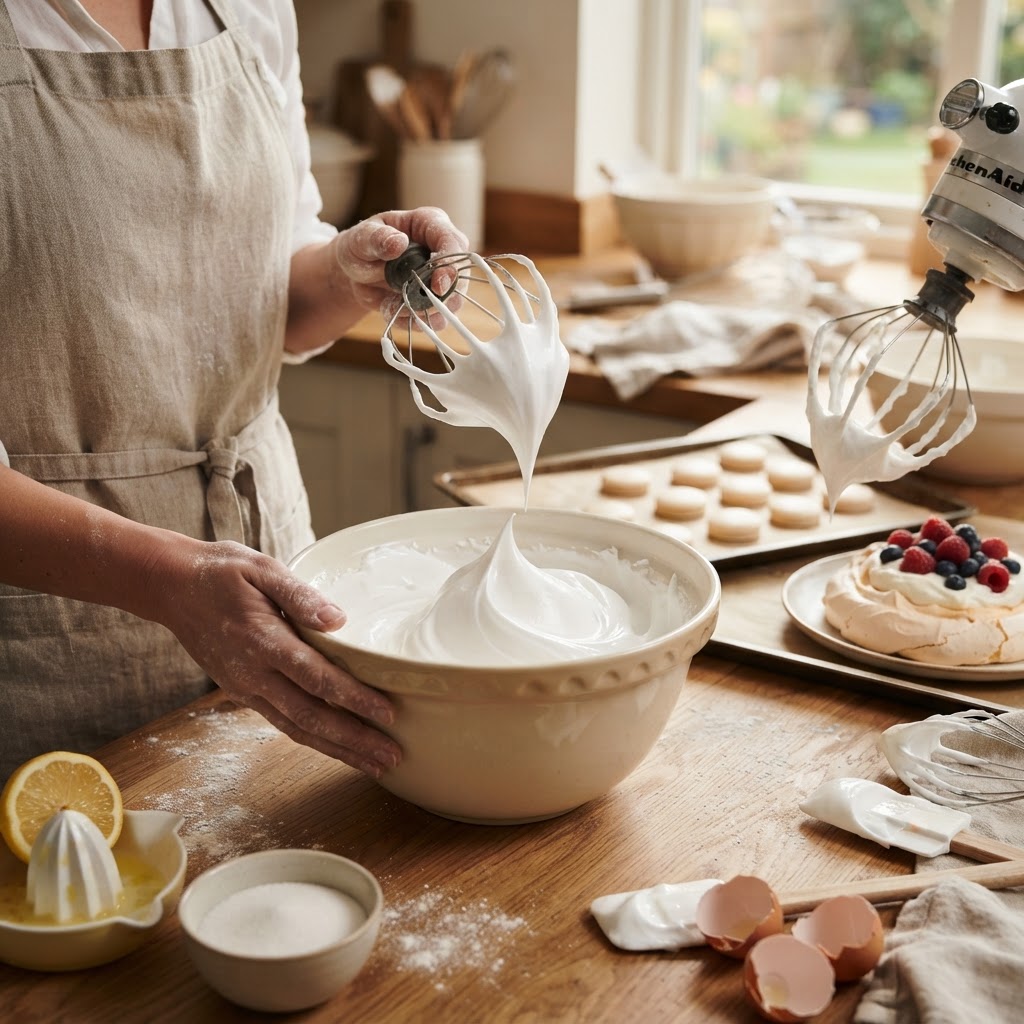
The Baker’s Guide to Meringue: Mastering Stable Peaks and Silky Textures for Perfect Pavlovas and Macarons
Meringue is the ultimate test of a baker’s patience and understanding of chemistry. It is a deceptively simple mixture of just two ingredients—egg whites and sugar—that transforms into an architectural marvel of culinary art. When you look at a perfectly whipped bowl of glossy, stiff peaks, you are essentially looking at a matrix of proteins stretched to their absolute limit. Many home bakers shy away from mastering meringue because of its reputation for being temperamental, but I am here to tell you that with a little guidance, it is the most rewarding skill you can add to your repertoire.
The science of meringue revolves entirely around the denaturation of proteins. As you whisk the egg whites, you are physically unfolding the tightly coiled proteins, which then align themselves around tiny air bubbles to trap them in a stable structure. When you introduce sugar, you are not just sweetening the mixture; you are providing the structural reinforcement that keeps those bubbles from collapsing under the heat of the oven or the humidity of the air. Understanding the relationship between these proteins and the sugar is the secret to moving from "lucky accidents" to consistent, bakery-quality results every single time you turn on your stand mixer.
In this guide, we will break down the three primary types of meringue—French, Swiss, and Italian—and explore why each serves a specific purpose in your kitchen. Whether you are aiming for the cloud-like, marshmallow interior of a pavlova or the delicate, almond-kissed shells of a macaron, the principles remain the same. We will cover the importance of temperature, the dangers of fat contamination, and the subtle art of the bake. By the time you finish reading, you will no longer blame the recipe when things go wrong; you will have the knowledge to troubleshoot like a professional and create textures that are nothing short of silky perfection.
The Chemistry of the Perfect Peak
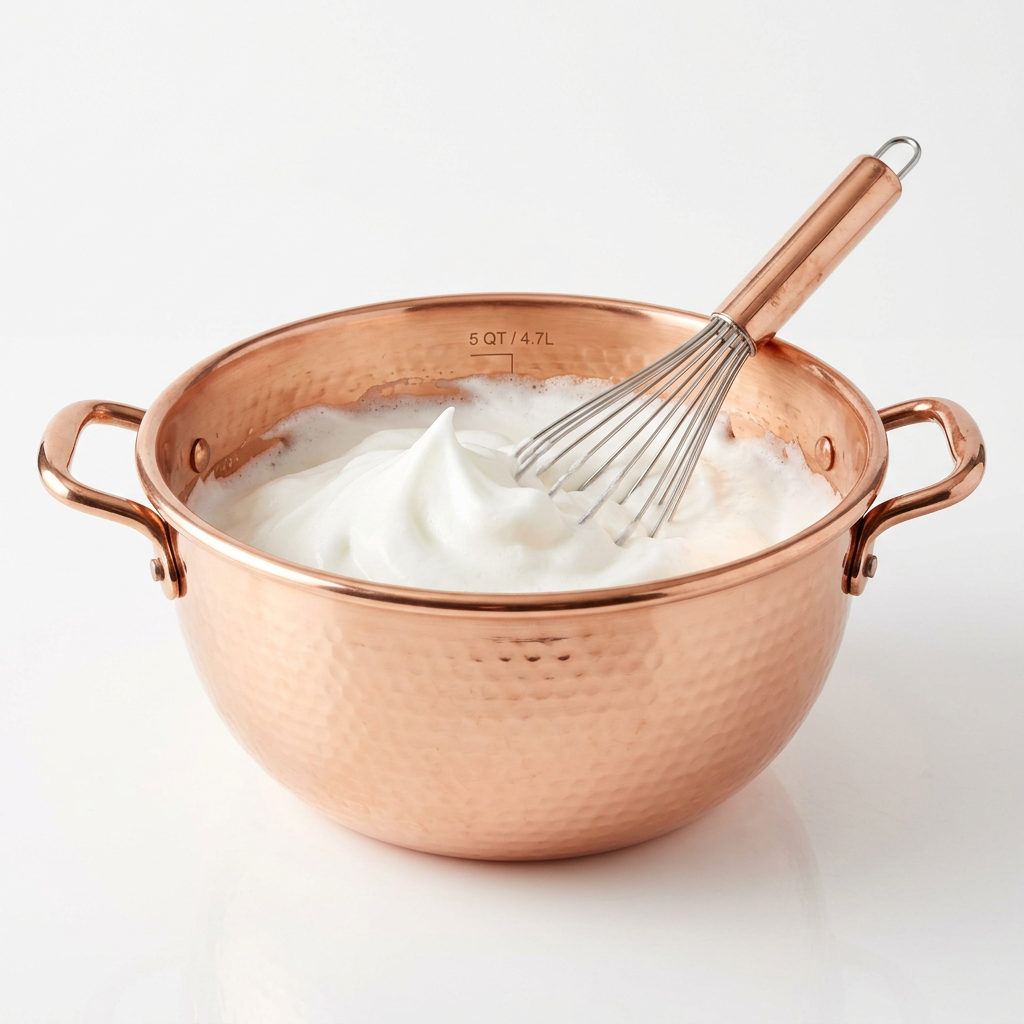
To master meringue, you must first respect the vessel. Any trace of fat, whether it is a drop of egg yolk, residual oil on your mixing bowl, or even hand lotion, will prevent the egg whites from foaming correctly. The proteins need a clean surface to bond and build that structural matrix. Always use a glass or stainless steel bowl—plastic bowls are notoriously porous and can hold onto microscopic layers of fat from previous uses, which will ruin your meringue before you even start the whisk.
Understanding Egg White Stability
The secret to a stable foam is the presence of an acidic stabilizer, such as cream of tartar, lemon juice, or white vinegar. These acids lower the pH of the egg whites, which helps the proteins relax and align more easily. When you add your acid at the beginning of the whipping process, you create an environment that encourages the proteins to stretch further, resulting in a more elastic and stable foam that won't weep or deflate as easily.
"The stability of a meringue is not found in the speed of your mixer, but in the patience of the baker as you gradually incorporate the sugar."
When whipping, start on a low speed to create uniform, tiny air bubbles. If you whip too fast initially, you create large, irregular bubbles that will pop quickly and lead to a coarse, unstable texture. Think of it as building a house: you need a strong, small-bricked foundation before you start stacking the roof. Once your whites have reached a soft, frothy stage—resembling sea foam—that is the moment to begin increasing the speed and adding your sugar gradually, one tablespoon at a time.
French Meringue: The Classic Foundation
The French Meringue is the most common form, made by whipping raw egg whites and slowly incorporating granulated sugar until stiff peaks form. Because the sugar is added raw, this meringue is not technically "cooked" until it goes into the oven. This makes it ideal for recipes that require a long, slow bake, such as pavlovas or meringue kisses, where the heat will slowly dissolve the sugar and dehydrate the foam, creating that iconic crunchy exterior and chewy, marshmallow-like interior.
The Importance of Sugar Granulation
The type of sugar you use matters immensely. While standard granulated sugar works well, superfine or caster sugar is the professional’s choice. Because the grains are smaller, they dissolve into the protein structure much faster, preventing that gritty, sandy texture that can plague amateur batches. If you only have coarse granulated sugar, give it a quick pulse in a food processor, but be careful not to turn it into powdered sugar, which often contains cornstarch that can affect the final volume.
French meringue is delicate. It is not designed to be used as a stand-alone topping unless it is baked, as the raw egg whites present a food safety concern. However, when folded into cake batters or used as the base for a pavlova, it provides a light, airy lift that is impossible to replicate with other leavening agents.
Swiss Meringue: Safety and Silkiness
Swiss Meringue is achieved by gently heating the egg whites and sugar together in a double boiler until the sugar has completely dissolved and the mixture reaches approximately 160°F (71°C). This process denatures the proteins slightly before you even start whisking, which creates a denser, more stable meringue compared to the French method. It is incredibly silky, stable, and—thanks to the heat—perfectly safe to eat as-is, making it the superior choice for meringue-based buttercream frostings.
Why Heat Changes Everything
By heating the mixture, you are ensuring that the sugar is fully integrated into the protein matrix before the aggressive whipping begins. This prevents the "weeping" effect often seen in French meringues, where undissolved sugar crystals draw moisture out of the air. When you whisk a Swiss meringue, you are essentially cooling the mixture as you build volume, which results in a glossy, stable substance that holds intricate piped shapes without sagging.
"When working with Swiss meringue, if you feel the mixture between your fingers and find a single grain of sugar, keep whisking over the heat; that grain is a potential point of failure for your entire batch."
For those making Swiss Meringue Buttercream, temperature is your best friend. After you have whipped your meringue to a stiff, cool peak, you must ensure the bowl is at room temperature before you begin adding your softened butter. If the meringue is too warm, the butter will melt; if the meringue is too cold, the butter will curdle. Patience during the cooling phase is what separates a silky, pipeable frosting from a broken, greasy mess.
Italian Meringue: The Professional Standard
The Italian Meringue is arguably the most stable of the three, utilizing a sugar syrup heated to the soft-ball stage (240°F / 115°C) which is slowly poured into whipping egg whites. This process cooks the eggs completely and creates a meringue that is incredibly sturdy. It is the preferred method for finishing lemon meringue pies or creating the light-as-air centers of classic macarons because it does not deflate easily when folded into dry ingredients like almond flour.
The Art of the Sugar Syrup
To make a perfect Italian meringue, you need a high-quality candy thermometer and a steady hand. As you whip the egg whites, you must time your syrup so it reaches 240°F exactly when the whites reach soft peaks. If the syrup is too hot, it will scramble the eggs; if it is too cool, you will end up with a syrup-heavy, runny mixture that never reaches full volume.
* Ensure your stand mixer is ready before you start the syrup.
* Slowly drizzle the hot syrup down the side of the bowl to avoid hitting the whisk and causing sugar splatters.
* Once the syrup is incorporated, continue whisking on high speed until the bowl is cool to the touch.
Italian meringue is the "workhorse" of the pastry kitchen. It is incredibly difficult to over-whip because the heat of the syrup provides such a robust structure. When you are looking for that perfect, high-gloss finish on a plated dessert, or need a meringue that will survive the heat of a blowtorch for a toasted effect, Italian is your go-to choice.
Mastering Macarons: The Meringue-Almond Balance
The Macaron is the Mount Everest of the baking world. The shell depends entirely on the stability of your meringue—usually a French or Italian hybrid. If the meringue is too weak, the macarons will crack in the oven. If it is too stiff, the batter will not flow properly during the "macaronage" stage (the process of folding the dry ingredients into the meringue). You want the meringue to be at "firm peaks," not "stiff peaks." A firm peak will still have a slight curl at the tip, which allows for better incorporation of the almond flour.
The Macaronage Technique
The macaronage is where most bakers go wrong. After your meringue is ready, you fold in your sifted almond flour and powdered sugar. You must fold until the batter reaches a "lava-like" consistency. If you lift your spatula and the batter flows down in a continuous, thick ribbon that slowly reincorporates into the main mass, you have hit the sweet spot. If it breaks, fold more; if it runs like water, you have over-mixed and the batch is likely lost.
* Always age your egg whites for 24 hours in the fridge to reduce moisture content.
* Use a digital scale; baking by volume is the enemy of the macaron.
* Pipe onto parchment paper, not silicone, for better heat distribution and cleaner feet development.
Do not be discouraged if your first dozen batches aren't perfect. Macarons are influenced by the humidity in your kitchen, the age of your eggs, and even the type of oven you use. Keep a baking journal and note the weather and your process; once you get that first perfect batch with the iconic "feet," you will realize that the complexity is what makes them so satisfying to master.
Pavlovas: The Art of the Low and Slow
A Pavlova is the ultimate display of meringue. It is not just about the structure; it is about the internal texture. By baking a large, circular meringue at a very low temperature—around 225°F (107°C)—for 90 minutes or more, you are essentially dehydrating the foam. This ensures the exterior creates a protective, crisp shell while the interior remains soft and reminiscent of marshmallow fluff.
Avoiding the "Weep"
The biggest mistake bakers make with pavlovas is removing them from the oven too early. When the baking time is up, turn the oven off and leave the door slightly ajar with the pavlova inside until it is completely cool—ideally for several hours or overnight. This prevents the meringue from experiencing "thermal shock." If the change in temperature is too rapid, the air bubbles inside will contract, causing the sugar structure to crack and the pavlova to weep beads of syrup.
"A cracked pavlova is not a failure; it is a rustic invitation to pile on more cream and fresh berries to hide the imperfections."
Remember that pavlovas are hygroscopic, meaning they absorb moisture from the air. Never assemble your pavlova with whipped cream and fruit until the exact moment you are ready to serve. If you leave it for too long, the moisture from the toppings will destroy the crisp shell, turning your dessert into a sticky, sad puddle. Serve it immediately and embrace the contrast of the cool, creamy topping against the light, fragile crunch of the shell.
Troubleshooting Common Meringue Issues
Even the most experienced pastry chefs run into trouble occasionally. The key to fixing a "broken" meringue is knowing what caused the failure in the first place. If your meringue looks grainy, you have likely over-whipped it, forcing the proteins to tighten too much and squeeze out the water. Unfortunately, there is no "un-whipping" a meringue once the protein structure has been destroyed; it is better to start over and use that batch in a different recipe, like a flourless chocolate cake.
Common Pitfalls and Solutions
The meringue is runny:* Usually caused by fat contamination or undissolved sugar. Check your bowl cleanliness and ensure you are adding sugar gradually.
The meringue is weeping:* This is almost always due to the sugar not being fully dissolved. Rub a bit of the foam between your fingers; if it feels gritty, keep whisking.
The pavlova cracked in the oven:* You cooled it too quickly. Always use the "oven-door-ajar" cooling method for at least two hours.
The macarons have no feet:* This is often a sign that the oven temperature was too low, or the meringue was under-whipped to begin with.
Don't let these potential issues deter you. Baking is a science, and science requires data collection. Every time you make a meringue, observe the peaks, the gloss, and the final bake. By paying attention to the visual and tactile cues at each stage, you move away from being a follower of recipes and become a master of the craft. Remember, every "failed" batch is just a learning opportunity that brings you one step closer to that perfect, glossy finish that makes guests say, "You made this?"
Final Thoughts
Mastering meringue is a rite of passage for the home baker. It demands that you slow down, pay attention to the minute details of your environment, and understand the beautiful, fragile chemistry occurring inside your mixing bowl. Whether you choose the reliability of Italian, the simplicity of French, or the versatility of Swiss, you are now equipped with the technical knowledge to navigate the challenges that often trip up the inexperienced.
Don't be afraid to experiment with flavorings—a drop of vanilla bean paste, a pinch of freeze-dried raspberry powder, or a hint of almond extract can turn a simple meringue into a signature dessert. Just remember that any additive must be folded in at the very end to avoid compromising the structure of your protein foam. Keep your tools clean, your sugar fine, and your patience high.
You now possess the foundation to create everything from the most elegant macaron towers to the humble, crowd-pleasing pavlova. The kitchen is your laboratory, and meringue is your most rewarding subject. So, the next time those egg whites begin to foam into a glossy cloud of potential, breathe deep, trust your technique, and enjoy the process. After all, the best part of the baker’s journey is not just the final result, but the confidence you gain with every perfectly formed peak. Happy baking, and may your meringues always stand tall and silky.



Get the Next Recipe
Weekly recipes, techniques, and gear picks — straight to your inbox.
