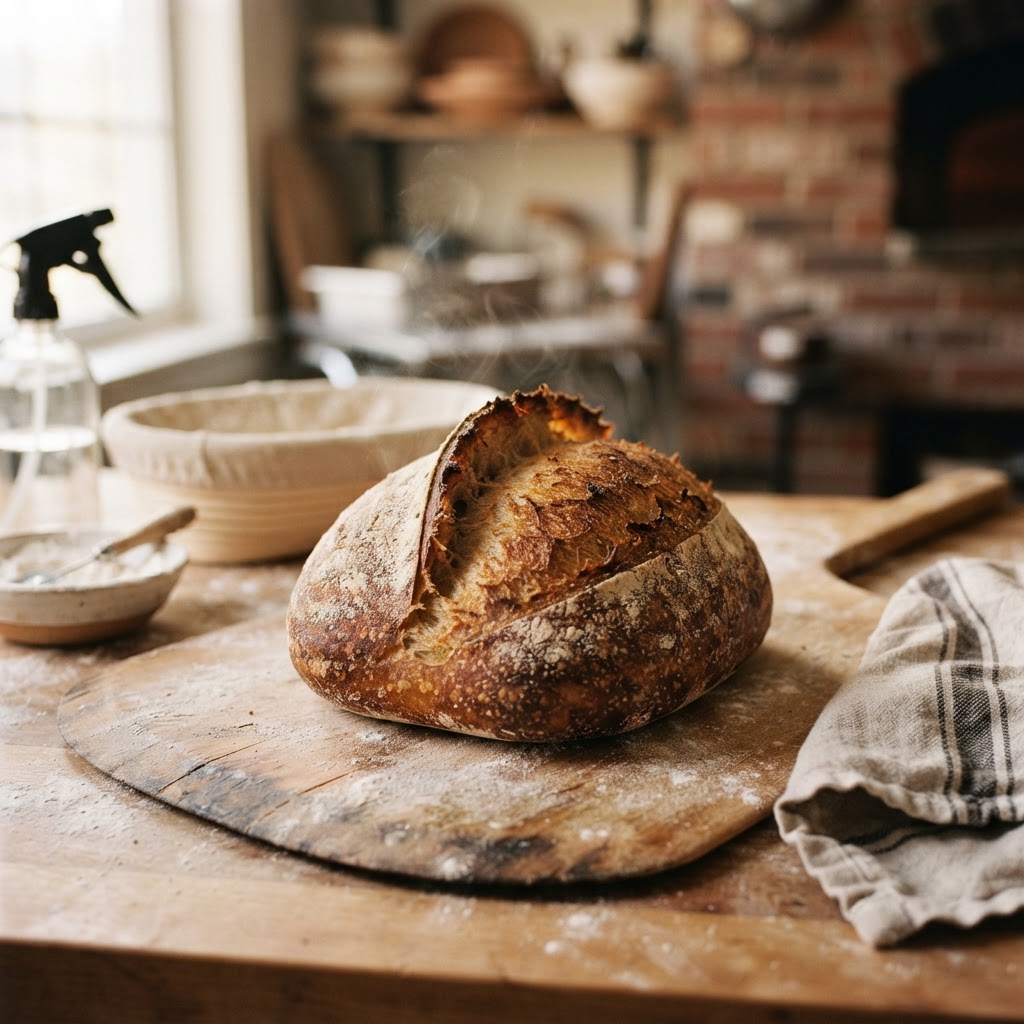
The Baker’s Guide to Oven Spring: Mastering Heat and Humidity for the Perfect Rise
The alchemy of bread baking is a journey that often begins with confusion, particularly when it comes to the dramatic, final expansion known as oven spring. Many home bakers find themselves staring through the oven glass, waiting for that signature "pop" that separates a flat, dense boule from a professional-grade loaf with a high, airy crumb. Achieving this rise is not a matter of luck or a secret family heirloom recipe; rather, it is a calculated interaction between heat, gas production, and structural integrity. When you blame the chef for a sunken loaf, you are often overlooking the invisible physics occurring in the first ten minutes of the bake. By mastering the variables of temperature and humidity, you can reclaim your kitchen and ensure that every loaf you pull from the oven reaches its maximum potential.
To understand oven spring, one must first look at the biology of the yeast and the strength of the gluten network you have built through kneading and fermentation. During the final moments before the loaf hits the heat, the yeast is in a state of hyper-activity, gorging on sugars and releasing carbon dioxide in a frantic rush. As the loaf enters the oven, the heat triggers the leavening gases to expand rapidly, while simultaneously setting the starches and proteins that form the crust. If the heat is too low, the structure collapses before it can harden; if the steam is insufficient, the crust sets prematurely, stifling the growth. This delicate timing is the heart of the craft, turning simple flour, water, and salt into a marvel of culinary architecture.
In this guide, we will peel back the layers of the baking process to uncover why some loaves soar and others settle. We will discuss the necessity of a scorching hot baking stone or Dutch oven, the precise role of hydration, and the art of scoring to direct that explosive energy. You will learn how to manipulate your environment to mimic the professional steam-injected deck ovens used in world-class boulangeries. Whether you are a sourdough enthusiast or a devotee of commercial yeast, the principles of physics remain the same. It is time to move past the frustration of trial and error and begin baking with the confidence and precision of a seasoned pastry chef.
The Foundation of Strength: Gluten and Fermentation
Before we even consider the heat of the oven, we must ensure the foundation is sound. Oven spring is essentially the result of gas expansion being trapped within a matrix of gluten. If your gluten development is weak—either because you used low-protein flour or failed to build enough tension during the folding process—the gases will simply escape through the surface of the dough, leading to a flat, pancake-like outcome. You need a robust, elastic web that can stretch under the pressure of the expanding gases without rupturing.
Developing the Gluten Network
The process starts with autolyse, or the resting of flour and water before adding salt and leaven. This helps activate enzymes and hydrates the flour, setting the stage for easier gluten development. During your bulk fermentation, performing a series of stretch and folds at 30-minute intervals builds the necessary structure. Do not skip these steps, as they are the muscles of your bread. Without them, the dough lacks the structural integrity to hold onto the gas generated by the yeast.
The Role of Bulk Fermentation
Proper bulk fermentation is the period where flavor develops and the dough gains the strength to rise. A common mistake is rushing this stage because the dough "looks" big enough. However, if the dough hasn't reached its peak of enzymatic activity, it won't have the "gas reserve" required for a significant oven spring. You are looking for a dough that is aerated, slightly jiggly, and filled with tiny bubbles throughout. If you under-proof, the dough will be tight and may tear; if you over-proof, the gluten structure begins to degrade and loses its ability to hold the expanding gas.
"Oven spring is the final performance of a long, quiet process; if you haven't put in the work during fermentation, the oven cannot save your loaf."
Managing Temperature and Thermal Mass
The oven itself is the engine of your success, but it requires careful management. A standard home oven can be fickle, with inconsistent heat distribution and rapid heat loss when you open the door to load the bread. To combat this, you must introduce thermal mass to your baking environment. A heavy baking stone or a cast-iron Dutch oven acts as a battery, storing energy and releasing it instantly when the dough hits the surface.
Preheating for Success
Your oven must be preheated for at least 45 to 60 minutes before you even think about putting the dough in. If you are using a stone, you want that surface to be searingly hot. When the dough hits the stone, the bottom should begin to set immediately, providing an anchor point for the rest of the loaf to expand upward rather than outward. The ambient air temperature should ideally sit around 450°F to 475°F (230°C to 245°C) to facilitate a strong initial push.
The Thermal Shock Technique
The technique of loading cold dough into a preheated vessel is a secret weapon. The contrast between the cold dough and the hot stone triggers a rapid expansion of gas. This is a form of thermal shock that works in your favor. By ensuring your Dutch oven or baking steel is thoroughly saturated with heat, you guarantee that the dough experiences the maximum amount of energy in the first few minutes of the bake. This is the moment where the "spring" actually happens.
The Magic of Steam: Controlling the Crust
Steam is perhaps the most misunderstood variable in home baking. You might wonder why a professional oven has a built-in steam injection system. The answer is simple: steam keeps the surface of the dough moist and flexible for as long as possible. If the surface of the dough dries out and hardens into a crust too quickly, it creates a physical barrier that prevents the bread from expanding. The loaf becomes "locked in" before it has finished its rise.
Why Steam Matters
When you introduce steam, it condenses on the surface of the loaf, keeping the exterior soft and pliable. This allows the bread to keep expanding—the "spring"—without the skin bursting prematurely in an ugly, uncontrolled way. It also aids in the gelatinization of the starches on the surface, which is the primary reason for that deep, mahogany-colored, shiny crust that characterizes high-quality sourdough.
Methods for Home Bakers
If you don't have a professional steam-injected oven, don't worry. There are several ways to mimic this effect at home:
"Steam is the invisible hand that stretches the dough, giving the yeast the time it needs to push the loaf to its absolute limit before the heat seals its fate."
The Art of Scoring: Engineering the Rise
Scoring is not merely a decorative choice; it is a tactical decision. By cutting the surface of the dough, you are telling the loaf exactly where it should expand. If you don't score, the bread will rupture at its weakest point, often resulting in a messy, unpredictable tear. A well-placed score—usually a long, deep slash at a 45-degree angle—creates a hinge that allows the crust to open like a book, facilitating the "ear" that many bakers strive for.
Understanding the Angle
The angle of your blade is crucial. If you cut straight down, the loaf will open up like a canyon. If you hold the blade at a 45-degree angle to the dough, you create a flap of skin. As the loaf expands, this flap lifts up, creating the coveted "ear." This not only looks professional but also increases the surface area of the crust, which contributes to better flavor development and a better texture contrast between the interior and exterior.
Tools of the Trade
The Lame:* A razor-sharp blade attached to a handle. This is the professional’s choice for clean, precise cuts.
The Serrated Knife:* If you don't have a lame, a sharp serrated knife can work, provided you move quickly and lightly.
The Scissors:* Used for snips in rustic rolls or epi bread, creating beautiful, decorative shapes.
Maintenance:* Always keep your blade sharp. A dull blade will drag through the dough, causing it to collapse or deflate just before it enters the oven.
Managing Hydration and Flour Types
The moisture content, or hydration, of your dough significantly influences how it reacts to heat. Higher hydration doughs—those with 75% or more water relative to flour—contain more water that turns to steam during the bake. This creates a much more explosive oven spring. However, these doughs are also stickier, harder to handle, and require more structural development during the bulk fermentation.
Adjusting for Hydration
If you are a beginner, it is often best to start with a hydration level around 65% to 70%. As you become more comfortable with the feel of the dough and the way it responds to your touch, you can gradually increase the water content. The key is to monitor the consistency of the dough. A dough that is too wet will lose its shape, while a dough that is too dry will result in a tight, dense crumb that doesn't rise effectively.
Selecting the Right Flour
Protein content is the backbone of your rise. You want a flour with at least 12% to 13% protein to ensure you have enough gluten to hold the gas. Bread flour is almost always superior to all-purpose flour for this purpose. If you use whole grains, remember that the sharp edges of the bran can cut through the gluten strands, weakening the structure. A common tip is to sift out some of the larger bran particles or increase your mixing time slightly to accommodate the weight of the whole grain.
Troubleshooting the "Flat Loaf"
Even with all the knowledge in the world, mistakes happen. When you open your oven and find a sad, flat loaf, don't despair. Use it as a diagnostic tool. Most baking failures can be traced back to one of three things: fermentation, shaping, or heat. By systematically ruling these out, you can adjust your strategy for the next attempt and move closer to perfection.
The Checklist for Failure
Refining Your Practice
Don't change too many variables at once. If you are having trouble, keep your recipe and hydration consistent, but try extending your final proof by 30 minutes. If that doesn't work, try a different shaping technique. The path to mastery is iterative. Keep a baking log where you record your ingredients, fermentation times, and any observations you make during the process. Over time, you will start to see patterns that define your personal baking style.
Final Thoughts
Mastering oven spring is not about following a single, rigid set of rules, but about understanding the relationship between your ingredients and the environment of your oven. It requires patience, a willingness to fail, and the curiosity to experiment with every loaf. By focusing on your gluten structure, respecting the importance of thermal mass, and utilizing the power of steam, you will transform the way your bread looks and tastes.
The journey from a home baker to a bread artisan is measured in the dozens of loaves you bake, the mistakes you analyze, and the successes you celebrate. The next time you find yourself standing before the oven, waiting for that glorious, golden rise, remember that you are the architect of that moment. You prepared the foundation, you managed the heat, and you directed the gas. The "blame" for an exceptional loaf lies entirely with the chef, and in this case, that chef is you.
Keep your blades sharp, keep your starter active, and never stop learning. Baking is a craft that rewards those who pay attention to the details, and the perfect, airy crumb is well within your reach. Happy baking!
Summary Checklist for Perfect Oven Spring:
Build Strength:* Ensure your bulk fermentation is complete and your stretch-and-folds are performed properly to build a robust gluten network.
Preheat Thoroughly:* Use a baking stone or Dutch oven preheated for at least 45 minutes to 1 hour to ensure maximum thermal mass.
Steam is Essential:* Use a Dutch oven or add water to the oven to create a humid environment, keeping the crust soft and allowing for expansion.
Score with Purpose:* Use a sharp, professional-grade lame at a 45-degree angle to direct the rise and create a beautiful "ear."
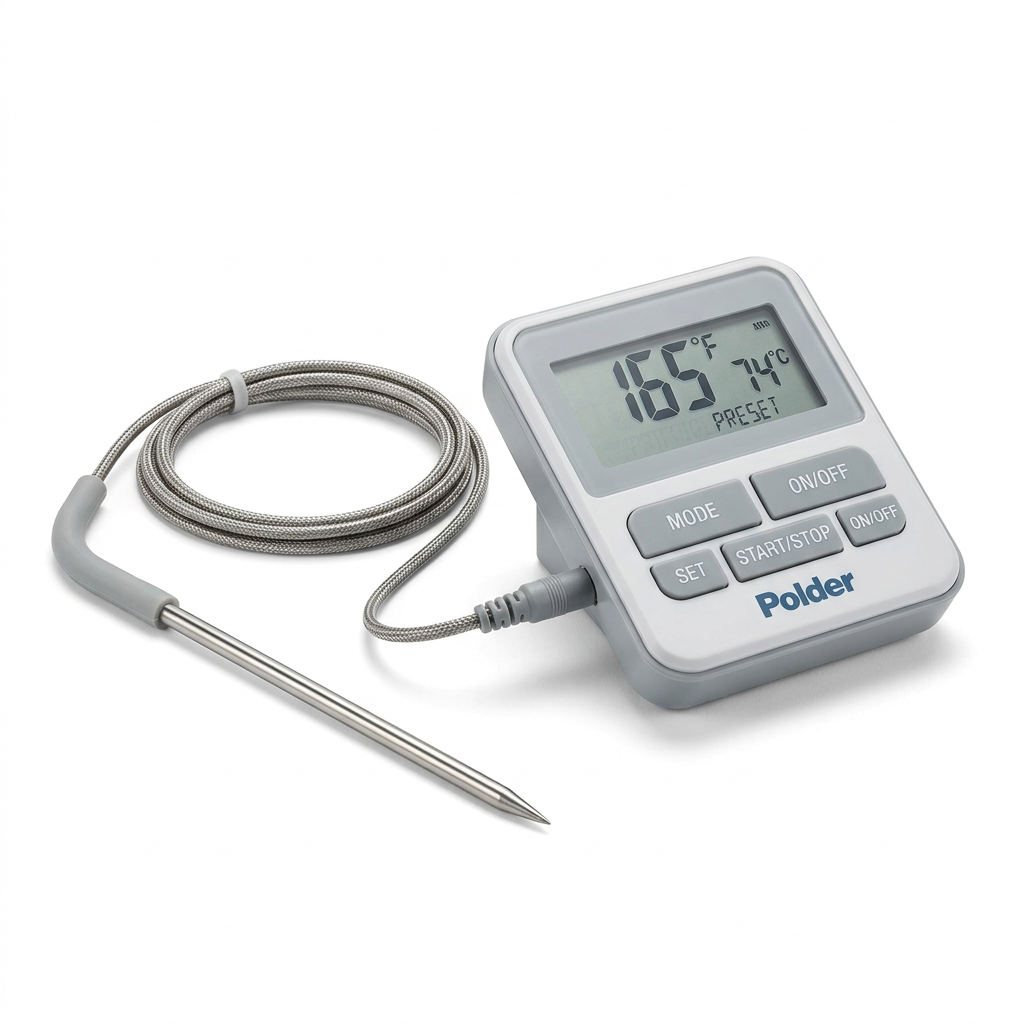
Monitor Temperature:* Always verify your oven temperature with an external thermometer to ensure accuracy, as built-in thermostats are often unreliable.
Practice Surface Tension:* During final shaping, ensure the outer skin of the dough is taut, creating a firm structural tension that forces the loaf to rise upward rather than spreading outward.
Keep a Journal:* Document your process, including ambient room temperature, hydration levels, and timing, so you can replicate your successes and understand your failures.
With these principles, you are well-equipped to overcome the most common hurdles in bread baking. Whether you are baking a rustic sourdough, a classic country white, or an enriched brioche, the science of oven spring remains the cornerstone of your success. Take these techniques into your kitchen, treat them as your toolkit, and watch as your loaves go from flat and dense to towering, golden, and artisanal. Every failed loaf is just a lesson waiting to be applied, and every successful one is a testament to the effort you’ve put in. Embrace the process, trust your instincts, and keep pushing the boundaries of what you can create in your home oven.
Remember that baking is as much an art as it is a science. While the physics of heat and gas are fixed, the way you interpret the feel of your dough and the rhythm of your kitchen is entirely your own. Over time, you will develop a "Baker's intuition"—a subtle ability to know when the dough is ready, when the oven is primed, and when the bread has reached its peak. This is the stage where the true magic happens, where you stop following recipes and start composing them.
As you continue your journey, keep sharing your loaves with friends and family. The joy of baking is amplified when shared, and the honest feedback of a crusty, well-risen slice of bread is the highest compliment a chef can receive. Continue to challenge yourself with higher hydrations, longer cold proofs, and different flour blends. The world of bread is vast, and you have only just scratched the surface of what is possible. From here on out, every time someone asks why your bread is so much better than the store-bought variety, you can smile, knowing exactly how you mastered the oven spring.
Troubleshooting Guide Recap
Professional Tips for Consistency
Weigh everything:* Use a kitchen scale for all measurements. Volume measurements like cups are notoriously inaccurate and lead to inconsistent hydration.
Control your starter:* If using sourdough, keep your starter active and healthy. A weak starter will never provide the push needed for a professional-grade oven spring.
Rest your dough:* If the dough feels "bouncy" or resistant while shaping, let it rest for 10-15 minutes. This relaxes the gluten and makes it easier to shape without tearing.
The "Poke Test":* Use the poke test to gauge fermentation. When you lightly press your finger into the dough, it should spring back slowly, leaving a slight indentation. If it springs back instantly, it needs more time; if it stays collapsed, it has likely gone too far.
Mastering the oven spring is the rite of passage for every serious baker. By now, you should feel empowered to take full control of your baking process. The transition from a novice to a confident home baker happens the moment you stop blaming your equipment and start understanding the variables. Your bread is a product of your intention and your technique. Go forth and bake with purpose, knowing that the perfect rise is always within your grasp if you approach it with the right mindset and the right methods. Happy baking, and may your oven always provide the perfect amount of spring.
As we conclude this guide, reflect on the simplicity of the ingredients: flour, water, salt, and yeast. It is remarkable that such a modest combination, when subjected to the precise application of heat and steam, can yield such an incredible variety of textures and flavors. You are now armed with the knowledge to manipulate these elements to your advantage. Treat your dough with care, respect the fermentation process, and always be mindful of the temperature. Your kitchen is now a laboratory, and every loaf is an experiment in excellence. Enjoy the process, and above all, enjoy the bread.
If you ever feel overwhelmed, return to the basics. Sometimes, the most complex results come from the most consistent application of the simplest techniques. Don't feel pressured to innovate immediately; master the classic boule first. Once you have perfected the timing and the temperature for a basic loaf, the world of specialty breads—rye, ciabatta, focaccia—will open up to you with ease. The oven spring you achieve on your next loaf will be the first step in a lifetime of culinary discovery. Keep your hands floured and your oven hot, and you will never be disappointed with the results.
Final Thoughts on Equipment
While fancy tools are nice, remember that they are just aids. A Dutch oven is wonderful, but a simple pot with a lid can work in a pinch. A lame is convenient, but a razor blade held with care is just as effective. Do not let the lack of high-end equipment discourage you. The most important tool in your kitchen is your own understanding of the process. Invest in a good digital scale and a reliable thermometer, and the rest is just practice. You have the guide, you have the techniques, and now you have the opportunity. Go make some incredible bread!



Get the Next Recipe
Weekly recipes, techniques, and gear picks — straight to your inbox.
