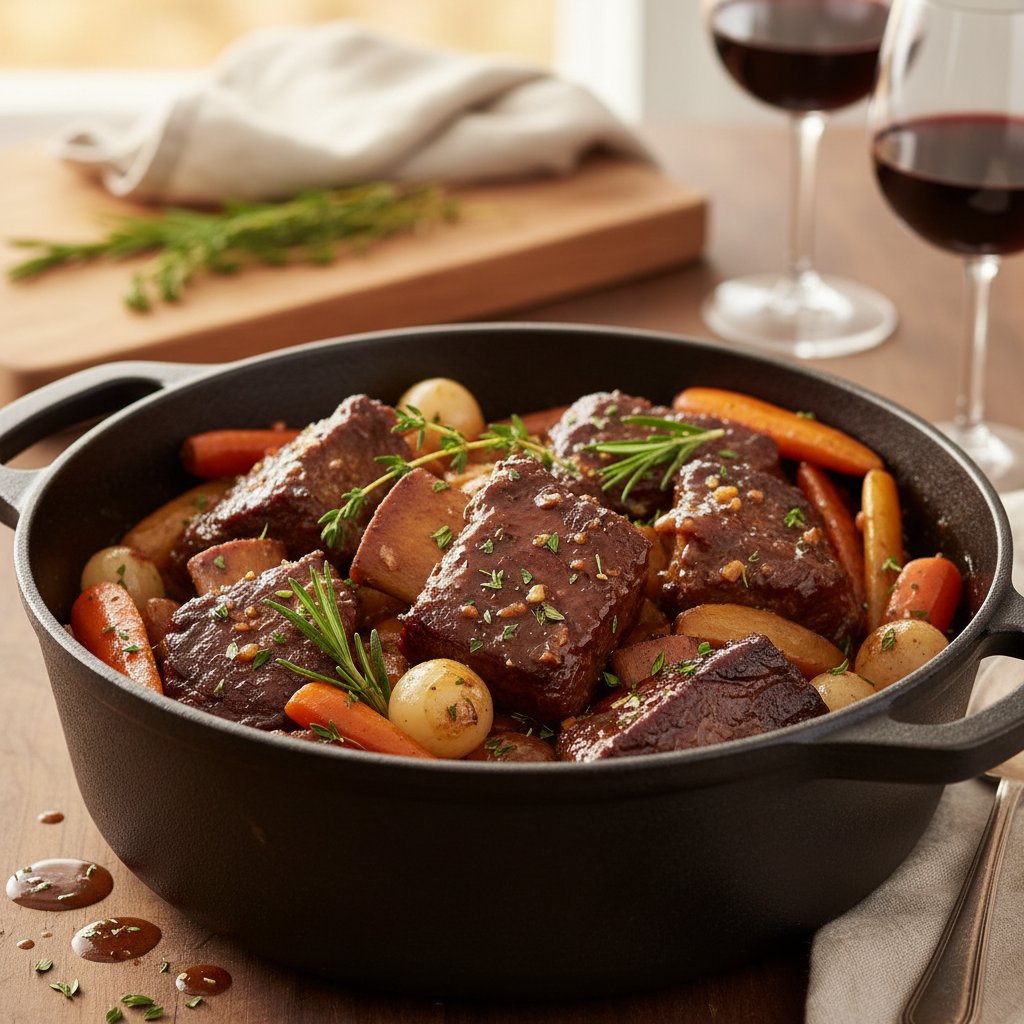
The Essential Guide to Braising: Techniques for Tender, Flavorful Dishes
Braising is a cooking technique that combines both dry and wet heat, providing a unique way to transform tough cuts of meat into tender and flavorful dishes. Originating as a practical method for hearty ingredients, braising has become a favorite among chefs and home cooks alike. The allure of braising lies in its simplicity and the incredible depth of flavor it can achieve with minimal effort. Whether you're preparing a cozy Sunday dinner or an impressive meal for guests, mastering the art of braising can elevate your culinary repertoire significantly.
At its core, braising involves searing meat at a high temperature to develop a rich crust, followed by slow cooking in liquid to infuse moisture and flavor. This method is particularly effective for cuts of meat that are typically less expensive and tougher, such as beef chuck, pork shoulder, or lamb shanks. Over time and exposure to heat, the connective tissues in these cuts break down, resulting in a dish that is not only tender but also packed with robust flavors that can be deeply comforting.
One of the great benefits of braising is its versatility; you can adapt the technique to fit a variety of tastes, cuisines, and dietary preferences. Whether you're aiming for a classic French coq au vin, an Asian-inspired braised short rib dish infused with soy sauce and ginger, or a vegetarian option like braised lentils, the principles remain the same. Understanding the fundamental techniques of braising will empower you to create your favorite recipes while also inspiring you to experiment and innovate in your own kitchen.
Understanding the Braising Process
Braising, at its simplest, is a two-step cooking method that consists of both searing and slow cooking. The initial searing process is crucial as it develops a deep, caramelized flavor on the surface of the meat, which enhances the overall taste of the dish. This is achieved by cooking the meat in a hot pan with a small amount of fat until it turns golden brown. Not only does it lock in juices, but it also creates fond, the flavorful bits that will form the base of your sauce or broth.
The Two Techniques: Dry Heat and Moist Heat
After the meat is seared, the next critical step is introducing moisture. Moist heat is what distinguishes braising from other cooking methods. This step can involve adding a variety of liquids, such as stock, wine, or a combination of both, along with aromatics like onions, garlic, and herbs. It’s this combination of dry and moist heat that allows the meat to become incredibly tender over time.
The ideal cooking temperature for braising typically falls between 300°F (150°C) and 325°F (160°C). At these temperatures, the meat cooks slowly, allowing the connective tissues to dissolve while the flavors meld and deepen. Cooking time will vary depending on the type and size of the meat; generally, a braise can take anywhere from 1.5 to 4 hours.
“Mastering the art of braising not only transforms tough cuts into succulent dishes but also teaches you the importance of patience in cooking.”
Choosing the Right Cut of Meat
When it comes to braising, the choice of meat is paramount. Tough cuts that have a rich vein of connective tissue are ideal for braising because they become tender and flavorful with long, slow cooking. Here are some of the best cuts to consider:
The Importance of Fat Content
Choosing cuts with appropriate fat content is another factor to consider when braising. Fat not only adds flavor but also helps keep the meat moist throughout the cooking process. When selecting cuts, look for ones that have a marbling of fat, as this will help keep the meat tender and prevent it from drying out during long cooking times.
Essential Equipment for Braising
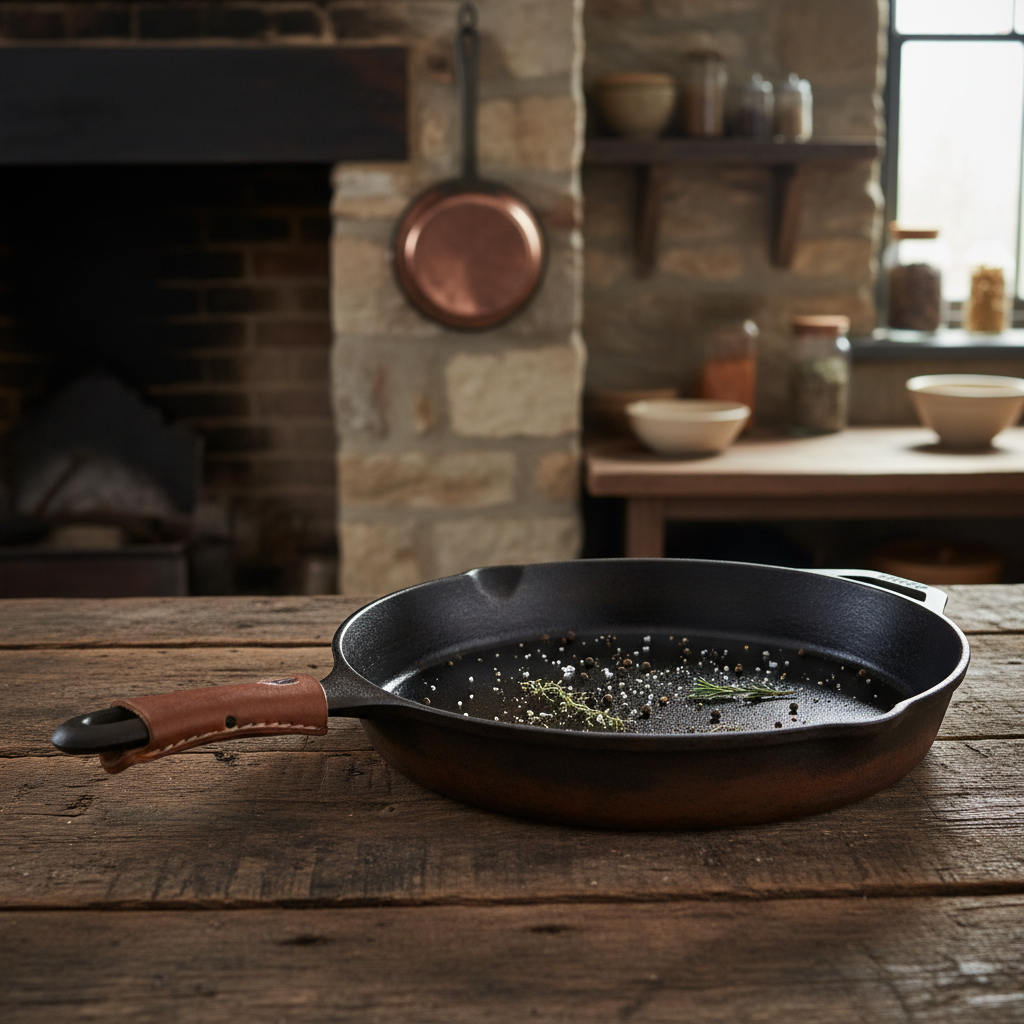
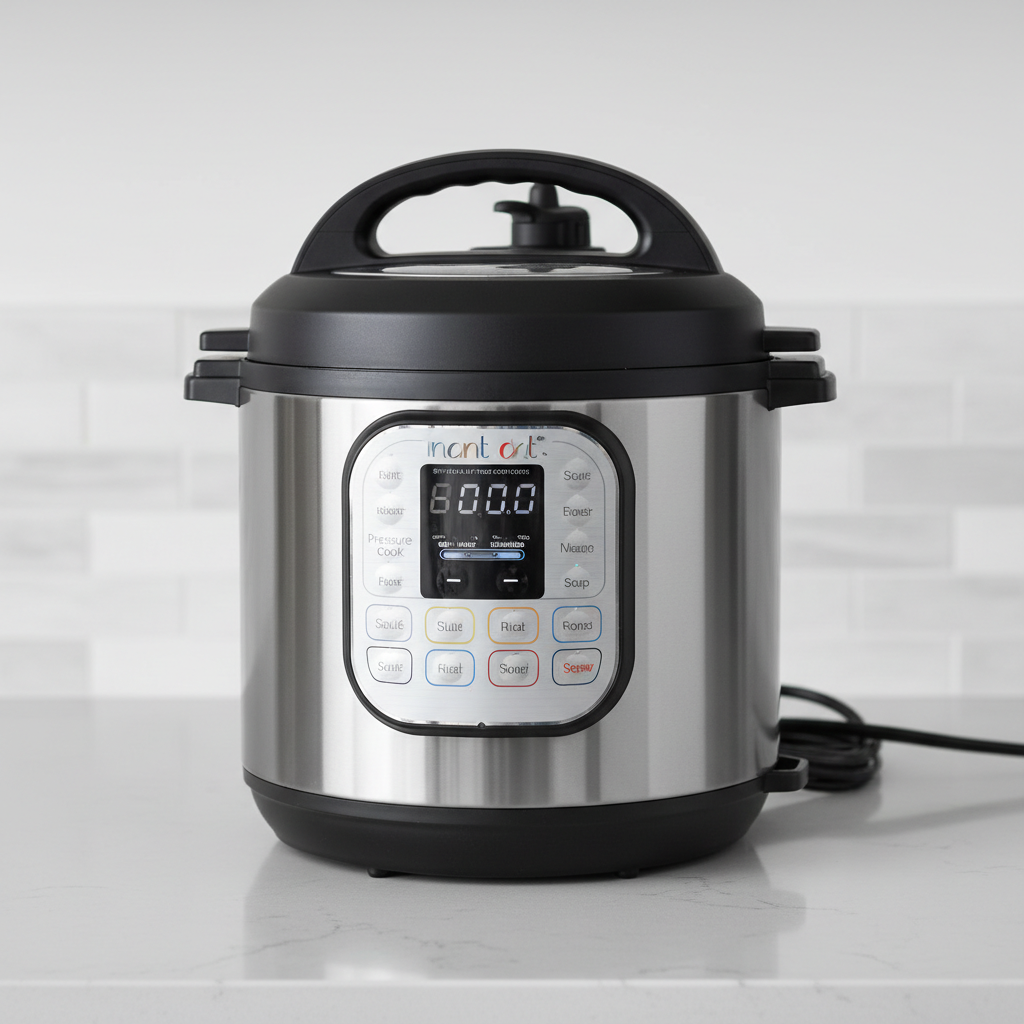
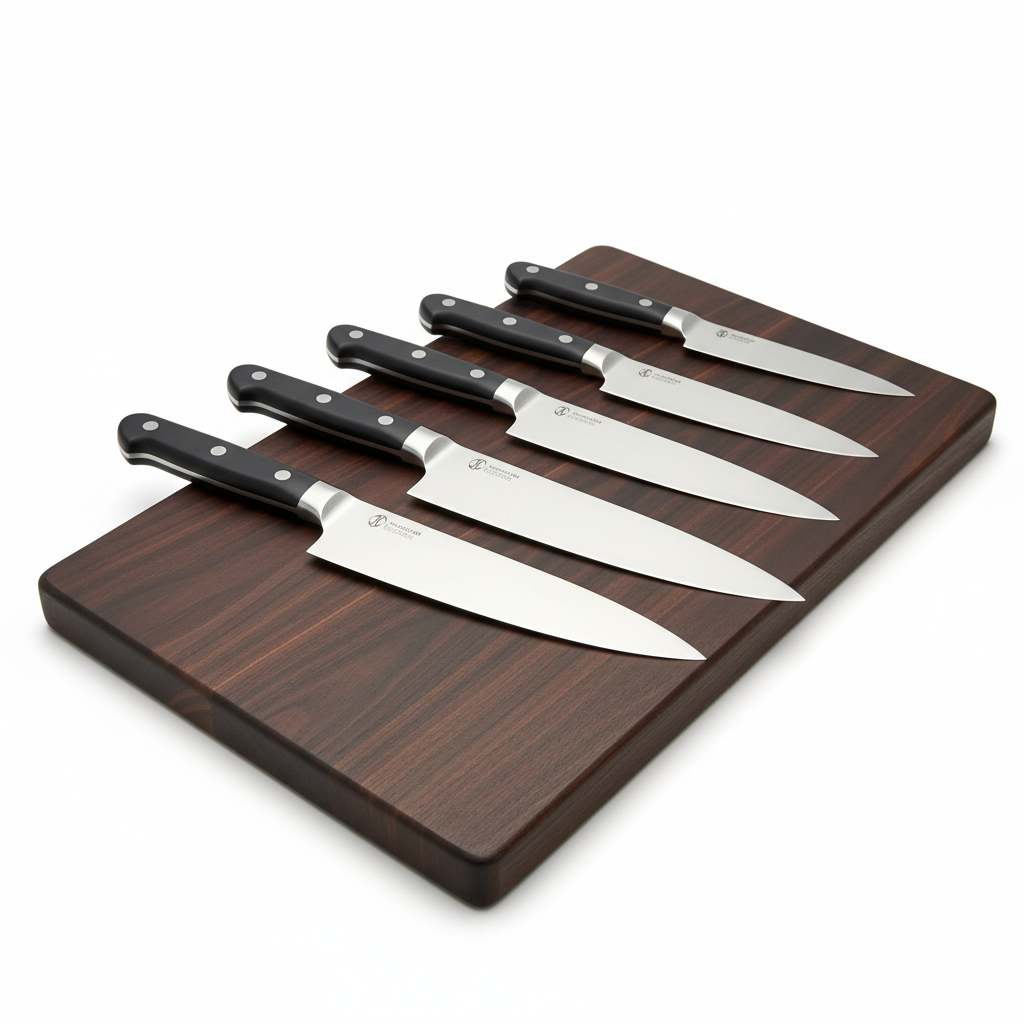
To braise effectively, having the right equipment on hand is important. While you can technically braise in any pot, certain cookware can enhance your results. Here’s a list of essential tools:
Optional Tools for Enhanced Results
“The right kitchen tools not only make braising easier but can elevate the end result of your dish to restaurant quality.”
Preparing Ingredients for Braising
The success of your braised dish heavily relies on the preparation of your ingredients. Here’s a systematic approach to preparing your ingredients for braising:
Building Flavor Layers
As you prepare your ingredients, think about how you can enhance the flavor of each component. For example, consider sautéing the aromatics in the Dutch oven with a little oil before adding the meat, allowing them to caramelize slightly and deepen the flavor profile. Always deglaze the pan after searing the meat to ensure that none of the delicious fond is left behind.
The Braising Technique
Once you have everything in place, it’s time to move forward with the actual braising process. Here’s a step-by-step guide to achieving the perfect braised dish:
Adjusting Flavors
After braising, don’t shy away from adjusting the final flavors of your sauce. A touch of vinegar or acidity can help brighten and balance rich flavors. Also, consider thickening your braising liquid into a sauce if you desire a more robust glossy finish.
Serving Your Braised Dish
Braising is not just about the process; it’s also an opportunity to create impressive presentations. Here are some tips on how to serve your braised masterpiece beautifully:
Wine Pairing
When selecting a wine to accompany your braised dish, consider the braising liquid and the type of meat. A full-bodied red, such as a Cabernet Sauvignon, works harmoniously with beef dishes, while a rich white like Chardonnay complements poultry and pork.
“Presentation is key when serving a beautiful braised dish—think of it as the finishing touch to your culinary artistry.”
Common Mistakes to Avoid When Braising
Even experienced cooks can make missteps in the braising process. To ensure a successful dish, be mindful of these common mistakes:
Adjusting Recipes
Braising is forgiving, and many recipes can be tweaked to suit your preferences. Whether you want to incorporate different spices, add more vegetables, or experiment with alternative liquids, feel free to adapt based on what you have available or your taste.
Tips from Professional Chefs
Braising might seem straightforward, but there are always pro tips that can elevate your skill. Here are a few nuggets of wisdom from culinary experts:
Conclusion
Mastering the technique of braising opens up a world of culinary possibilities, allowing you to create delicious, comforting meals easily. By understanding the fundamentals—from choosing the right cuts of meat to the optimal cooking conditions—you can elevate your home cooking and impress even the most discerning palates.
As you embrace this method, remember that the essence of braising is patience and love. Allowing the ingredients to meld and develop their flavors over time is akin to nurturing a relationship; good things take time and tender care. So next time you’re looking for a way to turn simple ingredients into a feast, consider braising as your go-to technique. With practice, you’ll find yourself confidently putting your own twist on time-honored recipes, making every braised dish a personal journey of flavor.
In a world where culinary techniques often seem daunting, braising stands out as an accessible method with transformative potential. So roll up your sleeves, pour a glass of wine, and get ready to create meals that aren't just sustenance but a celebration of flavor, texture, and warmth shared with loved ones. Happy braising!
*Total word count: 2,092*
Get the Next Recipe
Weekly recipes, techniques, and gear picks — straight to your inbox.
