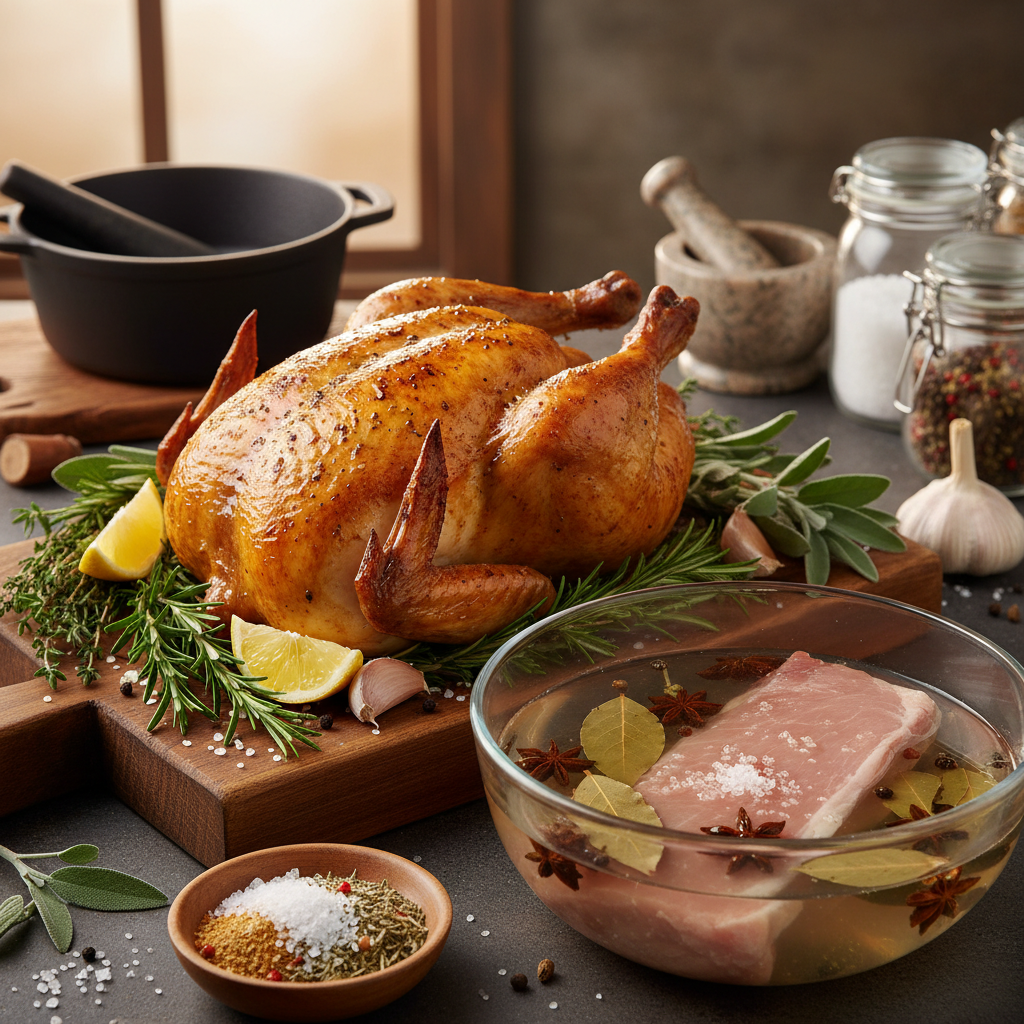
The Essential Guide to Mastering the Art of Brining: Techniques for Juicy and Flavorful Meats
Brining is a time-honored culinary technique that truly transforms the way we prepare and enjoy meat. At its essence, brining involves soaking meats in a saltwater solution, often paired with various spices, herbs, and other flavor enhancers. The result? Juicy, tender, and flavorful meats that elevate everyday meals into memorable feasts. Perhaps you've had the pleasure of tasting a perfectly brined turkey or a succulent piece of pork, and if so, you are already aware of the magic that happens when meat meets brine.
Understanding the science behind brining is essential for home cooks looking to master this technique. When meat is submerged in a salt solution, the salt penetrates the muscle fibers, helping to retain moisture during the cooking process. This is especially beneficial for lean cuts that are prone to drying out, such as chicken breasts or pork loin. Moreover, brining enhances the meat’s flavor profile by allowing the spices and aromatic ingredients to infuse during the soaking process. It’s a simple yet profound way to enhance culinary dishes.
In this comprehensive guide, we will delve into the intricacies of brining—from basic blends to advanced techniques. Along the way, you'll learn how to choose the right salt, create a perfect brine, and adapt methods to suit various types of meats. Regardless of your culinary prowess, this guide will ensure that you become proficient in the art of brining, dishing out perfectly juicy and flavorful dishes every time you step into the kitchen.
Understanding Brining: The Science Behind the Technique
To fully appreciate what brining can do for your cooking, it's crucial to understand the science behind it. The brining process involves a method called osmosis, where salt in the brine draws moisture from the meat initially but ultimately allows the proteins to absorb the salty water back into the muscle fibers. This process not only increases the meat's moisture content but also alters its protein structure, resulting in a tender texture.
The Role of Salt
Salt plays a fundamental role in brining, acting as a flavor enhancer and a tenderizer. When salt is dissolved in water, it disassociates into sodium and chloride ions. As these ions penetrate the meat, they break down the proteins, allowing water to be trapped within. This is why using the correct amount of salt in your brine is critical; too little may not yield the desired results, while too much can lead to an overly salty dish.
Tip: A general rule of thumb for a basic brine is to use 1 cup of salt for every gallon of water. Experiment with different salt types such as kosher, sea salt, or table salt to see which flavor profiles you prefer.
Flavor Enhancers
Brining doesn’t have to be just about salt and water; it opens the door to flavor enhancements as well. While a basic brine consists solely of salt and water, adding ingredients like sugar, herbs, spices, citrus juices, or even soy sauce can elevate your brining game.
When crafting your brine, consider the final flavor you want to achieve. The combinations are endless and limited only by your imagination.
How to Create the Perfect Brine
Creating the perfect brine may seem daunting, but it’s essentially a straightforward process that requires only a few ingredients and a bit of time. Here’s a step-by-step guide to ensure your brine is effective and tailored to your needs.
Step 1: Choose Your Salt
Choosing the right type of salt is perhaps one of the most vital steps when preparing your brine.
Tip: Avoid using iodized salt as its taste can impart an unpleasing flavor to your brine.
Step 2: Gather Ingredients
Once you've selected your salt, it’s time to gather any additional herbs, spices, and sweeteners. Think about what type of meat you are brining and what flavors will complement it.
Step 3: Combine and Dissolve
In a large pot, combine your salt and any sugar you're using with about half of the water needed for your brine. Heat gently until the salt and sugar have completely dissolved. This ensures that your brine is evenly distributed when you add it to the remaining water.
Step 4: Chill the Brine
Once the salt and sugar have dissolved, it’s essential to cool the brine completely before adding your meat. If you’re short on time, you can add ice cubes directly to the brine.
Tip: Always brine in a container that can be refrigerated. Glass or food-safe plastic containers work best.
Step 5: Brine the Meat
Submerge your meat completely in the brine. For smaller cuts like chicken breasts, brining for 1 to 2 hours is sufficient, while larger cuts like turkeys require more time—often 12 to 24 hours. A good rule of thumb is:
Step 6: Rinse and Dry
Once the brining period is complete, remove the meat from the brine and rinse it thoroughly under cold water. This step is crucial to removing excess salt. Pat the meat dry with paper towels to ensure a good sear when cooking.
Step 7: Cook as Desired
After the brining process, your meat is ready to be cooked using your preferred method, whether grilling, roasting, or pan-searing.
The Different Types of Brining Techniques
Understanding the various types of brining techniques will give you greater control over the flavor and texture of your meats. Each technique offers unique results, allowing you to choose according to your dietary needs and cooking preferences.
Classic Wet Brining
The most common form of brining, wet brining, involves soaking meat in a liquid solution. This method is excellent for larger cuts such as turkeys or whole chickens, where moisture retention is key.
- Adds moisture
- Enhances flavor penetration
Dry Brining
Dry brining is an excellent alternative that involves rubbing salt directly onto the meat's surface. This method draws moisture out, which is then reabsorbed, thus seasoning the meat effectively without additional liquid.
- No need for large containers
- Concentrated flavor
Brining with Acid
Incorporating acids like lemon juice, vinegar, or yogurt into your brine can further tenderize the meat by breaking down proteins. This technique is particularly beneficial for tougher cuts of meat that need extra help breaking down fats and fibers.
- Tenderizes tougher cuts
- Adds a zesty flavor profile
The Right Temperature for Brining
Temperature plays a crucial role in the success of brining, especially in ensuring food safety. Maintaining the right temperature during the brining process can prevent unwanted bacterial growth while ensuring the meat remains safe to consume.
Safe Brining Temperatures
Typically, brining should occur at refrigerator temperatures (below 40°F or 4°C) to ensure safety. Here are some critical points to remember:
- Poultry: 165°F (74°C)
- Pork: 145°F (63°C)
- Beef: Varies depending on cut and doneness preference.
Common Mistakes to Avoid When Brining
Brining is relatively simple, but there are common pitfalls that can lead to disappointing results. Here are some mistakes to avoid:
Over-Brining
Leaving meat in the brine for too long can result in overly salty flavors and a mushy texture. Remember that smaller cuts require less time compared to larger ones.
Not Rinsing
Failing to rinse the meat after brining can lead to an overly salty final product. Always rinse and dry the meat thoroughly before cooking.
Using the Wrong Salt Type
Using table salt instead of kosher or sea salt can lead to an imbalance in flavor because table salt is much denser and more concentrated in flavor than the coarser alternatives.
Skipping the Cooling Period
This step is crucial, as adding hot brine to meat can start cooking it, altering its texture and leading to inconsistency.
Exploring Advanced Brining Techniques
Once you become comfortable with basic brining, you may want to experiment with more advanced techniques. Here are a few ideas to take your brining to the next level.
Infused Brines
Consider incorporating a variety of flavor enhancers such as herbs, spices, or even vegetables into your brine. Some interesting combinations include:
Fruit Juices
Using fruit juices in your brine can impart unique flavor profiles while tenderizing the meat. Popular options include pineapple juice or apple cider vinegar.
Brining for Different Cuts
Different cuts of meat will benefit from different brining times and flavor profiles. For example, tougher cuts like brisket may benefit from a more acidic brine combined with spices to help break down tough fibers.
Techniques for Cooking Brined Meats
Once your meats have been brined, the next step is preparing them for cooking. Cooking techniques can affect the outcome of brined meats significantly.
Grilling
Grilled brined meats can develop a distinct smokiness enhanced by the brining process.
#### Steps for Grilling Brined Meats:
Tip: Let the meat rest for a few minutes after grilling to allow the juices to redistribute.
Roasting
Roasting is another fantastic way to cook brined meats, allowing spices and aromatics to infuse further.
#### Steps for Roasting:
Pan-Seared
For smaller cuts, pan-searing can create an exquisite crust while keeping the meat moist.
#### Steps for Pan-Searing:
Conclusion
Mastering the art of brining is an invaluable skill for any home cook seeking to elevate their recipes. Through understanding the science behind brining, creating a quick and flavorful brine, and employing various advanced techniques, you can yield tender and flavorful meats that will impress your family and friends alike. From ideal brine ratios to the perfect cooking methods, each step in the brining process is crucial in transforming ordinary cuts of meat into extraordinary culinary creations.
Brining opens up a world of possibilities in the kitchen—allowing for creativity, flavor exploration, and the sheer joy that comes from cooking. With every brined turkey, chicken, or pork roast, you are not just preparing a meal; you are crafting a memorable culinary experience. So roll up your sleeves, grab your favorite ingredients, and get ready to embrace the art of brining. Your taste buds—and your dinner guests—will thank you!


Get the Next Recipe
Weekly recipes, techniques, and gear picks — straight to your inbox.
