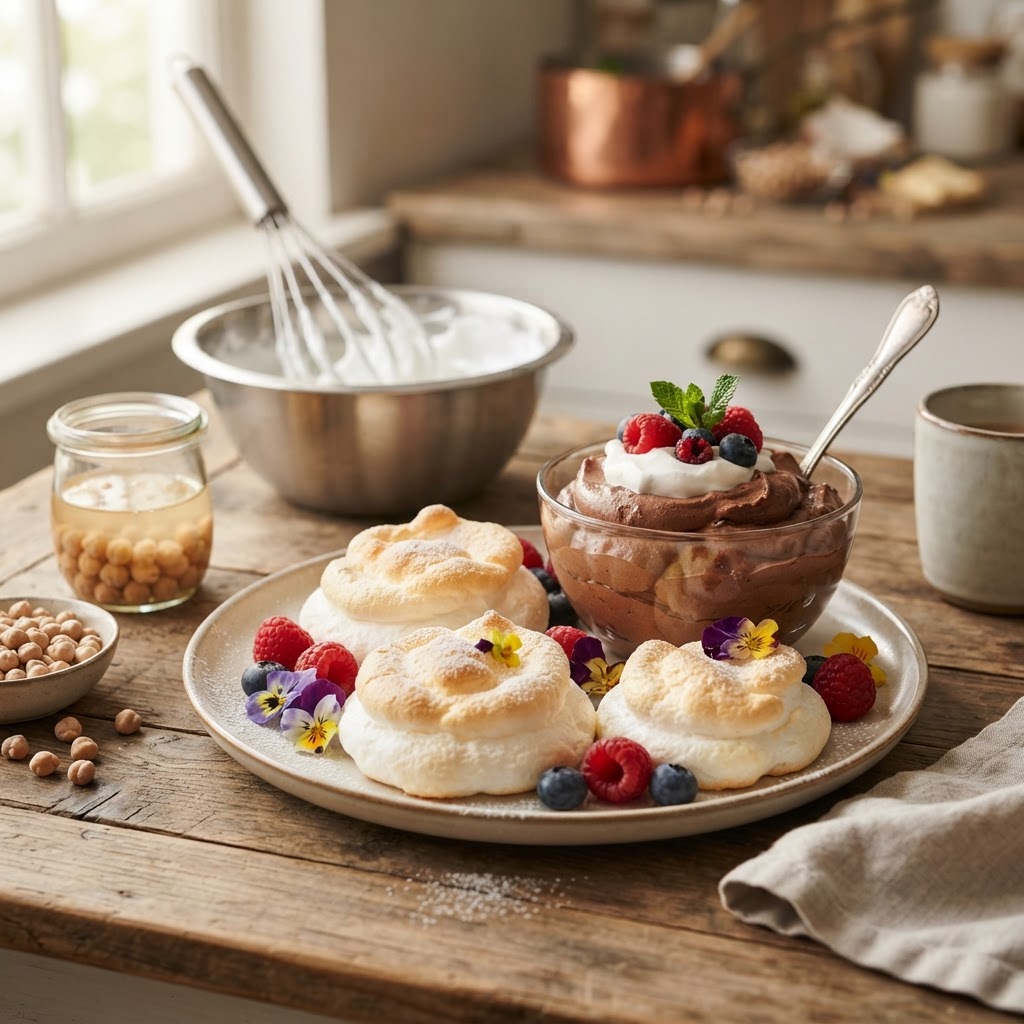
The Healthy Home Cook’s Guide to "Aquafaba Whipping": Mastering Chickpea Protein for Light, Egg-Free Meringues and Mousse
The kitchen is a place of endless transformation, where humble pantry staples often yield the most miraculous culinary results. For years, the liquid found inside a can of chickpeas—a viscous, unassuming brine—was routinely discarded down the kitchen sink, viewed as little more than a waste product of the canning process. Today, we recognize this liquid, known as aquafaba, as a liquid gold that rivals the functionality of traditional egg whites in almost every way. It is a revelation for those managing dietary restrictions, those looking for plant-based alternatives, or simply the home cook who finds themselves mid-recipe only to discover they have run out of eggs. Mastering the science of this protein-rich bean water allows us to reach new heights in texture and stability without the need for animal products.
Understanding aquafaba requires a brief look at the chemistry happening right under our noses. This liquid is a complex emulsion of water, proteins, and saponins that have leached from the legumes during the cooking process. When agitated, these proteins denature and wrap around air bubbles, creating a structure that is remarkably similar to the protein network found in egg whites. Because of its unique composition, it provides a neutral flavor profile that takes on whatever sugar or flavoring you introduce, making it an incredibly versatile canvas. Whether you are whipping up a batch of airy meringues or a decadent, velvety mousse, the key lies in understanding the mechanics of aeration and stabilization.
In this comprehensive guide, we will peel back the layers of this fascinating ingredient to help you achieve professional results from your home kitchen. We will cover everything from the ideal ratios for substitution to the specific temperatures that guarantee success. You will learn how to troubleshoot common issues like "collapsing peaks" and how to incorporate fats without destroying your delicate foam. By the end of this journey, you will no longer see that chickpea brine as a byproduct to be dumped, but as the primary ingredient for your next show-stopping dessert. Let us embark on the path to mastering the art of the aquafaba whip, ensuring that your future creations are as light as air and perfectly structured.
The Science of the Emulsion: Why Aquafaba Works
At its core, the success of aquafaba whipping depends on the concentration of protein within the liquid. Chickpeas are inherently rich in proteins and starches, which leach into the cooking water when they are boiled or pressure-cooked. When you whisk this liquid, the proteins uncoil and stretch out, forming a film that encapsulates air. This process is known as denaturation. As the whisk continues to pull air into the liquid, these proteins bond together to stabilize the air bubbles, much like a framework supporting the structure of a building.
The Role of Saponins
The secret weapon inside your bowl is the presence of saponins. These naturally occurring compounds act as surfactants, effectively lowering the surface tension of the liquid and making it much easier to incorporate air. Unlike egg whites, which can be sensitive to over-whipping and the introduction of even a trace amount of yolk, aquafaba is remarkably forgiving. However, it still requires a precise approach to ensure that the protein network remains strong enough to hold the volume you are creating.
Selecting the Right Liquid
Not all chickpea water is created equal. The ideal aquafaba should have a consistency similar to that of raw egg whites—slightly thick and gelatinous, but still fluid. If your canned chickpeas are stored in water that is too thin, the foam will be fragile and will likely collapse before you can bake it. If you are cooking your own chickpeas from scratch, you must reduce the cooking liquid until it reaches the desired viscosity. A common rule of thumb is to simmer the liquid until it coats the back of a spoon with a thin, syrupy film.
"The magic of aquafaba lies not in the bean itself, but in the structural integrity provided by the starches and proteins released during the boiling process; respect the liquid, and it will reward you with volume that defies gravity."
Preparing Your Equipment and Ingredients
Before you even open a can, you must ensure that your workspace is pristine. Even the smallest residue of grease or oil on a mixing bowl or whisk attachment will prevent your aquafaba from reaching its peak potential. Proteins are hydrophobic in certain areas and hydrophilic in others, and fats will compete for space at the air-liquid interface, effectively "killing" the foam before it has a chance to stabilize. Use a glass or stainless steel bowl; avoid plastic, as it can harbor trace oils even after washing.
Temperature Control
While egg whites are often whipped at room temperature, aquafaba can be a bit more temperamental regarding its thermal environment. Ideally, your liquid should be at room temperature, around 68-72°F (20-22°C). If the liquid is too cold, the proteins will be sluggish and won't expand efficiently; if it is too warm, the structure may become brittle and prone to breakage. If you have kept your chickpeas in the refrigerator, let the brine sit on the counter for at least thirty minutes before beginning the whipping process.
The Standard Ratio
When replacing egg whites in a recipe, use the following conversion as your golden rule:
1 tablespoon of aquafaba = 1/2 of an egg white*
2 tablespoons of aquafaba = 1 whole egg white*
3 tablespoons of aquafaba = 1 whole egg*
For most meringues, use a ratio of 1/2 cup of aquafaba to 1 cup of caster sugar, but always keep a little extra brine on hand just in case your mixture feels too dry during the final folding process.
The Whipping Process: Step-by-Step
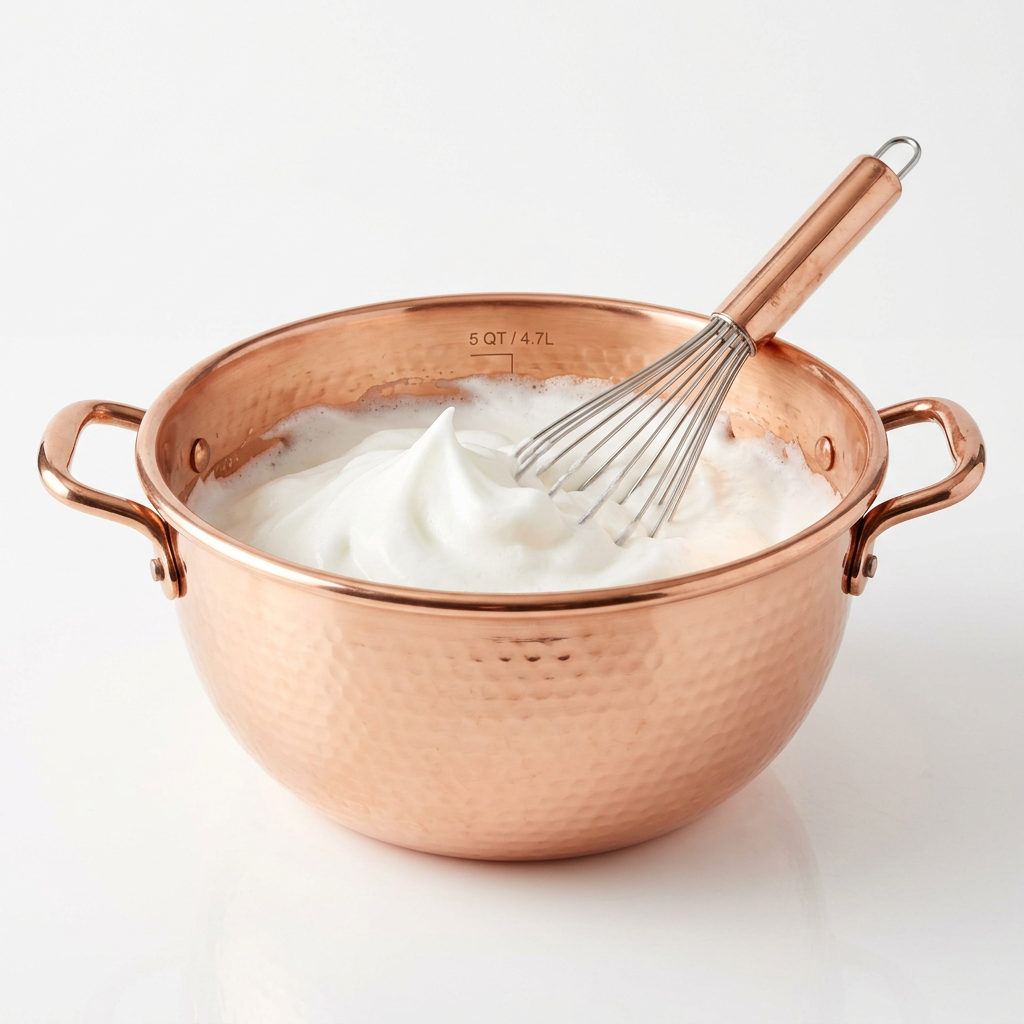
Whipping aquafaba is a marathon, not a sprint. You will need a high-quality stand mixer or a powerful hand mixer to achieve the desired result. Start by pouring your chilled or room-temperature liquid into the clean mixing bowl. Add a stabilizer, such as cream of tartar or a pinch of salt. Cream of tartar is preferred, as its acidity helps to keep the protein bonds tight, preventing the foam from weeping or collapsing during the high-speed aeration phase.
Building the Volume
Start your mixer on a low speed to break up the surface tension. Once the liquid becomes frothy and bubbly—a stage often called the "soapy phase"—you can increase the speed to medium-high. You are looking for a significant increase in volume. It will take longer than egg whites, often reaching the "soft peak" stage after about 5 to 7 minutes of consistent whisking. Do not be tempted to add sugar too early, as this will prevent the proteins from stretching effectively.
Incorporating the Sugar
Once you have achieved soft, billowy peaks, begin adding your sugar slowly. Use fine caster sugar or powdered sugar for the best results, as granulated sugar can be too heavy and cause the foam to deflate. Add the sugar one tablespoon at a time, allowing it to fully dissolve into the foam before adding more. Once all the sugar is incorporated, continue whipping until you achieve stiff, glossy peaks. You should be able to turn the bowl upside down without the mixture falling out—that is your indicator that the protein structure is fully locked and ready for the oven or the fridge.
Mastering the Vegan Meringue
Meringues made from aquafaba are indistinguishable from those made with eggs if you master the baking technique. The goal here is to dry out the foam without burning the exterior. Preheat your oven to a low temperature—225°F (107°C) is ideal. If the oven is too hot, the sugars will caramelize too quickly, resulting in a dark, chewy meringue rather than the crisp, light-as-air confection you are aiming for.
Drying vs. Baking
Because aquafaba contains more water than egg whites, it requires a longer drying time. Pipe your meringues onto a parchment-lined baking sheet using a star tip for a professional finish. Bake them for 90 minutes to 2 hours, depending on the size of your swirls. Once the time is up, turn the oven off, but do not open the door. Leave the meringues inside to cool down slowly as the oven loses heat. This prevents the rapid change in temperature from causing them to crack or sink.
Troubleshooting Your Meringues
The meringue is sticky:* This means they haven't dried long enough. Pop them back into the oven at 200°F for another 30 minutes.
The meringue is flat:* Your oven temperature was likely too high, or you folded in flavorings too aggressively.
The color is off:* Ensure you are using high-quality sugar and that your mixing bowl was perfectly clean.
"A perfect meringue is a study in patience; by allowing the moisture to evaporate slowly at a low, consistent temperature, you preserve the structural integrity of the protein matrix, resulting in a brittle, melt-in-the-mouth finish."
The Art of the Aquafaba Mousse
If you are looking for a dessert that feels luxurious but requires no baking, the aquafaba chocolate mousse is your best friend. This recipe relies on the stability of your whipped brine to hold up the weight of melted chocolate. The key here is the "temperature matching" technique. Your chocolate must be melted and then cooled to room temperature, while your aquafaba foam must be at its peak stiffness. If the chocolate is too hot, it will melt the protein structure instantly; if it is too cold, it will harden into clumps before you can mix it in.
The Folding Technique
Folding is perhaps the most critical culinary skill for the mousse maker. Using a rubber spatula, take a small portion of your whipped aquafaba and stir it into the melted chocolate to lighten it up. Then, gently incorporate the remaining foam. Use a "cut and fold" motion: cut down through the center of the bowl, sweep along the bottom, and lift up the side. Do this until the mixture is uniform in color, being careful not to over-mix, which will deflate all the hard work you put into the aeration.
Flavor Infusions
Because aquafaba has a very mild, slightly savory flavor, it is the perfect canvas for intense ingredients. Dark chocolate, espresso, orange zest, or even a splash of liqueur work beautifully. For a fruitier option, you can fold in a concentrated fruit puree, but ensure it is thick and not too acidic, as high acidity can sometimes destabilize the proteins. Experimentation is highly encouraged here; just remember that the more solid ingredients you add, the shorter the "shelf life" of your mousse.
Troubleshooting Common Culinary Pitfalls
Even for the most experienced home cook, aquafaba can occasionally act in unpredictable ways. One of the most common issues is "weeping," or syneresis, where a liquid pools at the bottom of your bowl. This is almost always caused by a lack of sugar or not whipping to the correct stage. If you notice this happening, ensure that your sugar is fully dissolved and that you aren't whipping on such a high speed that you create large, unstable bubbles.
The Importance of Stability
If you find that your mixtures are constantly collapsing, consider adding a thickening agent. Cream of tartar is the standard, but xanthan gum can be a game-changer. A tiny pinch—less than 1/8 of a teaspoon—added during the whipping phase can provide significant structural support for more complex decorations or for desserts that need to hold their shape for several hours. Just be careful not to over-do it, as too much xanthan gum can give the final product a gummy texture.
Storage and Shelf Life
Can you save your aquafaba? Absolutely. If you open a can of chickpeas but don't need all the brine, you can store it in an airtight container in the refrigerator for up to five days. You can also freeze it in an ice cube tray, which is a fantastic professional tip. Simply thaw the desired amount of cubes when you are ready to bake. When you freeze the brine, you are effectively preserving the protein network, and it will whip up just as well as fresh brine once thawed.
Advanced Techniques for the Professional Home Cook
Once you have mastered the basics of meringues and mousses, you can start experimenting with more complex textures. Have you tried making aquafaba marshmallow? By creating a simple syrup—boiled sugar and water to the "soft ball" stage—and slowly streaming it into the whipping aquafaba, you can create a marshmallow fluff that is stable enough to be toasted or piped onto cupcakes. The high heat of the sugar syrup actually helps to "cook" the protein, making the resulting foam even more stable than a cold-whipped version.
The "Sifon" Method
For the truly ambitious, using a whipped cream dispenser (sifon) with an N2O charger is an incredible way to work with aquafaba. You can create instant, ethereal foams that can be used for plated desserts or even as a garnish for cocktails. Simply mix your flavored aquafaba with a touch of sugar or agave, place it in the dispenser, charge it, and shake. You will get a dense, creamy foam that mimics the texture of whipped heavy cream perfectly.
Consistency is Key
No matter the technique you choose, the most important takeaway is to document your results. Keep a small kitchen notebook where you record the brand of chickpeas, the temperature of your liquid, and the time taken to reach peak stiffness. Over time, you will develop an intuitive sense of how the liquid should look and feel, allowing you to troubleshoot in real-time. Culinary mastery isn't just about following a recipe; it's about understanding the raw ingredients at your disposal.
"A chef's prowess is measured not by how many tools they use, but by how much they understand the potential of every ingredient in their pantry; treat the aquafaba as a culinary tool, and you open up a world of possibilities."
Final Thoughts
Stepping away from traditional egg-based desserts and embracing the world of aquafaba is a transition that requires both curiosity and a bit of patience. We have explored the science of proteins, the necessity of clean equipment, and the nuanced techniques of whipping and folding that turn simple bean water into elegant, airy delights. By mastering these skills, you are doing more than just saving money or finding a substitute; you are gaining a deeper understanding of food science and expanding your repertoire in a way that is both sustainable and incredibly rewarding.
Do not be discouraged if your first attempt at a meringue doesn't reach the heights of your expectations. Even the most seasoned pastry chefs deal with humidity, equipment fluctuations, and ingredient variances. The beauty of this ingredient is its accessibility; you can try again tomorrow with a fresh can of chickpeas and a fresh outlook. The kitchen is a living laboratory, and aquafaba is one of the most exciting variables you can work with.
As you continue your journey with "Blame The Chef," remember that the goal of home cooking is to enjoy the process as much as the final product. Whether you are whipping up a batch of festive cookies for friends or preparing a delicate chocolate mousse for a quiet evening in, the techniques discussed here will ensure your results are nothing short of spectacular. Keep your whisk ready, your bowls clean, and your sense of wonder high. The next time you open a can of chickpeas, you will be looking at it not as a chore, but as the secret ingredient to your next great culinary masterpiece. Keep creating, keep tasting, and above all, keep cooking.
Get the Next Recipe
Weekly recipes, techniques, and gear picks — straight to your inbox.
