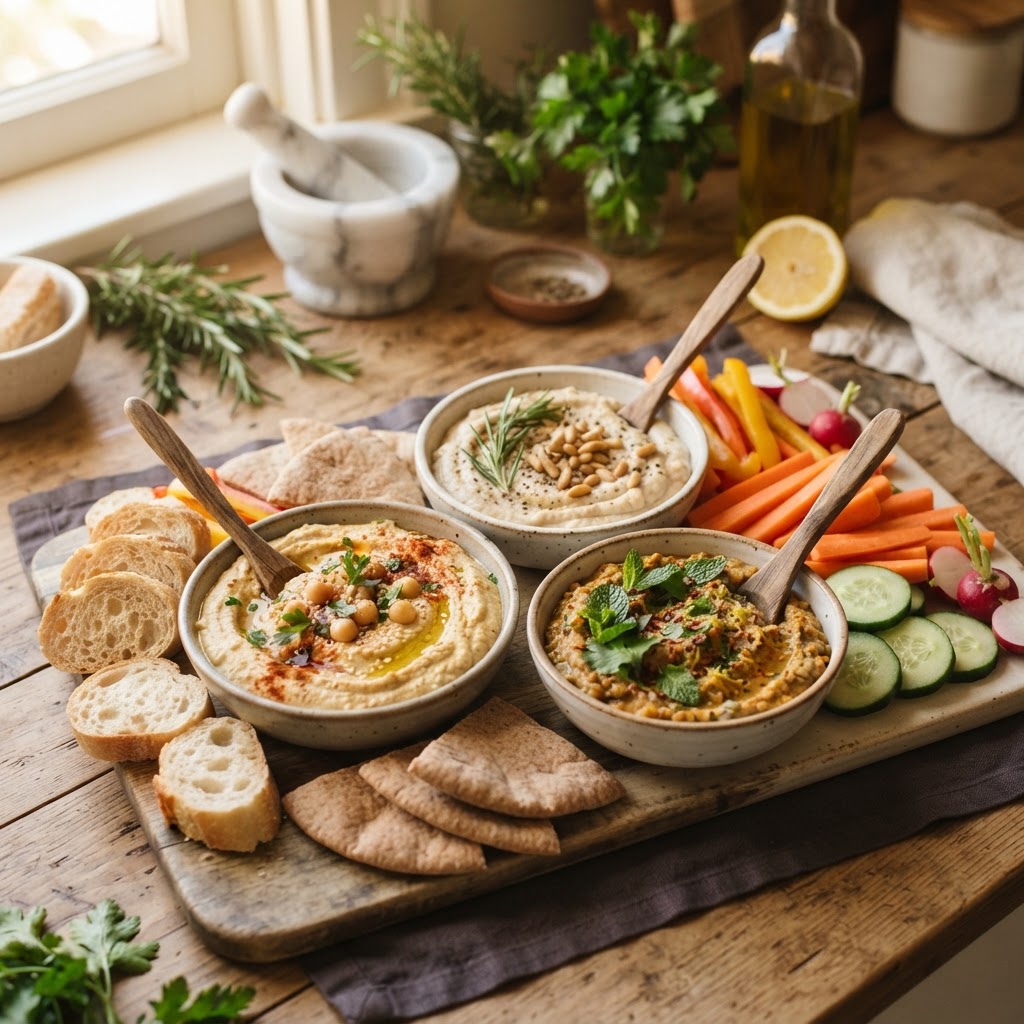
The Healthy Home Cook’s Guide to "Chilled Legume Blending": Mastering Bean-to-Acid Ratios for Nutrient-Dense, Creamy Dips and Spreads
There is a quiet revolution happening in the modern kitchen, one that doesn’t involve fancy equipment or exotic, expensive ingredients. It begins with a humble bag of dry beans or a shelf-stable can of legumes, transformed through the elegant, scientific art of chilled legume blending. For years, home cooks have approached the blender with a "dump and pulse" mentality, often resulting in grainy textures or flavor profiles that feel heavy and uninspired. Mastering the art of the perfect dip requires a fundamental shift in how we perceive the interplay between fiber, protein, and acidity. When we chill our ingredients before the emulsification process, we protect the volatile oils and delicate proteins, resulting in a mouthfeel that rivals the most expensive appetizers found in fine-dining establishments.
The secret to a nutrient-dense spread lies in the specific bean-to-acid ratio, a metric that many culinary students overlook until they are deep into their professional training. Whether you are working with chickpeas, cannellini beans, or earthy black beans, the acidic component—be it lemon juice, sherry vinegar, or lime—is the catalyst that cuts through the starch to create a velvety finish. By controlling the temperature of the legume base before it ever hits the blade, you prevent the degradation of heat-sensitive nutrients and ensure that your final product remains bright, light, and vibrant. It is a technique rooted in chemistry, yet it feels entirely like magic when you serve a bowl of perfectly aerated, chilled hummus to your guests on a humid summer afternoon.
Beyond the aesthetics and the sophisticated mouthfeel, this approach to food preparation is a cornerstone of a healthy lifestyle. Legumes are nutritional powerhouses, packed with plant-based protein, complex carbohydrates, and essential minerals that sustain energy throughout the day. When we lean into chilled blending techniques, we reduce the need for excessive fats like heavy oils or saturated spreads to achieve creaminess. Instead, we rely on the mechanical aeration of the bean starch and the chemical interaction of acids and legumes to build volume and richness. Welcome to the "Blame The Chef" guide for mastering these kitchen staples, where we prioritize technique, flavor, and long-term health in every single spoonful.
The Chemistry of Creaminess: Why Temperature Matters
The primary goal of any legume-based dip is the successful emulsification of starches and liquids. When you blend warm or room-temperature beans, the starches tend to become gummy and lose their structural integrity, resulting in a paste that feels heavy on the tongue. By chilling your beans—ideally to around 40°F (4°C)—you keep the starch granules firm and protected during the high-speed shearing process. This temperature control is the professional chef’s hidden advantage for creating a light-bodied spread that retains its aeration long after it has been plated.
Understanding Starch Behavior
When you introduce mechanical energy through a food processor, heat is generated rapidly. If your ingredients start at room temperature, the blender’s blade friction will quickly push the temperature of the dip into a range where the proteins and starches begin to denature unevenly. This creates a "broken" emulsion where the water content separates from the solids, leading to a gritty texture. By chilling the beans, you provide a thermal buffer that allows for a longer, more thorough blending time, which is necessary to achieve that elusive, silk-like consistency.
Equipment Calibration
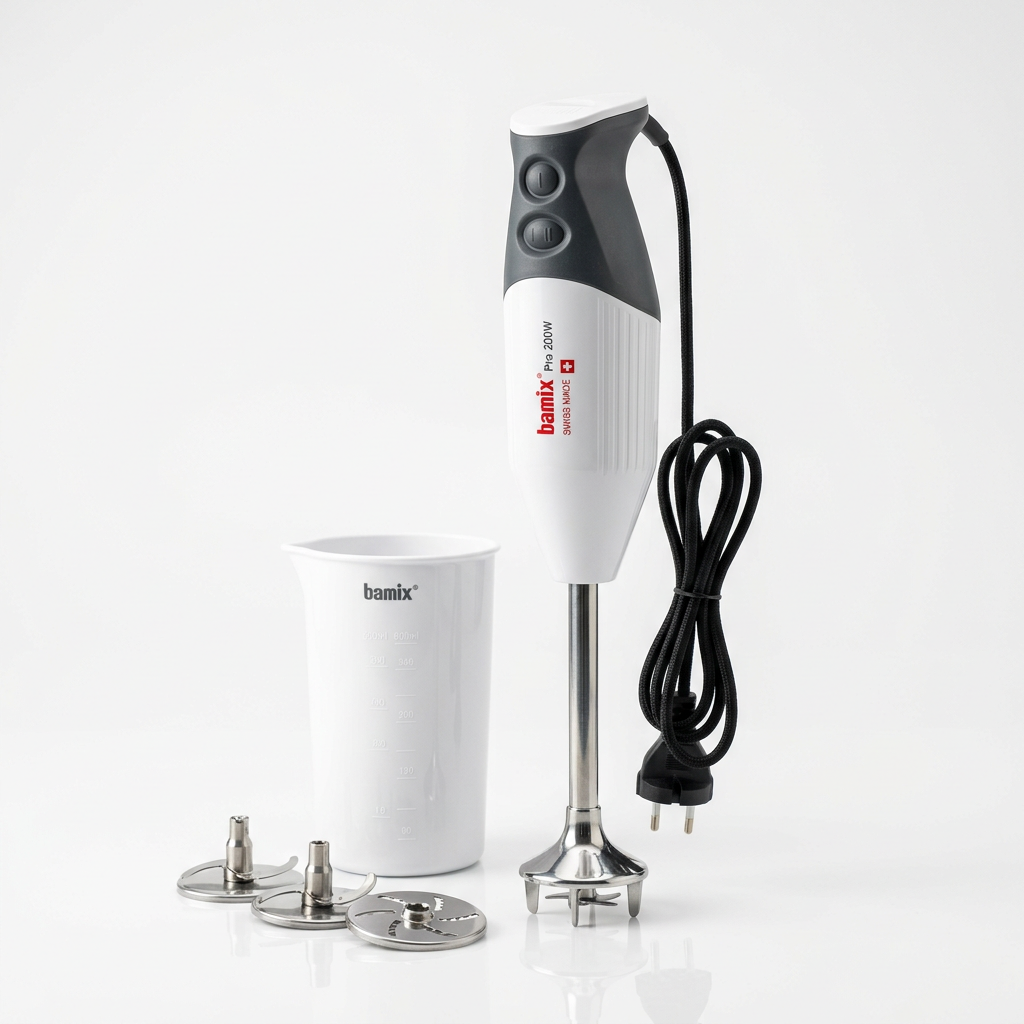
To achieve professional results, you should ensure your blade assembly is sharp and your motor is capable of sustained high-speed output. A dull blade does not cut the legume fiber; it tears it. Tearing leads to uneven particle size, which will always result in a grainy dip. Using a high-speed blender or a commercial-grade food processor allows you to achieve a micron-level smoothness that elevates a simple bean dip into a gourmet spread. Always remember to pulse first to break down the initial mass, then run the motor continuously to finish the emulsion.
"True culinary finesse is not about the complexity of the ingredients, but the mastery of the temperature at which those ingredients are treated. If you want a dip that dances on the palate, keep your beans cold and your blades sharp."
Decoding the Bean-to-Acid Ratio
One of the most frequent questions I hear in the kitchen is about the "magic ratio" for acidity. While taste is subjective, there is a scientific baseline for a balanced dip. You want to achieve a pH level that cuts the earthiness of the legume without making the spread overtly sour. The standard professional ratio is roughly one part acid to four parts legume by volume, adjusted slightly for the density of the bean. For example, two cups of chickpeas usually require three tablespoons of fresh lemon juice or white balsamic vinegar.
The Role of Acid in Flavor Balancing
Acidity serves as a brightness enhancer, but it also aids in the breakdown of the bean’s outer hull. The acid acts on the pectins in the legume skin, softening them significantly during the blending process. If you notice your dip is becoming too thick or "pasty," adding an extra teaspoon of cold liquid (such as ice water or citrus juice) can radically change the rheology of the spread. Emulsification is ultimately about how well the liquid is dispersed throughout the starch matrix, and the acid is your primary tool for thinning that matrix to the perfect consistency.
Balancing with Aromatics
Do not stop at just lemon juice. Consider the depth provided by fermented acids like rice vinegar or even a splash of kombucha if you are feeling experimental. The trick is to balance these acids with a small amount of sweetness—perhaps a hint of maple syrup or honey—to round out the sharp edges. This creates a complex flavor profile that hits both the front and back of the palate. Always add your acid in stages, tasting after every pulse, because you can always add more, but you can never remove an over-acidulated dip.
Selection and Preparation of the Legume Base
Not all beans are created equal when it comes to the blender. The moisture content, the variety of the pulse, and how you cook them (if not using canned) all play a significant role in your final outcome. The best legumes for chilled blending are those with thin skins and high starch content. Cannellini beans, chickpeas (garbanzo beans), and white navy beans are the gold standards, as they provide a neutral, creamy base that takes on secondary flavors with incredible ease.
Pre-Blending Prep: The Soaking and Boiling Method
If you choose to use dry beans, the process starts 24 hours in advance. Soak your beans in cold, salted water to soften the hulls. When boiling, do not rush the process. Cook the beans until they are completely tender—so tender that they fall apart under the slightest pressure from a fork. This ensures that when they reach the blender, they are fully hydrated. After cooking, you must shock the beans in an ice bath. This rapid cooling stops the cooking process and firms up the starches, which is essential for that chilled blending technique mentioned earlier.
Canned vs. Dry: The Professional Perspective
There is no shame in using canned beans, provided you rinse them thoroughly under cold running water to remove the metallic, salty brine. If you use canned, treat them the same way you would fresh: drain, rinse, and place them in the refrigerator for at least two hours before processing. This chilling step is the most important "home cook secret" for achieving that high-end restaurant texture. If you are using canned, consider adding a pinch of baking soda to the boiling water if you decide to reheat them briefly before chilling—this helps further break down the tough outer skins.
The Emulsification Process: Oils, Fats, and Liquids
Once your base is chilled, the next step is the introduction of fat and liquid. Many home cooks make the mistake of adding all the oil at the beginning. This is a recipe for a greasy, separated mess. To achieve a perfectly stable, creamy spread, you must drip your oil slowly into the blender while the motor is running. This creates a mechanical emulsion similar to making mayonnaise, where the oil droplets are suspended within the bean-and-acid mixture.
Choosing Your Fats
While extra virgin olive oil is the classic choice for hummus-style dips, you should experiment with others for different flavor profiles. A light avocado oil works beautifully if you want to avoid a strong olive flavor, while roasted walnut oil adds a deep, autumnal nuttiness that pairs exceptionally well with black beans or lentils. Remember that the viscosity of your fat will change the final texture of your dip. A thicker oil will yield a more substantial spread, while a thinner, high-quality oil will produce a lighter, more ethereal texture.
The Ice Water Hack
When blending, if the mixture begins to strain the motor or appears too thick, stop adding oil. Instead, add one tablespoon of ice-cold water at a time. This allows you to thin the dip without altering the flavor profile or adding unnecessary calories. This is a classic professional technique used to achieve that "fluffy" look that you see in top-tier Mediterranean mezze platters. The aeration caused by the cold water being whipped into the starches creates a beautiful, pale, and incredibly smooth finished product.
"The difference between a thick, heavy mash and a gourmet dip is exactly one tablespoon of cold water, added at the right moment. Learn to listen to your blender—it will tell you when it needs more fluid to reach that perfect, silky emulsion."
Seasoning and Infusion Strategies
A dip is only as good as its seasoning. Because legumes are inherently neutral, they act as a blank canvas for your flavor experiments. When adding herbs, spices, or aromatics, you must consider how the blending process will affect them. Fresh herbs should generally be added toward the end of the process to maintain their vibrant color and essential oils, whereas dry spices like cumin, coriander, or smoked paprika should be added at the beginning to allow the blending friction to distribute them evenly throughout the mixture.
Strategic Use of Aromatics
Garlic is a staple, but it can be overpowering if used raw. Try roasting your garlic until it is caramelized and soft before adding it to the blender. This creates a mellow, sweet, and savory depth that doesn't leave a "sharp" aftertaste. If you prefer raw garlic, macerate it in your lemon juice for ten minutes before adding it to the bean base. This "pickling" process softens the harshness of the garlic and integrates the flavors more harmoniously.
Layering Your Flavors
Following this sequence ensures that each ingredient is treated appropriately. Using the pulse function for the final stage ensures you don't over-process delicate herbs, which would turn your beautiful green dip into a dull, muddy brown color. Always taste your mixture twice—once right out of the blender, and once after it has rested in the refrigerator for at least thirty minutes, as flavors tend to meld and deepen over time.
Beyond Hummus: Exploring Legume Varieties
While the chickpea is the king of dips, the world of legumes is vast and offers incredible variety for the home cook. By applying the chilled blending technique to different varieties, you can create a rotating menu of dips that are nutrient-dense and exciting. Black beans, for instance, make an incredible spread when blended with lime juice, cumin, and a touch of chipotle. They offer a fiber-heavy profile that is much more satisfying than store-bought salsa.
Lentils: The Underrated Dip Star
Brown and green lentils blend into a dense, earthy spread that pairs perfectly with hearty rye bread or raw root vegetables. Because lentils are smaller than beans, they have more surface area relative to their volume, which means they absorb flavors more quickly. Be careful not to over-blend lentils, or they can become overly gummy. A shorter blend time is often better, leaving just a hint of texture to provide an interesting mouthfeel.
White Beans: The Creamiest Canvas
Cannellini or Great Northern beans are perhaps the best choice for those who want a truly "airy" dip. They are naturally smoother than chickpeas and have a more delicate flavor. Try a white bean dip with fresh rosemary, lemon zest, and a high-quality finishing olive oil. It is sophisticated, light, and serves as an excellent base for more experimental toppings like roasted tomatoes or crumbled feta.
Final Thoughts: The Path to Consistent Success
Mastering the art of chilled legume blending is a journey that rewards curiosity and precision. By controlling your temperatures, respecting the ratio of acid to legume, and learning the nuances of emulsification, you can move from basic home cooking to creating dips that are truly professional in caliber. This method is not just about making a snack; it is about reclaiming the health benefits of whole-food ingredients in a way that is indulgent, satisfying, and sustainable for your long-term culinary growth.
Remember that failure is simply data. If your first batch is too thin, you have learned the limits of your oil-to-bean ratio. If it is too grainy, you have learned the necessity of better cooling or a sharper blade. Every time you approach your blender with this analytical mindset, you are becoming a more competent, confident chef. The goal is to develop an intuition for the texture of the blend, a skill that will eventually make the use of recipes unnecessary as you learn to adjust by sight and sound.
Finally, do not underestimate the power of presentation. A well-blended dip is a beautiful thing, especially when finished with a thoughtful garnish. A drizzle of high-quality oil, a sprinkle of toasted seeds, or a dusting of vibrant paprika can turn a simple bowl of pureed beans into a centerpiece. You are now equipped with the technical knowledge to excel in this realm of the "Blame The Chef" kitchen. Go forth, chill your legumes, watch your ratios, and enjoy the nutrient-dense rewards of your labor. The perfect dip is now well within your reach.

Get the Next Recipe
Weekly recipes, techniques, and gear picks — straight to your inbox.
