The Healthy Home Cook’s Guide to "Micronutrient-Dense Stocks": Mastering Bone and Vegetable Extraction Techniques for Flavor-First, Low-Sodium Bases
In the modern culinary landscape, there is a pervasive misconception that store-bought bouillon or boxed broth is an acceptable shortcut for the home cook. While convenient, these products are frequently laden with excessive sodium, preservatives, and subtle chemical enhancers that mask the true profile of high-quality ingredients. True depth of flavor—the kind that hits the mid-palate and lingers—cannot be manufactured in a laboratory; it must be extracted through time, temperature control, and the careful marriage of proteins and aromatics. When we shift our focus from "making soup" to "extracting micronutrients," we change our relationship with the kitchen entirely. This guide serves as your manifesto for reclaiming the pantry, ensuring that every base you build is a nutritional powerhouse rather than a salt-heavy compromise.
Building a micronutrient-dense stock is, at its heart, an act of patience. It requires us to understand the molecular breakdown of collagen, the release of essential minerals from roasted bones, and the delicate infusion of volatile oils from garden-fresh aromatics. We are not merely boiling water with scraps; we are creating a living liquid that acts as the foundation for every sauce, braise, and soup that follows. By mastering these extraction techniques, you gain total autonomy over your sodium levels and ingredient quality. It is time to treat your stockpot with the same reverence a professional chef grants a classic French demi-glace, even if you are just simmering it on a Tuesday evening.
When you commit to this process, you are making an investment in your family’s well-being and your own culinary repertoire. The difference in mouthfeel, clarity, and nutritional profile between a quick-boil broth and a long-simmered, nutrient-rich stock is profound. Beyond the taste, you are providing your body with highly bioavailable minerals, amino acids like glycine and proline, and essential electrolytes. This guide will walk you through the nuances of the "Blame The Chef" philosophy—where excellence is mandatory, shortcuts are scrutinized, and the final bowl is always worth the effort. Let us begin the transformation of your kitchen, one simmer at a time.
The Science of Extraction: Temperature and Time
The extraction of flavor is a balance between physical heat and chemical breakdown. Many home cooks make the mistake of subjecting their stockpots to a violent, rolling boil, which emulsifies fats and results in a cloudy, bitter liquid. To achieve a clarified, nutrient-dense stock, you must maintain a gentle, consistent simmer—ideally between 185°F and 195°F. At this temperature range, the collagen in connective tissues gently denatures and transforms into gelatin, providing that luxurious, silky texture that characterizes a superior base. If the heat exceeds this, you risk "boiling in" impurities and breaking down flavor compounds that are better left intact for the long haul.
The Role of Collagen and Minerals
Bone-based stocks are the gold standard for collagen extraction. Collagen, found in joints, knuckles, and feet, provides the body with the building blocks for joint health and skin elasticity. By using a slow-extraction method, you ensure that these proteins are pulled from the matrix of the bone without denaturing them into something less palatable. When your stock cools, it should reach a jelly-like consistency—this is the physical proof that your extraction was successful. Minerals like calcium, magnesium, and phosphorus are also leeched from the bone marrow during this process, provided you include a gentle acid like apple cider vinegar at the start.
Avoiding the "Bitter" Trap
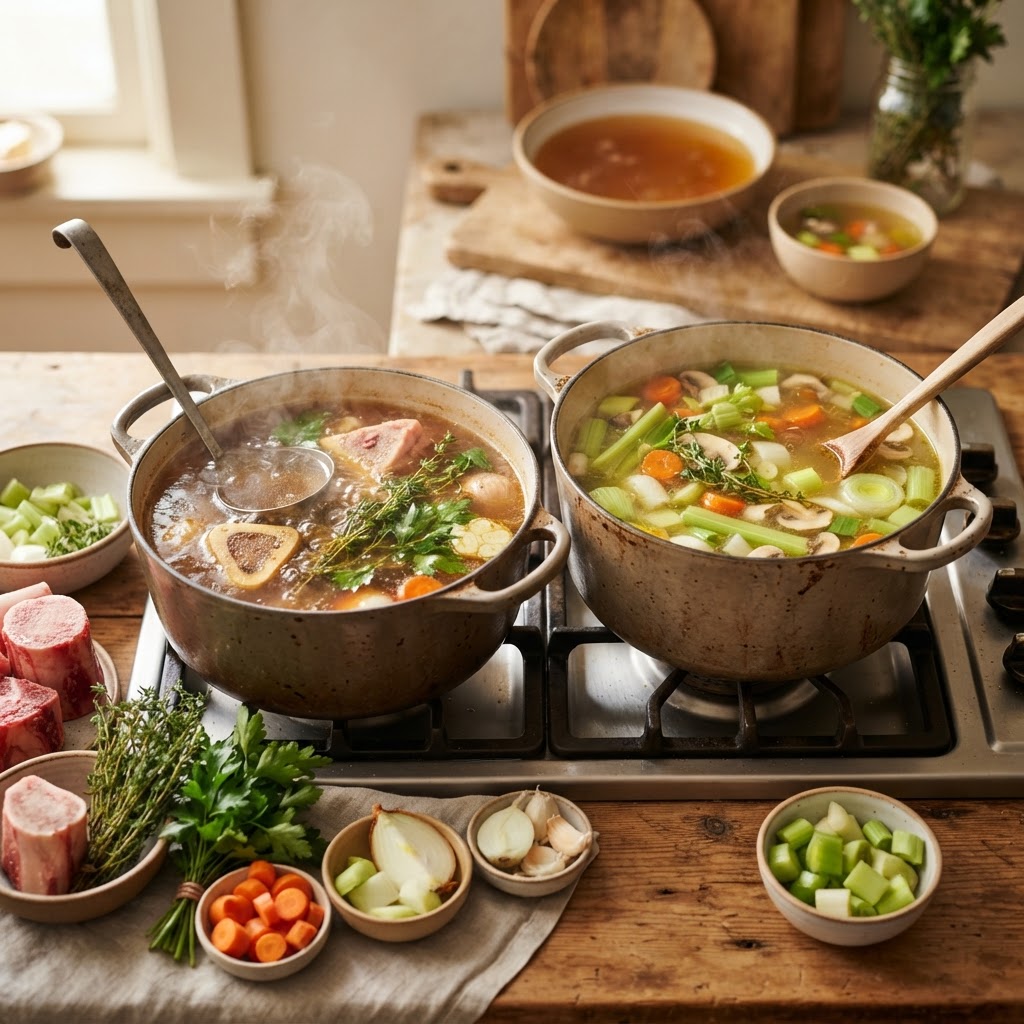
Over-extracting your aromatics is a common pitfall. While bones can simmer for 12 to 24 hours, vegetables—specifically members of the brassica family like broccoli or cauliflower—can turn bitter and sulphur-heavy if simmered for too long. For the best flavor, we employ a staggered extraction technique. Roast your bones first, then simmer for the bulk of the duration. Only add your mirepoix and bouquet garni in the final two hours of the process. This ensures that the sweetness of the carrots and the brightness of the herbs are preserved, rather than cooked into a dull, mushy oblivion.
"A stock is not just the water that remains after the cooking is done; it is the concentrated soul of the ingredients, a liquid map of the chef’s commitment to quality."
Sourcing and Prepping Your Raw Materials
Quality in equals quality out. This is the non-negotiable rule of the professional kitchen. If you source low-quality bones from animals raised on restricted diets, you will inevitably end up with a stock that lacks the rich, fatty profile necessary for a truly balanced base. Always look for pasture-raised, grass-fed bones—preferably a mix of marrow bones, joints (knuckles), and feet. The feet contain an exceptionally high concentration of collagen, which is the secret ingredient for that coveted "sticky-lip" mouthfeel that indicates a perfectly crafted stock.
The Art of the Roast
Before the bones ever touch the water, they must undergo the Maillard reaction. Roasting your bones at 400°F for 45 to 60 minutes is the most effective way to build the foundational flavor profile. You are looking for a deep, mahogany brown color on the surface of the bones. This caramelization provides the depth, the "meatiness," and the golden hue that will carry through your final product. Do not discard the brown bits left on the baking sheet—these are packed with flavor, and you should deglaze the pan with a splash of water or wine to ensure every drop of essence makes it into your stockpot.
Vegetable Selection for Balance
When choosing your aromatics, stick to the classics but feel free to augment with umami-rich extras. A traditional mirepoix consists of a 2:1:1 ratio of onions, carrots, and celery. However, to maximize the nutrient density, consider adding the following:
Dried Kombu (Sea Kelp):* Adds natural glutamates for an incredible umami punch without the sodium.
Dried Shiitake Mushrooms:* Intensifies the earthy, savory notes.
Garlic and Ginger:* Provides an anti-inflammatory boost and a brightness that cuts through the fat.
Leek Greens:* Use the parts usually discarded for a deeper, more subtle onion flavor.
Mastering the Mirepoix and Bouquet Garni
The bouquet garni is the chef’s tool for aromatic control. It is essentially a bundle of fresh herbs tied with kitchen twine, designed to be easily removed once its work is done. A classic bouquet garni includes fresh thyme, parsley stems (which have more flavor than the leaves), and a bay leaf. For a more robust profile, you might include peppercorns or a piece of celery stalk. By bundling these, you avoid the mess of straining out tiny herbal debris, keeping your stock as clear as possible.
The Importance of the Mirepoix Cut
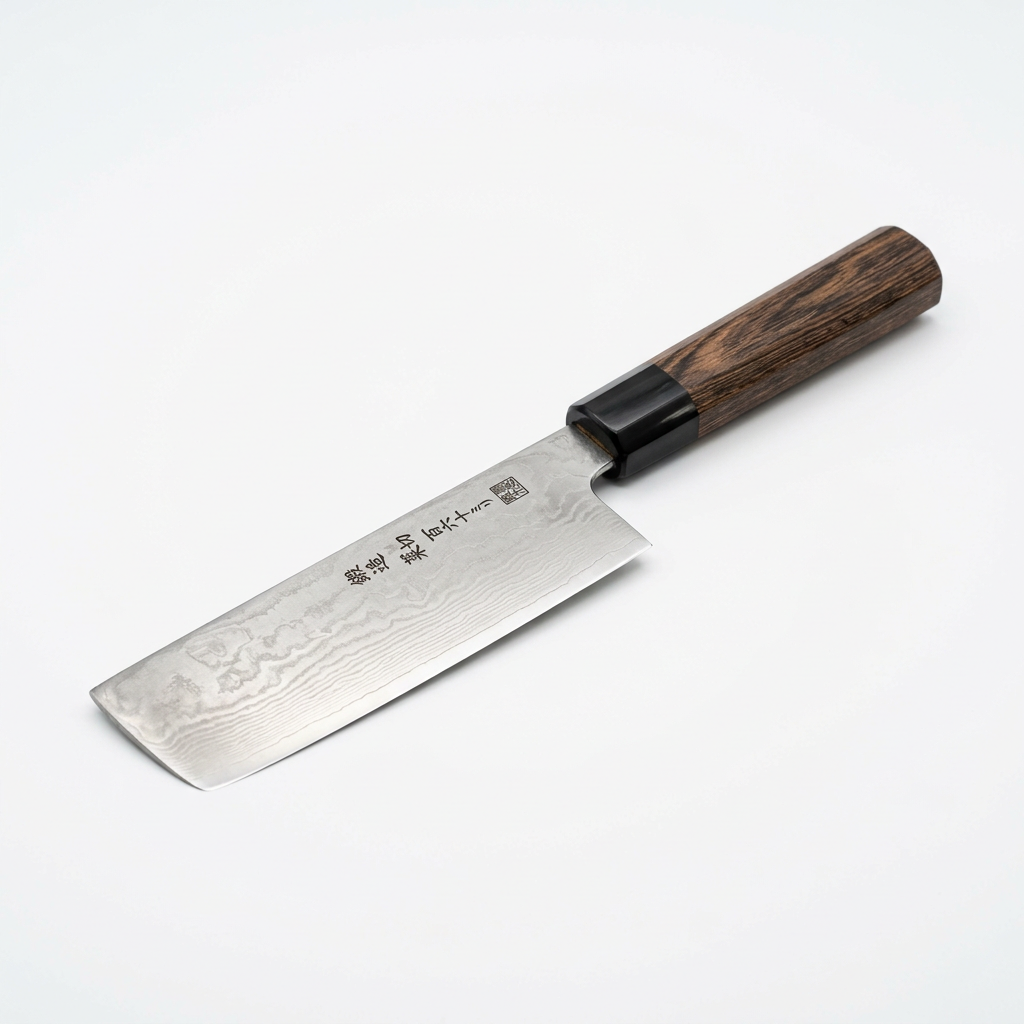
The size of your cut matters, both for the speed of extraction and the clarity of the final product. For a long-simmering stock, keep your carrots and onions in large, rustic chunks. If the vegetables are chopped too finely, they will disintegrate over the course of an eight-hour simmer, turning your stock into a cloudy, puree-like mess. A large dice ensures that the flavors release slowly and evenly throughout the process, maintaining the integrity of the liquid.
The Aromatics Timeline
"True health in the kitchen begins with the base. If you control the salt and the quality of the extraction, you control the health of your home."
The Cold-Start vs. Hot-Start Debate
In professional circles, the cold-start method is considered superior for bone-based stocks. By placing your roasted bones into a pot of cold, filtered water and bringing them up to a temperature slowly, you allow the proteins to gradually dissolve rather than seizing up immediately. This results in a cleaner, more refined stock. If you start with boiling water, you essentially "shock" the proteins on the outside of the bone, sealing in flavor rather than pulling it out into the liquid.
Why Filtered Water Matters
Your stock is 90% water. If your tap water is heavily chlorinated or contains high levels of heavy minerals, those flavors will be concentrated during the simmering process. Always use filtered water for your stocks. It is a minor detail that distinguishes the amateur from the professional. By removing chlorine and sediment, you ensure that the delicate flavors of your herbs and the savory depth of your marrow are the only things being highlighted in the final bowl.
Skimming the Scum
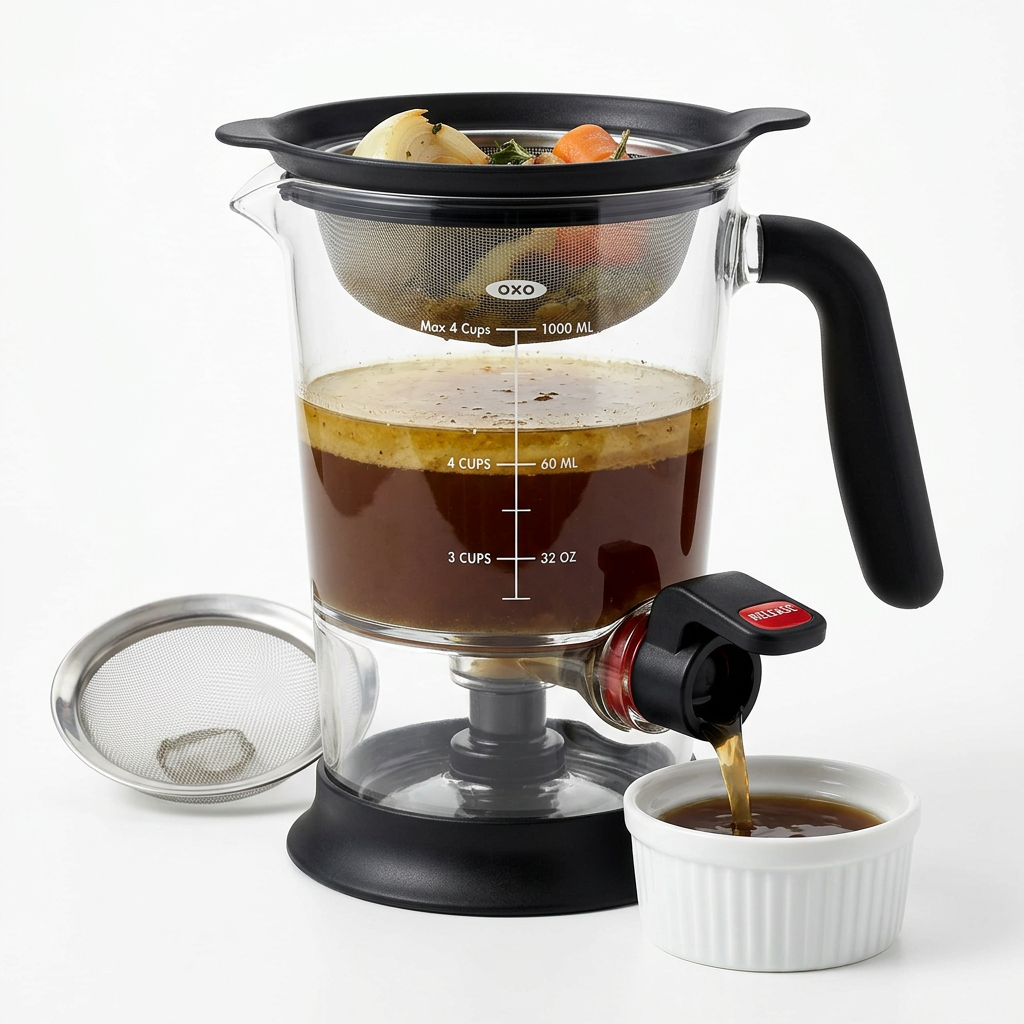
Regardless of how carefully you roast or simmer, you will notice a foam—often called "scum"—rising to the surface during the first hour of cooking. This is a collection of coagulated proteins and impurities. Skimming is mandatory. Use a fine-mesh skimmer or a deep ladle to clear the surface every 15 to 20 minutes during the initial stage. This simple act is the difference between a cloudy, dull stock and one that is clear, vibrant, and professional in appearance.
Storing, Degreasing, and Nutritional Preservation
Once your stock has finished its slow, steady journey, the way you treat the liquid is just as important as how you cooked it. Never leave your stock sitting at room temperature after the heat is turned off. The "danger zone" for bacterial growth is between 40°F and 140°F. You must cool your stock rapidly. The professional method involves an ice bath—place your pot of stock in a sink filled with ice and water, stirring occasionally until the liquid cools below 40°F. This prevents spoilage and preserves the delicate nutritional integrity you worked so hard to extract.
Managing Fat Content
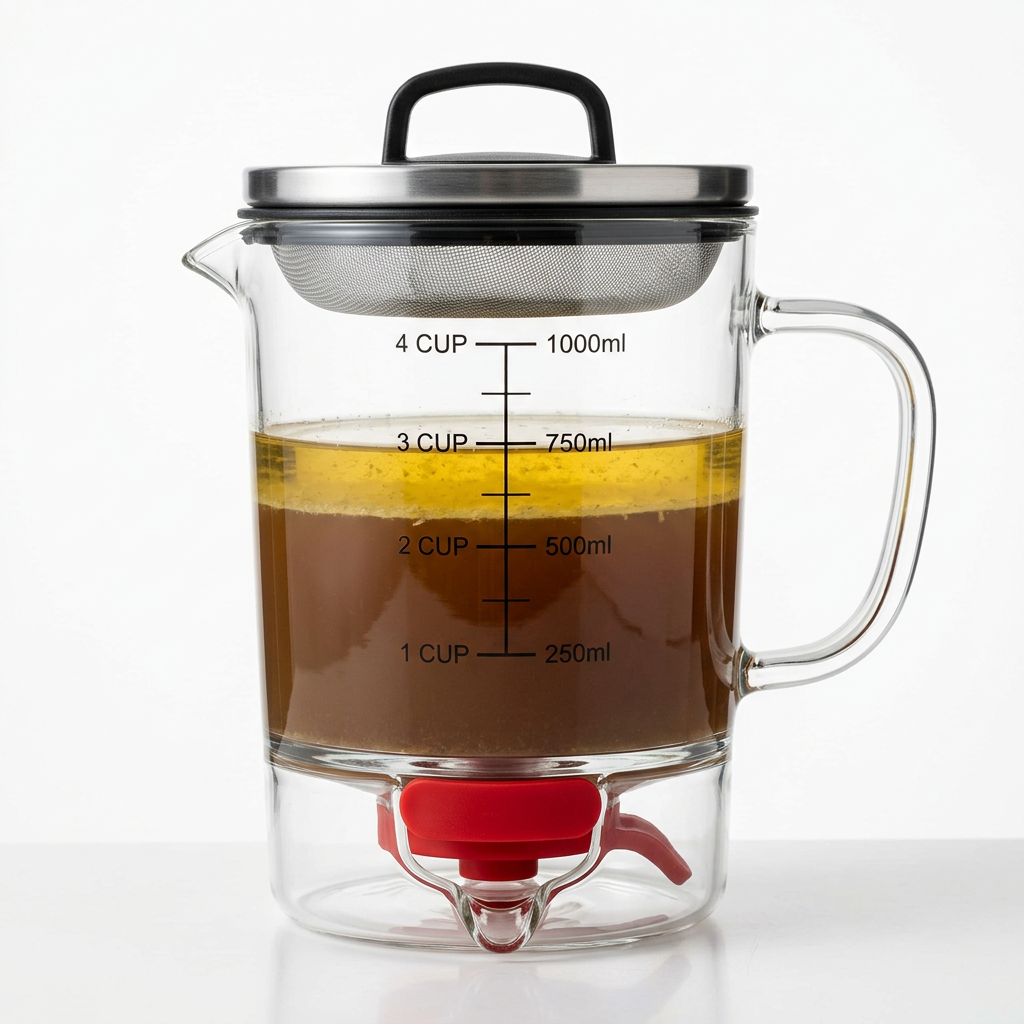
Fat is flavor, but too much of it can be overwhelming and make your dishes feel greasy. Once the stock is fully chilled in the refrigerator, a solid layer of fat will form on the surface. This fat acts as a seal, keeping the liquid underneath fresh for longer. When you are ready to use the stock, you can either scoop off this layer of fat and keep it for roasting vegetables—a delicious way to use your ingredients—or leave a thin layer if you prefer a richer mouthfeel.
Freezing for Longevity
Stocks freeze remarkably well. To save space in your freezer and make usage easier, consider freezing your stock in silicone muffin tins or ice cube trays. Once frozen, transfer the "pucks" to a freezer-safe bag. This allows you to pull out exactly two tablespoons of stock to deglaze a pan or two cups to start a stew, without having to thaw an entire gallon. Properly stored, your homemade stock will maintain its flavor and nutrient density for up to six months.
Advanced Techniques: Vegetable Stocks and Umami Bombs
Not every stock requires bones. A high-micronutrient vegetable stock is a fantastic alternative for those adhering to plant-based diets or for those who want a lighter base for delicate soups. The challenge here is replacing the richness of the collagen. To achieve this, we lean heavily into umami-rich vegetables. By roasting your carrots, onions, and fennel until they are deeply browned, you create a complex, sweet-and-savory flavor profile that mimics the depth of a meat-based stock.
The Umami Trio
To ensure your vegetable stock feels substantial, always include the "Umami Trio":
Balancing the Salt
The goal of this guide is to move away from the high-sodium profiles of store-bought broths. If you find your stock feels "bland," resist the urge to add salt while it is simmering. Salt is a finishing agent. By keeping your base salt-free, you have complete control over the seasoning of every individual dish you create later. If you add salt to the stock pot and then reduce that stock into a sauce, the salt concentration becomes dangerously high. Keep it unsalted until the moment of service.
"A well-crafted stock is a humble hero; it does the heavy lifting in the background, allowing the other ingredients in your meal to shine with brilliance."
Troubleshooting Common Issues
Even the most experienced chefs occasionally run into problems. If your stock turns out bitter, it is almost certainly due to over-simmered brassica-family vegetables or excessive herb stems. If it is cloudy, you likely boiled it too vigorously or failed to skim the impurities early on. Don't throw it away! A cloudy stock can be clarified using a "raft"—a mixture of egg whites and ground meat—though that is a topic for a much more technical guide. For the home cook, simply embrace the rustic, hearty nature of a cloudy stock; the nutrition is still there, even if the clarity isn't perfect.
The Texture Problem
Is your stock too thin? It lacks the necessary collagen. Next time, increase the ratio of joint-heavy bones—specifically chicken feet, beef knuckles, or calves' feet. If your stock is too thick, it is purely a matter of liquid-to-bone ratio. Remember that you can always add more water during the process if you notice the liquid reducing too quickly, but you can’t easily add more "body" after the fact. Aim for a ratio of approximately one pound of bones per liter of water for a strong, gelatinous result.
Consistency Through Discipline
Mastering stock is about building a habit. Spend one Sunday a month dedicating your kitchen to this process. Once you have a freezer stocked with your own, nutrient-dense base, you will find that you no longer need to rely on supermarket shortcuts. You will notice that your sauces have a better sheen, your soups have a deeper resonance, and your health benefits from the steady intake of high-quality, homemade nutrition. The "Blame The Chef" way is not about perfection on the first try; it is about the consistency of effort and the pursuit of flavor-first cooking.
Final Thoughts
The journey toward becoming a better home cook is rarely about learning complicated, flashy techniques that require expensive equipment. Instead, it is found in the slow, rhythmic tasks that define the heart of the kitchen. Making your own stock is perhaps the most significant step you can take to elevate your cooking. It is a humble, quiet process that rewards you with liquid gold—a versatile, health-promoting foundation that empowers you to cook with confidence and creativity. When you remove the reliance on hidden salts and processed fillers, you begin to truly taste your food again.
As you embark on this practice, remember that the "Blame The Chef" ethos is centered on the idea that you are the architect of your own culinary experience. Your stockpot is an extension of your commitment to yourself and those you feed. Do not be afraid to experiment with your aromatics, adjust your ratios, and find the balance that suits your personal palate. Whether you are creating a deep, dark beef bone broth or a light, bright vegetable essence, the pride of knowing exactly what went into your pot is the greatest seasoning of all.
Take these principles, clear some space on your stove, and reclaim your pantry. The time spent waiting for your stock to simmer is time well-invested. It is a moment of pause in a busy world, a chance to appreciate the raw ingredients, and a reminder that good things come to those who wait. You have the tools, the knowledge, and the methodology now—it is time to start simmering. Your kitchen is ready, your ingredients are waiting, and the results will speak for themselves in every spoonful that follows. Happy cooking, and remember: if the dish is incredible, take the credit, but if it needs a little work, well, you can always blame the chef.
Get the Next Recipe
Weekly recipes, techniques, and gear picks — straight to your inbox.
