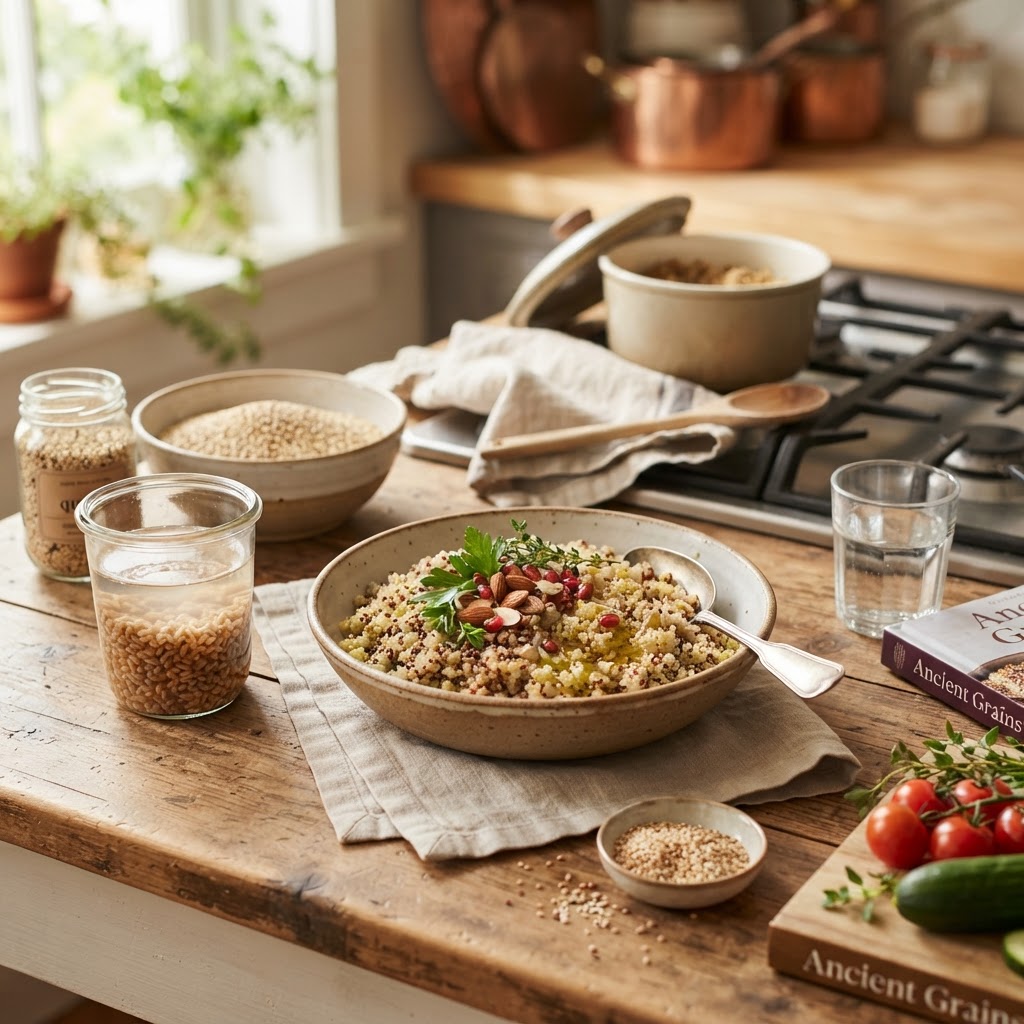
The Healthy Home Cook’s Guide to "Whole-Grain Hydration": Mastering Soaking and Cooking Times for Perfectly Tender, Nutritious Ancient Grains
The world of ancient grains is often shrouded in a veil of culinary mystery, leaving many home cooks intimidated by the prospect of turning a handful of hard, pebble-like seeds into a fluffy, flavorful, and nutrient-dense side dish. We have all been there—staring at a bag of farro or quinoa, wondering why our results consistently veer toward either crunchy disappointment or a soggy, unidentifiable mush. The secret to success does not lie in some high-tech kitchen gadget or an expensive meal kit service, but rather in the ancient and gentle art of hydration. By understanding the cellular structure of these grains, we can unlock their hidden potential, transforming them into the bedrock of a wholesome, satisfying diet that feels both sophisticated and deeply grounding.
When we talk about "whole-grain hydration," we are referring to the intentional process of preparing these hardy seeds for heat application, ensuring that the water penetrates deep into the bran and endosperm layers before the cooking process even begins. This is not merely about rehydrating dried goods; it is about activating enzymes, reducing anti-nutrients like phytic acid, and ensuring that every grain cooks at a uniform rate. Many home cooks skip this vital step, opting instead for a "dump and boil" method that forces heat through a resistant exterior, resulting in an uneven texture that lacks the delightful chew and nutty aroma characteristic of perfectly prepared whole grains. Mastering this technique is the ultimate shortcut to professional-level home cooking that elevates a simple bowl of grain into a culinary masterpiece.
At Blame The Chef, we believe that the kitchen is a laboratory of flavors, and your tools are the instruments with which you compose your daily nourishment. Ancient grains offer a unique nutritional profile, often packed with fiber, protein, and complex carbohydrates that keep us sustained throughout the busiest of days. However, their health benefits are only as accessible as our ability to prepare them correctly, which is why this guide is dedicated to the precise science of soaking and boiling. As you embark on this journey, I encourage you to treat these grains with the patience they deserve, observing how they expand, soften, and absorb liquid, ultimately rewarding you with a texture that is light, fluffy, and perfectly tender to the bite.
The Science of the Soak: Why Moisture Matters
The primary obstacle in cooking whole grains is the bran, a tough, fibrous outer layer that serves as a protective shell for the grain’s nutrient-rich endosperm. If you attempt to cook an unsoaked grain, the water must fight to penetrate this armor, which often leads to the outside of the grain overcooking and turning to paste while the inside remains stubbornly raw and chalky. By implementing a pre-soak technique, you essentially give the grain a head start, softening the exterior so that the heat can travel evenly throughout the kernel during the cooking process.
Beyond texture, the chemistry of the grain is vastly improved by soaking in a slightly acidic medium. Grains contain phytic acid, a compound that can bind to minerals like iron and zinc, making them harder for your body to absorb during digestion. By soaking grains in water with a splash of apple cider vinegar or lemon juice for several hours—or even overnight—you initiate an enzymatic process that neutralizes some of this phytic acid. This not only makes the grains more digestible but also enhances their natural flavor profile, allowing the subtle, earthier notes to shine through.
"The difference between a mediocre bowl of farro and a truly transcendent grain salad is not the recipe you follow, but the time you are willing to invest in the pre-cooking hydration process. Treat your ingredients like gold, and they will return the favor in your bowl."
Choosing Your Soaking Medium
While plain water is perfectly adequate for most soaking needs, you can customize your hydration liquid to infuse deeper flavor. For savory dishes, consider using a mild vegetable stock or even a splash of kombu-infused water. The porous nature of the grains means they will soak up whatever liquid you provide, effectively seasoning them from the inside out. Remember that when using a soak, you should always discard the soaking liquid before boiling to remove any of the liberated phytic acid or residual dust that may have accumulated during storage.
Mastering the Ratios: The Golden Rules of Water-to-Grain
One of the most frequent questions I receive is about the "magic ratio" for cooking grains. While there is no single ratio that fits every grain, there are fundamental principles that govern how these ingredients behave under heat. A general rule of thumb is that smaller, more delicate grains require less liquid, while dense, ancient grains like spelt or wheat berries require more. Understanding these proportions is the first step toward moving away from recipe dependence and toward culinary intuition.
Most home cooks find success by adhering to a 2:1 water-to-grain ratio for basic absorption methods, but this is merely a starting point. For grains that require a longer boil, such as hulled barley, you might find that a 3:1 ratio provides the buffer needed to ensure the grains don't dry out before they are tender. Conversely, quinoa and amaranth often thrive in a 1.5:1 ratio, as they absorb moisture quite rapidly and can easily become over-hydrated if given too much liquid.
The Absorption Method vs. The Pasta Method
There are two primary ways to approach the actual cooking of your grains. The absorption method involves cooking the grain in a measured amount of liquid until it has all been soaked up, which is ideal for preserving the grain's natural starches and nutty flavor. The pasta method, which entails boiling grains in an excess of salted water and draining them once they reach the desired tenderness, is often better for beginners. The pasta method is inherently more forgiving, as it eliminates the fear of burning the grains if your heat isn't perfectly calibrated or if the grain variety absorbs water faster than expected.
The Essential Toolkit for Perfectly Tender Grains
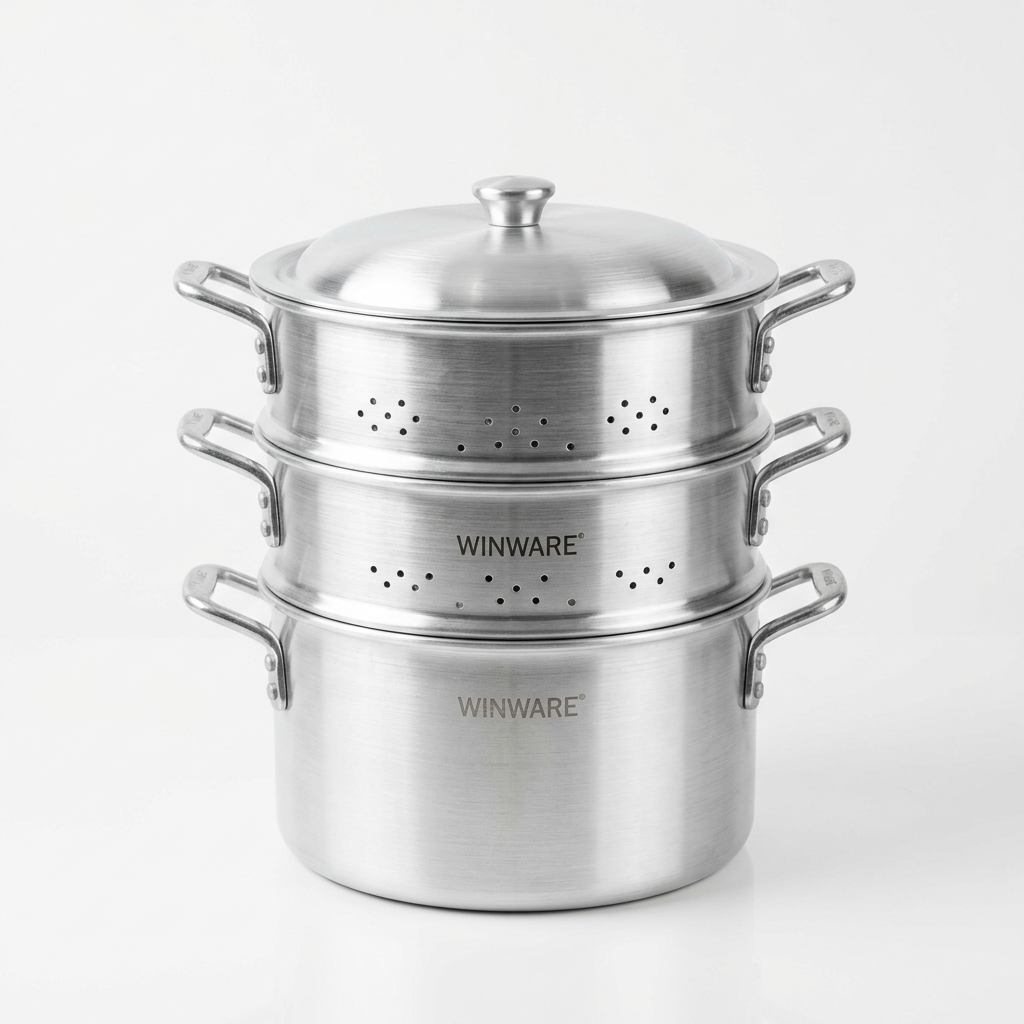
While you don't need a professional-grade kitchen to master whole grains, having the right equipment makes the process smoother and more consistent. A heavy-bottomed stainless steel saucepan is your best friend in the grain-cooking department. The thick base helps distribute heat evenly, preventing hot spots that cause the grains at the bottom to stick or scorch before the grains on top have finished cooking.
In addition to your cookware, consider investing in a fine-mesh sieve. Because ancient grains vary in size, you need a high-quality strainer to rinse them thoroughly under cold running water before soaking. This removes any debris, dust, or excess starch from the surface of the grain, which is the primary culprit behind a "gummy" final product. Rinsing until the water runs clear is a non-negotiable step for any professional chef.
"True culinary mastery is not found in the complexity of your ingredients, but in the precision of your preparation. When you respect the grain, the grain respects you back."
Temperature Control and Timing
Once your grain is added to the pot, the management of thermal energy is crucial. Most grains should be brought to a quick boil, immediately reduced to a low simmer, and then covered tightly to trap the steam. Steam is a powerful tool in grain cooking; it ensures that the top layer of grains is cooked through just as efficiently as those sitting in the liquid. If you find your grains are constantly undercooked, it is likely that your "simmer" is too gentle, or your lid is not forming a tight enough seal.
Troubleshooting the Common Pitfalls
Even with the best intentions, things can go wrong. Perhaps the most common issue is the "mush factor," where grains turn into a dense, flavorless paste. This usually happens when the grain has been cooked for too long or stirred too vigorously. Many home cooks have the urge to stir their grains frequently, but this breaks the outer structure of the seed, releasing starches that create that undesirable sticky texture. Once the grains are in the pot, let them be; the steam and the simmering water will do all the work for you.
If your grains are consistently coming out too crunchy, you may be dealing with grains that were not soaked for long enough, or heat that was too high, causing the water to evaporate before the grain could fully soften. In these cases, try adding a small splash of hot water, covering the pot again, and letting it sit off the heat for five to ten minutes. This "steaming phase" off-heat is a professional secret that allows the residual moisture to equalize through the grain, resulting in a perfect, fluffy texture.
Seasoning Strategies
Should you salt your grain water? Absolutely. Many home cooks worry that adding salt to the cooking water will toughen the skin of the grain, but this is largely a myth when it comes to whole grains. Salting the water early in the process allows the salt to penetrate the grain as it expands, ensuring every bite is flavorful. Furthermore, consider adding aromatics like a bay leaf, a clove of garlic, or a sprig of fresh thyme to your pot to enhance the earthy profile of the grains.
Exploring the Grains: A Guide to the Ancient Pantry
Not all grains are created equal, and understanding the specific needs of each variety will change how you approach your weekly meal prep. Farro, for instance, comes in three main varieties: whole, semi-pearled, and pearled. The whole variety requires a long soak and a long boil, while the pearled variety cooks much faster. Knowing which type you are dealing with is essential for achieving the perfect "al dente" texture that makes farro so beloved in salads and soups.
Spelt is another ancient grain that offers a robust, hearty chew, making it an excellent base for grain bowls or a substitute for rice. Because it is high in fiber, it demands a significant amount of water and a patient simmer. Bulgur, on the other hand, is technically a parboiled grain, which means it requires almost no cooking time at all. Simply pouring boiling water over it and letting it sit covered for twenty minutes is usually sufficient, making it one of the most convenient grains to incorporate into a busy schedule.
Grain Profiles at a Glance
Quinoa:* The quick-cooking wonder. Needs a quick rinse to remove bitter saponins. 1:1.5 ratio, 15 minutes.
Farro (Whole):* The king of chew. Needs an overnight soak. 1:3 ratio, 45-60 minutes.
Millet:* The delicate porridge grain. Often toasted in the pan first. 1:2 ratio, 20 minutes.
Wheat Berries:* The long-game champion. Soak for 8 hours, boil for 60-75 minutes.
Freekeh:* The smoky, roasted gem. 1:2.5 ratio, 30-40 minutes.
The Art of Finishing: From Pot to Plate
Once your grains are perfectly cooked, the way you finish them is what bridges the gap between a side dish and a main event. A splash of high-quality extra-virgin olive oil or a pat of grass-fed butter added right after draining can prevent the grains from sticking together and adds a luxurious mouthfeel. If you are serving the grains as a salad base, let them cool slightly before adding your fresh herbs, citrus juice, and crunchy vegetables.
Freshness is key when it comes to garnishes. Herbs like parsley, mint, and cilantro bring a brightness that cuts through the heaviness of the grains. If you are serving your grains warm, consider folding in a handful of baby spinach or arugula just before serving—the residual heat of the grains will wilt the greens just enough to create a beautiful, cohesive dish. Do not underestimate the power of toasted nuts or seeds to provide that final layer of textural contrast.
Storing and Reheating
Whole grains are the ultimate meal-prep ingredient, as they hold up exceptionally well in the refrigerator for up to five days. To keep them fresh, store them in an airtight container with a paper towel tucked under the lid to absorb any excess moisture. When reheating, avoid the microwave if possible; instead, place them in a pan with a tiny splash of water or broth over medium heat, stirring gently until they are warmed through. This method keeps the integrity of the grain intact and prevents that "reheated" taste.
Elevating Your Culinary Craft: Beyond the Basics
As you become more comfortable with these foundational techniques, you will find that your confidence in the kitchen grows. You will stop looking for recipes that tell you exactly what to do and start trusting your eyes and your palate to tell you when a grain is ready. This is the hallmark of a healthy home cook—the ability to look at an ingredient and know how to coax the best possible version of it into existence.
Remember that grains are more than just carbohydrates; they are a blank canvas for your creativity. Whether you are creating a breakfast bowl with cinnamon, chopped apples, and toasted walnuts, or a robust dinner bowl with roasted root vegetables, feta cheese, and a lemon-tahini dressing, the foundation of your meal is the perfectly hydrated grain. Keep experimenting, keep tasting, and don't be afraid to blame the chef if the first attempt doesn't turn out quite right—it’s all part of the learning process.
The Nutritional Advantage
By mastering these techniques, you are ensuring that you are getting the absolute maximum nutritional value from your ancient grains. You are choosing to invest time in a process that respects the food, the planet, and your body. When we cook from scratch, we become more aware of what we are putting into our systems, and the result is a deeper sense of connection to the food we eat. Keep this guide in your kitchen, use it as a reference, and let it serve as a reminder that healthy cooking is not a chore—it is a joy.
Final Thoughts
The journey to becoming a master of whole grains is a path of patience, observation, and respect for the ingredient. We have discussed the critical nature of the soak, the importance of water-to-grain ratios, and the subtle art of managing heat and steam. Whether you are working with the earthy, toothsome quality of wheat berries or the quick, delicate nature of quinoa, the principles remain consistent. You are learning to read the grains, listening to how they respond to hydration, and adjusting your techniques to ensure that every bowl you prepare is a testament to your growing culinary skill.
As you move forward, continue to lean into the experimentation. Try different soaking times, test new aromatics in your boiling water, and play with the textures by blending different types of grains. Maybe you will find that a mix of farro and quinoa provides the perfect balance of chew and lightness for your Saturday salad. Perhaps you will discover that a quick toast in a dry pan before boiling adds a depth of flavor you hadn't previously experienced. These small, incremental discoveries are what define the home chef and make cooking a truly fulfilling daily practice.
Above all, remember that healthy cooking should never feel like a sacrifice. It is an opportunity to nourish yourself with ingredients that have stood the test of time, prepared in ways that honor their natural integrity. If you find yourself frustrated, take a step back, look at your results with a critical but kind eye, and try again. Each attempt is a lesson, and every perfect grain is a victory worth celebrating. Stay consistent, stay curious, and most importantly, stay in the kitchen—because that is where the magic happens, one grain at a time. The world of whole-grain hydration is now open to you; it is time to turn those hard seeds into something soft, nutritious, and absolutely delicious.
In concluding this guide, I want to emphasize that the most important tool you have is your own palate. Don't rely solely on timers—use them as a guide, but trust your senses. When the grain is fragrant, when it has absorbed the liquid, when it has reached that perfect level of "al dente" tenderness, that is your signal to stop. Trusting yourself is the final step in moving from a person who follows recipes to a person who truly understands the art of cooking. Happy grain-prepping, and may your bowls always be filled with the hearty, wholesome goodness that you have worked so hard to master today. Keep creating, keep tasting, and remember that with the right technique, you can elevate even the simplest bag of grains into a gourmet experience that defines the modern, healthy home kitchen. Your kitchen, your rules, your grains—enjoy the process.

Get the Next Recipe
Weekly recipes, techniques, and gear picks — straight to your inbox.
