The Home Cook’s Guide to Blade Alignment: Mastering Honing Rod Angles for Consistent, Razor-Sharp Knife Maintenance
There is an undeniable, visceral satisfaction that comes from a chef’s knife gliding through a ripe tomato without even the slightest hint of resistance. For many home cooks, this feeling is elusive, often fleeting, and eventually replaced by the dreaded frustration of a blade that seems to snag, tear, and crush rather than slice. We often blame the knife, the manufacturer, or even the board, but more often than not, the culprit is our own lack of discipline regarding basic maintenance. The art of honing is not merely a chore to be completed before a meal; it is a fundamental pillar of culinary practice that separates those who simply prepare food from those who truly master their craft. By understanding the geometry of your edge, you can transform your kitchen experience from a battle against your ingredients into a seamless, rhythmic dance of preparation.
Many people confuse honing with sharpening, using the terms interchangeably as if they refer to the same process. In reality, these are two distinct maintenance routines that serve very different functions in the lifespan of your cutlery. While sharpening involves the actual removal of metal to recreate a profile or bevel, honing is about alignment, gently nudging the microscopic teeth of the edge back into a straight, unified row. Think of your blade’s edge like a finely tuned instrument that drifts out of tune with every strike against a hardwood cutting board. When you choose to ignore this drift, you aren't just losing your edge; you are inviting unnecessary risk, as a dull knife requires significantly more force and is far more likely to slip and cause injury.
At "Blame The Chef," we believe that every home cook deserves to feel like a professional in their own space, and that starts with understanding the tools you hold in your hand every single day. Mastering the honing rod is the single most effective way to extend the time between professional sharpening sessions and to ensure that your knife is always ready for the task at hand. It is a meditative process, one that requires focus, a steady hand, and a commitment to precision. Once you develop the muscle memory to maintain a consistent angle, you will find that your knives stay sharper for longer, your prep work becomes significantly faster, and your confidence in the kitchen reaches a level you never thought possible. Let us dive into the mechanics of the edge and learn how to keep your steel in peak condition.
The Science of the Edge and the Role of the Honing Rod
When we speak of a "sharp" knife, we are actually discussing the convergence of two flat surfaces at an incredibly acute angle. Under a powerful microscope, even the most expensive, hand-forged Japanese blade does not look like a smooth, solid line; instead, it resembles a microscopic saw. As you slice through onions, debone chicken, or even chop herbs, those thin, fragile teeth at the very tip of the edge begin to bend and fold over. This phenomenon is known as edge rolling. It doesn't mean the metal is dull—it simply means it is misaligned, and the resistance you feel is the edge dragging through the product rather than parting it cleanly.
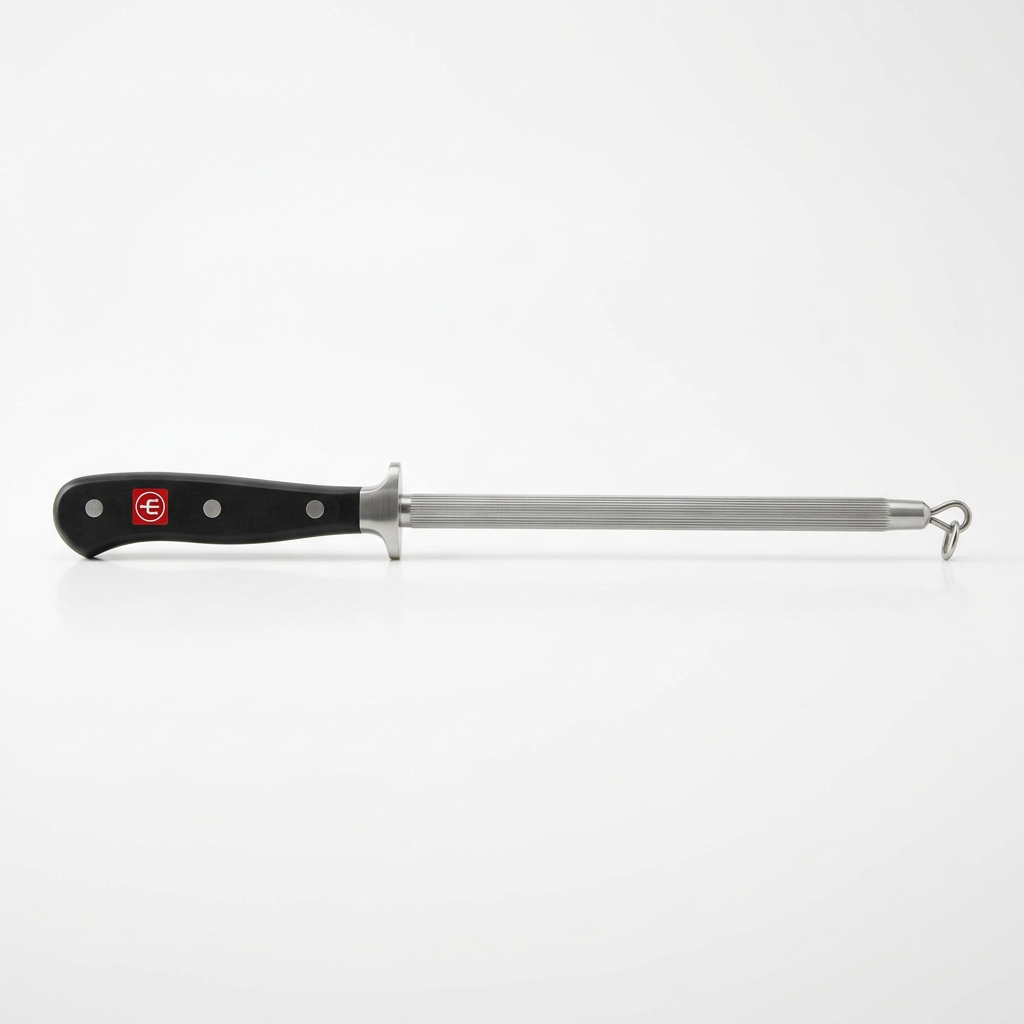
The honing rod, often referred to as a steeling rod or honing steel, serves to push these microscopic teeth back into alignment. It is crucial to understand that a honing rod does not remove significant amounts of material. If you find yourself needing to press hard, you are likely using the wrong technique or trying to use the rod to perform a task for which it was not intended. The rod is a restorative tool, designed to keep your edge performing at its best, provided that your knife hasn't already lost its primary bevel.
Understanding Metal Fatigue and Material Choice
It is important to select the right rod for the right knife. Not all rods are created equal, and using an overly aggressive diamond-coated rod on a delicate, high-carbon steel blade can actually do more damage than good. Generally, there are three types of rods you will encounter:
"A sharp knife is a safe knife. When the blade is properly aligned, you need only the weight of the knife to do the work. If you find yourself pushing down, you have already lost the edge."
Determining Your Angle: The Geometry of Cutting
The secret to a perfect hone lies in the geometry. Most Western-style knives—the classic German workhorses like Wüsthof or Henckels—are ground to an angle of about 20 to 22 degrees per side. Japanese knives, often made from harder, thinner steel, are typically ground much sharper, between 12 and 15 degrees. This difference is critical because if you hone a Japanese blade at a 20-degree angle, you are not aligning the edge; you are inadvertently creating a secondary, much blunter bevel that will make your precision knife feel dull instantly.
Finding this angle can be intimidating for beginners. We often suggest the "matchbook method" or the "stacking coins" technique to help you visualize the geometry. If you take a standard matchbook, its thickness often corresponds to the perfect distance to hold the spine of a knife away from the rod to achieve roughly a 20-degree angle. For a 15-degree angle, you want to be slightly lower, closer to the rod. Over time, this becomes an intuitive sense, but for the first few dozen times, use a guide if you feel unsure.
The Physics of the Contact Point
The goal is to maintain constant, light pressure while the edge traverses the rod from heel to tip. If you press too hard, you risk damaging the edge by digging into the rod or creating uneven wear. Keep your movements fluid and deliberate. It is better to perform ten slow, controlled strokes than to rush through a dozen haphazard ones that fail to hit the mark. Think of the edge as a fragile wire that needs to be guided straight; you are the conductor of this process, ensuring each pass reinforces the integrity of the steel.
Mastering the Motion: A Step-by-Step Technique
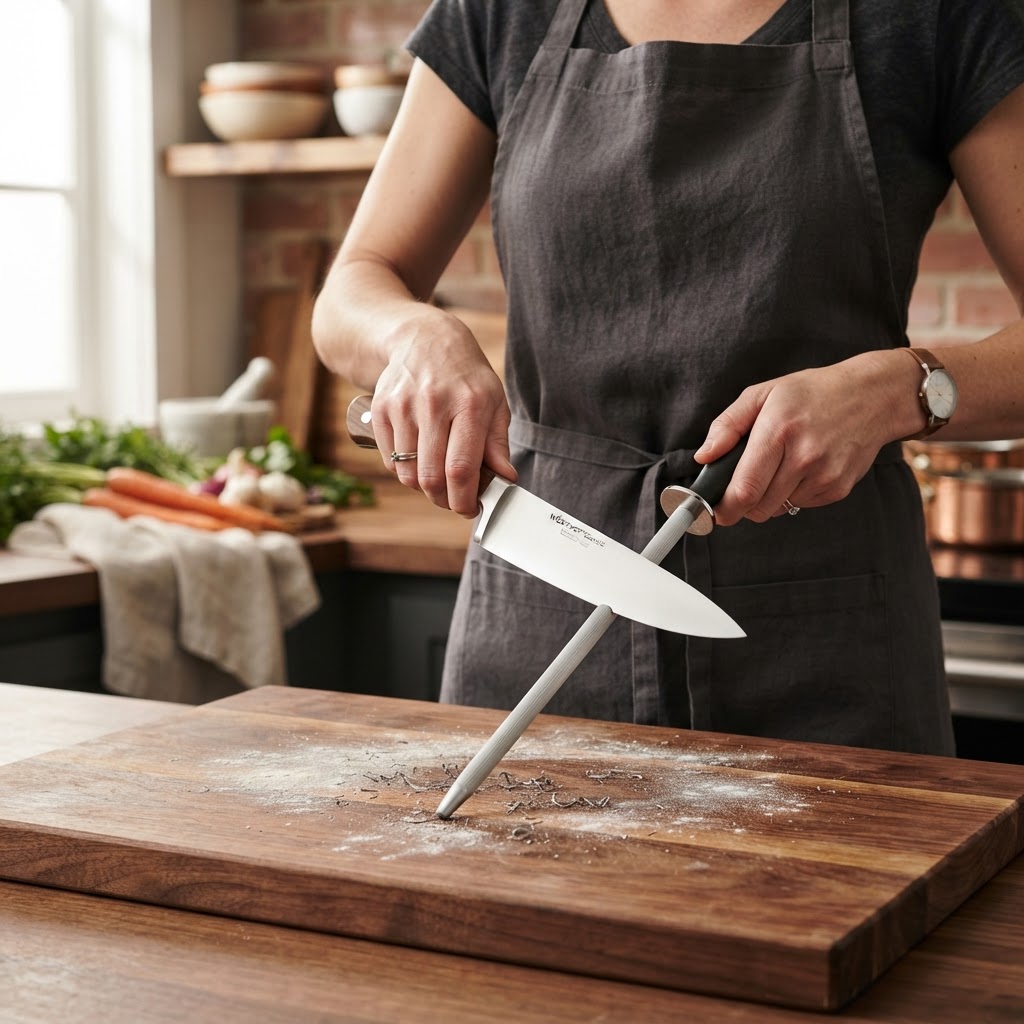
When you are ready to hone, ensure you have a stable surface. You can either hold the rod vertically with the tip resting firmly on a cutting board or hold it horizontally in the air. For beginners, the vertical method is safer and more consistent. Place the tip of the rod on a folded kitchen towel on your board to prevent it from slipping. This eliminates one variable—the movement of the rod itself—and allows you to focus entirely on the angle of the knife.
The Standard Honing Procedure
Common Errors to Avoid
The most frequent mistake is "rounding the tip." This happens when the user finishes the stroke by lifting the handle too high, causing the very tip of the knife to dig into the rod. Remember to maintain the angle until the very tip of the blade leaves the rod entirely. Another common error is "rushing the heel." If you start your stroke too far down the rod, the back portion of your blade—the part closest to the bolster—will never be properly honed. Always start at the very base of the blade.
"Consistency is the soul of professional technique. You are not trying to change the knife; you are trying to remind it of its purpose."
Integrating Honing into Your Daily Workflow
Professional chefs have a rhythm. They don't wait for a knife to be dull to hone it; they integrate the process into their "mise en place." Before every major prep task—chopping a pile of mirepoix, breaking down a bird, or chiffonading basil—a few passes on the steel are mandatory. This ensures that the edge is always at its absolute peak performance. By normalizing this habit, you ensure that your knife maintenance never feels like a burden, but rather a preparatory step just like sharpening your pencil or tying your apron.
The Importance of the Cutting Board
Your relationship with the honing rod is intrinsically linked to your cutting board. If you are using a glass, stone, or ceramic board, no amount of honing will save your blade. These surfaces are harder than the steel itself and will deform your edge almost instantly upon impact. Stick to end-grain wood or high-quality rubber/polyurethane boards. These materials provide the necessary "give" that allows the blade to bite into the surface without immediately folding the microscopic teeth over. If you take care of your board, your rod has much less work to do.
Establishing a Cleaning Routine
After honing, always wipe your blade with a clean, damp cloth. Despite the fact that honing removes very little material, microscopic metal filings are still produced. You do not want these finding their way into your delicate sauces or salads. Additionally, wipe your honing rod down regularly with a dry cloth or a mild abrasive pad to remove buildup. A dirty rod can actually push old, oxidized metal debris back into your clean blade, which is counterproductive and can lead to uneven edge wear over time.
When Honing Isn't Enough: Knowing Your Limits
There comes a point in every knife's life where the honing rod is no longer the solution. If your knife is sliding off the skin of a tomato or struggling to pierce the tough exterior of a bell pepper despite consistent honing, the edge has likely become too rounded. This happens over time even with the best care, as the microscopic teeth eventually break off or become so dull that they cannot be realigned. This is where the difference between honing and sharpening becomes painfully obvious.
Recognizing the Signs of a Dull Edge
If you find that you are using physical effort to cut, or if the knife feels "grabby" on the cutting board, it is time for a professional sharpening or a session with your whetstones. A truly sharp knife should feel effortless. Another classic test is the "paper test." Hold a piece of printer paper in the air and try to slice through it. A sharp knife will glide through the paper with zero resistance. If the blade tears the paper, catches, or requires a sawing motion, you are past the point of maintenance and into the realm of restoration.
The Three Pillars of Edge Maintenance
To keep your knives in top shape, view your maintenance as a tiered system:
Level 1 (Daily)*: Use a honing rod before every heavy prep session to keep the edge aligned.
Level 2 (Weekly/Bi-weekly)*: Use a fine ceramic rod or a finishing stone (high grit) to lightly refresh the edge.
Level 3 (Monthly/Quarterly)*: Perform a full sharpening session on whetstones (starting with a 400-grit stone, followed by 1000, and finishing with 3000-6000 grit) to reform the geometry.
Advanced Techniques and Professional Nuances
Once you have mastered the basic vertical honing technique, you can experiment with "free-hand" or "air" honing, which is the preferred method for many professional chefs in a fast-paced environment. This involves holding the rod in one hand and the knife in the other, moving both simultaneously. This is purely for efficiency and requires significant practice, but it allows for quick touch-ups while working at a station. We recommend waiting until you have full confidence in your muscle memory before attempting this, as it increases the risk of the blade slipping and cutting your supporting hand.
The Myth of the "Magnetic" Draw
Some home cooks believe that the magnetism of a rod helps pull the edge into place. While some professional rods are magnetized to help capture metal filings, the magnetism does absolutely nothing to align the edge. The alignment is purely a mechanical function of the angle and the pressure applied. Do not rely on the feel of the rod to "pull" the knife; you must provide the deliberate, controlled force necessary to guide the steel.
Storing Your Knives for Success
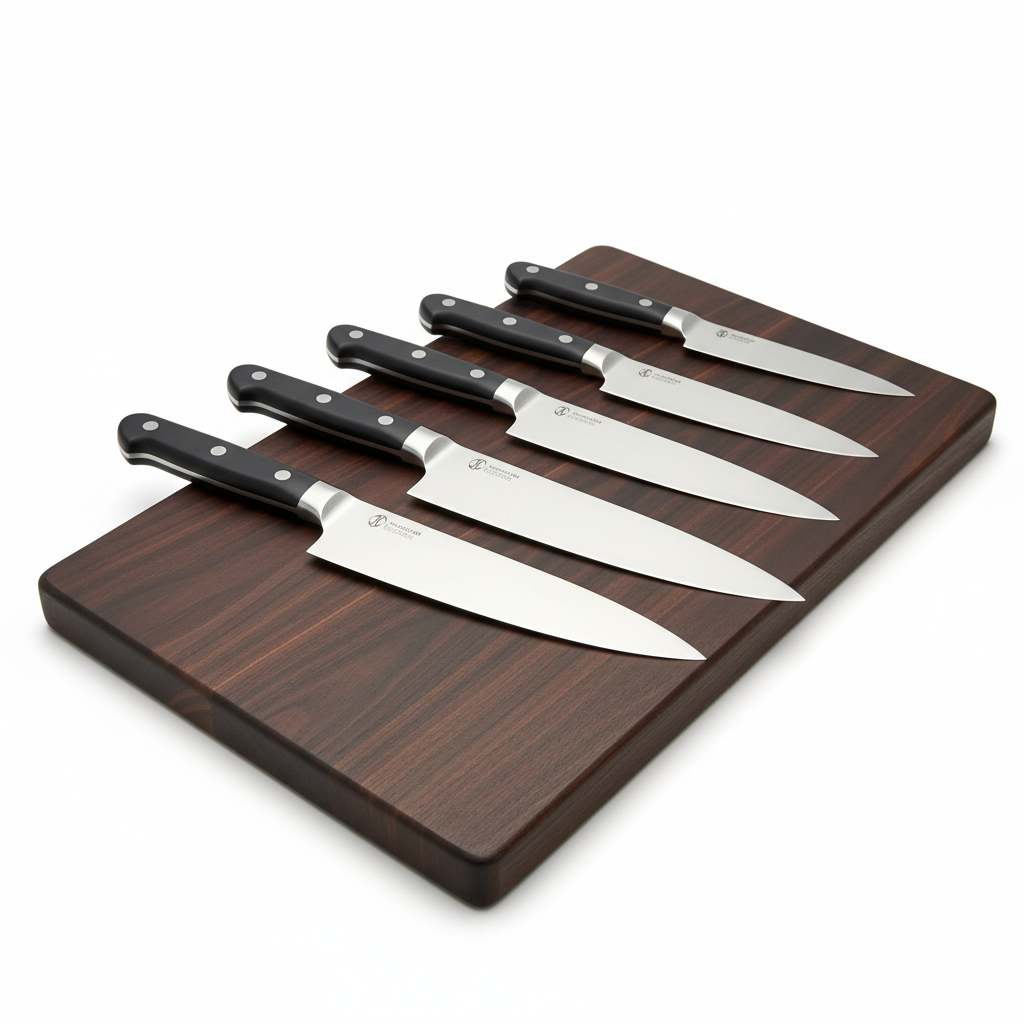
Maintenance doesn't stop when the cooking is finished. How you store your knife is just as important as how you hone it. Avoid throwing your knives into a kitchen drawer where they will bang against other metal utensils—this is the fastest way to ruin an edge. Invest in a magnetic knife strip or an in-drawer wooden block that allows the blades to sit upright or on their spines. By preventing metal-on-metal contact, you significantly reduce the amount of honing required in the future.
"A kitchen is a workshop, and your knife is your primary tool. Treat it with the same respect you would accord any fine mechanical device, and it will reward you with years of faithful, razor-sharp service."
Final Thoughts
The journey toward kitchen mastery is paved with small, consistent efforts rather than grand gestures. Learning to hone your knife is not about becoming a blacksmith or a metallurgical expert; it is about cultivating an awareness of the physical tools that facilitate your creativity. When you learn to listen to your blade, when you understand the angle that defines its personality, and when you develop the habit of regular, gentle alignment, you are no longer just a person following a recipe. You are a practitioner of the culinary arts.
At "Blame The Chef," we hope this guide serves as a foundational step in your progression. Don't be discouraged if your first few attempts feel clumsy or if your angle wanders. Precision is a byproduct of repetition. Keep your rod clean, keep your pressure light, and keep your focus on the blade. You will eventually find that rhythm where the knife moves as an extension of your own hand, making the transition from raw ingredient to plated masterpiece feel almost magical.
As you move forward in your culinary journey, remember that maintenance is a form of respect—respect for the ingredients you cook, respect for the time you spend in the kitchen, and respect for the tools that make your work possible. A well-honed knife does more than just cut; it honors the process of cooking. So, the next time you step up to your cutting board, take those extra thirty seconds. Pull that rod from the drawer, find your angle, and let your edge sing. Your prep will be faster, your cuts will be cleaner, and your final dishes will undoubtedly reflect the care you’ve put into your craft. Happy cooking!
***
Pro-Tip Summary for the Aspiring Chef:
By adhering to these principles and making the honing rod a permanent resident in your prep routine, you are setting yourself up for long-term success. Every slice of a tomato, every dice of a carrot, and every mince of a shallot becomes a testament to the fact that you have mastered your tools. There is nothing quite like the feeling of a blade that is truly, consistently sharp—it is the hallmark of a cook who understands that the foundation of great food starts long before the flame is lit. Keep your steel true, your angles consistent, and your focus sharp. Your kitchen is now your sanctuary, and your knife is your most trusted companion. Continue to practice, stay curious, and never stop refining your technique. The path to perfection is in the daily practice.

Get the Next Recipe
Weekly recipes, techniques, and gear picks — straight to your inbox.
