The Home Cook’s Guide to Cutting Boards: Mastering Material Selection, Knife Maintenance, and Sanitation for Safe Preparation
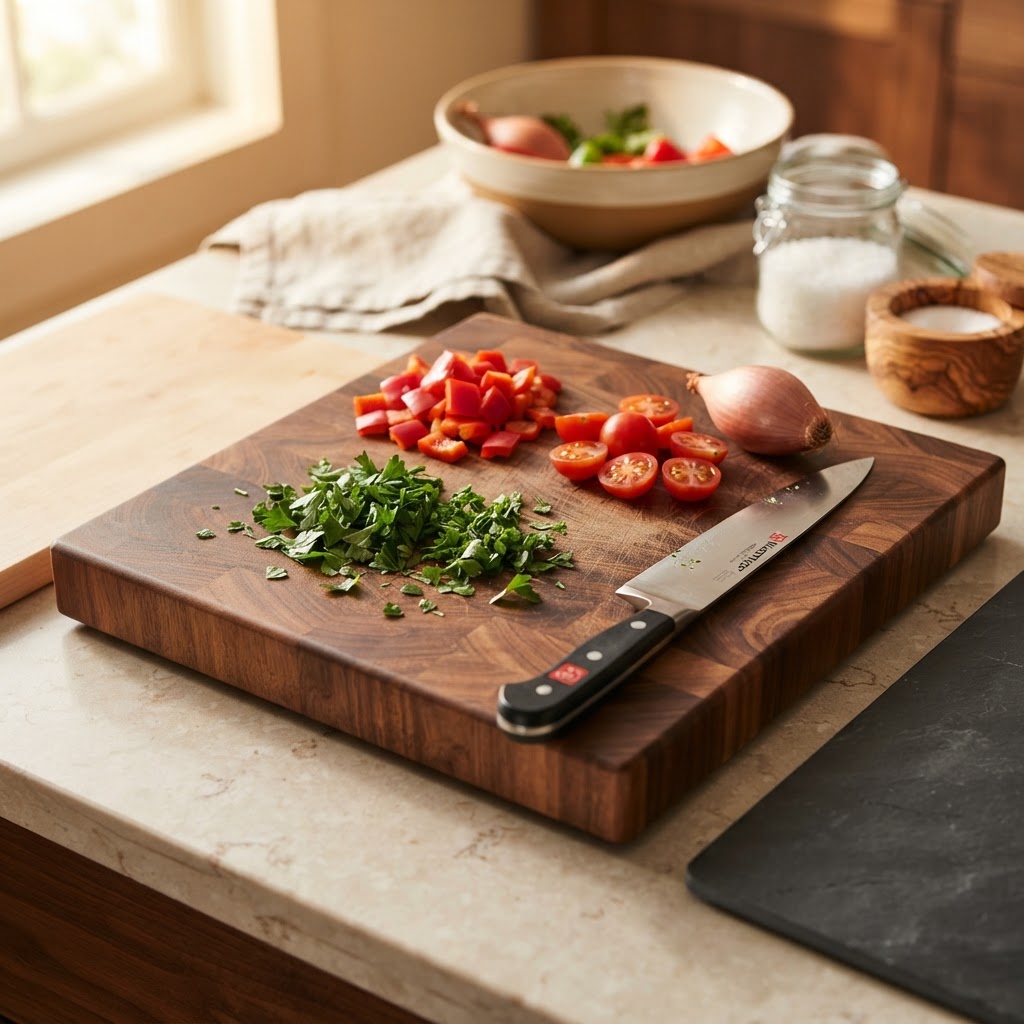
Every professional kitchen operates on a rhythm dictated by the tools of the trade, and if you have ever wondered why your knives lose their edge or why your vegetables seem to lose their vibrancy, the answer often lies right beneath them. A cutting board is not merely a piece of wood or plastic you shove under a carrot; it is the foundation of every meal you prepare, acting as both a workspace and a guardian of your culinary hardware. Many home cooks make the mistake of viewing the cutting board as an afterthought, opting for cheap, flimsy surfaces that slide across the counter or harbor bacteria. By shifting your perspective and treating your board as a high-performance instrument, you not only improve the longevity of your knives but also elevate the safety and hygiene standards of your home kitchen.
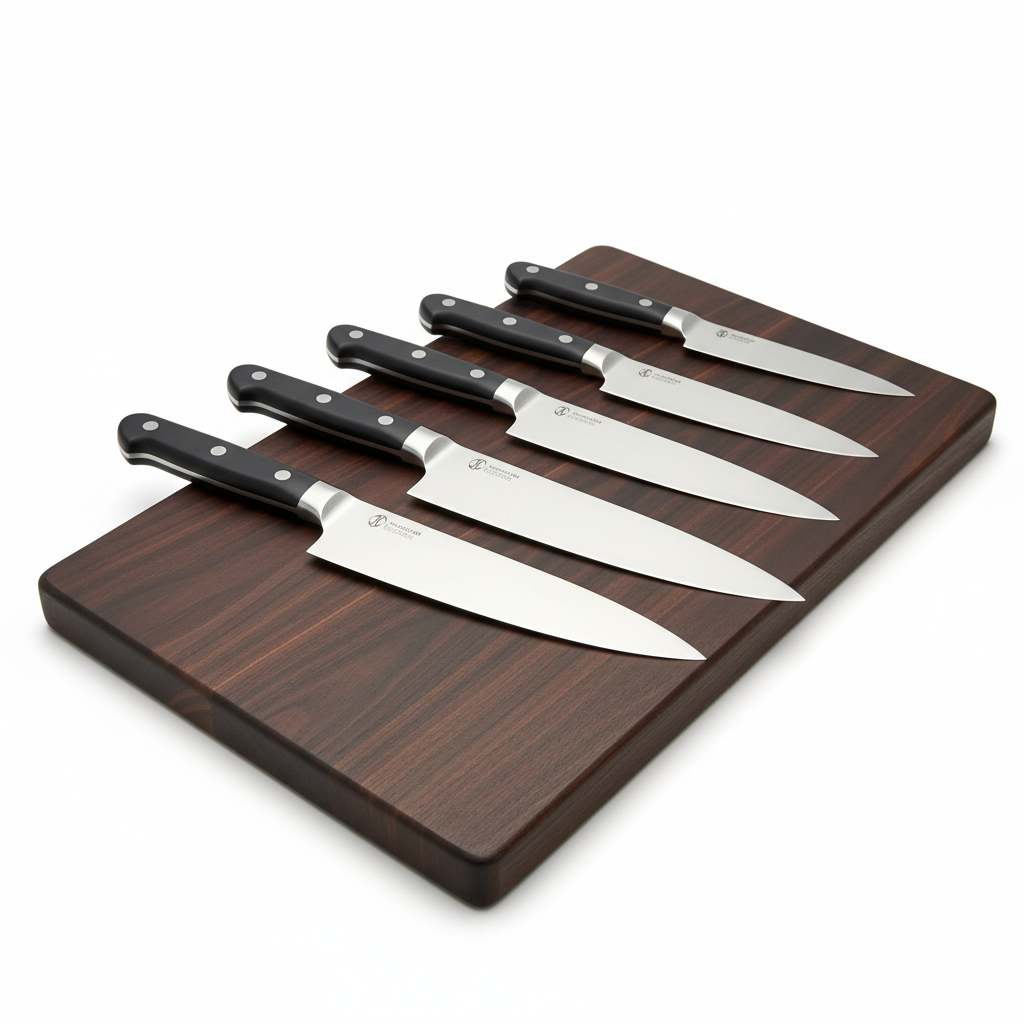
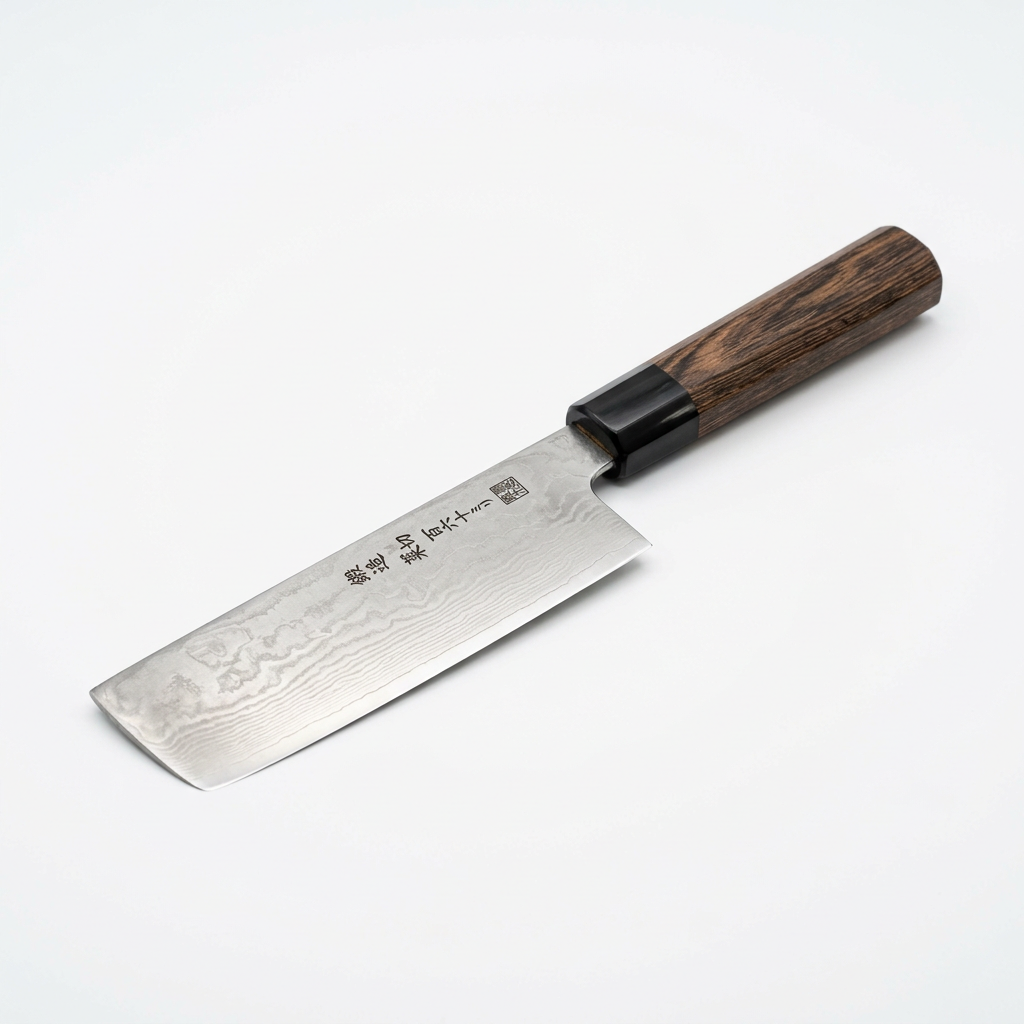
To master the art of cooking, one must first master the surface upon which that cooking begins. We spend hundreds of dollars on high-carbon steel knives and professional-grade cookware, yet we often compromise the integrity of those investments by cutting on glass, ceramic, or ultra-hard acrylic surfaces. These materials act like sandpaper against steel, dulling even the finest Japanese-forged blades within a matter of weeks. The ideal cutting board should be soft enough to "give" under the weight of a blade, absorbing the impact rather than fighting against it. This simple alignment of materials—soft blade against supportive surface—is what separates the frustration of a dull knife from the seamless joy of a clean, effortless slice.
In the following guide, we are going to dive deep into the world of cutting boards, covering everything from the grain orientation of your wood to the specific sanitization protocols required to keep your kitchen free of cross-contamination. We will look at how to maintain your boards so they last for decades, and we will debunk the common myths that lead home cooks into dangerous culinary habits. Whether you are a weekend warrior or an aspiring professional, understanding the science and maintenance of your cutting surface is the single most important step you can take to upgrade your kitchen repertoire. Grab a drink, pull up a stool, and let’s get into the mechanics of the kitchen's most overlooked hero.
The Architecture of Wood: Why Material Matters
When we talk about the best surface for your knives, wood stands head and shoulders above the rest. Specifically, hardwoods such as maple, walnut, and cherry are the gold standard for professional kitchens and discerning home cooks alike. These woods possess a tight grain structure that is durable enough to withstand thousands of chops, yet flexible enough to cushion the edge of a high-performance steel blade. The goal is to choose a surface that possesses the perfect balance of hardness and self-healing properties, ensuring that the fibers of the wood close back up after a cut is made.
Grain Orientation and Knife Longevity
The secret to the longevity of your board lies in how it is constructed. End-grain boards are widely considered the superior choice for professional chefs. In these boards, the wood fibers are oriented vertically, meaning that when your knife blade strikes the surface, it slices between the fibers rather than cutting across them. This action not only keeps your knife sharper for significantly longer periods but also helps the board "heal" itself, as the fibers spring back into place after the blade is removed.
Edge-grain boards, while cheaper and more common, are constructed with the wood fibers running horizontally. While they are beautiful and easier to clean, they will eventually show visible scores and grooves where the knife has sliced through the wood grain. If you are serious about your knife collection, investing in an end-grain board is a rite of passage. It is a piece of equipment that, with proper care, will serve your family for generations.
"A sharp knife is a safe knife, but a sharp knife is only as good as the surface it bites into. Treat your cutting board as an extension of your blade, not as a casualty of your prep work."
Understanding Hardness Ratings
Not all wood is created equal. Wood hardness is measured on the Janka hardness scale, which determines how much force is required to embed a steel ball into the wood. For cutting boards, you want to stay within a specific "Goldilocks" zone—too soft, and the board will gouge and hold bacteria; too hard, and you will dull your knives instantly. Hard maple sits perfectly in this sweet spot, which is exactly why it has been the industry standard for butcher blocks for over a century. Avoid exotic, excessively hard woods like bamboo or teak if you are using expensive, thin-edged knives, as these can be surprisingly abrasive.
The Case Against Glass, Ceramic, and Plastic
It is a common sight in kitchens across the world: a beautiful tempered glass cutting board sitting on the counter. While these may look aesthetically pleasing and are touted for their easy cleaning, they are, quite frankly, a nightmare for your knives. Glass is significantly harder than the steel of your blade. Every time you strike a glass surface with a knife, the edge of the blade is folded, chipped, or dulled instantly. It is effectively the same as sharpening your knife against a rock—the opposite of what you want.
The Problem with Plastic
Plastic boards, specifically those made of high-density polyethylene (HDPE), are common in commercial kitchens because they are inexpensive and dishwasher safe. However, there are significant drawbacks. Over time, these boards become riddled with deep knife scores that are nearly impossible to clean thoroughly, creating a sanctuary for bacteria and microplastics that can end up in your food. While color-coded plastic boards (red for raw meat, green for produce) are useful for preventing cross-contamination, they should never be the primary surface for your delicate prep work.
Sanitation Risks and Micro-Abrasions
Once a plastic board develops heavy scoring, it must be resurfaced or discarded. Deep grooves are virtually impossible to sanitize, even in a commercial dishwasher. Because plastic is non-porous, it does not have the natural antimicrobial properties that some woods possess. If you choose to use plastic, make it your "utility board" for high-risk items like raw poultry, but always ensure you are scrubbing it with a stiff-bristled brush and using a mild bleach solution (1 tablespoon of bleach per gallon of water) to ensure full pathogen removal.
Mastering Maintenance: Oiling and Conditioning
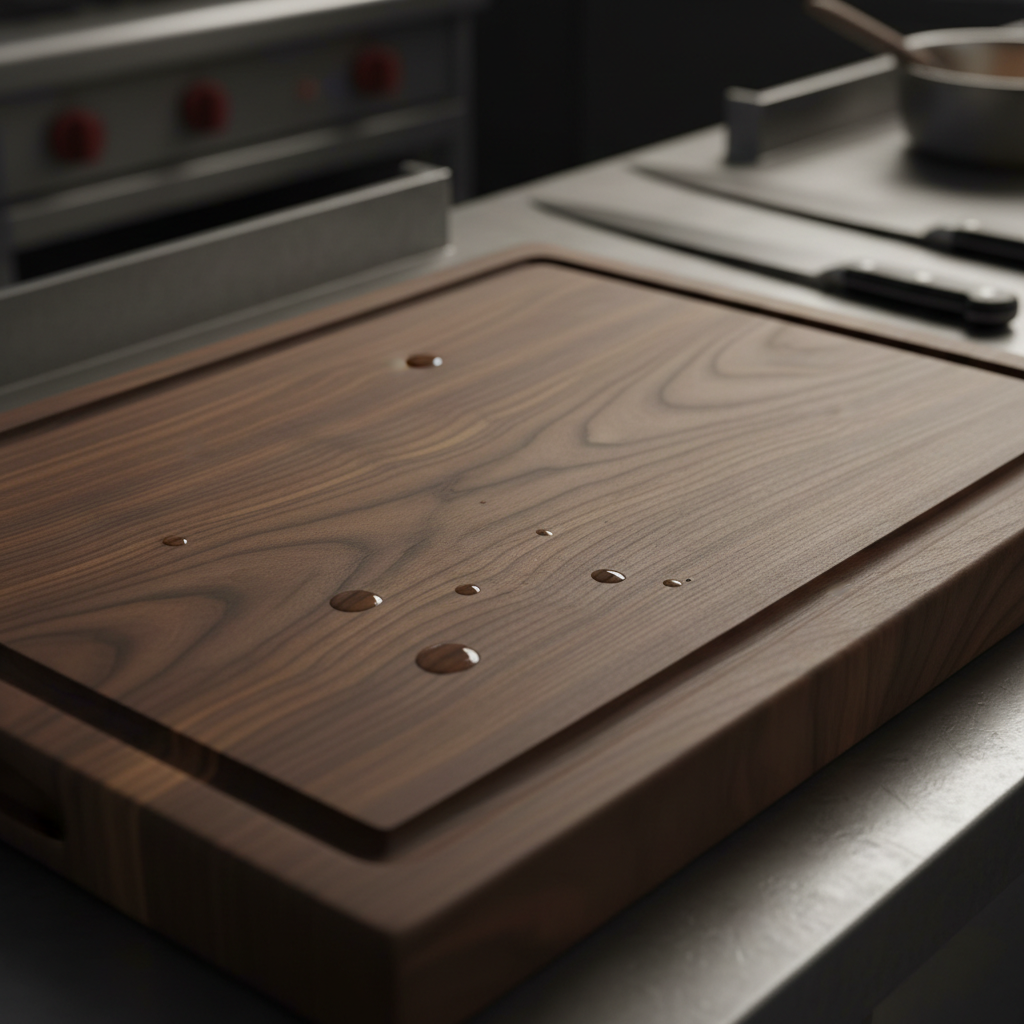
A wooden cutting board is a living, breathing entity. Because it is porous, it will naturally expand and contract with the humidity of your home, and it will soak up moisture from the foods you cut. If you do not maintain that moisture balance, your board will crack, warp, or split down the seams. The solution is simple: a consistent regimen of oil and wax conditioning. This prevents the wood from absorbing liquids that could lead to mold or bacterial growth.
The Oil-and-Wax Protocol
You should treat your wooden board with food-grade mineral oil once a month, or whenever the wood starts to look dull and dry. Mineral oil is odorless, tasteless, and doesn't go rancid like vegetable or olive oils. Simply apply a generous coat of oil to the surface and let it soak in overnight. The wood will drink it up, replenishing its internal moisture levels and protecting the fibers.
Once the oil has soaked in, it is time to seal the board with a beeswax-based conditioner. The wax acts as a protective barrier on the surface, preventing liquids from penetrating the wood grain and giving the board a smooth, lustrous finish. Think of this as the "wax job" for your car—it protects the surface from the elements and makes clean-up a breeze.
"Maintenance is the difference between a tool and a toy. A well-oiled wooden board is a chef’s best friend, but a neglected one is just a breeding ground for bacteria and regret."
Signs Your Board Needs Help
Sanitation and Cross-Contamination Protocols
Sanitation is non-negotiable in the kitchen. Whether you are working on wood or plastic, you must have a strict protocol for handling raw proteins versus produce. The biggest danger in a home kitchen is cross-contamination, where pathogens like Salmonella or E. coli are transferred from raw meat to ready-to-eat vegetables. To prevent this, always assign specific boards to specific tasks.
The Color-Code System
Many professional kitchens use a color-coded board system to eliminate guesswork:
Even in a home kitchen, you can mimic this by simply having a dedicated board for raw meat and a separate board for everything else. Keep your meat board plastic for easy sanitization, and reserve your high-quality wooden block exclusively for produce, breads, and cooked items.
Deep Cleaning Techniques
After preparing raw meat, rinse your board with lukewarm water first. Never use hot water immediately, as it can coagulate proteins and "lock" the bacteria into the pores of the board. Follow the rinse with a hot, soapy scrub. To sanitize, use a solution of white vinegar or a diluted bleach mixture. If you are using a wooden board, dry it immediately and vertically to ensure air circulation on both sides, which prevents warping.
Selecting the Right Board for Your Space
When selecting your board, think about your workflow. Do you have a small apartment kitchen? You might benefit from a smaller, thinner board that can be easily stored. Do you have a large island? A heavy, large-format butcher block will stay put while you are hacking through a chicken or kneading dough, providing a stable, non-slip base that is essential for safety.
The Non-Slip Solution
Nothing is more dangerous in the kitchen than a cutting board that slides while you are using a sharp knife. If your board does not have rubber feet, always place a damp paper towel or a kitchen towel underneath the board. This creates friction and locks the board into place on your countertop. Professional chefs never skip this step; a sliding board is the fastest way to lose a finger.
Size Considerations
Bigger is almost always better when it comes to cutting boards. You want enough surface area to keep your prepped ingredients separate from your un-prepped ingredients. If you are constantly clearing your board into a pile, you are slowing down your mise-en-place. Aim for a board that occupies at least 15 by 20 inches of your counter space, which gives you plenty of room to maneuver a chef’s knife comfortably.
Advanced Techniques: The "Mise-en-Place" Board Setup
In a professional kitchen, the cutting board is the heart of the "mise-en-place"—everything in its place. You should arrange your board so that your ingredients flow from the left (un-prepped) to the right (prepped/finished). This keeps your knife clean and your station organized. By mastering the layout of your board, you significantly reduce the time spent wiping down counters and searching for ingredients.
Organizing the Work Surface
Divide your board into zones. Use the top third for your vegetable trimmings, the middle for your active cutting zone, and the bottom for your finished items. By maintaining this discipline, you keep your knife handle clean and prevent your finished ingredients from coming into contact with soiled surfaces. This level of organization is what distinguishes an amateur from a pro, and it all starts with having enough space on your board.
The Tapered Edge and Drip Grooves
Some boards come with a drip groove or a juice well. While these are excellent for carving a Thanksgiving turkey or a Sunday roast, they can be a nuisance for daily vegetable prep because they reduce your usable surface area and can make it difficult to scoop ingredients directly into a bowl. If you are choosing a board for daily vegetable prep, a flat-top, continuous surface is usually superior. Save the drip grooves for your dedicated carving board.
"Your cutting board is the stage upon which your meal is performed. If the stage is cramped, disorganized, or unstable, the entire performance will suffer. Keep it spacious, keep it clean, and keep it stable."
The Science of Knife Skills on Wood
Your interaction with the cutting board is where your knife skills are tested. The "rock-chop" technique, which is the foundation of most efficient vegetable prep, relies on the board being able to absorb the impact of the knife's curve. On a wooden board, this motion is silent and rhythmic. If you find your knife is making a loud "clacking" sound, you are striking the surface too hard or using an improper board material.
Improving Your Technique
Focus on keeping the tip of the knife in contact with the board at all times. This "pivot point" method ensures that you are slicing through the produce with the length of the blade rather than mashing it with force. If you are using a soft wooden board, the wood fibers will catch the knife slightly, preventing it from slipping and giving you much better control over your cuts. This is the difference between a jagged, uneven mince and a professional-grade julienne.
Respecting the Surface
Even on the best maple board, you can cause damage if you are not careful. Avoid using the sharp edge of your knife to scrape ingredients off the board—this is the number one cause of dull knives and deep gouges in wood. Instead, use the spine of your knife or a plastic bench scraper to move your piles of chopped aromatics. This one small habit will double the amount of time between sharpenings for your favorite chef’s knife.
Final Thoughts
The cutting board is the silent partner in every successful meal. It is the surface that anchors your knife, protects your edge, and maintains the safety of your food. By choosing the right material—prioritizing high-quality, end-grain hardwoods—and committing to a regular regimen of oiling, conditioning, and proper sanitization, you are investing in the longevity of your tools and the quality of your cooking.
Do not be the cook who blames their knife for poor results when the culprit is actually a neglected, sliding, or warped cutting board. Treat your board as the essential instrument that it is. When you respect your tools, they will return the favor by making your prep work faster, safer, and infinitely more satisfying. The transition from a kitchen that simply "gets the job done" to a kitchen that functions like a professional workspace starts with this fundamental understanding. Whether you are prepping a complex stir-fry or simply slicing a loaf of fresh sourdough, take a moment to look at your board. Is it ready for the task? With the knowledge you have gained here, the answer should always be a confident "yes." Happy cooking, and may your boards be ever oiled and your knives always sharp.
Remember, the journey of culinary mastery is made of a thousand tiny details. The wood you choose, the way you oil it, and the manner in which you treat the surface while you chop are the building blocks of a great chef. Take these lessons back into your own kitchen today, audit your current setup, and don't be afraid to invest in the quality of your workspace. A great meal is not just about the recipe or the heat of the flame; it is about the preparation, and the preparation begins right here, on the surface beneath your hands. Keep refining your craft, keep paying attention to those small details, and always stay hungry for knowledge. There is no such thing as a "small" detail in the kitchen when that detail contributes to the excellence of the final plate. Now, go sharpen those knives and start prepping—your kitchen is waiting.

Get the Next Recipe
Weekly recipes, techniques, and gear picks — straight to your inbox.
