The Home Cook’s Guide to Degassing: Mastering Aeration and Resting Techniques for Perfectly Light Batters and Soufflés
The journey to becoming a proficient home cook is often paved with the debris of fallen cakes, deflated soufflés, and dense, rubbery pancakes that feel more like hockey pucks than fluffy delights. We have all stood in front of the oven, peering through the glass with a mixture of hope and trepidation, only to watch our culinary masterpieces succumb to the laws of gravity. Many novices believe this collapse is a sign of bad luck or a faulty appliance, but the truth is usually found in the delicate mechanics of gas retention and release. Understanding the science of aeration and the subsequent art of controlled degassing is the bridge between a mediocre amateur and a confident, skilled home cook.
When we talk about light, airy textures in baking, we are essentially talking about the manipulation of bubbles. Whether it is carbon dioxide trapped in a sponge or the structural integrity provided by whipped egg whites, the goal is to create a scaffold that can hold its shape under heat. However, the mistake most cooks make is assuming that more air is always better. In reality, it is the size, distribution, and structural stability of those air pockets that determine the success of your dish. If your bubbles are too large, they will pop during the baking process; if they are too small or nonexistent, you are left with a leaden, dense mess that is unappealing to the palate.
This guide is designed to peel back the curtain on these mysterious processes, focusing specifically on how we manage the life cycle of air in our batters. We will explore the critical junctures where we intentionally introduce air, how we protect it through the folding process, and most importantly, why knowing when and how to "de-gas" can be the secret weapon in your kitchen. Mastery over your batter is not about following a recipe blindly; it is about sensing the structural integrity of your mixture and knowing exactly how to treat it. By the end of this post, you will possess the professional techniques required to ensure your soufflés rise high and your cakes remain as light as a summer breeze.
The Foundation of Aeration: Whipping and Emulsification
To understand the decay of a batter, we must first master its birth. Aeration is the mechanical process of incorporating air into fats, sugars, or proteins to create the foundation of your rise. When you cream butter and sugar, you are not just mixing ingredients; you are forcing air into the solid fat to create a microscopic grid. This grid acts as a series of tiny chambers that will later catch the gases released by your chemical leaveners. Without this mechanical aeration, the oven spring—the rapid expansion of gas during the first few minutes of baking—would have nowhere to take hold, resulting in a dense and uneven crumb.
The Science of Whipped Egg Whites
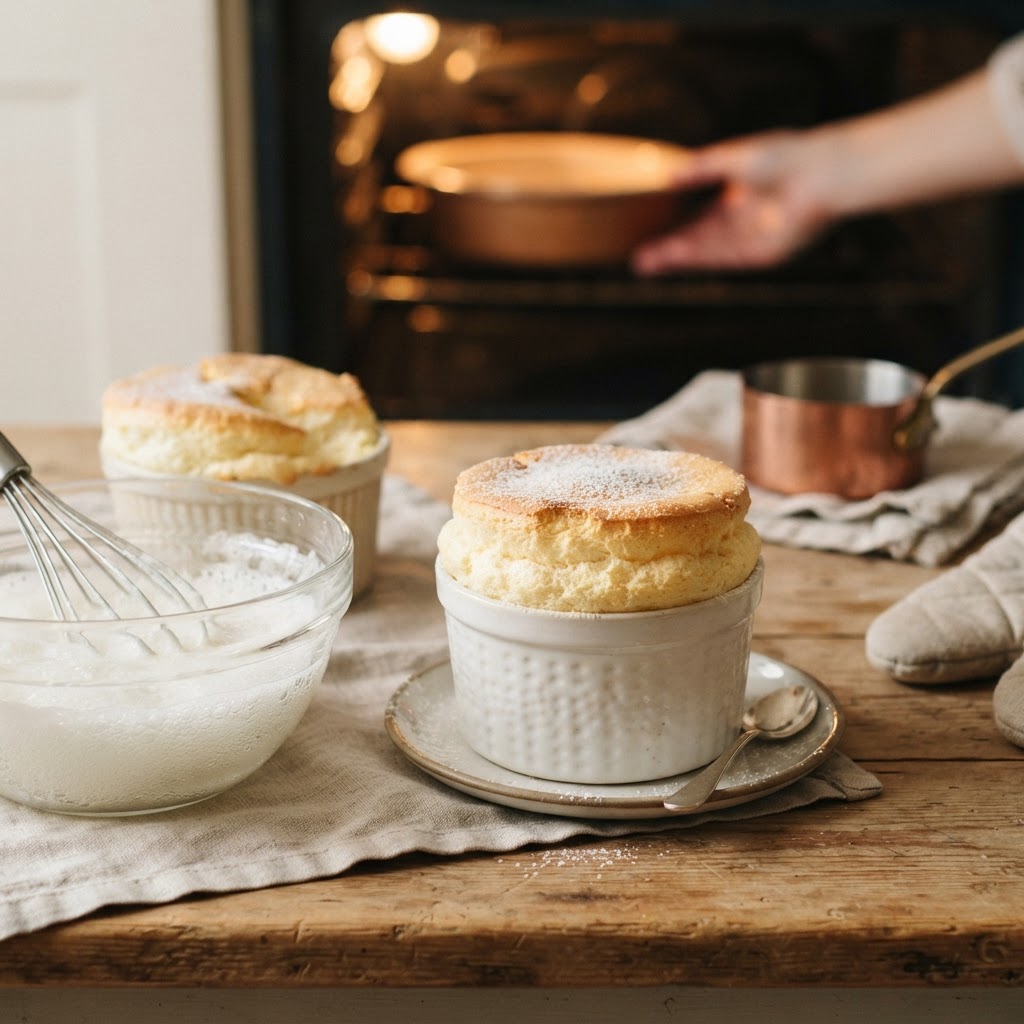
Egg whites are the quintessential aeration tool for soufflés and meringues. When you whisk whites, you are uncoiling the proteins, which then align themselves around tiny air bubbles to form a protective film. This is the protein matrix. If you stop too soon, the bubbles are unstable; if you over-beat, the proteins become over-stretched, brittle, and eventually snap, causing the liquid to weep out and the bubbles to collapse. A perfectly whipped egg white should stand in "soft peaks" that curl slightly at the tip, indicating that the structure is strong but still flexible enough to expand in the oven.
"The secret to a stable foam is not just the vigor of your whisking, but the patience to introduce air slowly, allowing the protein chains to weave a strong, invisible net that can withstand the heat of the oven without tearing."
Achieving this consistency requires attention to detail. Ensure your bowl is impeccably clean; even a microscopic trace of fat, such as a drop of egg yolk or residue on the bowl, will prevent the proteins from bonding correctly. Use a room temperature egg, as the proteins are more elastic and easier to whip than those straight from the refrigerator. Incorporating a stabilizer, such as a pinch of cream of tartar or a drop of lemon juice, lowers the pH of the mixture, further strengthening the protein bonds and ensuring your aeration efforts don't go to waste.
The Art of Folding: Protecting the Air
Once you have achieved the perfect state of aeration, the next challenge is the transition phase. This is where most soufflés perish. You have a delicate, airy bowl of meringue and a heavier, denser base—usually a pastry cream or a chocolate ganache. If you simply dump the heavy base into the light meringue and stir aggressively, you destroy the very structure you worked so hard to create. The Folding Technique is the professional way to combine these elements while maintaining as much air as possible. It is a motion of incorporation, not agitation.
The "Cut and Fold" Protocol
The goal here is to be swift yet gentle. You are trying to minimize the number of strokes because every single turn of the spatula pops a few more air bubbles. You should stop as soon as you see no large streaks of the base remaining; do not over-mix just because you think it needs to be perfectly homogenous. A few small, tiny streaks of white foam are often acceptable and preferrable to a completely deflated batter that has lost its aerated integrity.
The Concept of Degassing: Why Less is More
The term "degassing" often sounds counterintuitive to the home cook. Why would you want to intentionally release air when you have spent so much time whipping it in? In yeast-based doughs and certain delicate cake batters, we engage in controlled degassing to refine the grain of the finished product. If you have large, uneven air bubbles trapped in your mixture, they will expand rapidly in the oven, creating massive, unsightly holes in your crumb, or worse, they will coalesce and cause the entire structure to collapse under its own lack of support.
Refinement of the Crumb
When you "punch down" a bread dough, you aren't just getting rid of air; you are redistributing the gases and strengthening the gluten network. In the context of cakes and soufflés, degassing is more subtle. By gently pressing down on your batter or rapping the pan against the counter before it enters the oven, you are popping the massive, unstable "macro-bubbles" that would otherwise cause structural failure. You are replacing large, weak bubbles with a uniform distribution of smaller, stable bubbles. This leads to a finer, more tender crumb that feels professional and refined.
"In the world of high-end pastry, perfection is not found in the chaotic expansion of air, but in the calculated uniformity of a fine-grained crumb, achieved through the gentle management of bubbles."
When executing this, you must rely on your intuition. If the batter feels like a solid mass, do not press it. However, if you see large, crater-like bubbles on the surface of your soufflé mixture or sponge batter, a gentle tap is necessary. This intentional degassing ensures that the rise is vertical and consistent, rather than uneven and explosive. It is a step that separates the hasty cook from the methodical artisan.
Temperature and Timing: The Physics of the Oven
The interaction between your carefully prepared batter and the heat of the oven is where the final transformation occurs. The air bubbles you have painstakingly incorporated and preserved are now subject to the Ideal Gas Law: as temperature rises, volume expands. This is the moment of truth. If your oven temperature is too low, the structure will not set fast enough to hold the expanding gases, and the soufflé will deflate like a punctured tire. If the temperature is too high, the outside will set before the inside has finished expanding, leading to a cracked, uneven top or a scorched exterior.
Achieving the Perfect Rise
Preheat adequately:* Ensure your oven has been at temperature for at least 30 minutes to eliminate cold spots.
Avoid the "Peeking Syndrome":* Every time you open the door, you lose heat, causing the air inside the bubbles to contract instantly.
Use the correct rack position:* Center is usually best, but monitor your specific oven's hot spots.
The "Double-Steam" method:* For some soufflés, a water bath (bain-marie) can provide a gentler, more uniform heat, preventing the bottom from cooking faster than the core.
Professional chefs often use an oven thermometer to verify their internal temperatures, as residential ovens are notoriously inaccurate. A variance of even 25 degrees can ruin a delicate bake. When your soufflé or cake is in the oven, it is in a state of constant, fluid motion. Every variable must be controlled, and the timing must be precise. Once the proteins have coagulated—usually around 160°F—the structure is "locked." Until that point, you are essentially juggling a fragile, volatile chemical system.
The Importance of Resting and Cooling
Many home cooks are eager to serve their creations the moment the timer dings. However, resting and cooling are as essential to the structural integrity of a soufflé or airy cake as the mixing process itself. When a cake comes out of the oven, the moisture is still vaporized and the internal structure is still highly elastic. If you cut into it immediately, the steam escapes violently, the internal pressure drops, and the cell walls collapse, leaving you with a soggy, dense interior.
Structuring the Final Crumb
Resting allows the heat to distribute evenly throughout the product, allowing the starches to set and the moisture to stabilize. For most soufflés, you have a very narrow window of service—perhaps two to three minutes—before gravity begins to win. For sponges and cakes, however, letting them cool in the pan for 10 minutes before transferring to a wire rack is vital. This controlled cooldown allows the structure to firm up, ensuring that when you finally do slice into it, the crumb remains light and retains its delicate aeration.
If you find that your cakes are constantly shrinking or pulling away from the sides of the pan, you are likely rushing the cooling process. A sudden shift from a hot oven to a cool kitchen counter creates thermal shock. Instead, try cooling your cakes on a rack in a draft-free area. This gentle cooling prevents the structure from contracting too rapidly. Remember, the final texture of your dish is a culmination of everything that happened before it, including the final five minutes of cooling.
Common Pitfalls and Troubleshooting
Even with the best techniques, things can go wrong. If your soufflé refuses to rise, it is rarely a mystery; it is usually a failure in one of the three pillars we discussed: aeration, structural integrity, or temperature management. Let us look at the most frequent issues and how to rectify them. A sunken middle usually indicates that the center did not fully set, which often points to an oven that was too hot (causing a quick rise and a fast collapse) or a batter that was too loose.
Troubleshooting Guide
If you are struggling with consistency, keep a culinary journal. Note the room temperature of your kitchen, the brand of flour you used, the exact time you whisked the eggs, and the temperature of your oven. Cooking is, at its core, a form of applied chemistry. When you treat it with the same rigor a scientist brings to a laboratory, you remove the guesswork and replace it with repeatable, delicious success. Never blame the recipe if you haven't mastered the technique behind it; always look at your own process first.
Final Thoughts
The pursuit of the perfect soufflé or the ideal light-as-air sponge is a noble endeavor for any home cook. It requires you to step away from the mindset of simply "following instructions" and move toward the mindset of "managing variables." By mastering the art of aeration, respecting the sanctity of your protein matrix through careful folding, and understanding the necessity of intentional degassing, you elevate your cooking from a chore to a craft.
Remember that every disaster is a data point. The next time you find yourself with a flat cake or a sunken soufflé, do not despair. Instead, analyze the steps. Was the batter too aerated? Did you fold too vigorously? Was the oven door opened too soon? By asking these questions, you are already well on your way to becoming a master of your own kitchen. Keep practicing, keep observing, and most importantly, keep enjoying the process of creation.
The kitchen is a place of constant learning. Techniques that seem intimidating today will become second nature with enough repetition. Whether you are whipping eggs for a decadent chocolate soufflé or folding flour into a light chiffon cake, remember that you are the architect of your own culinary success. Treat your ingredients with respect, listen to the cues your batter is giving you, and don't be afraid to take control of the air inside your food. You now have the knowledge to create something truly spectacular—now go make it happen.
***
Addendum: A Quick Reference for Common Ratios
To ensure your success moving forward, keep these fundamental ratios in mind when working with aerated batters:
The Sugar-to-White Ratio:* For stable meringues, aim for a 2:1 ratio by weight of sugar to egg white. This ensures the protein bonds are supported by enough syrup to maintain structure.
The Folding Ratio:* When adding dry ingredients to a wet base, always add your lightest, most aerated components last. This minimizes the weight pressing down on your delicate bubbles.
The Temperature Threshold:* Most delicate cakes set between 155°F and 165°F. If you have a probe thermometer, use it to ensure the core is fully set before removing from the oven.
Mastering these ratios and techniques is a lifelong journey. There is always a new nuance to discover, a different flour to experiment with, or a slightly more efficient way to fold your batter. Continue to push your boundaries, and remember that even the most celebrated chefs in the world once struggled with their first soufflé. The difference between them and the rest is simply the persistence to keep trying until the science aligns with the art.
If you found this guide helpful, consider sharing it with your fellow home cooks. The more we understand the "why" behind the "how," the better we all become. Your kitchen is your laboratory, and your dinner guests are the lucky beneficiaries of your newfound expertise. Stay curious, stay hungry, and happy baking!
***
Advanced Considerations: Beyond the Basics
As you continue to refine your skills, you may want to look into the impact of different leavening agents on your aeration. Baking powder versus baking soda, for example, reacts at different speeds and temperatures. Some baking powders are "double-acting," meaning they react once when mixed with wet ingredients and again when heated in the oven. Understanding the timing of these chemical reactions allows you to time your "degassing" maneuvers more precisely. If you use a slow-acting leavener, you have more time to work with your batter. If you use a fast-acting one, you must get the item into the oven immediately.
Another factor is the type of fat you incorporate. Fats act as "bubble-busters" because they can destabilize the protein matrix you have worked so hard to build. This is why folding melted butter into a batter is such a high-stakes move. If the butter is too hot, it will melt the surrounding proteins and destroy the air pockets instantly. Always allow your fats to reach room temperature before folding them into an aerated base. This small detail can mean the difference between a soaring soufflé and a dense, greasy pancake.
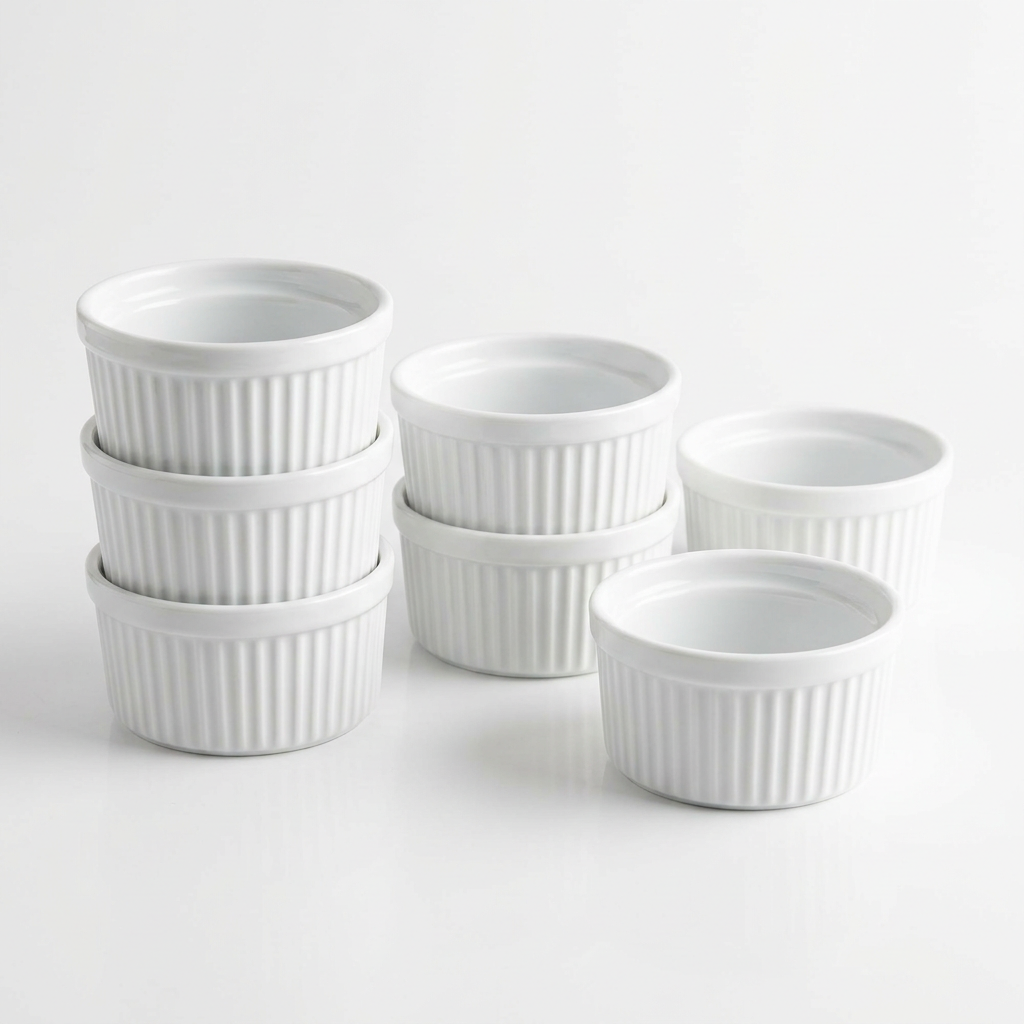
Furthermore, consider the surface area of your baking vessels. A deep, narrow ramekin encourages a vertical rise, which is perfect for soufflés as it provides structural support for the expanding gases. A shallow, wide pan is better for sponges where you want even heat distribution and a more uniform texture. Choosing the right tool for the job is just as important as the technique itself. Every choice you make in the kitchen ripples outward, affecting the final outcome in ways that are often invisible to the eye but undeniable on the tongue.
Finally, always trust your senses. A professional chef knows when a batter is ready by the way it ribbons off the whisk, not just by the clock. Watch for the way the air bubbles move, listen to the sound of the whisk against the bowl, and smell for the subtle changes in the batter's consistency. Your intuition is the final ingredient in any great recipe. As you become more experienced, you will find that you don't need to measure as strictly because you can "feel" the aeration level. That is the moment you transition from a follower of recipes to a creator of dishes.
By integrating these advanced considerations into your practice, you will find that your results become more consistent, more impressive, and infinitely more satisfying. The transition from a frustrated home cook to a master of light, airy textures is not a destination, but a beautiful, ongoing process of discovery. Stay committed to the technique, and the results will surely follow. Enjoy every moment of your culinary journey!

Get the Next Recipe
Weekly recipes, techniques, and gear picks — straight to your inbox.
