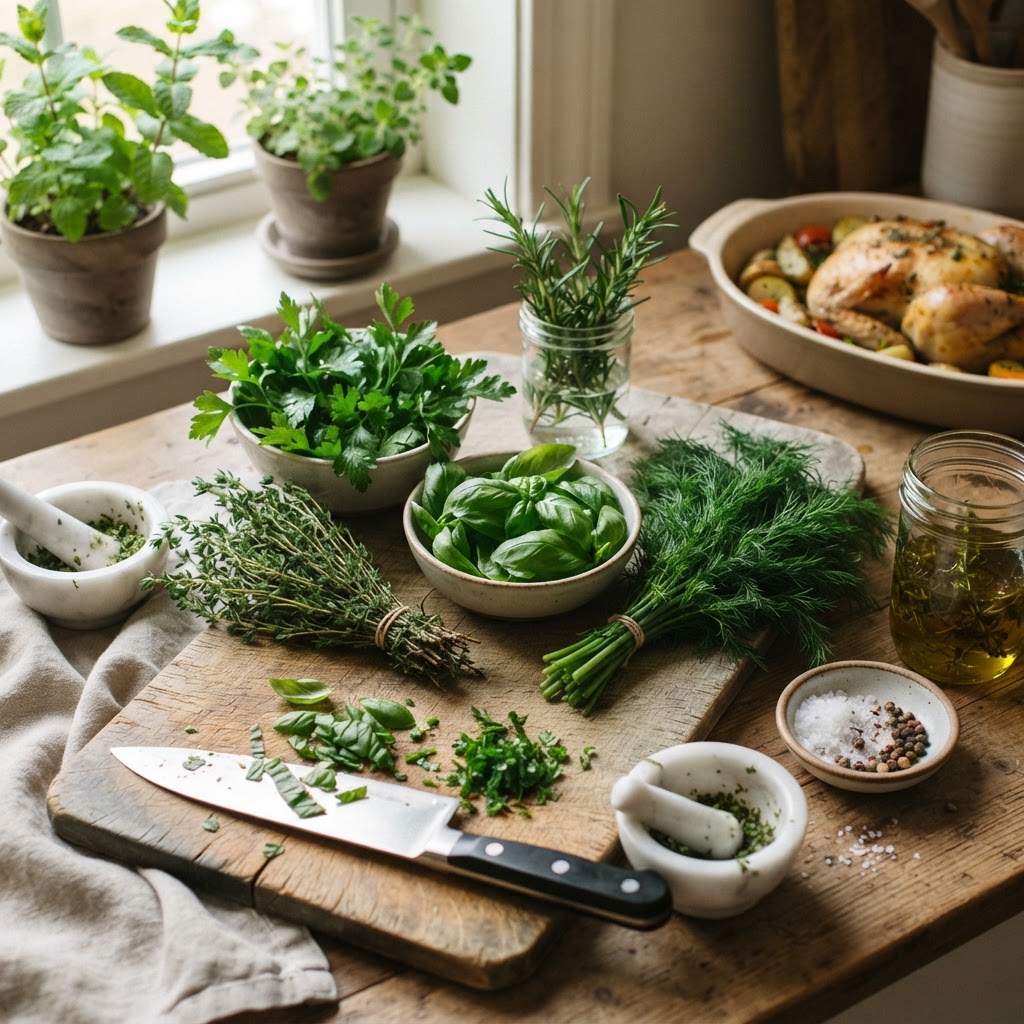
The Home Cook’s Guide to Fresh Herbs: How to Properly Store, Prep, and Maximize Potency in Every Dish
There is an unmistakable alchemy that occurs the moment you introduce fresh herbs to a dish. Whether it is the sharp, piney scent of rosemary hitting a hot pan or the bright, verdant pop of torn basil crowning a bowl of pasta, herbs are the bridge between a meal that is merely "sustenance" and one that is truly memorable. Many home cooks approach the produce aisle with a sense of trepidation, intimidated by the ephemeral nature of these delicate greens and the fear that they will inevitably wilt into a slimy mess in the bottom of the refrigerator drawer. I have heard the chorus of complaints a thousand times: "Why buy a whole bunch when I only need a tablespoon?" or "It turned brown before I even got it home!" The truth is that herbs are not fragile treasures to be protected; they are robust ingredients that, when treated with the right knowledge, can revolutionize your culinary repertoire.
At "Blame The Chef," our philosophy is built on the belief that a kitchen is a laboratory of flavors, and herbs are your most potent reagents. Understanding the classification of your herbs—knowing the difference between a hardy woody stem and a delicate leafy sprout—is the foundational step toward becoming a more intuitive cook. When you master the art of handling fresh herbs, you stop following rigid recipes and start seasoning with intent and intuition. This guide is designed to peel back the curtain on the professional techniques that keep restaurant kitchens running efficiently, ensuring that you can shop, store, and utilize herbs with the same confidence as a seasoned line cook. From the humble parsley leaf to the aromatic punch of tarragon, we are going to ensure that not a single sprig goes to waste.
To maximize potency, you must learn to treat each variety according to its specific biological needs, which are often dictated by its habitat and structure. Some herbs thrive in the warmth of the sun and demand a heavy hand in the heat of a sauté pan, while others are ephemeral spirits that will collapse under the slightest pressure of a blade or a high-temperature flame. By the time you reach the end of this deep dive, you will possess the professional toolkit necessary to transform your grocery store haul into a pantry of vibrant, fragrant, and highly usable flavor boosters. Let us move past the "wasted bunch" mentality and embrace a new way of cooking—one where herbs are the star of the show rather than an afterthought garnishing the plate.
Understanding the Taxonomy of Flavor
To cook with herbs effectively, one must first recognize that not all herbs are created equal. In professional kitchens, we categorize herbs into two primary groups: woody herbs and soft-stemmed herbs. This distinction is not merely botanical; it dictates everything from how you store them to the exact moment you add them to your saucepan. Woody herbs, such as rosemary, thyme, oregano, and sage, possess a high concentration of essential oils that are protected by tougher, fibrous stems. Because these oils are robust, these herbs can withstand long cooking times and higher levels of heat, which actually helps to mellow their intensity and distribute their flavor throughout a dish.
Conversely, soft-stemmed herbs—think basil, parsley, cilantro, dill, and tarragon—are the delicate prima donnas of the herb world. Their cell walls are fragile, and their volatile aromatic compounds are highly sensitive to heat and oxygen. If you drop basil into a boiling stew at the start of a three-hour braise, you are essentially destroying the very reason you bought it; it will lose its bright, peppery top notes and fade into a muddy, bitter shadow of itself. By respecting this biological division, you can ensure that your dish retains its intended flavor profile from the first bite to the last.
The Thermal Threshold
Understanding the heat threshold of your ingredients is a hallmark of an advanced home cook. For woody herbs, we often incorporate them into the "aromatic base" of a recipe, adding them to hot fat at the beginning of the cooking process to "bloom" the flavors. For soft herbs, the golden rule is add at the end. By incorporating soft herbs in the final thirty seconds of cooking—or better yet, as a raw garnish—you preserve the vibrant color and the complex, transient oils that define their character.
Flavor Extraction Ratios
When working with herbs, the ratio of dried to fresh is a question I receive daily. As a general rule of thumb, use three times the amount of fresh herbs as you would dried herbs, because fresh herbs contain significantly more water content, which dilutes their flavor per gram. If a recipe calls for one teaspoon of dried oregano, you should reach for one tablespoon of fresh. Always taste as you go; the potency of herbs varies based on the season, the region, and the soil quality, meaning your palate remains the final judge.
The secret to a perfect dish is not just the ingredients you choose, but the precise moment you introduce them. An herb is not a static element; it is a chemical reaction waiting to be ignited.
The Art of Preservation: Storage Solutions
The most common "blame" placed on the chef is the premature expiration of fresh produce. Most people bring herbs home, leave them in the plastic clamshell or the grocery store produce bag, and watch in horror as they turn into sludge within forty-eight hours. The culprit is moisture entrapment and lack of airflow. To extend the life of your herbs, you must treat them like cut flowers. For woody herbs like rosemary and thyme, the best approach is to wrap them loosely in a slightly damp paper towel and seal them in a plastic bag or an airtight container in the refrigerator’s crisper drawer. This provides just enough humidity to keep the sprigs from drying out while preventing the rapid rot that comes from total immersion in water.
Soft herbs require a slightly more "floral" approach. Treat your bunches of cilantro, parsley, or mint like a bouquet of flowers. Trim the very bottom of the stems by about half an inch, place them in a glass or jar with an inch or two of cold, clean water, and cover the leafy tops loosely with a plastic bag. This creates a miniature greenhouse effect that keeps the leaves turgid and hydrated. Change the water every two days, and you will find that these herbs can last for up to two weeks in the refrigerator. Basil is the one exception to the "refrigerator rule," as it is a tropical plant that hates the cold; keep it on your kitchen counter in a jar of water, away from direct sunlight, just as you would a vase of flowers.
The Freezer Advantage
When you find yourself with an excess of herbs that you know you cannot use before they turn, do not hesitate to use the freezer. Freezing herbs preserves their flavor remarkably well, although the texture will inevitably collapse, making them best suited for cooked applications like soups, stews, and sauces rather than salads. The most efficient professional technique is to chop the herbs finely, place them into an ice cube tray, and fill the remaining space with a high-quality extra virgin olive oil. Once frozen, these "herb bombs" can be tossed directly into a hot pan, providing a pre-measured infusion of flavor whenever you need it.
Moisture Control and Airflow
Regardless of your storage method, the two greatest enemies of fresh herbs are excess moisture and lack of airflow. If you notice condensation building up inside your storage bag, it is a sign that you need to dry the herbs better after washing or open the bag to vent excess humidity. Moisture that sits on the leaves creates the perfect environment for bacteria and mold, which is why I never recommend washing your herbs until you are ready to use them.
Precision Prep: Knives and Techniques
To get the most out of your herbs, you must treat them with respect. Many home cooks make the mistake of "mashing" their herbs with a dull knife. When you use a serrated blade or a dull chef's knife, you are essentially crushing the plant cells rather than slicing through them. This forces the essential oils out of the leaves and onto your cutting board instead of into your food. Always ensure your knife is razor-sharp. A clean, shearing cut keeps the oils inside the leaf until the herb hits the heat of the pan or the acid of a dressing, which is where you want that release to occur.
When prepping herbs like parsley or cilantro, don't feel the need to meticulously pick every single leaf from the stems. While the thick, woody stems of rosemary should be discarded, the stems of parsley, cilantro, and even dill are packed with flavor. Finely chopping these stems alongside the leaves not only saves time but adds a wonderful depth of flavor to your dishes. Just be sure to gather your herbs into a tight, dense pile before starting your chop, and use a rocking motion with your knife rather than a chopping or hacking motion, which can bruise the delicate leaves.
The Chiffonade Technique
For larger leaves like basil, mint, or sage, the chiffonade is the gold standard of preparation. Stack the leaves on top of one another, roll them tightly like a cigar, and then use your sharpest knife to slice them into thin, delicate ribbons. This technique is not just for aesthetics; it increases the surface area of the herb, allowing the aromatics to distribute more evenly throughout your dish. It is an essential skill for garnishing soups, finishing pasta, or incorporating into light vinaigrettes.
The Dry Touch
Never chop your herbs while they are wet. If you wash your herbs beforehand, ensure they are thoroughly dried using a salad spinner or by gently patting them with a lint-free kitchen towel. Water on the leaves will cause them to stick to the knife, turning into a soggy paste. By keeping your herbs dry until the moment of impact, you ensure clean, professional-looking cuts that look beautiful on a plate and taste exactly as they should.
Fresh herbs are the punctuation marks of a dish. A well-placed chiffonade of mint can turn a simple fruit salad into an aromatic masterpiece, while a heavy-handed, bruised bunch of parsley can ruin the visual appeal of a finely prepared entrée.
Maximizing Potency in Every Dish
Once you have mastered the storage and the chop, the final hurdle is maximizing the "reach" of your herb’s flavor. The goal is to ensure that the aroma reaches the diner before the fork even touches the plate. One of the most effective ways to do this is through infusion. Herbs are fat-soluble, meaning their oils are best extracted by fats such as butter, olive oil, or cream. By gently heating your woody herbs in butter over low heat—a technique called beurre noisette or brown butter—you create an intensely flavorful fat that can be used to baste steaks, coat vegetables, or finish a risotto.
For soft herbs, consider the power of a herb oil. By blanching your herbs (dipping them in boiling water for ten seconds, then shocking them in ice water) and blending them with a neutral oil, you create a vibrant, neon-green elixir that packs a massive punch of freshness. You can drizzle this oil over grilled fish, roasted chicken, or even a simple tomato salad to add a restaurant-quality finish that brings the entire dish together. This is a secret weapon used in professional kitchens to achieve a burst of color and fresh flavor that is otherwise difficult to maintain during long cooking times.
The Triple Threat: Infuse, Build, Finish
To truly master herbs, think in terms of layers. Use your herbs in three ways:
Understanding Flavor Affinities
Not all herbs play well together. While classic combinations like fines herbes (parsley, chives, tarragon, and chervil) are time-tested, some pairings can be discordant. When in doubt, stick to herbs that share a culinary geography. Mediterranean herbs—rosemary, thyme, oregano, and marjoram—are designed to work together, as are the bright, punchy combinations found in Southeast Asian or Latin American cuisines. Learning these affinities will help you experiment with confidence without the fear of clashing flavors.
Culinary Applications: Beyond the Garnish
Too often, herbs are treated as an optional accessory, a bit of color to hide the monotony of a dish. I challenge you to treat herbs as a primary ingredient. Consider the herb salad, which is much more than just a bed for a piece of protein. By tossing together large sprigs of flat-leaf parsley, mint, and cilantro with a touch of lemon zest and high-quality olive oil, you create a bright, acidic counterpoint that cuts through the richness of fatty foods like roast lamb, fried chicken, or even a heavy beef stew. This is a common practice in Mediterranean and Middle Eastern cooking, where the freshness of the salad acts as a necessary palate cleanser.
You can also incorporate herbs into your cooking process by using them as a bed for roasting. When roasting poultry or root vegetables, place a thick layer of woody herbs like sage, rosemary, and thyme directly in the bottom of your roasting pan or under the skin of the bird. As the heat rises, the essential oils in the herbs will vaporize, essentially steaming the protein in a fragrant aromatic cloud. This imparts a much deeper, more pervasive flavor than simply rubbing the herbs on the outside of the meat, where they are prone to burning.
The Herb-Crusted Masterclass
Another professional technique to elevate your cooking is the creation of a herb crust. By blending soft herbs with breadcrumbs, lemon zest, garlic, and a touch of Dijon mustard, you create a paste that can be applied to a rack of lamb, a side of salmon, or a thick-cut pork chop. When baked or seared, the crust becomes a crispy, flavorful, and aromatic barrier that protects the protein while infusing it with flavor. It is a visually stunning presentation that is surprisingly simple to achieve at home once you have mastered the balance of moisture and crunch.
Making Herb Butters
Herb butters are perhaps the most versatile tool in your arsenal. Combine softened unsalted butter with finely minced fresh herbs, a pinch of sea salt, and perhaps a touch of minced shallot or garlic. Roll the mixture into a log using parchment paper and freeze it. When you need to elevate a piece of seared steak or a plate of steamed vegetables, just slice off a disc of the herb butter and let it melt over the top. The butter carries the herb oils across the surface of the food, creating a silky, fragrant finish that is truly addictive.
Troubleshooting Common Culinary Blunders
It is inevitable that sometimes you will miscalculate, or an herb will lose its vitality. Do not despair; even in professional kitchens, we have our "saves." If you have accidentally over-salted a sauce, adding a bouquet of fresh herbs—specifically woody ones like thyme or rosemary—can help to balance the flavor, as their earthy, complex notes can distract the palate from the salinity. If you find your herb oil has turned brown, it usually means your herbs were not blanched long enough to destroy the enzymes that cause oxidation, or your oil became too hot during the blending process.
If you find yourself with an abundance of one specific herb—let’s say you bought a massive bunch of cilantro for a taco night—do not force yourself to use it all at once. If you have run out of fridge space for herbs, dehydrate them! You can hang them in a cool, dark, dry place, or use a low-temperature oven (set to roughly 150 degrees Fahrenheit) for several hours until the leaves are crisp but still retain their color. This will not be as potent as fresh, but it will be vastly superior to any store-bought dried herb, which has likely been sitting on a shelf for months, losing its integrity.
The Salt and Herb Relationship
Always consider the timing of your seasoning when working with herbs. If you are making a pesto or a raw herb salsa, add your salt at the very last minute. Salt draws moisture out of the plant cells through osmosis; if you salt your herb mixture too early, you will end up with a watery, limp, and drab-looking sauce. Keep your herbs crisp and bright by keeping the salt away until the moment of service, allowing the herbs to maintain their structural integrity and vibrant color.
Dealing with Tough Stems
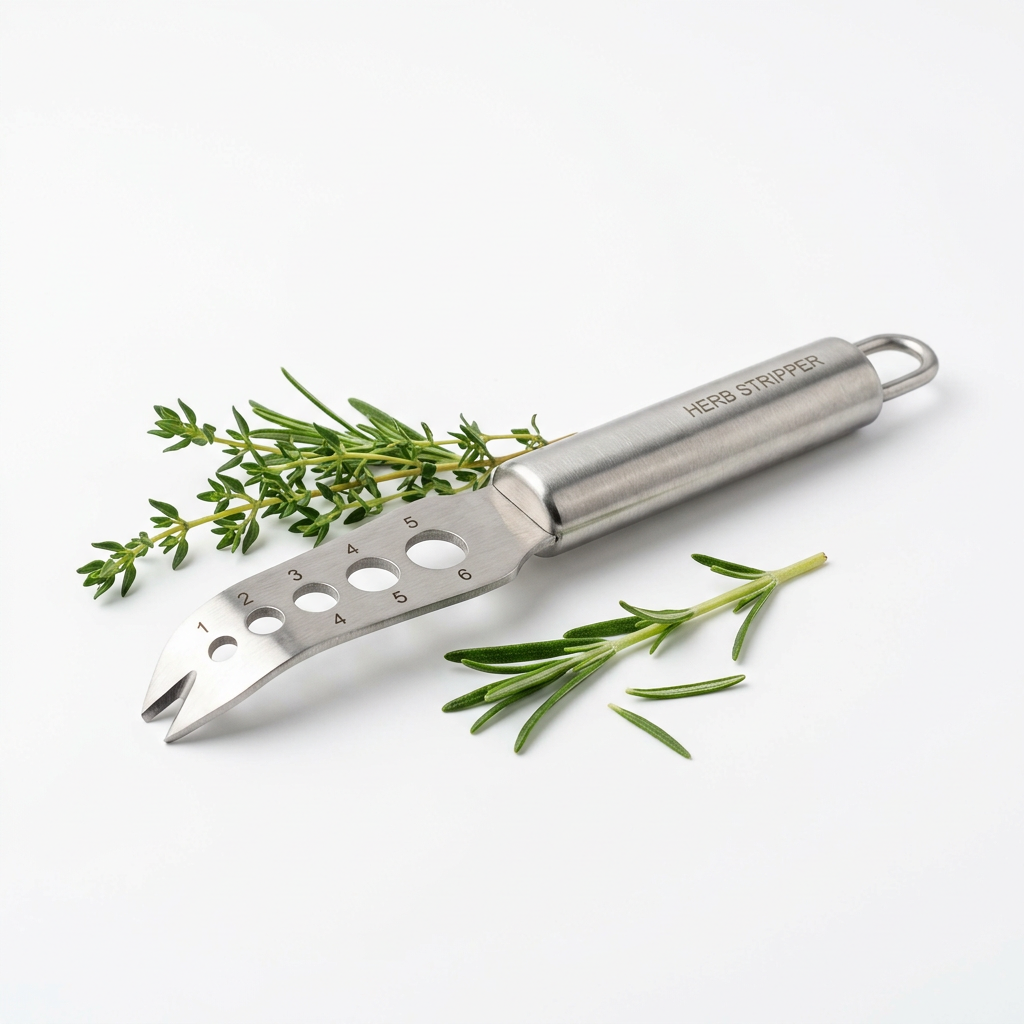
While we have established that some stems are useful, there are times when you absolutely must remove them. Rosemary stems, for instance, are essentially wood and will never soften, no matter how long you cook them. Sage stems are also quite fibrous and can be unpleasant if left in a dish. Always strip the leaves from these woody stems by holding the top of the stem and sliding your fingers downward against the direction of the leaf growth. This is a quick, rhythmic motion that becomes second nature with practice, and it ensures that your final dish has a professional, refined texture.
The professional chef does not view herbs as a garnish, but as a fundamental building block of flavor. When you begin to cook with the same level of intention, your home kitchen will quickly become the best restaurant in town.
Final Thoughts
The journey toward mastering fresh herbs is one of the most rewarding transformations a home cook can undertake. It is a shift from merely following instructions to engaging in a dialogue with your ingredients. By understanding the taxonomy of herbs, respecting their specific heat thresholds, and utilizing professional storage techniques, you remove the guesswork and the frustration that often accompanies fresh produce. You begin to see the grocery store not as a place where ingredients go to die in your refrigerator, but as a source of endless, vibrant potential.
Remember that cooking is a cumulative process of small, intentional choices. Every step—from the sharpening of your knife to the precise moment you stir in that final chiffonade of basil—contributes to the final harmony of the plate. Do not be afraid to fail, to experiment with new flavor affinities, or to over- or under-season your first attempts. Each time you handle an herb with care, you are sharpening your culinary intuition and building a bank of knowledge that will serve you for a lifetime.
So, the next time you see that vibrant, aromatic bunch of cilantro or that sturdy, fragrant sprig of rosemary, do not hesitate. Bring it home, treat it with the respect it deserves, and use it to elevate your cooking to new heights. You are the chef in your own home, and with these tools in your repertoire, you have everything you need to create meals that are fresh, balanced, and deeply satisfying. "Blame The Chef" is here to guide you, but the artistry, the passion, and the final flourish of flavor are entirely yours to command. Happy cooking!
Get the Next Recipe
Weekly recipes, techniques, and gear picks — straight to your inbox.
