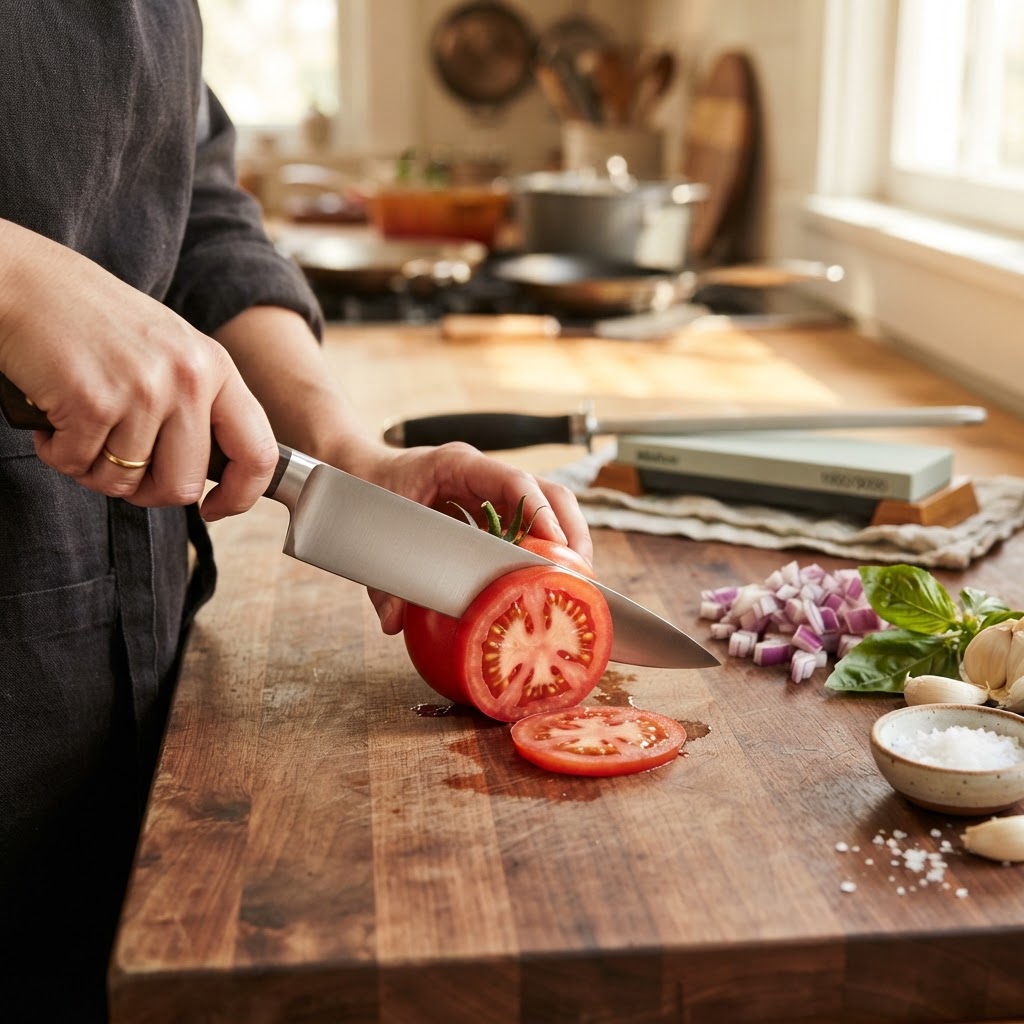
The Home Cook’s Guide to Knife Maintenance: Mastering Honing and Sharpening for Effortless Precision
There is a pervasive myth in the world of amateur cooking that a dull knife is somehow safer than a razor-sharp one, but any professional chef will tell you that the opposite is true. When your blade is blunt, you are forced to exert excessive downward pressure to force your way through a stubborn carrot or a tough piece of protein, which significantly increases the likelihood of a slip. A sharp knife, by contrast, bites into the surface of your ingredients with minimal resistance, allowing for total control and fluid, rhythmic movement. Learning how to properly maintain your cutlery is not just an exercise in tool longevity; it is a fundamental pillar of becoming a proficient, confident home cook who actually enjoys the time spent at the prep station.
Investing in a high-quality chef’s knife is often the first step a culinary enthusiast takes, yet many beginners abandon these expensive tools the moment they lose their edge. Without a basic understanding of how steel interacts with various cutting boards, bones, and abrasive surfaces, even the most expensive Japanese steel or German forged blades will eventually perform like a butter knife. The frustration of trying to slice a ripe tomato with a dull blade is enough to make anyone want to hang up their apron and order takeout, yet the solution is surprisingly accessible. By integrating a simple, consistent maintenance routine into your kitchen workflow, you can ensure that every slice is as clean and effortless as the day you first unboxed your cutlery.
In this guide, we are going to strip away the mystery surrounding edge geometry, grit levels, and the subtle art of the steel. You do not need to be a bladesmith or possess decades of experience in a commercial kitchen to keep your gear in peak condition. We will walk through the science of why edges roll, how to effectively restore them, and the essential tools that every home cook should keep under the counter. With a little patience and the right technique, you will transform your prep work from a tedious, dangerous chore into a meditative and satisfying component of your culinary practice.
Understanding the Anatomy of a Sharp Edge
To master maintenance, you must first understand what happens to your blade at a microscopic level during the act of cutting. A knife edge is not a solid, static line; it is a complex intersection of two polished planes that meet at a very specific angle. Over time, the pressure of cutting against dense ingredients causes these fine metal teeth to "roll" or bend out of alignment. This is not the same as the metal being worn away; rather, it is the edge losing its structural integrity, which results in a blade that feels dull even if it hasn't actually lost its sharpness.
The Difference Between Honing and Sharpening
The most common point of confusion for home cooks is the distinction between honing and sharpening. They are not interchangeable terms, and performing the wrong one at the wrong time can lead to frustrating results. Honing involves using a steel or ceramic rod to gently realign the microscopic teeth of the blade that have drifted out of place. It does not remove metal; it simply straightens the edge, making it feel sharper and more effective for daily tasks. You should hone your knife frequently—ideally before every significant prep session or after heavy use.
Sharpening, on the other hand, is the act of physically removing a small amount of metal from the blade to create a brand-new edge. You only need to sharpen your knives when honing no longer restores the cutting performance you desire. Think of honing as a daily touch-up to keep your car’s engine running smoothly, while sharpening is the equivalent of a major tune-up or an oil change. Relying exclusively on one while ignoring the other will result in poor performance and potentially permanent damage to your blade’s profile.
"A dull knife is the hallmark of an amateur, not just because it slows you down, but because it turns the act of cooking into a struggle against your own equipment rather than a dance with your ingredients."
Choosing the Right Sharpening Tools
When it comes to the hardware required for maintenance, the market is saturated with gimmicky "pull-through" sharpeners that often do more harm than good. These devices frequently rely on fixed-angle carbide slots that aggressively scrape away material, leaving your knife with an inconsistent, jagged edge that loses its sharpness almost immediately. To achieve professional results, you need to invest in tools that allow you to control the angle, pressure, and material removal process with precision and care.
The Versatility of Whetstones
For most home cooks, the whetstone (or water stone) is the gold standard for sharpening. These blocks come in various grit levels, which indicate how abrasive the surface is. A lower grit, such as 220 or 400, is used for repairing chips or resetting a dull edge, while a higher grit like 1000 to 3000 is used for the actual sharpening process. If you want to achieve that mirror-like, hair-popping finish, you can move up to 6000 or 8000 grit stones for polishing, though this is often overkill for day-to-day culinary work.
When choosing stones, look for high-quality synthetic stones, which are often more consistent than natural ones. Ensure you have a non-slip base or a stone holder, as stability is paramount when you are guiding a sharp blade across a hard surface. Never rush the process; the consistency of your stroke and the angle of your hold are far more important than the speed at which you move the knife across the stone.
The Art of the Honing Steel
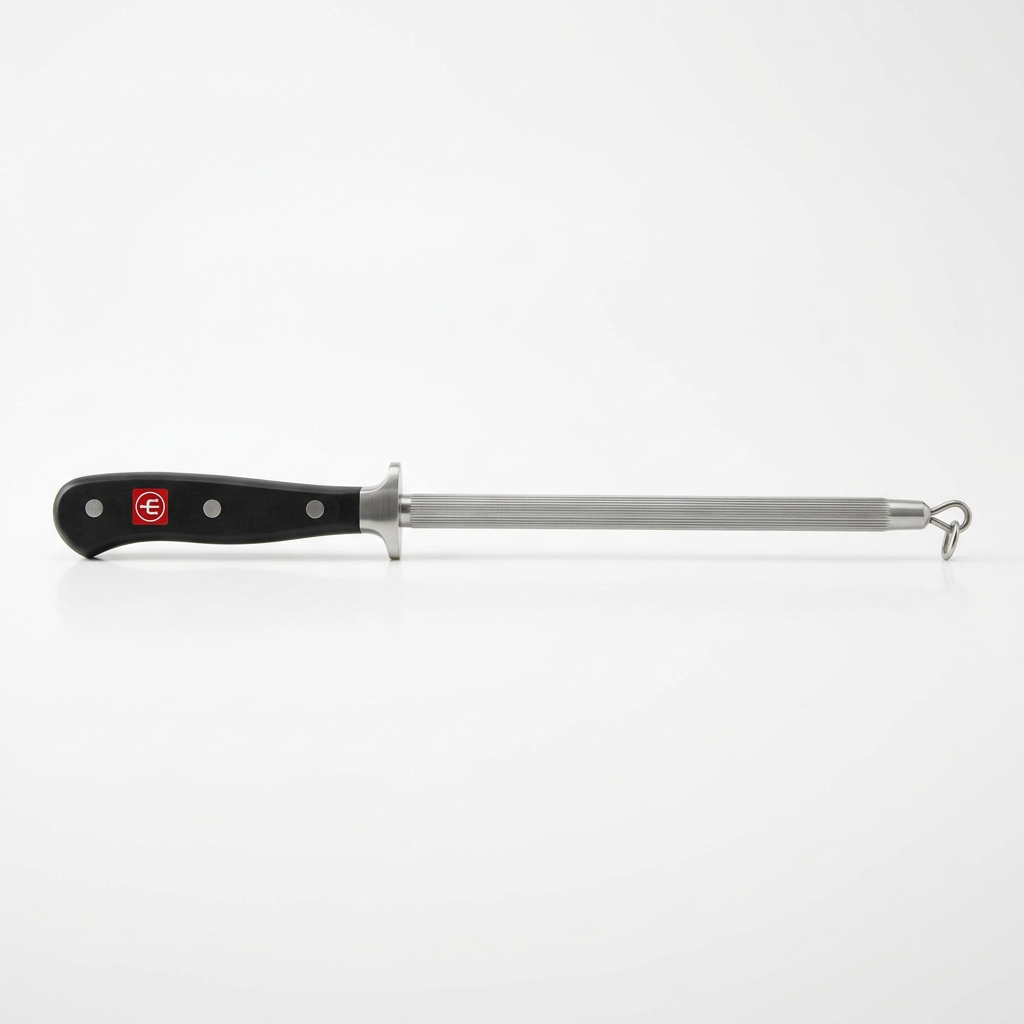
The honing steel (or honing rod) is the most underutilized tool in the average kitchen. It looks like a sword, acts like a miracle worker, and should be the first thing you grab when you feel your knife starting to "drag" through an onion or a bell pepper. There are three main types of honing rods: steel, ceramic, and diamond-coated. Each serves a specific purpose in the maintenance lifecycle, but they all share the common goal of realigning the edge.
Techniques for Effective Honing
To hone correctly, hold the rod vertically with the tip pressed firmly against a stable surface like a cutting board. Start with the heel of your knife at the top of the rod at an angle of roughly 15 to 20 degrees. Draw the blade down and across the rod in a smooth, sweeping motion, ensuring the entire length of the edge makes contact with the steel. You should repeat this motion 5 to 10 times on each side, applying very light, consistent pressure.
Steel Rods:* Best for quick, daily realignment of softer or European-style knives.
Ceramic Rods:* Slightly more abrasive, making them excellent for maintaining the edge of harder Japanese steel.
Diamond Rods:* These are essentially micro-sharpeners; use them sparingly, as they remove small amounts of metal.
Avoid the "cowboy" method of holding the rod in the air and swinging the knife toward your hand. It looks cinematic in the movies, but one slip can lead to a trip to the emergency room. Always maintain a firm, controlled grip and keep the rod stationary. Your goal is to feel the blade "bite" into the surface of the rod; if you are sliding over it without any tactile resistance, your angle is likely incorrect.
Understanding Edge Angles and Geometry
The "angle" of your knife is perhaps the most important technical detail to master. If you hold your knife at too steep an angle (e.g., 45 degrees), you will create a very durable edge, but it will feel blunt and wedge into food rather than slicing through it. If you hold it at too shallow an angle (e.g., 5 degrees), the edge will be impossibly sharp but incredibly fragile, prone to rolling or chipping the moment it hits a piece of cartilage or a hard vegetable skin.
Finding the Sweet Spot
For most standard western chef's knives, an angle of 20 degrees per side is the industry standard. It provides a perfect balance between sharpness and edge retention. Japanese knives, which are often made from harder, thinner steel, are typically ground to a tighter 12 to 15-degree angle. To find your angle, you can use a small wedge-shaped guide, or you can practice the "stack of coins" method: place two quarters under the spine of the knife while it sits on a flat surface; the angle created is approximately 15 degrees.
"A blade is not merely a tool for separation; it is a finely calibrated instrument that requires respect. When you maintain that 20-degree bevel, you aren't just cutting ingredients—you are performing a surgical procedure on your dinner."
Remember that consistency is the only way to achieve a perfect edge. If you sharpen at 15 degrees, hone at 15 degrees, and occasionally vary your pressure, you will eventually develop "muscle memory." You will know exactly how the knife feels against the stone, the sound it makes when the burr is formed, and the tactile feedback that tells you the metal is finally reaching the level of sharpness required for professional-grade prep.
The Whetstone Sharpening Process Step-by-Step
Sharpening is not a race; it is a ritual. Begin by soaking your water stones in a bowl of water for at least 10 to 15 minutes, or until the bubbles stop rising, unless your specific stones are "splash-and-go." Place the stone on a damp towel or a dedicated holder to prevent sliding. Start with your medium-grit stone, which will be the primary surface for 90% of your sharpening needs.
The Burr Method
The secret to knowing when to stop on one side is the burr. As you sharpen, the metal on the opposite side of the edge will begin to curl slightly. You can feel this burr by very gently—and safely—running your finger perpendicular to the edge (never along the edge). Once you feel a slight, rough ridge running along the entire length of the blade, you have successfully reached the apex. Flip the knife over and repeat the process on the other side until you feel the burr on the original side.
Stropping is the final, often forgotten step. After you have sharpened, the edge may still have a tiny, fragile bit of metal hanging off it. A leather strop, or even a piece of cardboard, is used to gently wipe the edge clean, polishing the metal and ensuring that your knife is truly razor-sharp. Never skip the strop if you want your knife to glide through a ripe tomato skin without pressing down at all.
Common Mistakes and How to Avoid Them
Even with the best intentions, home cooks frequently fall into traps that ruin their blades. The most common mistake is using the knife on inappropriate surfaces. Glass, ceramic, granite, and marble cutting boards are the death of any edge. They are harder than your steel, and every time you cut down onto them, the edge is instantly dulled or rolled. Always stick to wood, bamboo, or high-density plastic (polypropylene) surfaces. These materials have a slight "give" that cushions the edge rather than crushing it.
Storage and Handling
How you store your knife is just as important as how you sharpen it. Throwing your knives into a kitchen drawer with other utensils is a recipe for disaster; the blades will clatter against each other, creating nicks and dull spots. Use a magnetic knife strip, a wooden knife block, or blade guards to keep your edges protected. If you must keep them in a drawer, purchase individual blade guards or a dedicated in-drawer organizer that prevents the edges from touching metal or hard plastic.
Avoid the Dishwasher:* The heat, the detergent, and the clattering against other dishes will ruin your blade in a single cycle. Always hand-wash and dry immediately.
The "Scrape" Rule: Never use the sharp edge to scrape ingredients off your cutting board. Flip the knife over and use the spine* of the blade to move your diced onions or peppers. This saves the edge from unnecessary contact with the board.
Don't Force It:* If you feel the knife resisting, stop. Do not use your chef's knife to pry open jars, cut through frozen foods, or hack through bones. Use the appropriate tool—a cleaver or a serrated knife—for those tasks.
The Psychology of the Sharp Kitchen
There is a profound difference in the quality of your cooking when you are using a sharp tool. A sharp knife doesn't crush the cell walls of your herbs, which means your basil stays green and aromatic rather than turning into a bruised, blackened mush. When you slice a steak, a sharp knife leaves the juices inside the meat; a dull knife tears the fibers, forcing the liquid out and leaving you with a dry, disappointing result. By maintaining your gear, you are actively improving the flavor, texture, and visual appeal of your final dish.
Building Your Routine
Start small. Commit to honing your knife every time you take it out of the block. Once you are comfortable with the steel, set aside one hour on a Sunday afternoon every month to perform a full sharpening session with your whetstones. It is a quiet, meditative process that allows you to reconnect with your tools. When you put in the time to care for your equipment, you start to view your kitchen differently. It becomes a space of precision and intent rather than just a place to prepare sustenance.
"A chef who respects their tools is a chef who respects their craft. The edge of your blade is the direct extension of your intent; when you sharpen it, you are sharpening your own focus."
Remember that even a professional chef occasionally reaches for a dull knife when they are in a hurry, but the difference is they know how to fix it immediately. You don't need to be perfect; you just need to be consistent. Every time you sharpen your knife, you are learning more about the steel, the angle, and the pressure. You are developing a physical relationship with your equipment that will translate directly to your performance on the line.
Final Thoughts
The journey to becoming a master of your own kitchen is paved with small, consistent habits. Knife maintenance is one of those foundational skills that, once mastered, pays dividends for the rest of your life. You will save money by not having to replace knives as often, and you will save countless hours of frustration by working with tools that do exactly what you want them to do. The goal isn't to reach the level of a master swordsmith, but rather to ensure that your tools are never the bottleneck in your creative process.
As you continue to cook, pay attention to the feedback your knife provides. Does it bite into the skin of a bell pepper? Does it glide through a tomato like it’s butter? Does it slice through an onion without forcing you to weep because of crushed cells? When the answer is "no," don't get frustrated—get your stones. The act of sharpening is a reminder that in the culinary world, the best results often come from the most basic, disciplined efforts. Treat your blades well, and they will serve you for decades, becoming a trusted companion in every meal you create.
Finally, remember that the most important safety feature in any kitchen is a sharp knife. When you aren't fighting your food, your hands are relaxed, your posture is stable, and your focus is sharp. Keep your steel straight, your stones wet, and your movements deliberate. By mastering these basics, you elevate yourself from a casual cook to a true culinary enthusiast. Now, head back to your prep station, pick up your chef's knife, and appreciate the sound of a truly sharp edge slicing through the board—that is the sound of success. Happy cooking, and keep those edges fine.
Get the Next Recipe
Weekly recipes, techniques, and gear picks — straight to your inbox.
