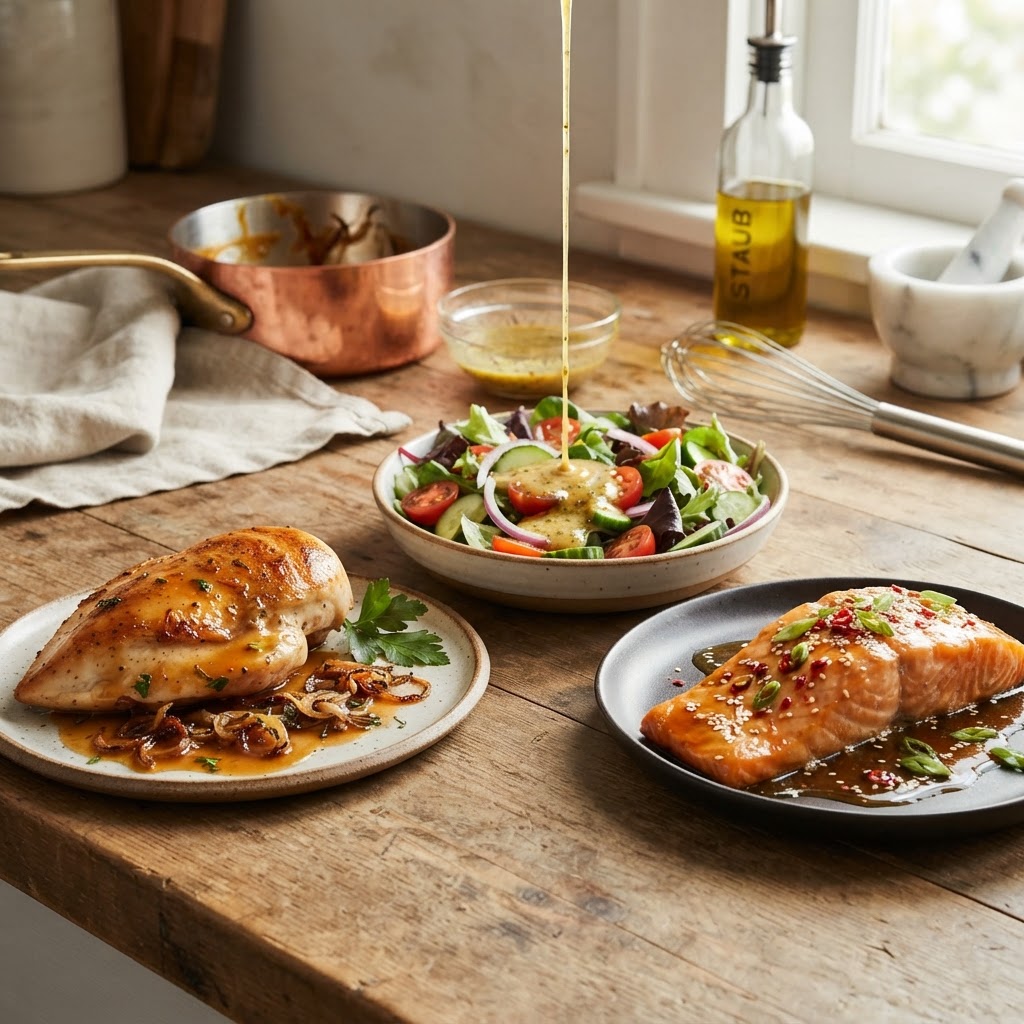
The Home Cook’s Guide to Liquid Ratios: Mastering Hydration Percentages for Perfectly Textured Pan Sauces, Dressings, and Glazes
Every home cook has experienced that sinking feeling when a pan sauce intended to be a silky, velvet coating instead separates into an oily, broken mess or clings to the bottom of the pan like stubborn glue. We often blame the quality of the ingredients, the heat of the burner, or perhaps even our own lack of "natural talent," but the truth is far more scientific and forgiving. Mastering the kitchen isn’t about intuition; it is about understanding the fundamental physics of liquids and how they interact with solids. By learning to manipulate hydration levels, you stop being a slave to recipes and start becoming an architect of flavor. This guide will demystify the science behind your favorite sauces, dressings, and glazes, turning your kitchen into a laboratory of perfectly balanced textures.
Hydration is not just about adding water; it is about the calculated suspension of fats, proteins, and sugars within a liquid medium. When we talk about hydration percentages in a culinary context, we are looking at the ratio of liquid to thickening agent, emulsifier, or flavor concentrate. Whether you are tempering a reduction or building a stable vinaigrette, the chemistry remains constant even if the application changes. Many home cooks struggle because they rely on visual cues alone, but the secret lies in the math—once you know how much fat your liquid can hold, you can adjust your ratios on the fly. This approach guarantees that your pan sauce will coat the back of a spoon every single time, regardless of what is in your pantry.
Over the next few thousand words, we are going to tear down the mystery surrounding these liquid ratios. You will learn the specific viscosity markers that separate a mediocre glaze from a professional-grade finish. We will explore how temperature influences emulsification stability, why some reductions require a whisk and others a gentle swirl, and how to rescue a broken emulsion before your guests even notice. By the end of this journey, you will no longer look at a liquid-heavy recipe as a set of rules to be feared, but as a framework for creativity. Put down the store-bought bottles, clear your counter space, and prepare to elevate your sauce game to a professional standard.
The Foundation of Pan Sauces: Reduction and The Golden Ratio
The pan sauce is the ultimate test of a home cook’s understanding of heat and liquid volume. A classic pan sauce is born from the fond—those browned bits of meat and protein left in the pan after searing. The magic happens when you introduce a deglazing liquid, usually wine, stock, or vinegar, and reduce it to concentrate the sugars and proteins. If you reduce too little, the sauce is thin and flavorless; reduce too much, and you risk bitterness and a scorched bottom. The goal is to reach a syrupy consistency where the liquid has enough body to cling to your protein but enough liquidity to provide a clean, bright finish.
Understanding the Reduction Curve
The reduction process is essentially the evaporation of water, leaving behind a higher concentration of solids. For a standard pan sauce, you want to reduce your deglazing liquid—usually around 1/2 cup for two servings—until it reaches the nappe consistency. This is a French culinary term meaning the sauce is thick enough to coat the back of a spoon. When you draw a line through the sauce on the back of the spoon with your finger, the path should stay clean. Achieving this requires medium-high heat, generally around 200°F to 212°F, until the volume is reduced by roughly 50% to 60%.
Mounting with Butter (Monter au Beurre)
Once your liquid has achieved the desired reduction, the final step is monter au beurre, or mounting with cold butter. This is where most home cooks stumble. If your pan is too hot, the butter will melt instantly and separate, leaving you with pools of yellow fat. If the pan is too cold, the sauce won't emulsify. You want your pan off the heat, swirling in cubes of cold, unsalted butter one by one. The cold fat hits the hot liquid and creates a stable, creamy emulsion that shines under the light and coats the tongue perfectly.
"A pan sauce is not just a liquid; it is a temporary marriage of browned bits and cold fat, held together by the careful management of temperature and time."
Mastering the Emulsion: Vinaigrettes and Cold Sauces
When we move from the stove to the prep board, we enter the world of cold emulsions. The fundamental ratio for a classic vinaigrette is often cited as 3 parts oil to 1 part acid, but this is merely a starting point. Your personal preference, the type of oil (grapeseed vs. extra virgin olive), and the strength of your acid (balsamic vs. champagne vinegar) will dictate the final ratio. The key to a stable dressing that doesn't split on the plate is the incorporation of an emulsifying agent, such as Dijon mustard, honey, or a touch of egg yolk.
The Science of Droplet Dispersion
Emulsification is the process of dispersing tiny droplets of one liquid into another. In a vinaigrette, you are trying to force oil droplets into an acidic, water-based environment. This is inherently unstable. Without a stabilizer, the molecules will eventually try to reunite, causing the oil to float to the top. By using an agent like mustard, you introduce a surfactant—a molecule with one end that loves oil and one end that loves water. These molecules grab onto both, holding the mixture in a stable, creamy suspension that won't break for hours.
Techniques for Stability
If you want the silkiest vinaigrette possible, stop shaking your jar. Instead, try using a high-speed blender or an immersion blender. By hitting the mustard and acid with the blades before slowly drizzling in the oil, you create a much finer droplet dispersion. The smaller the oil droplets, the more light they scatter, resulting in a thick, opaque dressing that feels luxurious on the palate. Aim to emulsify at room temperature, as cold oil is much harder to disperse evenly throughout the base, often leading to a "tight" or "chunky" texture rather than a smooth, flowing one.
The Glaze Spectrum: Sugars and Starches
Glazes are the most viscous of the liquid preparations, designed to coat proteins or vegetables with a glossy, flavorful sheen. A glaze sits somewhere between a sauce and a syrup, relying on high sugar content and often a starch or gelatin base to hold its structure. The key to a great glaze is finding the balance between stickiness and viscosity. If it is too thin, it runs off the food; if it is too thick, it turns into a gummy candy-like layer that masks the flavor of the food itself.
The Reduction-Sugar Ratio
Many glazes rely on fruit juices, soy sauce, or balsamic reduction. When you introduce sugar, you are fundamentally changing the boiling point of your liquid. A high-sugar liquid will boil at a higher temperature than water, meaning it can burn quickly. You must watch your glaze closely once it hits the "thickening phase." A professional chef will often pull the glaze from the heat slightly before it looks perfect, because as it cools, the sugars will continue to tighten the mixture.
Adding Body with Starches
If you aren't using a long reduction to build body, you might turn to a slurry. A mixture of cornstarch or arrowroot with a cold liquid is the secret to a fast, reliable glaze. Use a ratio of 1 part starch to 2 parts water. When whisking this into your simmering sauce, do it slowly. The starch molecules swell when heated, creating a net that traps the liquid. If you add too much, you will create a "pasty" texture. The goal is to move just enough to thicken the liquid to a pourable, glossy state that clings to a fork but doesn't feel like starch in the mouth.
"True mastery in the kitchen is not found in complex recipes, but in the ability to balance the simple tension between acids, fats, and thickeners until they become something greater than their parts."
Troubleshooting: When Your Liquid Fails
Even the best chefs have days where a sauce breaks. The important thing is knowing how to recover before tossing your dinner in the trash. A broken sauce—where the fat has separated from the liquid—usually occurs because of temperature shock or over-agitation. If your pan sauce has turned into a pool of oil and grit, don't panic. You can often bring it back together by adding a teaspoon of cold water or a small amount of heavy cream and whisking vigorously over very low heat.
The Role of Temperature in Stability
If your sauce is "tightening" too much, it is likely that the proteins in the butter or the starches in your reduction have collapsed. You have essentially created a gel rather than a sauce. To fix this, incorporate a splash of room-temperature stock. The liquid will loosen the network of solids, returning the sauce to a flowing consistency. Always remember that moisture is the cure for over-reduction. Do not be afraid to add a tablespoon of water at a time; you can always reduce it further, but you cannot easily "thicken" a sauce that has already scorched.
Preventing Breakage in Advance
The best way to fix a broken sauce is to ensure it never happens in the first place. Follow these three rules:
Professional Tips for the Home Lab
To really level up your sauce game, you need to understand the tools you are using. A heavy-bottomed stainless steel pan is essential for pan sauces because it provides even heat distribution, preventing hot spots that burn the fond. If you are whisking, use a silicone-coated whisk if you are using non-stick surfaces, but a standard metal whisk is better for scraping the corners of a stainless pan to ensure no flavorful bits are left behind.
The Flavor Intensity Hierarchy
When building a liquid base, think about your layers. You have the base liquid (stock, wine, juice), the flavor enhancers (aromatics, herbs, spices), and the finishing agents (butter, cream, oils, vinegars). If you add your herbs too early, their volatile oils will dissipate long before you reach your target reduction. Add delicate herbs like parsley, chives, or tarragon right at the very end, just before serving, to maintain their vibrancy and brightness.
Measuring vs. Estimating
While we encourage intuition, you should measure your initial volumes. If you start with two cups of wine and want to reach a half-cup reduction, you have to know what two cups looks like in your specific pan. Use a ruler if you have to—mark the height of two cups on a wooden spoon. This gives you a physical reference point. Over time, you won't need the spoon, but in the beginning, data-driven cooking is the fastest path to mastery.
Advanced Hydration: Incorporating Gelatin and Proteins
One of the secrets that separate home cooking from restaurant quality is the use of natural gelatin. Many commercial stocks are thin and watery, lacking that "lip-smacking" quality that makes a sauce feel rich. This quality comes from the extraction of collagen from bones, which turns into gelatin when heated. You can mimic this at home by adding a small packet of unflavored powdered gelatin to your store-bought stock before reducing it.
Why Gelatin Matters
Gelatin acts as a natural thickener and stabilizer. It provides a mouthfeel that simple starch-based thickeners cannot replicate. When you reduce a stock high in collagen, the gelatin molecules create a structure that holds the liquid in a "gel," which then melts beautifully on the palate. This is why professional demi-glace has such a distinctive, glossy sheen. If your pan sauces always feel "thin" or "watery," it isn't because you didn't reduce them enough—it is because your stock lacks the protein structure to hold the reduction together.
Integrating Protein-Rich Bases
If you are cooking for vegetarians, you can replicate this richness by using concentrated vegetable reductions, specifically those that use high-pectin vegetables like carrots or mushrooms. These veggies release natural starches and sugars that, when reduced, provide a body that is surprisingly close to a meat-based stock. Experiment with your hydration ratios using these natural bases to find the specific profile that works for your cooking style.
Final Thoughts
Mastering hydration percentages is not about becoming a mathematician; it is about freeing yourself from the anxiety of the "perfect" recipe. When you understand that a sauce is just a balance of liquid, fat, and heat, you gain the ability to troubleshoot in real-time. You learn that a broken dressing is just an opportunity to practice your emulsion skills, and a thin sauce is simply a reduction that needs a few more minutes on the heat.
The journey to becoming a better cook is paved with small, iterative improvements. Start by measuring your reductions, watch how the viscosity changes as the liquid cools, and don't be afraid to taste as you go. Use your whisk as your most reliable tool, and always, always keep a small bowl of cold butter nearby for those moments when your sauce needs that final, professional polish.
By applying these principles, you are no longer just following instructions—you are creating food with intent. You are observing the way liquids behave and adjusting your environment to match that behavior. That is the essence of "Blame The Chef"—we take the blame for the failures so you can take the credit for the successes. Go forth, keep your heat steady, your ratios calculated, and your pan sauces velvety. Your kitchen, your rules, and your perfect textures await.
***
Additional Culinary Principles for Success
To ensure you are fully equipped for your next culinary endeavor, let us delve deeper into the thermal dynamics of your ingredients. We often take for granted that liquids behave the same way regardless of the pan, but the material of your cookware plays a significant role in hydration efficiency. A thin aluminum pan will cause liquid to evaporate unevenly, creating "cold zones" where the sauce might break. Conversely, a thick copper or tri-ply stainless steel pan will provide the consistent energy input required to maintain a steady reduction.
The Role of Salt in Hydration
Many cooks forget that salt is not just for flavor; it is a chemical player in your sauces. Salt changes the boiling point and the solubility of other ingredients. When you add salt at the beginning of a reduction, you are concentrating that salt as the water evaporates. This is a common trap—you add a pinch of salt to your stock, you reduce it by half, and suddenly your sauce is inedible. Always season your sauces after the reduction stage. This allows you to taste the true concentration of your flavor profile before finalizing the seasoning.
Understanding pH Levels
Acid is the backbone of a great sauce, but it is also the enemy of stability. A highly acidic reduction, like one based on red wine vinegar or citrus juice, will fight against the emulsification of fats. When working with high-acid liquids, you must be even more diligent with your emulsifier. A little extra mustard or even a teaspoon of heavy cream can buffer the acidity, creating a more harmonious blend. If you find your sauce is "biting" too hard, it isn't just a flavor issue; it's a balance of pH. A tiny pinch of sugar can help round out that edge, acting as a bridge between the sharp acid and the rich fat.
Storage and Reheating
If you have mastered the art of the perfect pan sauce, you might find yourself with leftovers. Storing and reheating these is an art form in itself. Because these sauces rely on fragile emulsions, you cannot simply zap them in the microwave. The high, uneven heat will cause the fat to split immediately. Instead, reheat your sauce in a small saucepan over the lowest possible heat, whisking in a tablespoon of cold liquid (stock or water) to bring the emulsion back to life. Think of it as "re-hydrating" the sauce to its original state.
Expanding Your Repertoire
Once you have the basics down, start experimenting with infused fats. Instead of just butter, what happens if you mount your sauce with a garlic-infused oil or a bacon-rendered fat? The same rules of hydration apply—the fat must be incorporated at the right temperature, and the reduction must have the necessary viscosity to hold the infusion. By swapping out your fat sources, you can create a literal infinite variety of sauces from the same base stock.
The Philosophy of the "Chef's Palate"
Finally, remember that the "perfect" texture is subjective. Some cultures prefer a thin, broth-like sauce that soaks into the grain, while others favor a thick, coating glaze. Use these guidelines as a starting point, but always taste. Use your tongue as your primary measuring device. If the sauce feels "flat" on your tongue, it needs more acid or salt. If it feels "thin," it needs more reduction or a bit more starch. If it feels "cloying" or "heavy," it needs a splash of fresh liquid to lighten the texture. Cooking is a living process, and your sauce is the expression of that life. Keep refining, keep tasting, and above all, keep cooking. Your confidence in the kitchen will grow with every single whisk.
Get the Next Recipe
Weekly recipes, techniques, and gear picks — straight to your inbox.
